Favor for friends
It’s always nice to get a call from your friends during a pandemic. It allows you to catch up and feel some sort of connection. It’s even nicer when you know your buddy has extra work for you.
Now, normally this would be a headache because my buddy, let’s call him Sam, lives deep in Vancouver. And driving for forty-five minutes to do a small job isn’t appealing. Sam knows this so he pays me well.
So, I solve his problem and I earn some extra money during a sketchy pandemic time. With COVID-19 raging on, it would be insane to turn down extra work on a Saturday. Take the work while you can because it’s not very clear what 2021 will bring.
The problem

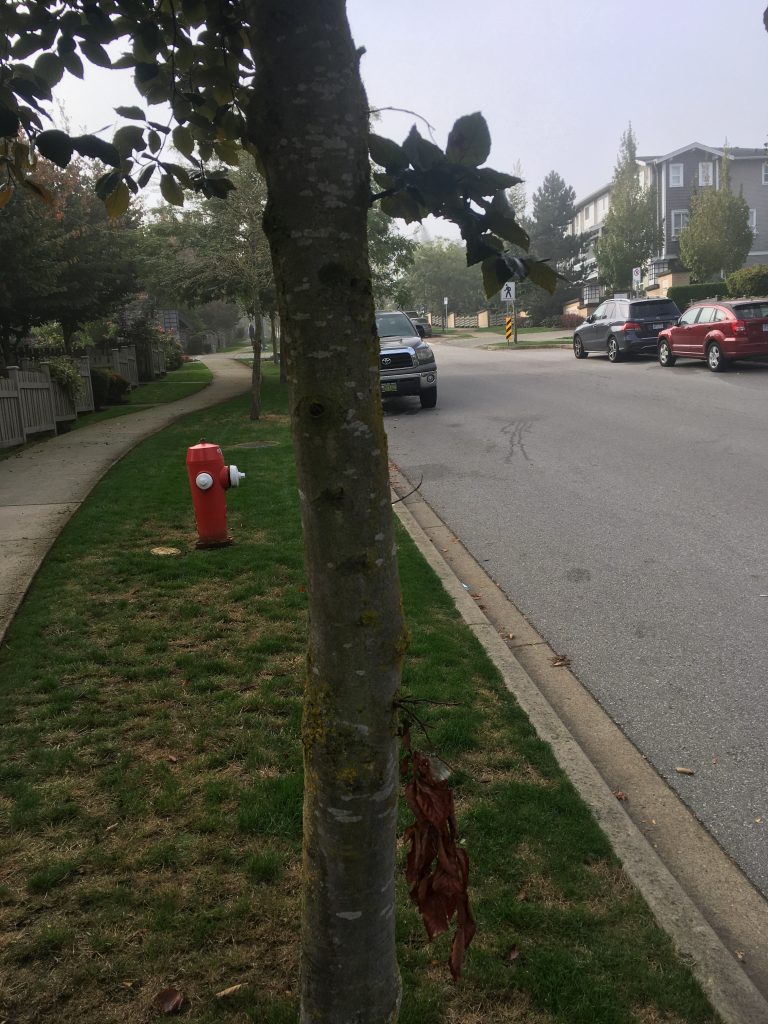
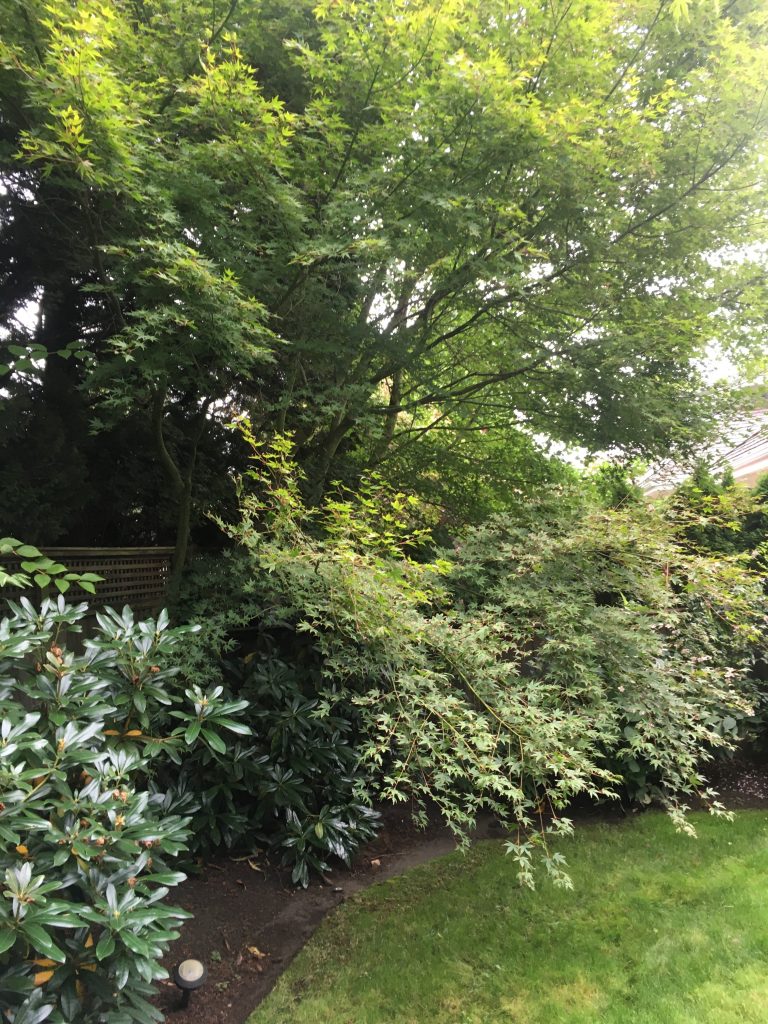
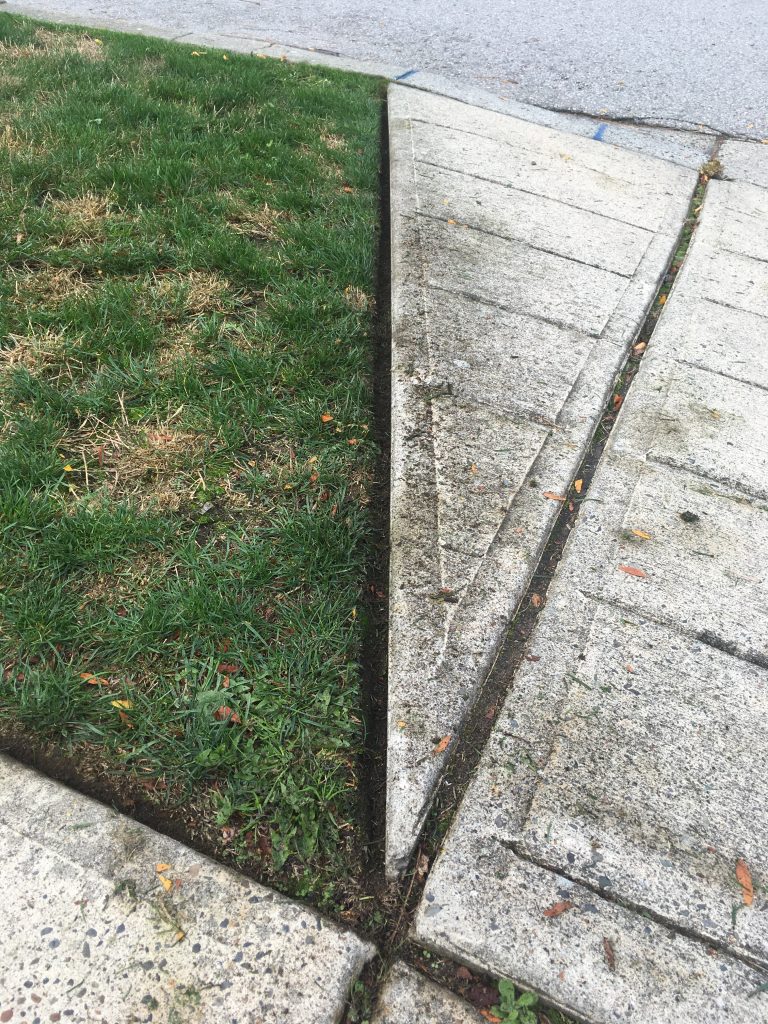
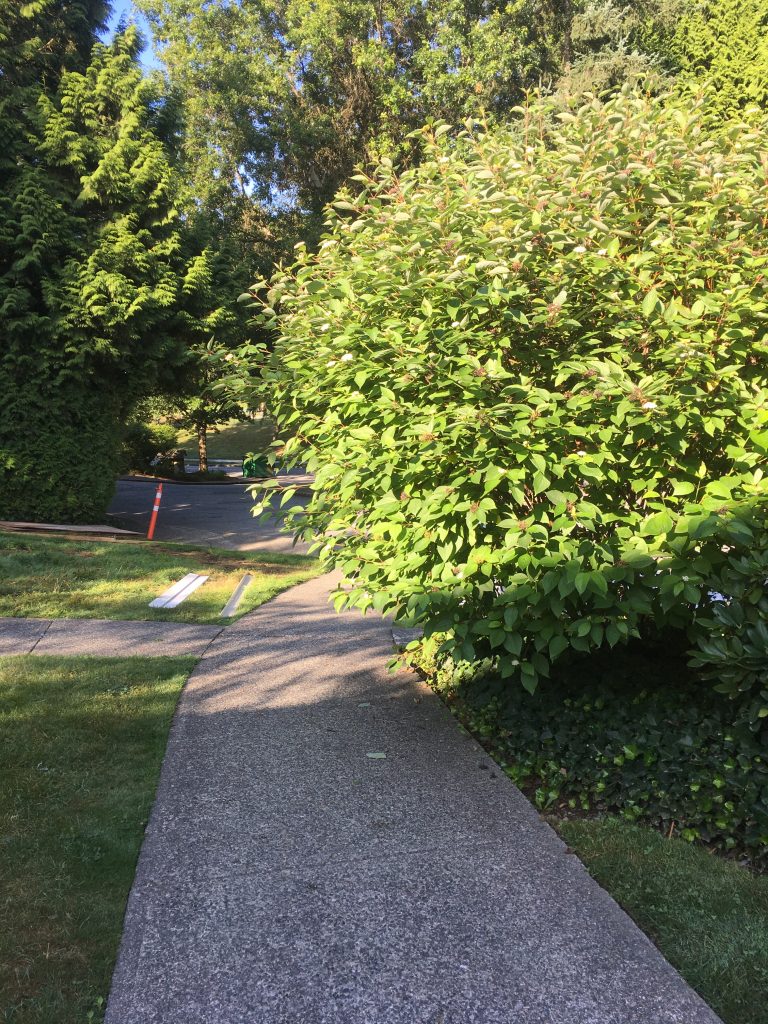
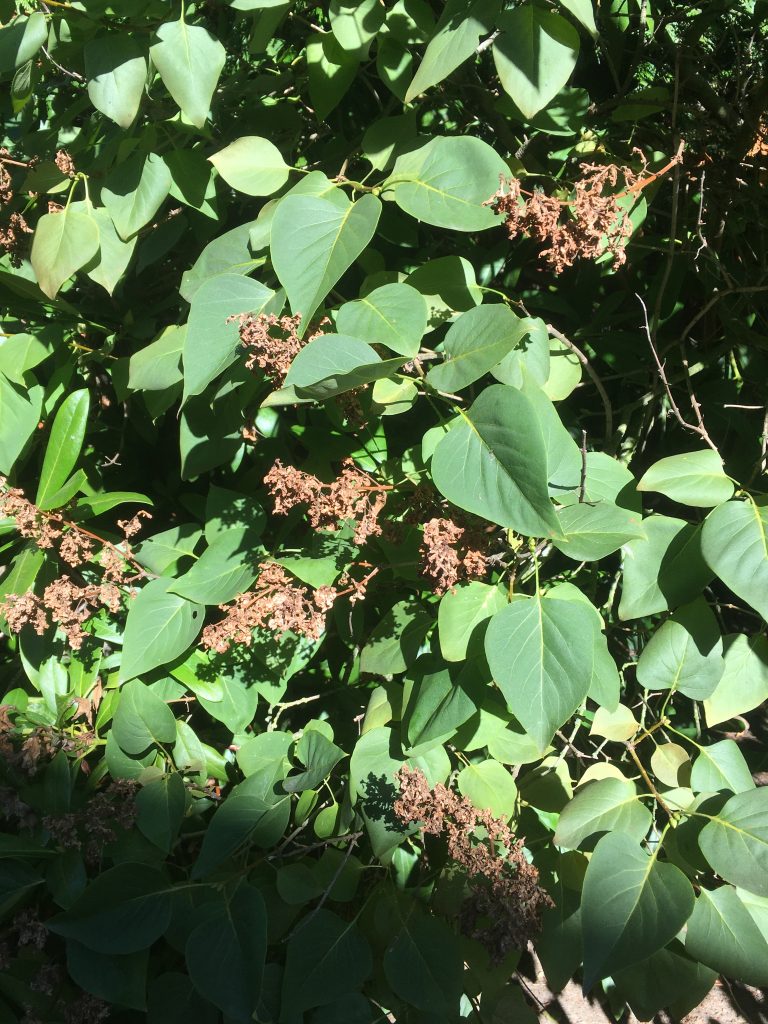
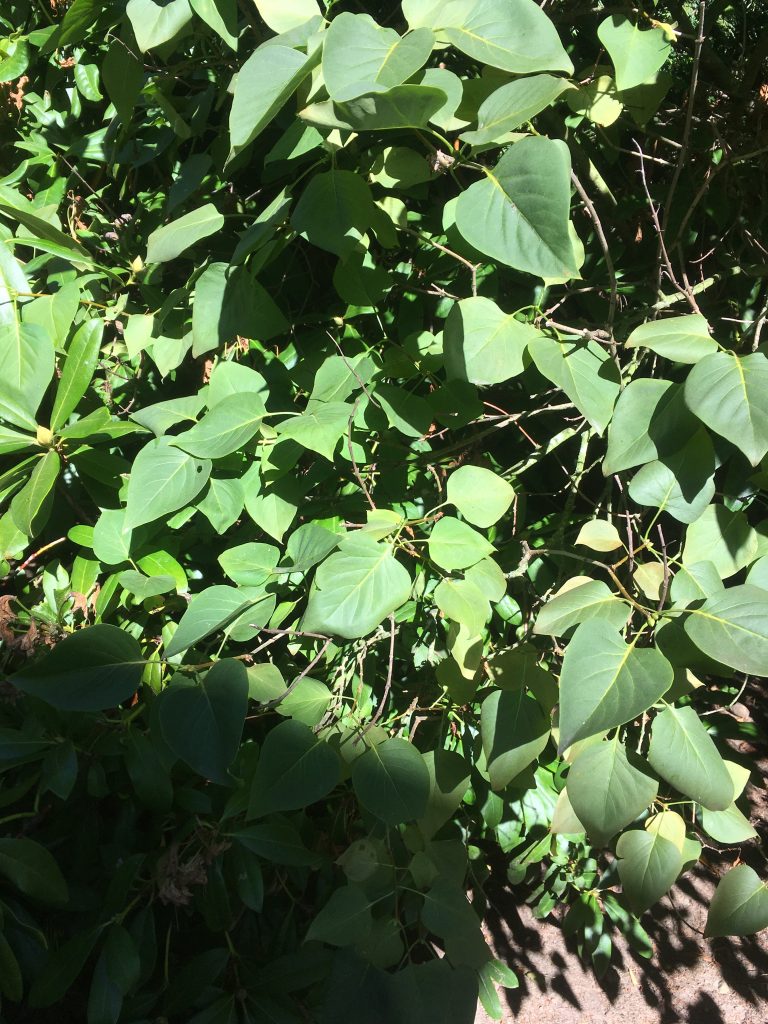
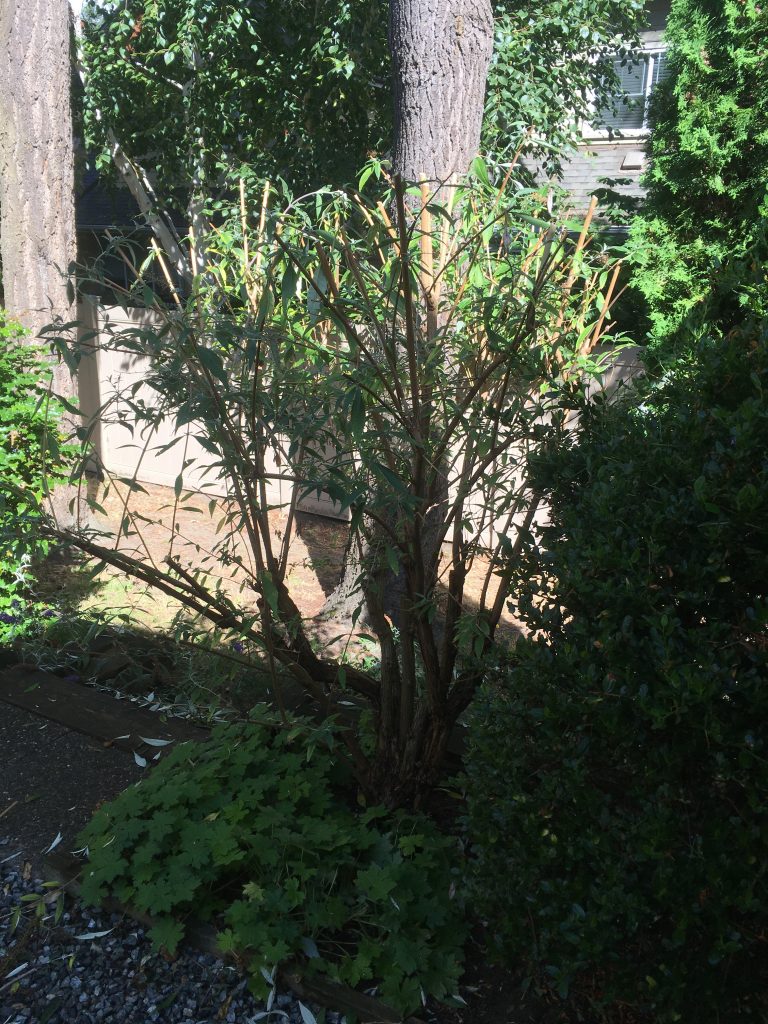
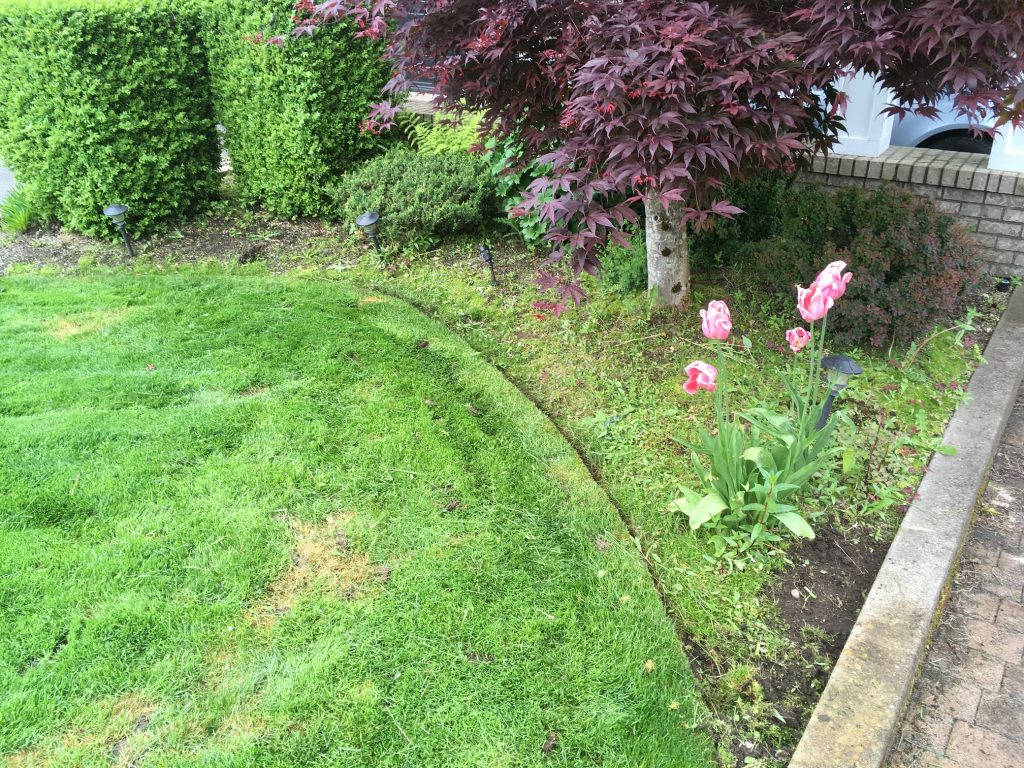
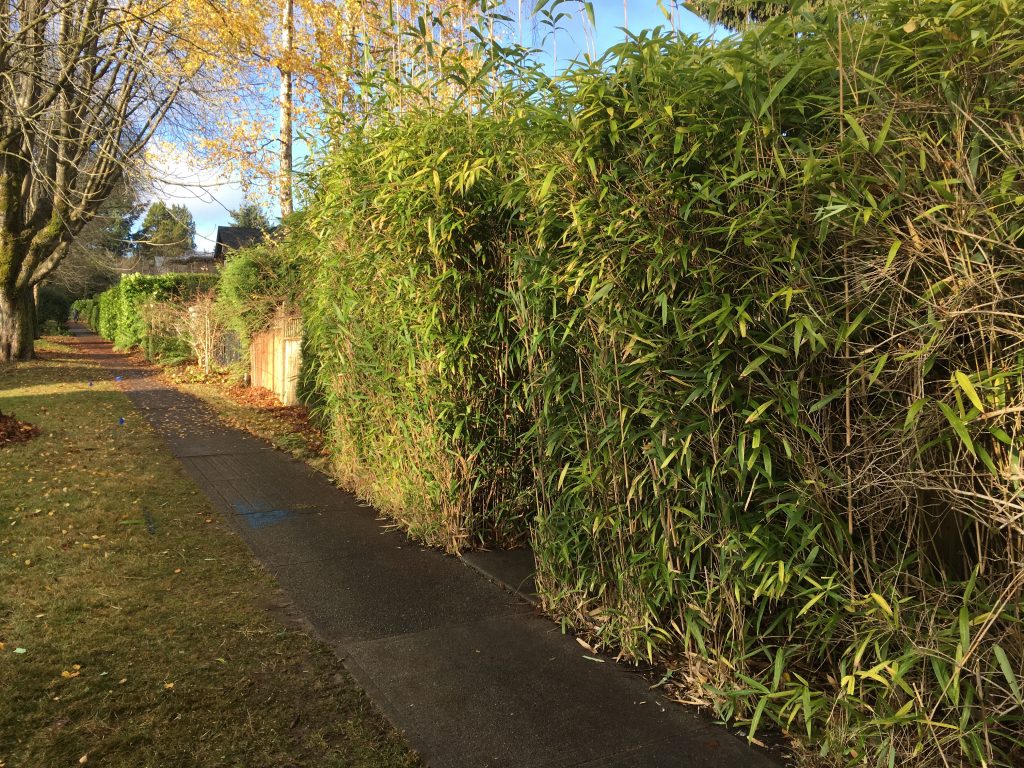
Sam’s bamboo badly encroached into the sidewalk and it was only a matter of time before a neighborhood Karen complained about it. So I drove in on a sunny Saturday morning to take care of it.
Incidentally, I waited until ten o’clock to start. Municipalities have different by-laws but ten o’clock is a standard start time for Saturdays. Always be careful in mature, well-to-do neighborhoods.
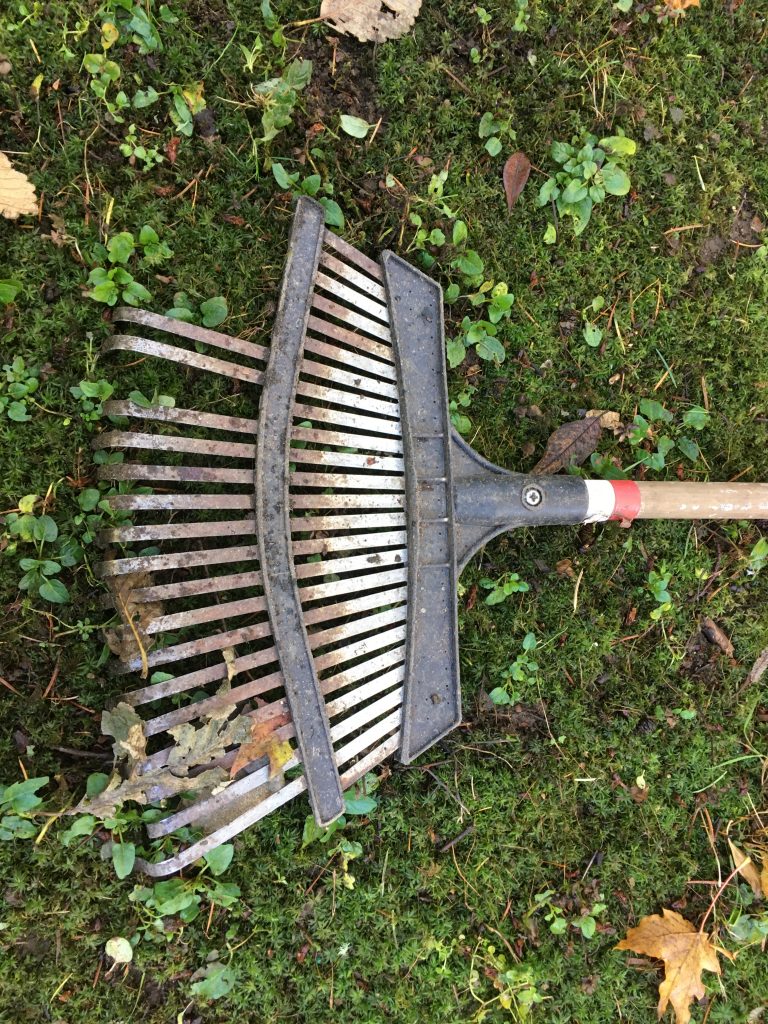
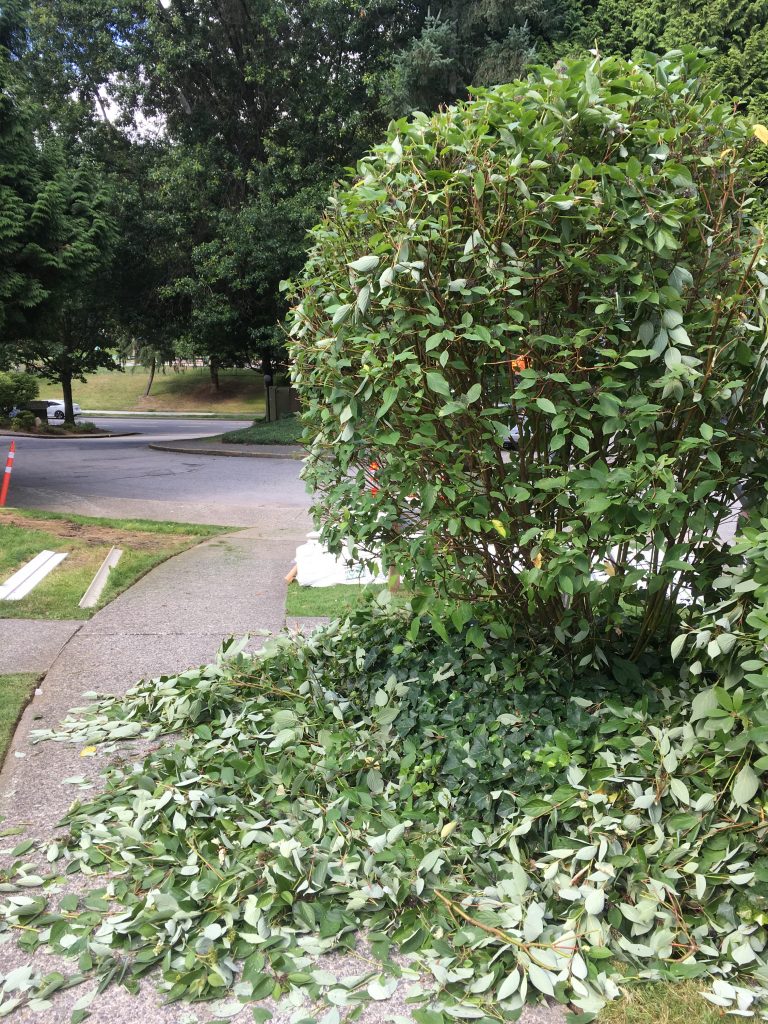
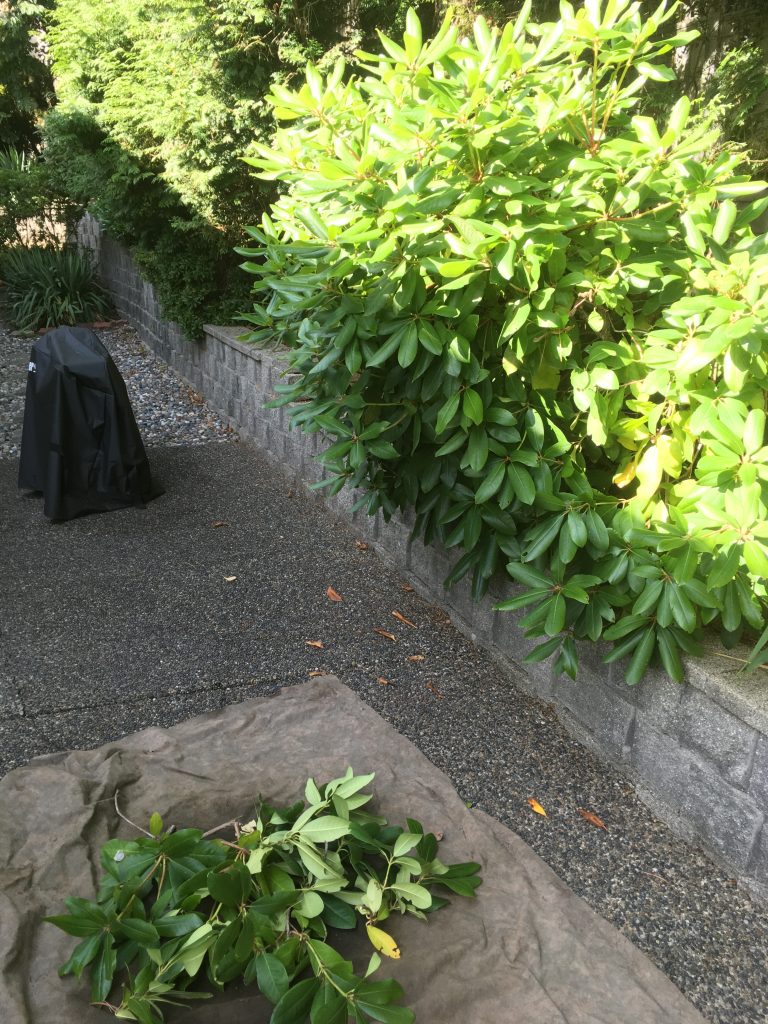
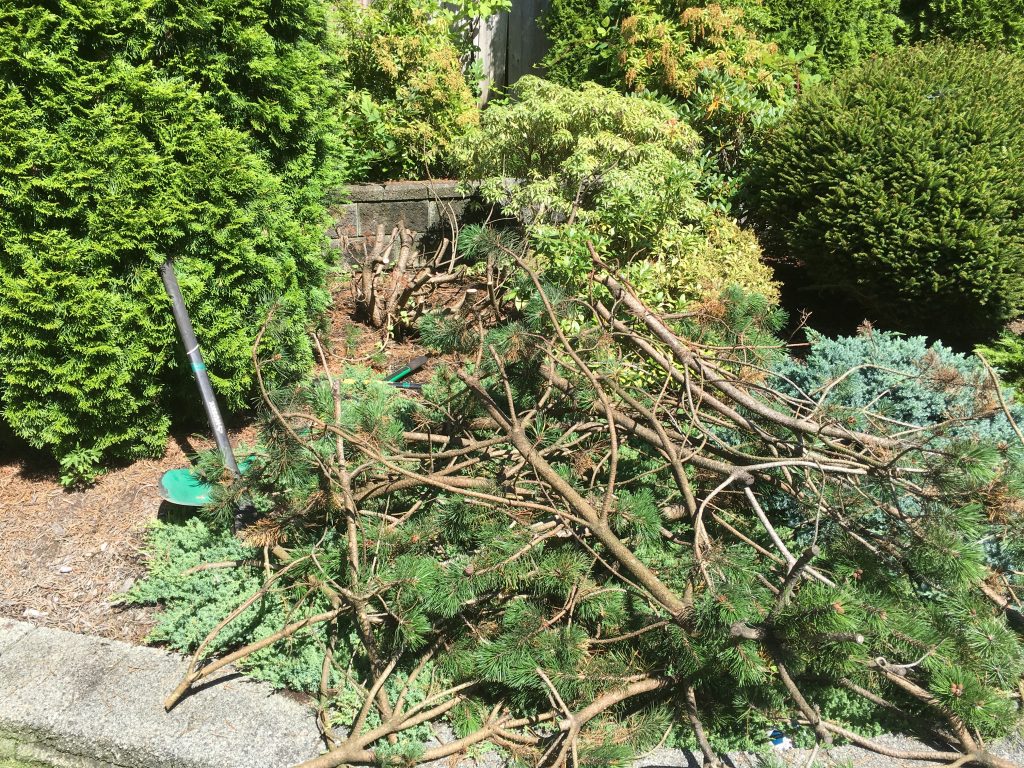
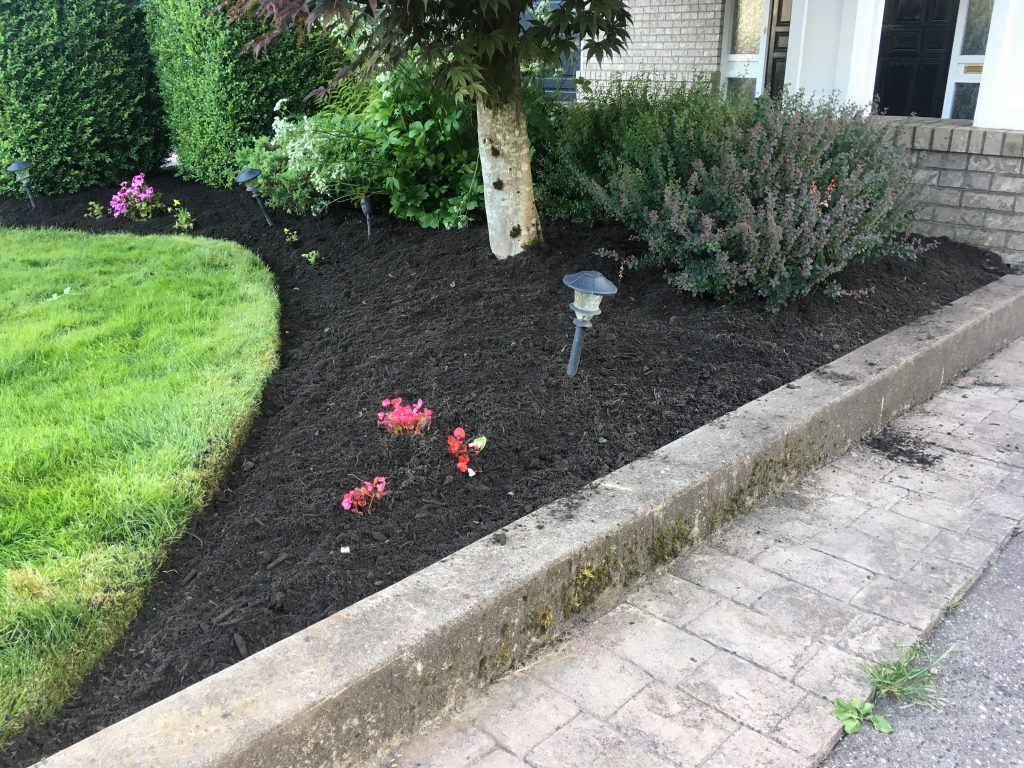
The shearing and clean-up took me exactly fifteen minutes. I used sharp shears and the green waste filled up one tarp. Then there was some touch up work with my hand snips where the bamboo encroached onto the sidewalk.
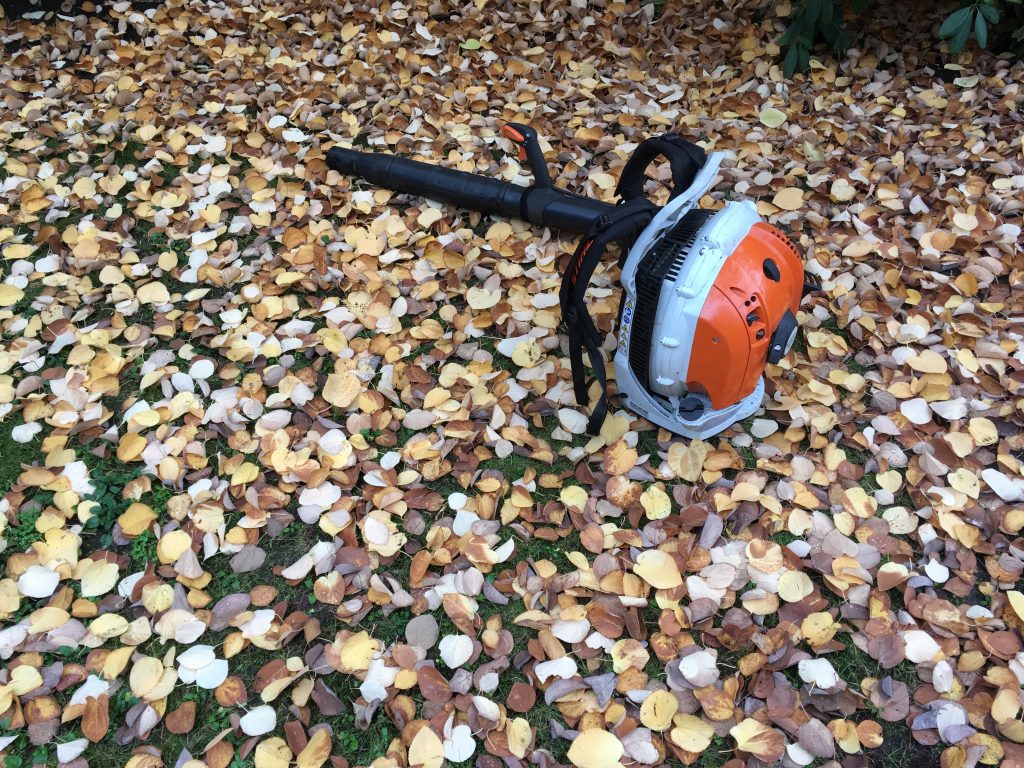
I did my clean-up blow quickly with the smallest gas-powered backpack blower, designed for noise-sensitive environments. By ten thirty the street was full of landscapers with heavyweight Stihl blowers on their backs. Of course!
Later, Sam stopped by the house to check things out and we had enough time to catch up, with masks on. Then I casually confirmed that he would be taking care of my invoice.
Pro tip:
Do side-gigs on project basis, not by the hour. For this job I quoted a price based on pictures. The actual length of the job is my problem. Sell your service, not man-hours!
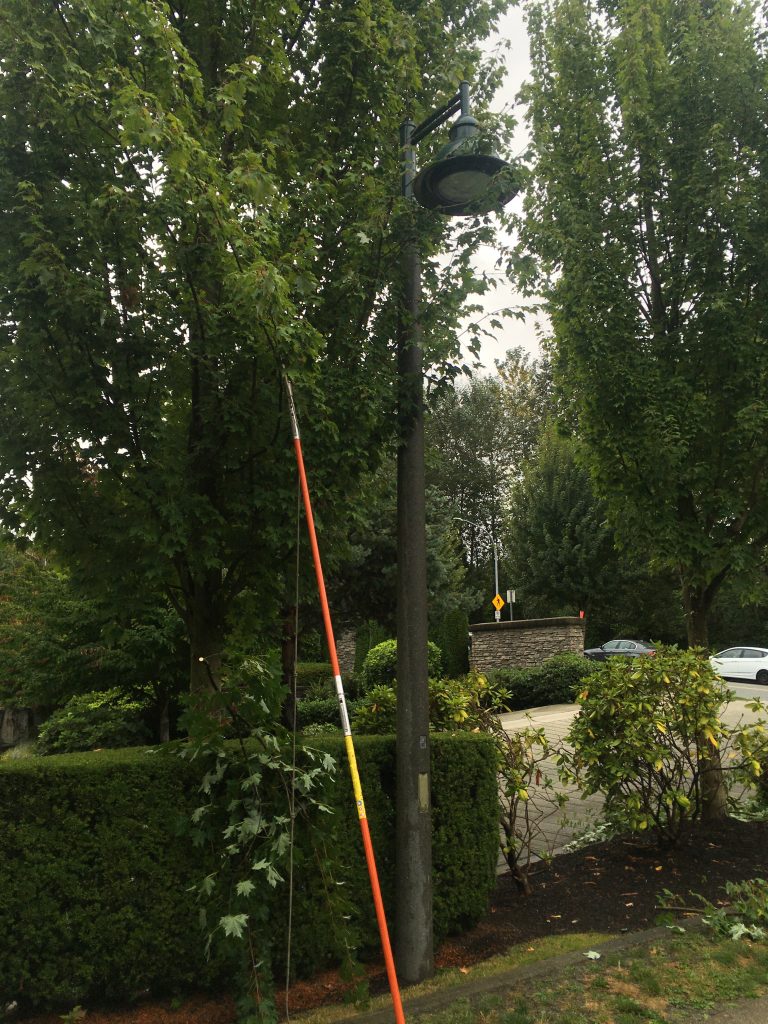
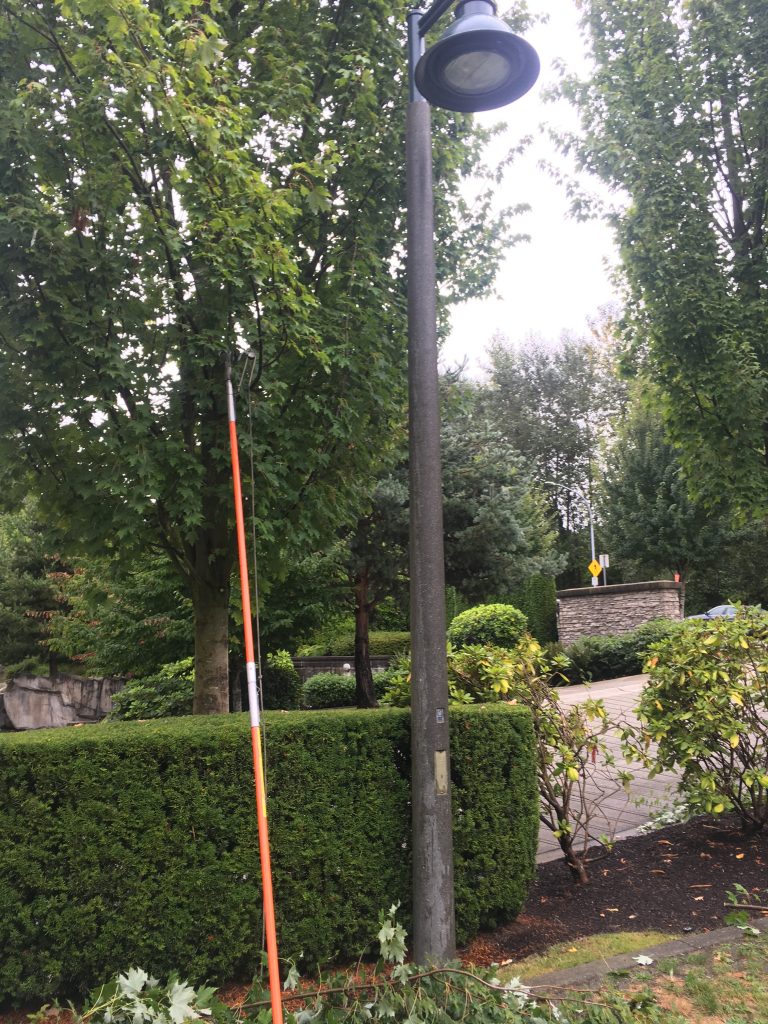
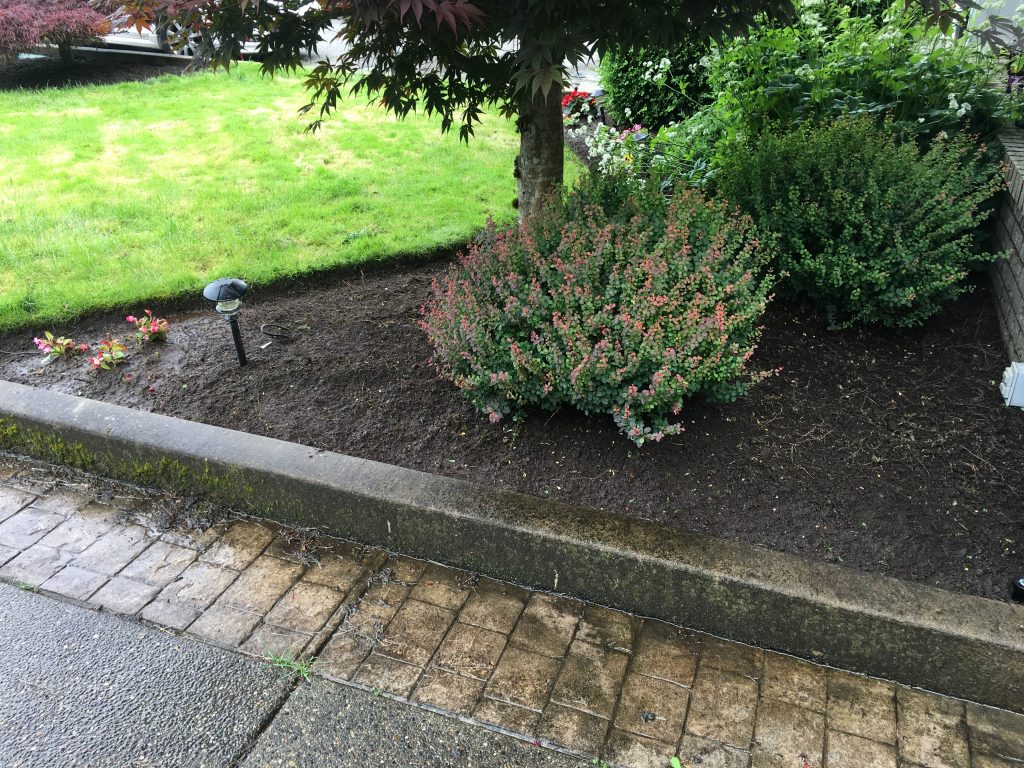
Obstruction in the landscape is a problem that shouldn’t be ignored. Eliminate the obstruction as soon as you can.