Winter pruning
Winter is the best time for tree pruning because trees are dormant in winter, and the crown structures are visible with the foliage gone. That also makes it easy to make the cuts. Making nice pruning cuts is a nightmare in summer because it’s so hard to see.
Lately I’ve been seeing lots of crazy tree branches and I want to go over some of them. That way you’ll know what to look for on your trees at home.
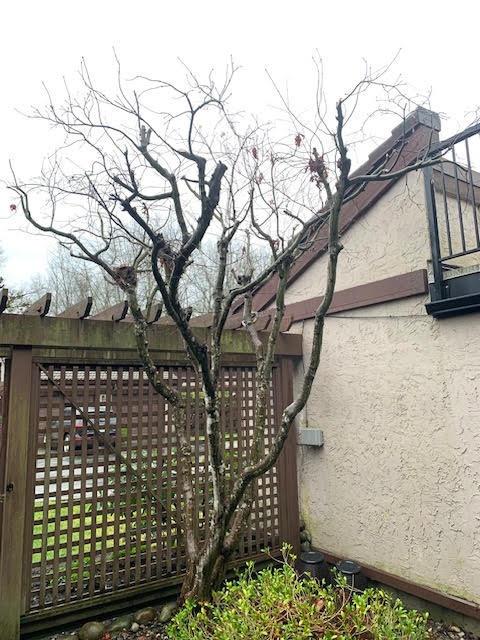
Hard right
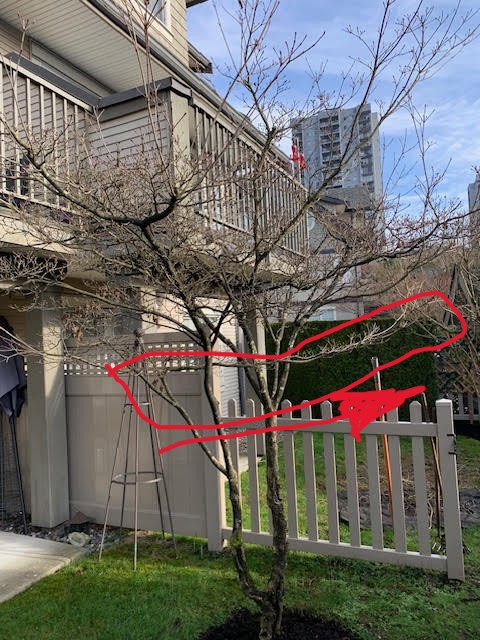
This dogwood tree has a weird branch making a hard right turn right through the crown. That’s not ideal for this arborist. No, it’s not a tragedy, but the tree looked fine after I removed the branch. We need upright branches.
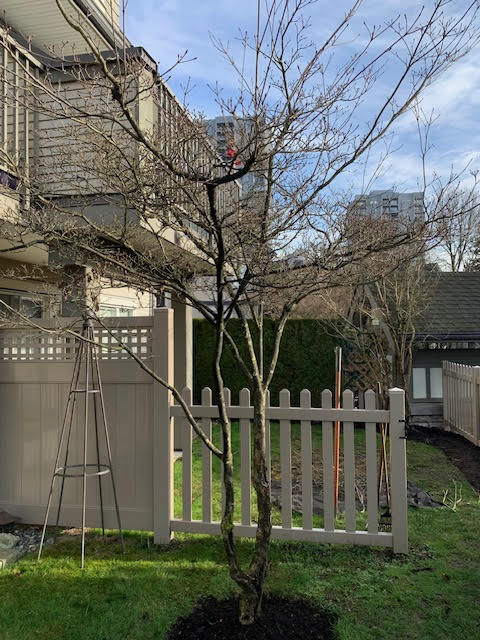
This is the after photo and nobody even notices that the branch is gone. The tree will flower nicely in summer, and the weirdness is gone.
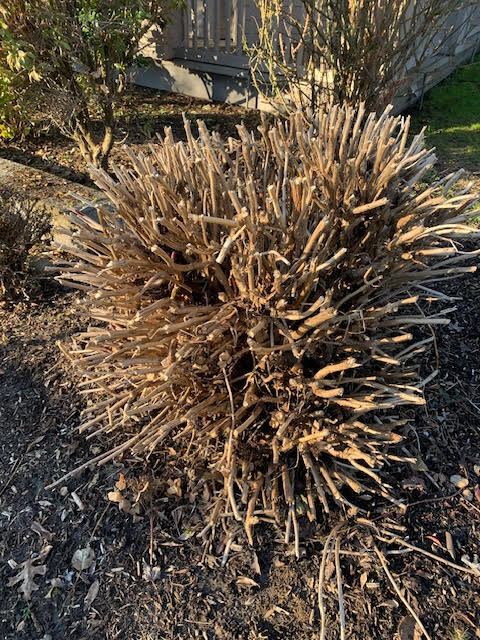
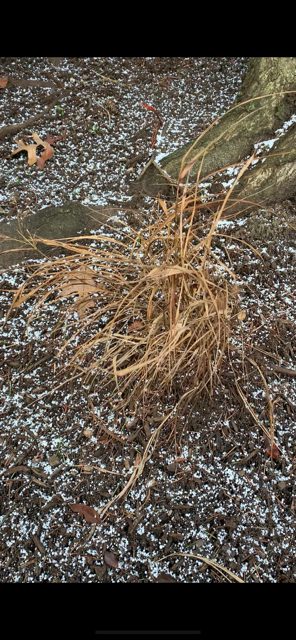
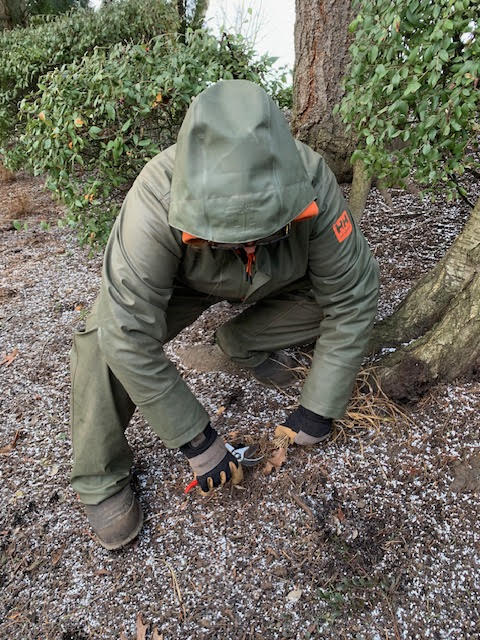
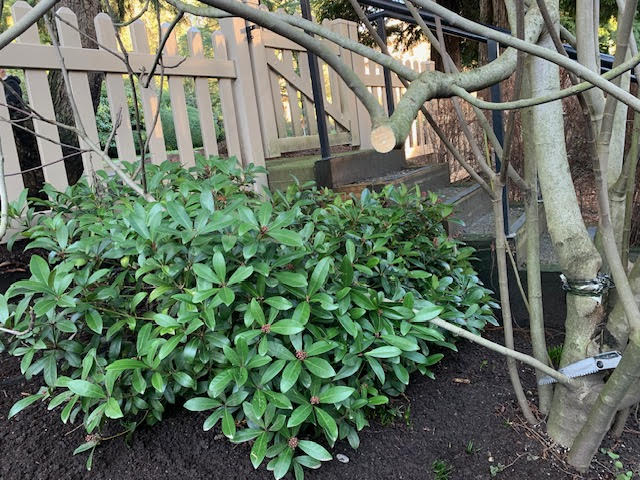
Abused Skimmia
I was in this yard to do finesse work, but when I saw the fig tree taking liberties, I grabbed my hand saw. It took just one cut to solve this problem, but be careful. It’s safer if you make more than one cut, so the weight is off when you make the final cut. You don’t want your bark peeling. I actually held on to the branch as I finished the cut. It worked! And the Skimmia can breathe.
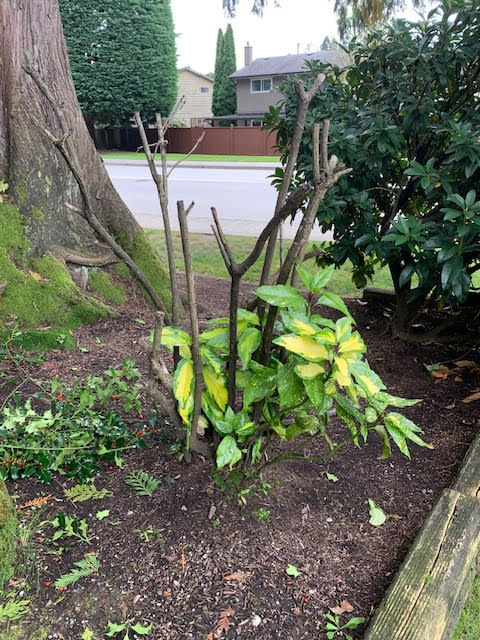
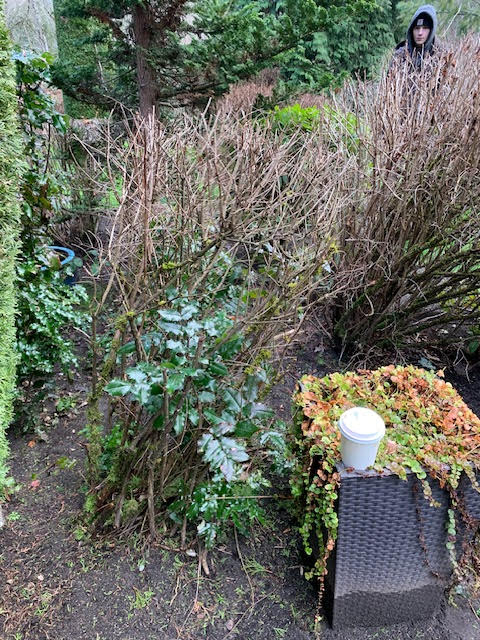
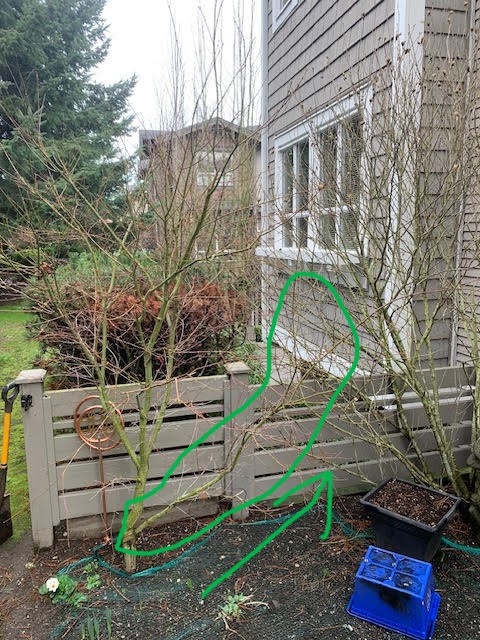
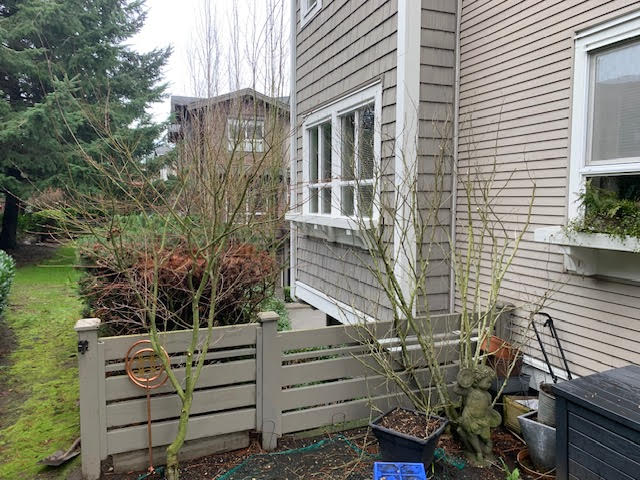
Good neighbours
This was another case of one cut solving our problem. The Vine maple on the left had a low branch colliding with a neighbouring Rose of Sharon. If you ignore it, it will just get worse, so why not cut it out? I made one, good cut and that was it. I also lowered the Rose of Sharon a little bit, and I like the separation we achieved with one cut.
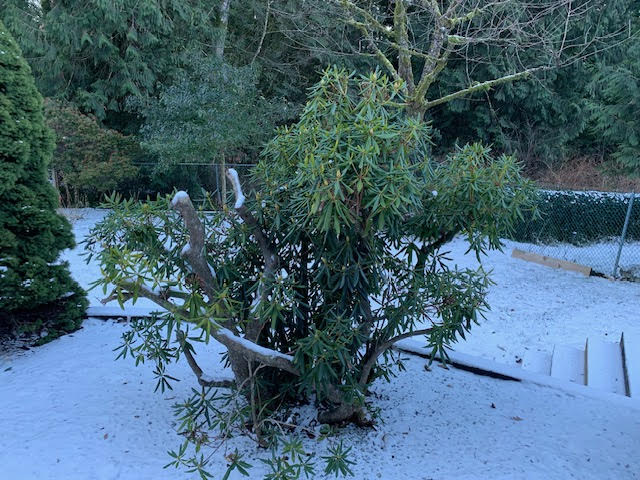
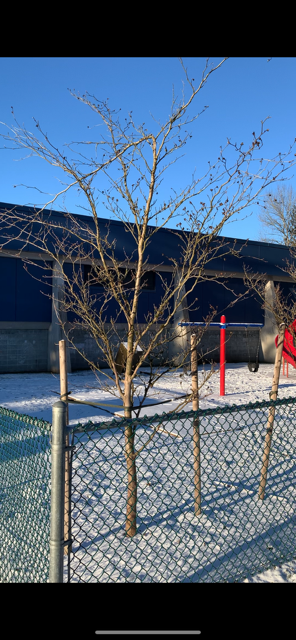
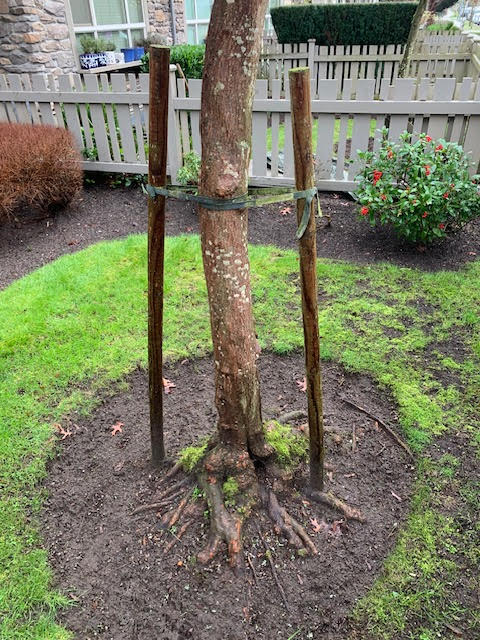
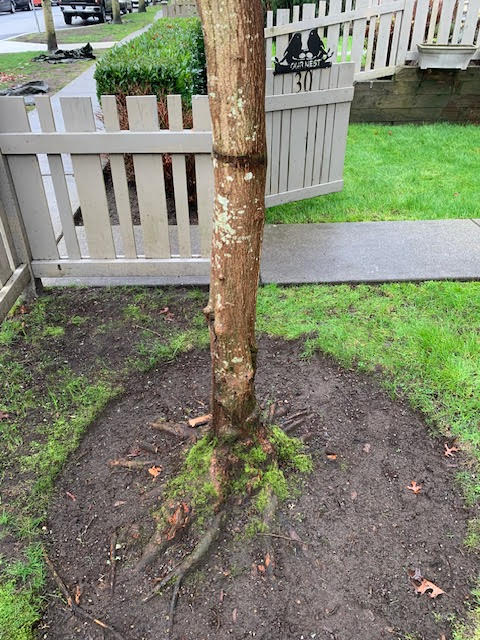
14 months
The landscape standards recommend removing tree stakes after fourteen months. The stake on this Snowbell tree have been there for years probably. Landscapers get busy with lawn care and finesse work, so it’s easy to forget about tree stakes. But not in winter, so we removed them, and the tree looks fine.
Conclusion
Winter is great for checking your trees and making corrections. Trees are dormant in winter, and there is no foliage to obstruct your view. It’s surprising how much you can accomplish with one good pruning cut.