Monthly Archives

December 2017

How to properly cutback spent Rudbeckias

By | gardening, Plant Species Information | No Comments

I love Black-eyed-Susans (Rudbeckias)! There is something mesmerizing about the yellow perennial flowers with black centers, especially when this perennial is mass-planted. But like Japanese cherry blossoms, it’s a bittersweet experience.

Cherry blossoms are beautiful but sadly, they don’t last very long. Just like life. So enjoy the show and be glad you’re alive. Rudbeckias, on the other hand signal the end of summer. Once the flowers start fading you know summer is ending.


19944_1080496548185_6207736_n

Beautiful mass-planted Rudbeckias in Lynn Valley, North Vancouver, BC


Cowboys

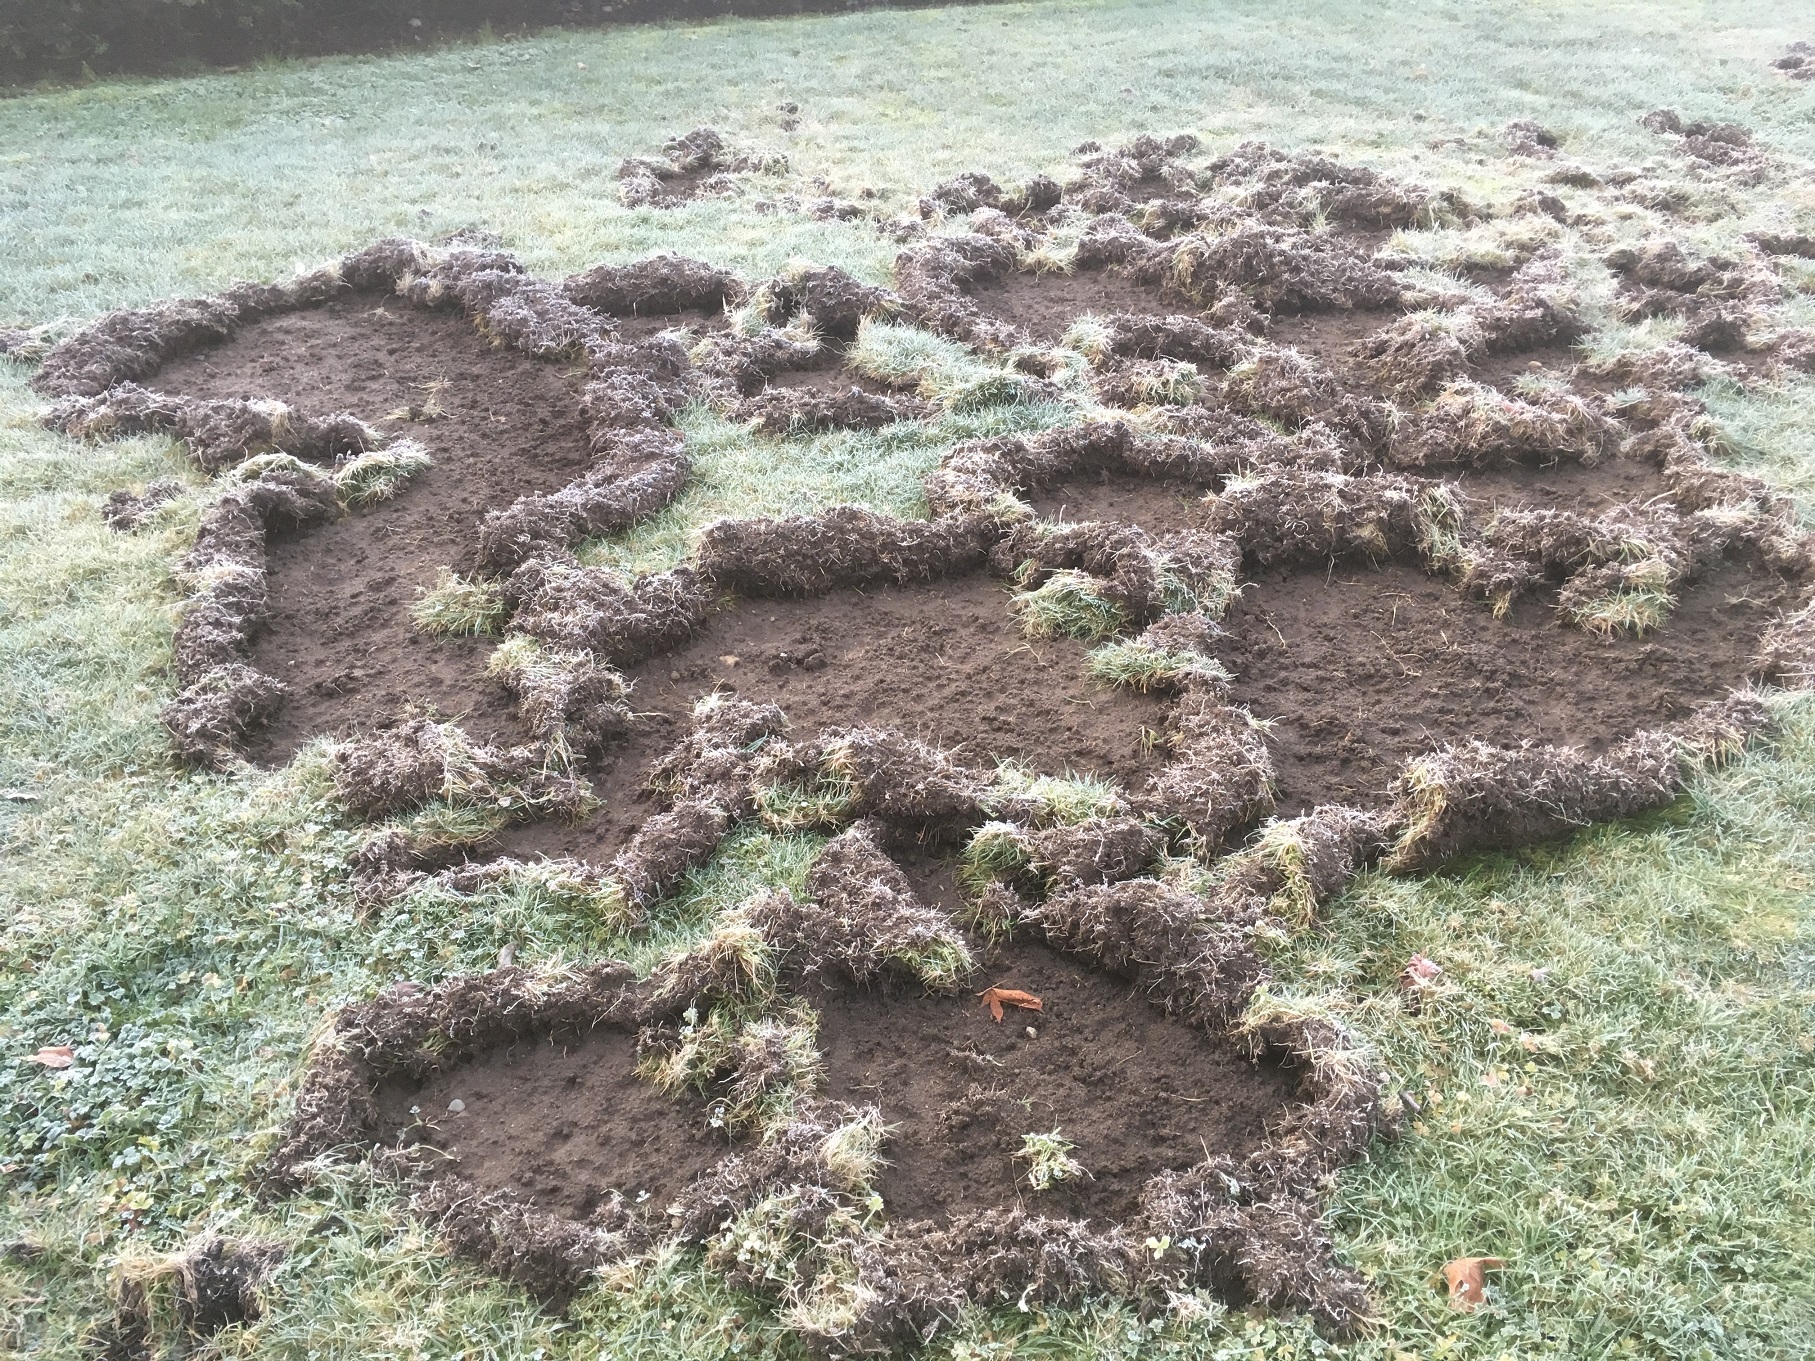
To save time, some landscapers gun down spent Rudbeckia stems with power shears. But since the leaves at the base still look good, the cuts are made high which leaves noticeable spikes. I absolutely detest this practice. And sometimes it gets worse. Landscapers, armed with line edgers, stop at a clump of fading Rudbeckias and proceed to shred the stems. When I witness this on site I openly discourage it. Sometimes I get so excited, I fail to express myself intelligently.


IMG_3460ed

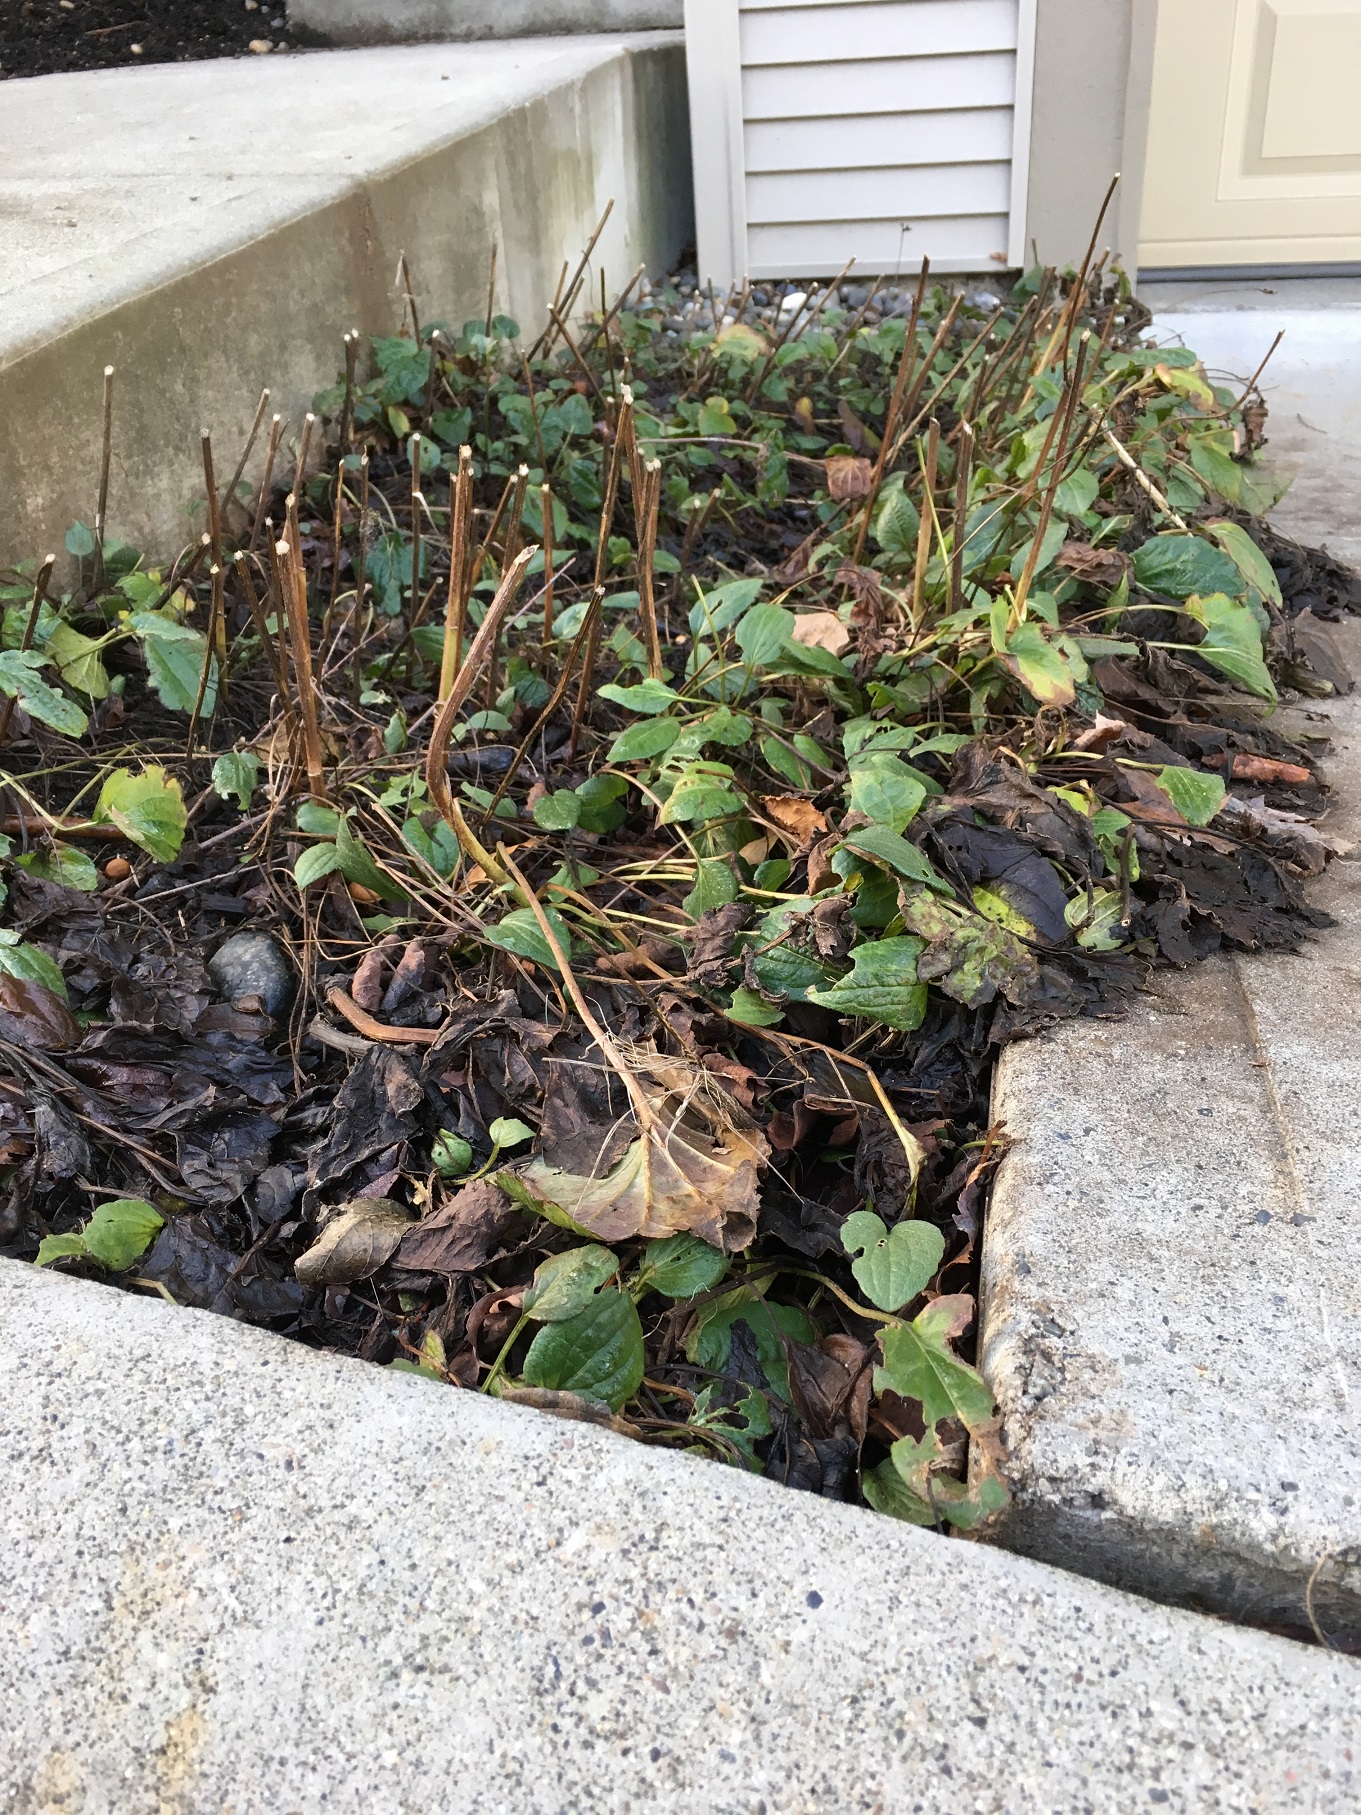
I hate this look. These Rudbeckia stems were sheared in late summer to save time. But once the leaves fade these ‘sticks’ are noticeable. I suggest hand-snipping the spent flower stems so the cuts are hidden inside the greenery. One cut.


Therapy

There is a better way and it hardly takes any extra time at all. And even if it did take a few extra minutes, it’s like top class therapy. More about time later.

It feels great to grab sharp Felco snips on a sunny fall day and dive into mass planted Rudbeckias. You can grab a handful of stems or do it one by one. And note the one important difference: the cuts are made inside the green leafy mound so we don’t get any ‘sticks’ poking up. These ‘sticks’ become even more obvious when the green leaves at the base fade.

I had tons of fun doing it. It was like a thank you job to the Rudbeckias for a great summer show. Minus machine noise and air pollution; and no shredding of stem tissues, just sharp cuts.

Time

If you’re like me and the winter look with sticks poking up bothers you, then you fix it. So really, the quick late fall assault didn’t really save much time. It’s much better to make one nice deadheading cut by removing the stems from inside the leaf base. One cut, not two. And you get quiet therapy to boot. I remember those sunny afternoons well. Sun, sharp Felco snips and gorgeous Rudbeckias.

How do you deadhead your Rudbeckias?

The case of struggling paperbark maples

By | Arborist Insights, Trees | No Comments

I got to see a number of our sites before Christmas because the regular foremen were on vacation. It’s always nice to get a fresh pair of eyes on site, especially before the holidays. Everything must look perfect for the holidays.

One site in White Rock stood out because of its many paperbark maple trees (Acer griseum). They look awesome thanks to their peeling cinnamon coloured bark. So I was stunned when one of my helpers started rubbing off the peeling bark as if the tree was diseased. He clearly preferred a smooth bark look but I doubt the tree appreciated the assault. I told him to stop.

Every paperbark maple on site looked great until I turned the corner into a dead end surrounded by cement walls on three sides. Here we had two specimens of the same maple species and they were clearly struggling. Why?


IMG_3574edIMG_3575ed


A) Lack of light. Trees require sunlight for food production and the setting here is horrific. Since there are cement walls on three sides, this is a shady corner. It’s not a great place for these maples to thrive. And the same goes for the grass. It, too, could benefit from more light.


B) Competition. We already know that young trees planted into turf struggle with competition for resources. And they often lose. If you must plant trees into turf areas then establishing tree wells around them to help them. The tree wells channel water and nutrients into the root zone and they keep machines away.


C) Conflicts with machines. If you zoom in, you will notice bark damage at ground level. I say it’s line edger damage. The kind of damage that could be prevented with plastic tree guards or by establishing a tree well around the tree.

Repeated hits can kill the tree. Here it looks like the trees are using precious resources for repair and stress mitigation instead of growth. Thus the struggling look exhibited by these two specimens.

One other possibility is digging up the trees and moving them to a sunnier location away from lawns. The cement walls could be covered by climbing hydrangeas which are already planted on this site.


IMG_3825ed

January 2018: sporting a new tree well.

Last service day of the season

By | landscape maintenance, Seasonal | No Comments

The very last service day of the season on sites with ten month contracts is a special day. This blog post assumes that everything went well and your contract was renewed. Your strata site looks great and should hold up for two months.

If your contract wasn’t renewed, then, well, there is very little point stressing about your last service day. Most companies only cover basics but it’s important to go out as professionals. You never know, you could get called back.

Last service day

Since we’re close to the holidays, the last service day should cover the ‘beauty strip’. This would include the front entrance, mailbox areas, club houses and front entrances to all units. Residents are bound to entertain visitors over the holidays so the fronts should look good.

You should concentrate on weeding, deep edging and any remaining leafiness. I also like to blade edge all hard edges, especially on boulevard sidewalks. The edging will last for months and it sharpens up the site.

Bed and tree well deep edging should be done at ninety degrees and nothing else. Like the blade edges, these edges should also last for months. Cultivated, weed-free beds give the site a nice sharp look for the holidays.


IMG_3430ed

Note the weeded, cultivated bed and deep-edged tree circle. Personally I would have blade edged the hard edges.


Finally, the entire site should be blown clean.

Your last service day is not a good day for pruning or starting on cedar hedge shearing. If it didn’t get done, then just leave it for the New Year. The last day should leave the site looking sharp and clean so don’t start any new projects. The residents will likely notice weedy front beds over some back unit cedar that didn’t get sheared. You can shear it after the holidays. On this day, think clean.


Beyond the ‘beauty strip’

Note the difference in approach. Landscaping along the ‘beauty strip’ should only be practiced on the last few service days. During the season, it would be a grave mistake. And yet, it happens. Landscape companies cover all of the key, high-profile areas and let other sections “burn”.

I personally detest this sort of discrimination. All good landscape foremen will cover 100% of their sites, even if it has to be done on rotation. Owners of back units are paying the same fees as owners of higher profile units.

If you have any ten-month contract sites, enjoy the two-month break! If you live in a ten-month contract strata unit, enjoy the quiet!


Camellia japonica pruning: timing and technique

By | Plant Species Information, Pruning | No Comments

I heard recently about a case where one landscape maintenance foreman pruned a lot of stuff on his site. Including Camellia japonica full of flower buds. The owner loves her Camellia and she was extremely unhappy about losing so many buds to needless pruning. Oops.


IMG_3427ed

Camellia japonica


Pruning involves correct technique and timing. Normally we use hand snips or power shears and both are fairly easy to use. I prefer to use hand snips whenever possible because they are quiet.

Timing depends on the specific shrub or tree in question and thus requires plant-specific knowledge. That is both exciting and scary. All top horticulture professionals have a lot of plant-specific knowledge which takes time and experience to acquire.

December request

Then this week I helped with the last service of the season at a Port Coquitlam site. And there it was again. Another Camellia japonica and a passionate owner used to enjoying her flower show. And I was ready.

The timing of the request was way off. December is not the right time to prune Camellia japonicas. The only thing I really power shear in December is cedar hedges (Thuja occidentalis ‘Smaragd’).

The proper pruning time for Camellia japonica is in spring, right before bud break, according to my Timber Press book “Essential pruning techniques”.

Camellias don’t really need pruning but this specimen had several shoots sticking up and the owner wanted them pruned. But only those shoots. So I hand snipped all of the shoots down to a bud. It was easy and it didn’t take much time. Power shearing would have been slightly faster but the shredding that occurs is unsightly. Hand snipping works perfectly in this case.


IMG_3426ed

The task was to remove the long top shoots which don’t sport any buds. I made the cuts down to the first bud I encountered.


IMG_3428ed

This is the after shot. The long shoots are gone and very few buds were lost in the operation. Any additional pruning will happen in spring, just before bud break.


Camellia japonicaed

Camellia flowers are stunning and can be cut for home vases. You can see why owners would get upset over losing this kind of show.


Conclusion

Remember to pick-up plant-specific knowledge so not everything on your site or garden is power sheared at one time. Camellia japonica should be pruned in spring, just before bud break; if you must prune it.

Frosty plant identification

By | Species, Trees | No Comments

It was fun to observe some of our common plant species covered in frost. How many of them do you recognize? I suggest you look up any that are new to you and learn more about them.


Acer ginnala (Amur maple)


IMG_3345ed


Viburnum davidii


IMG_3350ed


This is a common landscape shrub in the Lower Mainland. The berries are attractive. Hand prune when required. When it’s this frosty, just enjoy the view.


Skimmia japonica


IMG_3363ed


Symphoricarpos albus (Common snow berry)


IMG_3351ed


This is a native species and birds love it.


Imperata cylindrica (Japanese blood grass)


IMG_3358ed


Hydrangea


IMG_3366ed


Some people deadhead their Hydrangeas and use the flower heads in vases; some people leave the spent flowers on so they have something to look at in winter.


Crocosmia ‘Lucifer’


IMG_3369ed


This perennial should have been flush cut at ground level weeks ago. I don’t find it attractive, even when it’s covered in frost.


Gaultheria shallon (Salal) 

IMG_3364ed


Liquidambar styraciflua (Sweetgum)


IMG_3355ed


This is a common landscape tree and a nice alternative to maple trees.


Parrotia persica (Persian ironwood)


IMG_3357ed

This is an attractive landscape tree with great fall colours.


Cotoneaster salicifolius var. floccosus (Willow-leaf cotoneaster)


IMG_3368ed


Ophiopogon planiscapus ‘Nigrescens’   (Black Mondo grass)


IMG_3353ed


What plants did you notice on your walks and in your own gardens?

How to pimp out your boulevard tree wells

By | Arborist Insights, landscape maintenance, Strata Maintenance, Trees | No Comments

Sometimes you look out on the boulevard at your strata site and the tree wells look a bit tired. But it doesn’t have to be that way. With some tools and a bit of soil amender you can quickly pimp out your tree wells and make them look great before the holiday season hits.


IMG_3329ed

This looks a bit tired.


Step 1

First we grab a nice sharp spade and we deep edge the tree wells. The spade must hit the edge at a ninety degree angle. Nothing else will do.

As for the depth, it should be deep enough to anchor the new soil that’s coming in but not too deep. We’re not building ditches although I have created some ankle-busters in my past. Soil conditions will sometime dictate the appropriate depth.


IMG_3330ed

Acer griseum tree well. You might as well remove the tree guard.


Step 2

I know, most people dread this step but we have to weed the tree wells nicely. Use a good cultivator and when you remove the weeds also grab the chunks from step 1.


IMG_3331ed

Nice and clean. The ground was a bit frozen so weeding was a challenge.


Step 3

Next, install good quality soil amender and pile it on nicely. Remember, it will settle so don’t worry if the tree wells look a bit puffy. This step gives you an instant upgrade because the fresh black soil looks great!

Warning: do you remember what a doughnut looks like? That is exactly what the soil around your tree should look like. Find the root flare and make the new soil level with it. Then build it up and taper it off as you hit your new deep edge.

Why? Because piling soil above the root flare leads to problems. For some reason, people love building soil pyramids at the base of trees. But it’s a common mistake. The bark above the root flare isn’t supposed to be in a dark, damp environment and it can over time rot. This in turn invites disease in.

Another potential problem is adventitious roots developing above the root flare inside your soil pyramid. There the roots start to circle and they can over time girdle the tree.

So remember, don’t create soil pyramids. Think doughnuts!


Step 4

The last step involves clean-up. Especially the grass edges of your new tree wells. Blow them off gently.

That’s it. Now your clients can enjoy beautiful boulevard tree wells on their Christmas holiday walks.


IMG_3339ed

All done! Weeded, edged and top-dressed. This is my kind of tree well.

European chafer beetle battles: December damage

By | Lawn Care | No Comments

I am seeing lawn damage related to European chafer beetles all over the place. Today we discovered a nasty patch of grass in Port Coquitlam. And considering the size it must have been done by raccoons, not birds. They must have enjoyed eating the grubs in early December when not much else is available. And it’s just as well. Let them eat all of the grubs.


IMG_3315ed

This isn’t exactly what you want to see three weeks before Christmas. This was done by larger animals, most likely raccoons.


Shock!

It’s the residents that are in shock. Then they rush to their laptops to pen angry missives to strata management companies which, in turn, call on their landscape contractors for help.

So what can we do? Not much in December. We kicked back the messed up turf as best as we could.


IMG_3327ed

Once the sun came out we kicked back the rolled up chunks to make the area look more presentable.


Action!

In spring, you can top dress the messed up spot with a thin layer of lawn mix soil and over seed it with good quality seed. Then, follow the steps outlined in municipal handouts.

First, aerate the lawn so more water and oxygen can reach the root zone. Second, water your lawn properly; and three, cut your lawn a bit higher. Fertilizer applications are also recommended.


Nematodes

If your lawn areas aren’t excessively big, you can try applying nematodes in late summer. I recommend this to all clients who have never tried it. What can you lose? Some cash.

Order your nematodes in spring and once they arrive, store them in your fridge. The application should happen in late summer in our Tri-Cities area.

In summer, the chafers emerge from lawns and fly into tree tops to mate. Then, the females descend back to lawn areas and stick their behinds into available turf. Long, healthy grass is more of a challenge. You can always hope that they will target your neighbour’s weak lawn.

The microscopic nematodes must be watered into your wet lawns just as the grubs start growing.

I tested nematodes at one residence in 2016 and the lawn was clear on my last visit in November 2017. I will do more follow up at this client’s place because he opted out of a second application in 2017. The drawback with nematodes is that they should be applied every year. But still, I prefer one nematode application to more soil and seed installations.

Of course, there is hope for people who give up on their lawns. Alternatives exist. You just have to pick one that makes sense on your property.

As we head towards Christmas, let the animals enjoy their grub feasts and then clean up your lawns as best as you can.


Notes on leaf blower wars

By | health and safety, landscape maintenance | No Comments

As a member of various Facebook lawn care and landscaping groups, I often run into interesting discussions. But recently I read about an outright war in Newton, Massachusetts. A local resident named Karen Bray is working on banning leaf blowers from Newton.

I don’t want to repeat the entire fight in this blog post. You can easily Google it. So let’s just say that Karen Bray hates leaf blowers; and local landscapers don’t care for her opinions. The rest is fun tabloid stuff.

The key argument is that leaf blowers emit fine particulate matter that lodges in the lungs of kids and blower operators. I’m not a doctor but this could definitely be true. For this reason I prefer to blow solo. When 2-3 workers blow at the same time it’s a mess.

Since leaf blowers come up once in a while, it might be good to share my personal thoughts.


IMG_2521ed

It would take significantly longer to clean up leaves on this site without blowers.


Strata leaf blowing

Large strata properties would be difficult to maintain in the fall without leaf blowers. Sometimes there are three workers blowing together which wouldn’t make Karen Bray very happy. But the fastest way to clean-up leaf avalanches is to blow them into piles. And for every Karen Bray, I know a strata owner who wants every single leaf cleaned-out. The same goes for building maintenance workers. They love leaf blowers because without them debris would get dragged inside their buildings.

Without leaf blowers strata landscape maintenance costs would either go up or service standards would go down. It just isn’t practical to send five workers out with brooms and rakes. Usually there is a lot of work to be done in a day and the crews are under pressure.

There are some strata sites that demand a later start. So instead of starting machines at 8am, we start at 9am. This allows the crew to perform other tasks such as bedwork; and the residents with night shift jobs get an extra uninterrupted hour of sleep. No big deal. No fights on Facebook.

Residential leaf blowing

Because most residences are smaller, there are things you can do when you encounter opposition from the neighbourhood. You can start your blower at a normal time and you can use the smallest backpack blower for noise sensitive environments.

I use one because I couldn’t afford to pay for a big $700+ machine. And it’s worked out fine. It handles fall clean-up just fine. Obviously, the extra power would be nice when I have to clean-up pine needles, for example.

Leaf blowers have been successfully pushed out of Vancouver’s West End but I don’t know how that affected the neighbourhood and their landscapers.

We also have silent gardeners offering services for people like Karen Bray. I’m sure their clients have to pay more and chances are they are happy to do it. It’s probably a good niche.

Blower-free 2014

I personally don’t care for leaf blowers. It’s a necessary evil. I find the noise annoying when I’m not personally blowing. When I blow, I just notice the work. In 2014 I worked under a municipal gardener who barely used a blower all season. And I confess, it was glorious. Whatever mess we made we swept up with brooms. But again, this was gardening NOT strata maintenance. So we mostly covered planted beds. Grass crews covered work that required heavy blower use.

Conclusion

In conclusion, I believe that the leaf blower wars are over-the-top. Yes, the noise is annoying. All landscape companies should do their best to blow at decent hours of the day and just long enough to get their work done. Smaller backpack blowers for noise sensitive environments are available. Some mess could be raked out and broomed.

Strata complexes tend to be larger in scale and, considering the amount of work to be completed, it isn’t practical to use rakes and brooms. There is often great pressure to complete a lot of work quickly.

I’m certain that any leaf blower bans would lead to either higher maintenance costs or worse looking neighbourhoods.