Monthly Archives

March 2017

Leafout in a changing climate

By | Reviews, Seasonal, Species | No Comments

Once in a while I find a good article to read when I browse through my favourite Chapter’s Indigo store. Last spring I picked up a copy of American Scientist, volume 104 (March-April 2016). I was totally intrigued by a story titled “Spring budburst in a changing climate“.
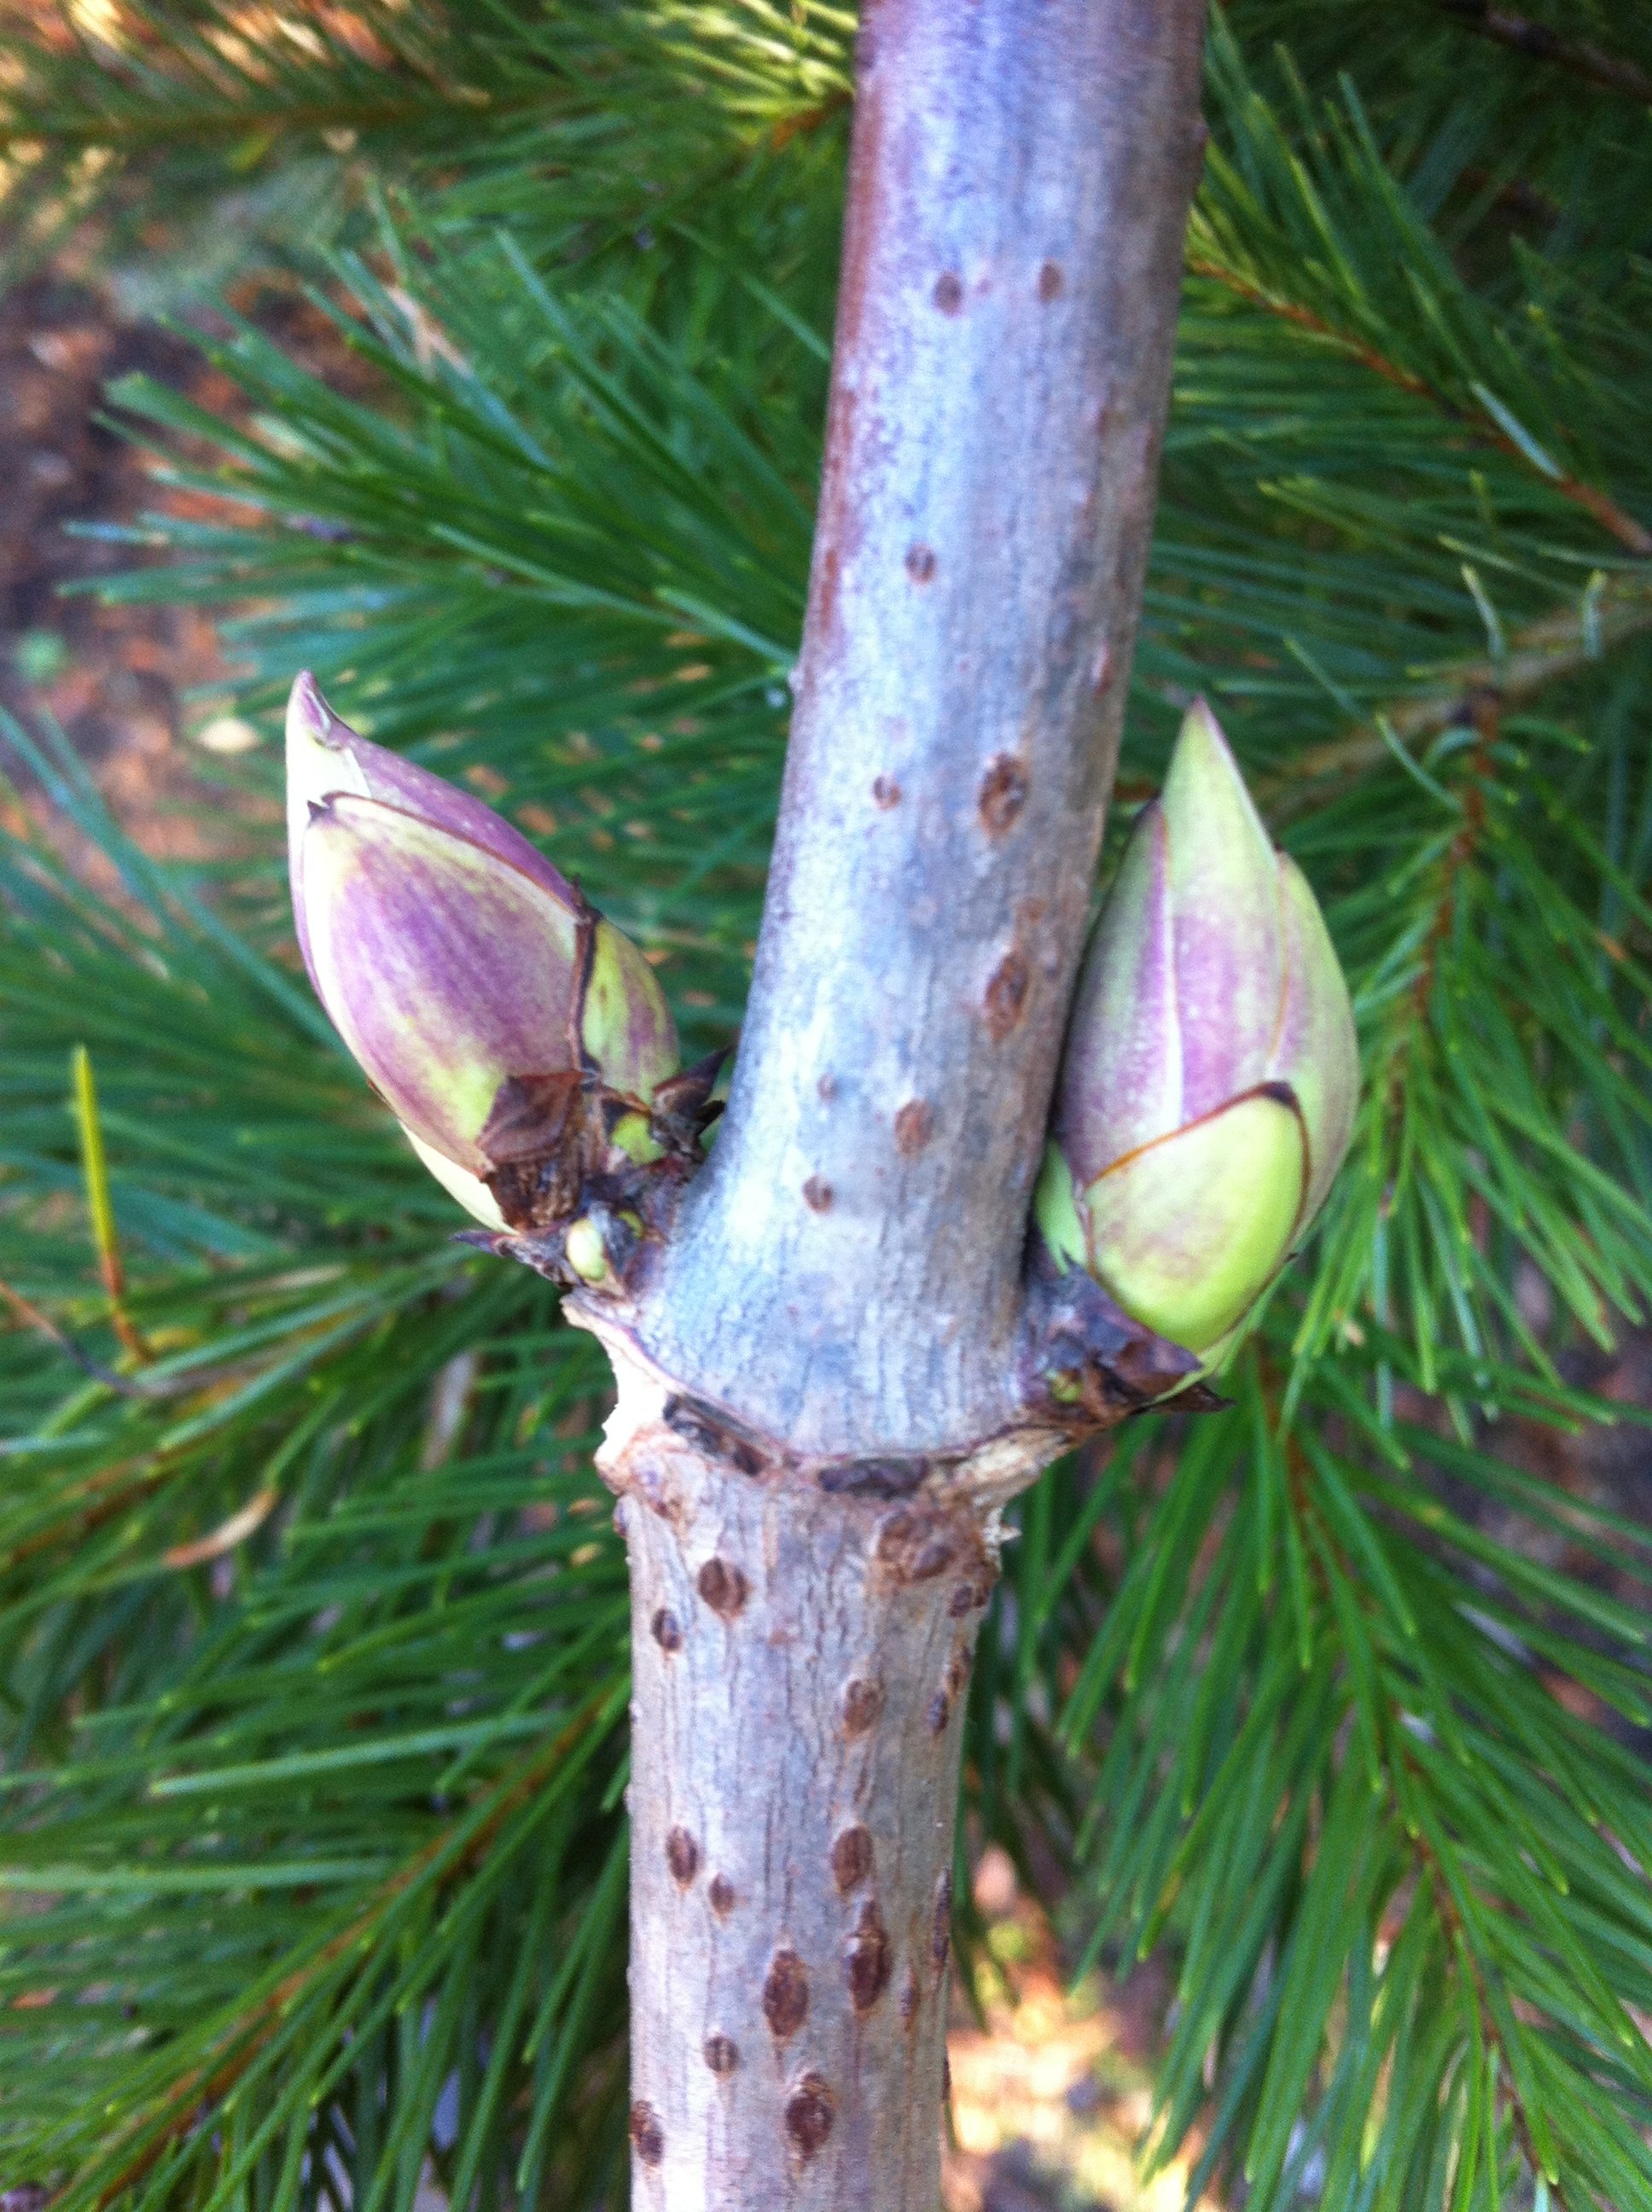
Budburst

Budburst isn’t as extensively studied as flowering times. We  know that trees respond to spring temperatures. As it warms up leaves emerge out of tree and shrub winter buds. What isn’t as well known is that man-made climate warming is affecting when leaves appear on trees and shrub and when they drop to the ground. Even less known is how budburst timing affects birds and insects, entire ecosystems and humans.

Leaf functions

Leaves play a critical role in photosynthesis. They absorb lots of carbon dioxide from the air and convert it to carbohydrates through photosynthesis, which are then transferred into wood and roots.

As new leaves emerge in spring and start photosynthesizing, global CO2 levels decline. Leaves also release water during this process which affects local climate and rainfall patterns.

Leaves also provide food for caterpillars, deer and other herbivores and they provide cover for birds and other wildlife.

Thoreau’s Concord

It was in Concord in 1850s that Henry David Thoreau observed local plants and it was at Walden Pond that he wrote his classic Walden work. What I didn’t know was that Thoreau kept a record of leaf-out times for 43 woody plant species. So the study authors did their own research to compare the leaf-out times now to 1850s. And as expected, the mean date of leaf emergence has shifted from May 8 in Thoreau’s time to April 20 in recent years.

No big deal?

Eighteen days may not seem like a huge difference but it actually is. Consider the caterpillar which is used to eating young tender leaves. Now when he emerges, ready to eat he may be encountering older, tougher leaves. This could affect caterpillar populations and consequently, bird populations as birds arrive and look for caterpillars to eat.

Species differences

Since different species use different cues for budburst, a warming climate will affect each species differently. In some cases, warmer climate could help invasive species proliferate. One example is Japanese barberry (Berberis thunbergii) which has minimal or no winter-chilling and day-length requirements for leafing out. It will push out new leaves after a week of warm weather. It forms thick stands that compete with native trees.

If native trees wait until late spring to leaf out, some invasive shrubs could increase their competitive advantage.

Late frosts

Another potential problem could be late frosts. As trees and shrubs push out their leaves earlier than usual they could be damaged by late frosts. Back to the Japanese barberry. This invasive species in North America combines early leafing out with a high degree of frost tolerance.

This article is worth studying in its entirety. The potential mismatches between tree and shrub leaf out and insect and bird feeding could create huge ecosystem problems. And it’s already happening.


IMG_2252

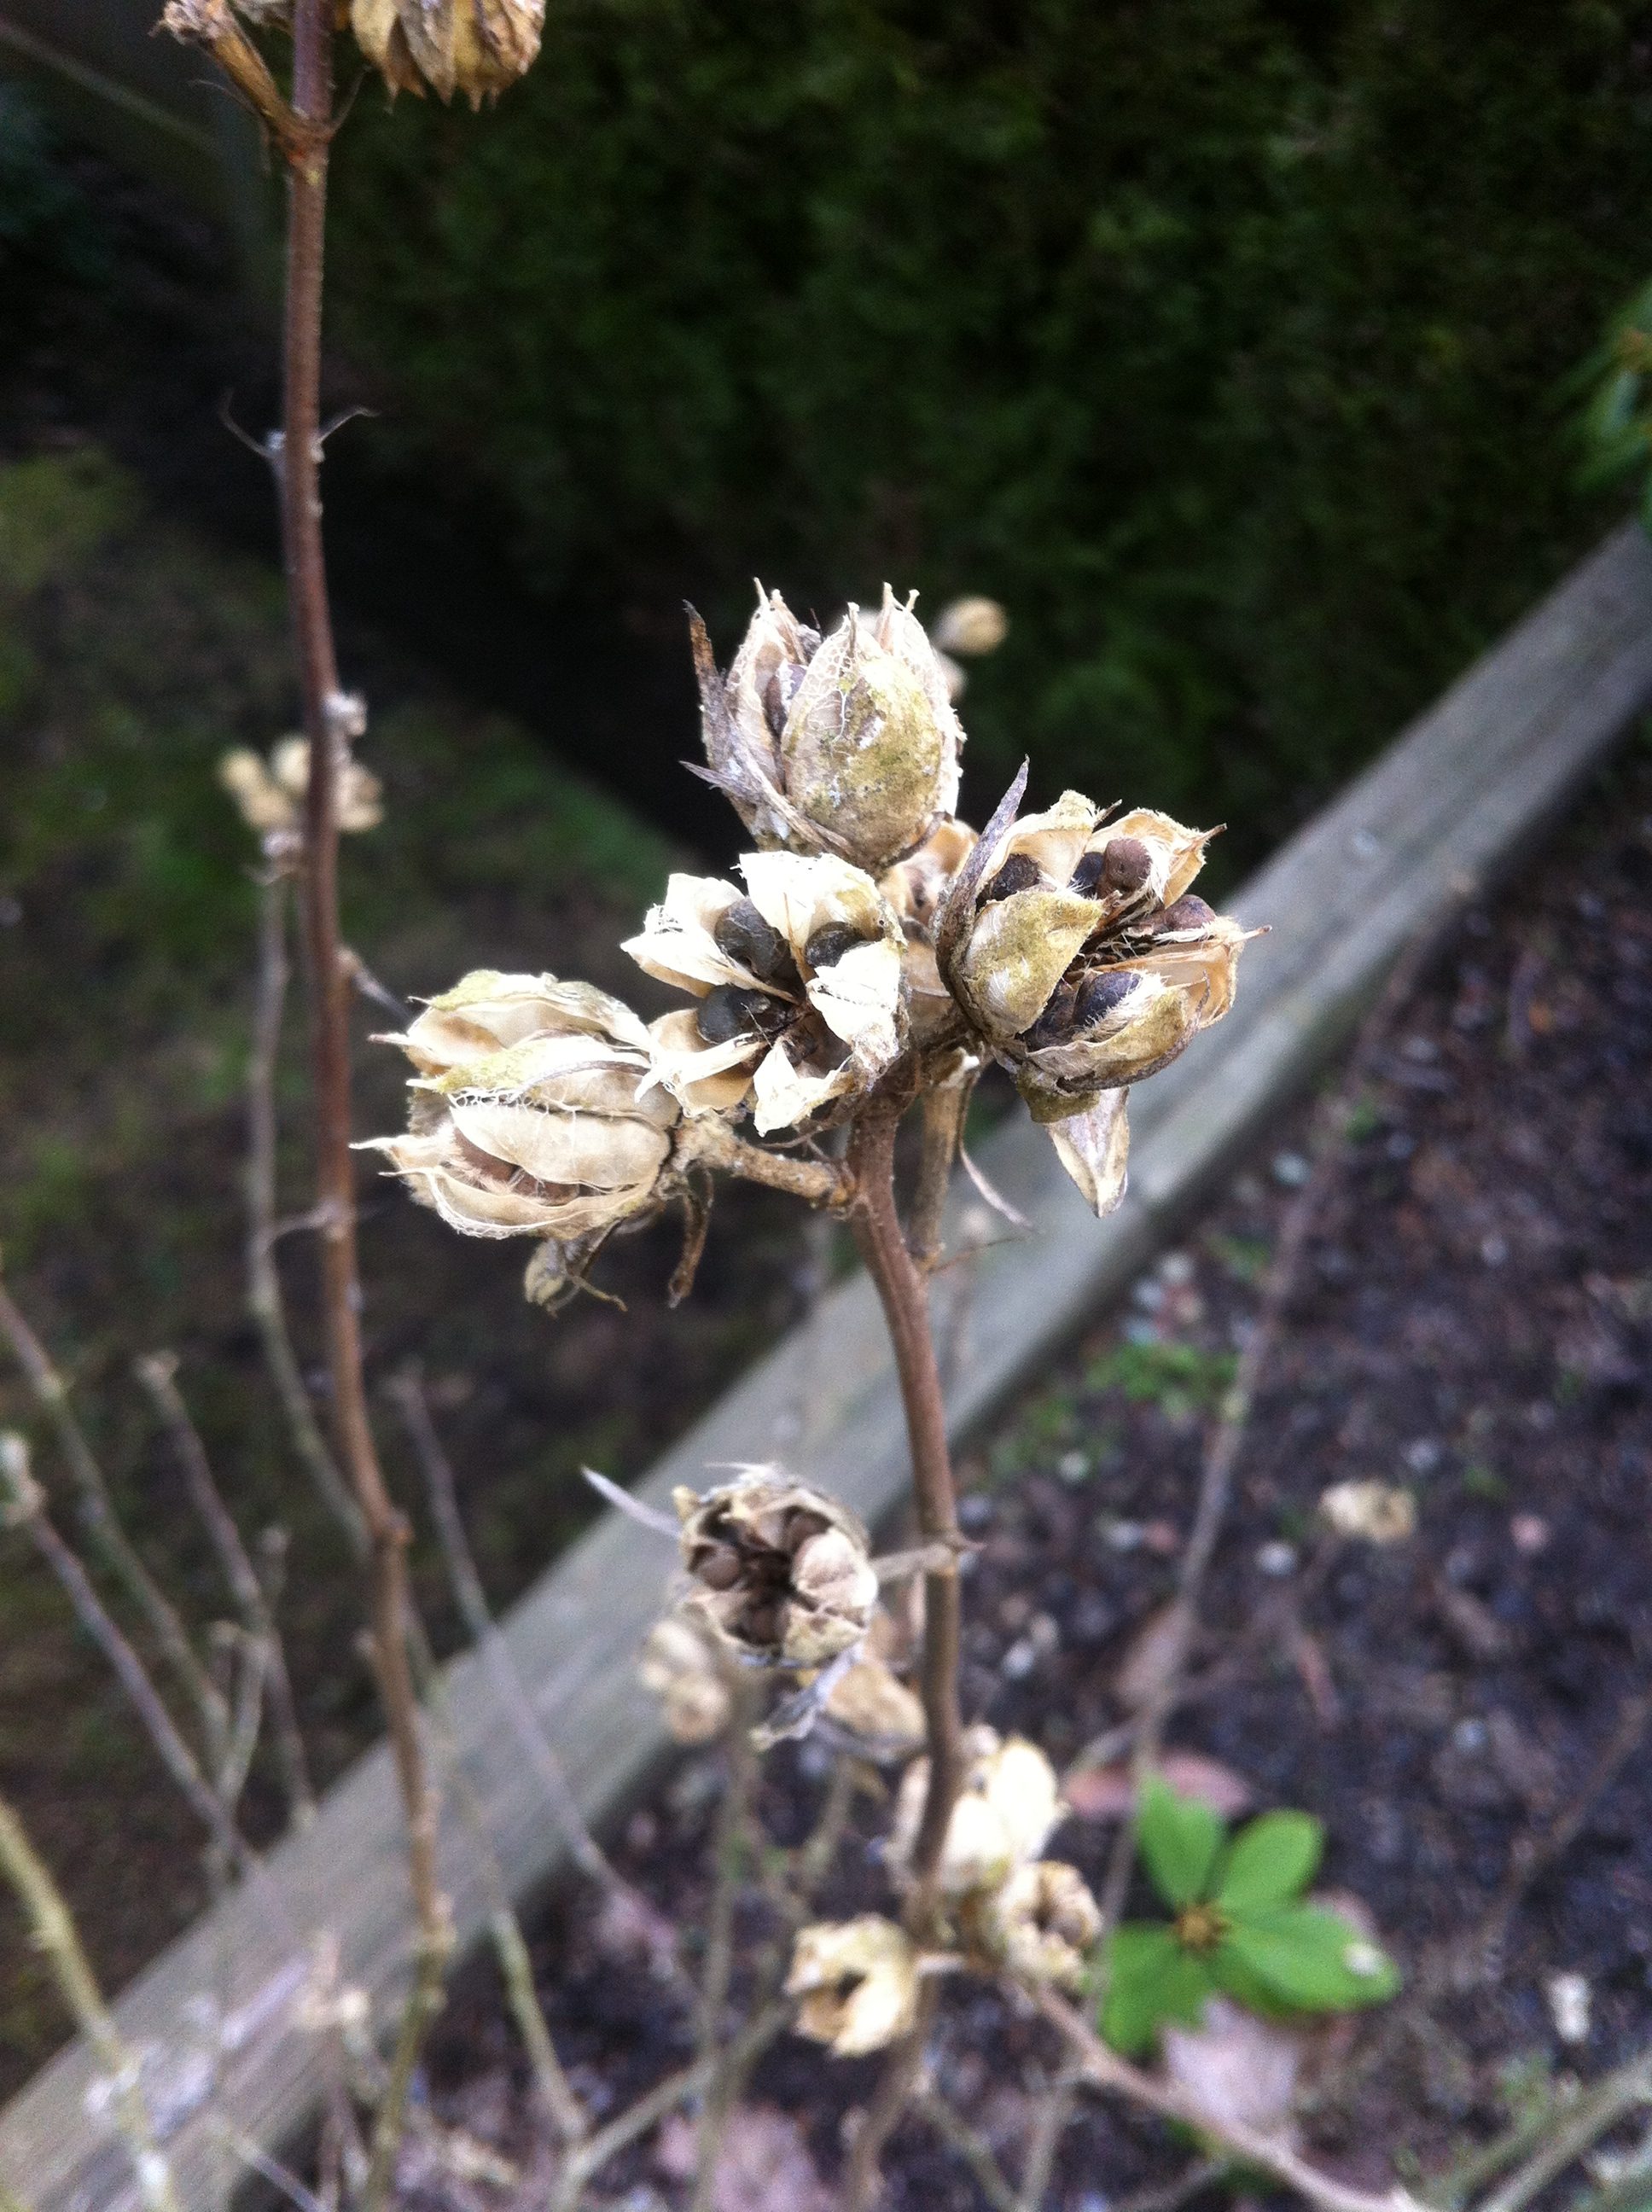
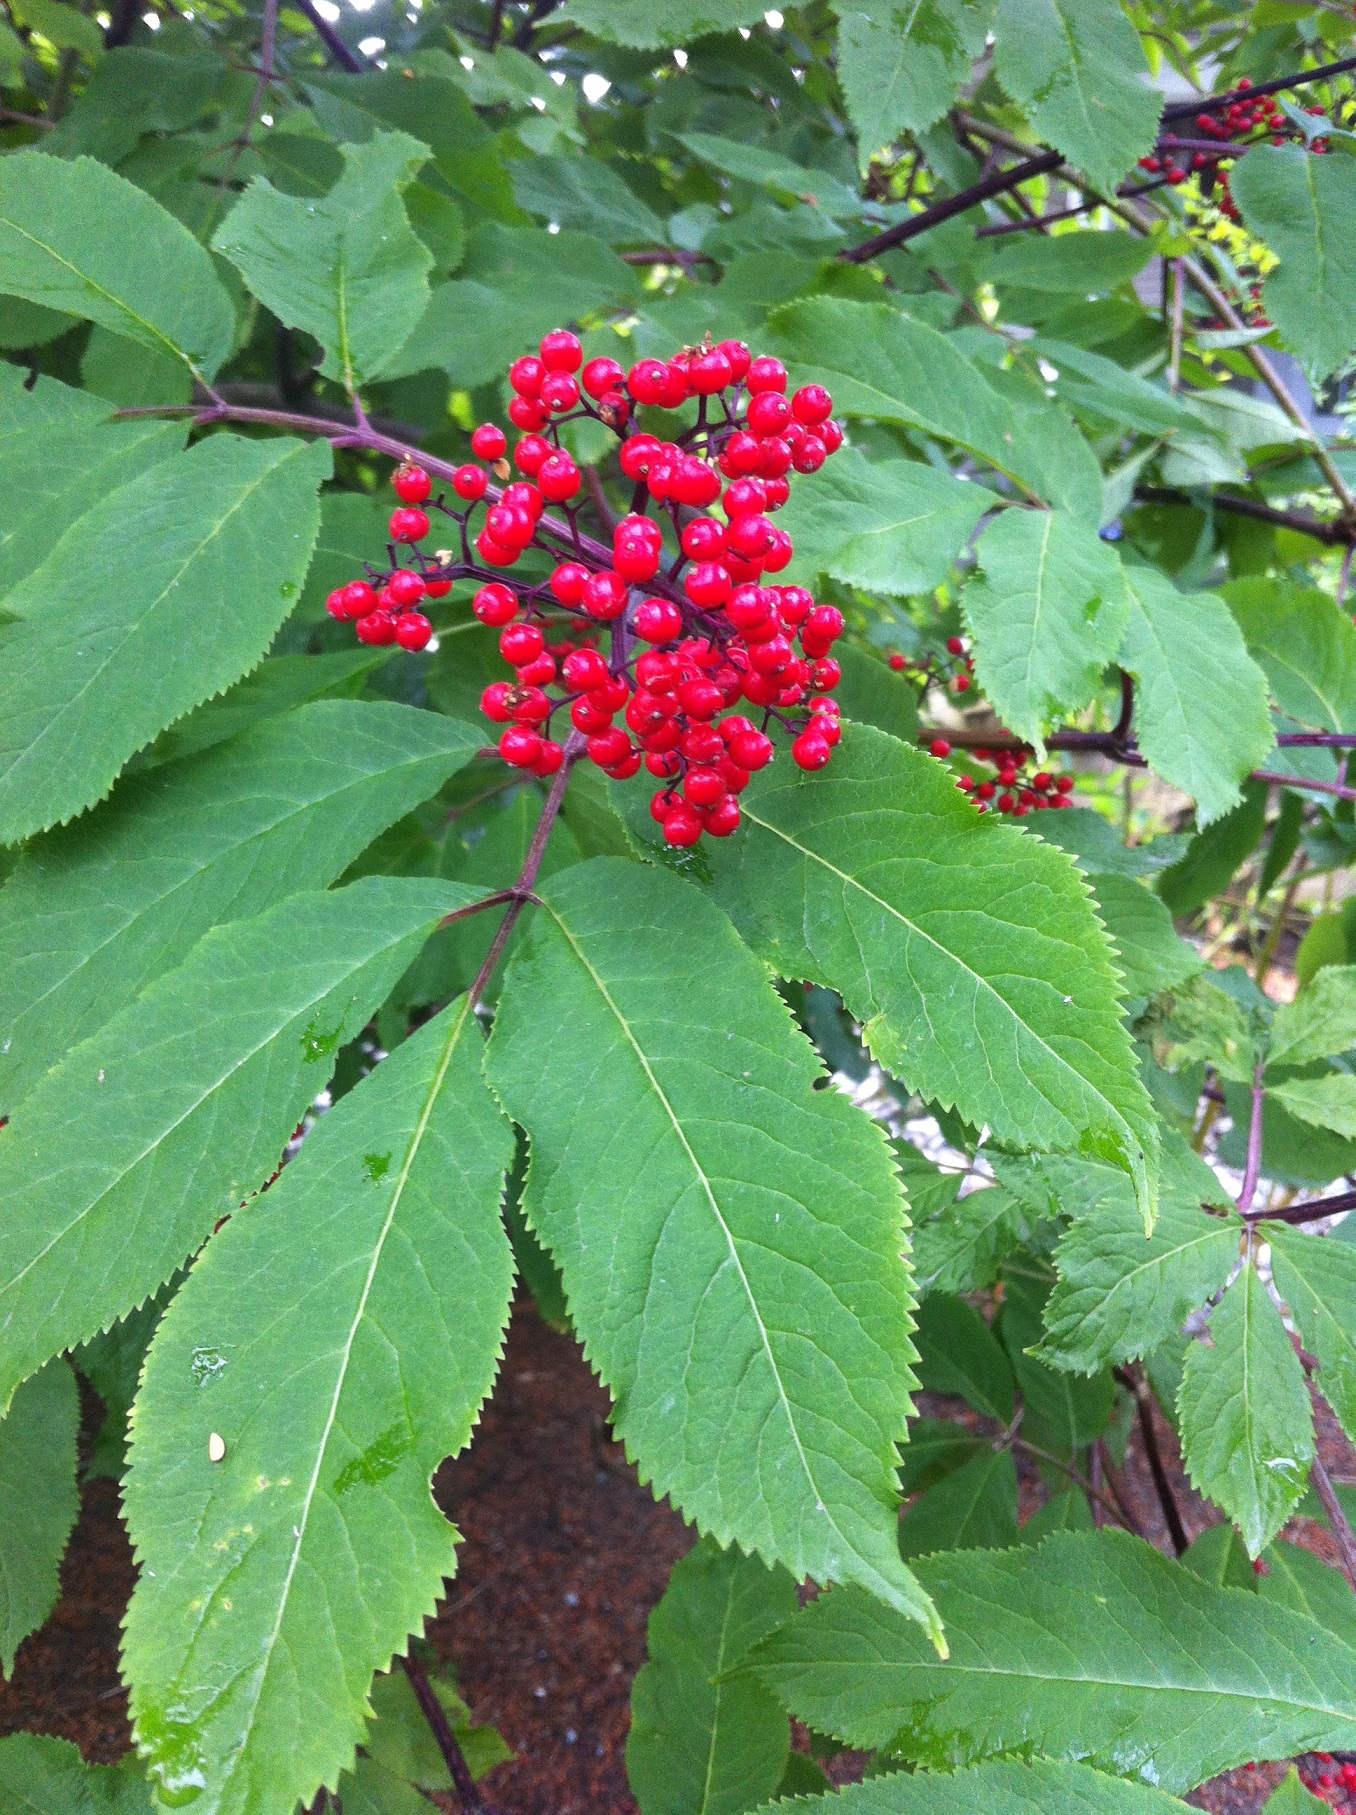
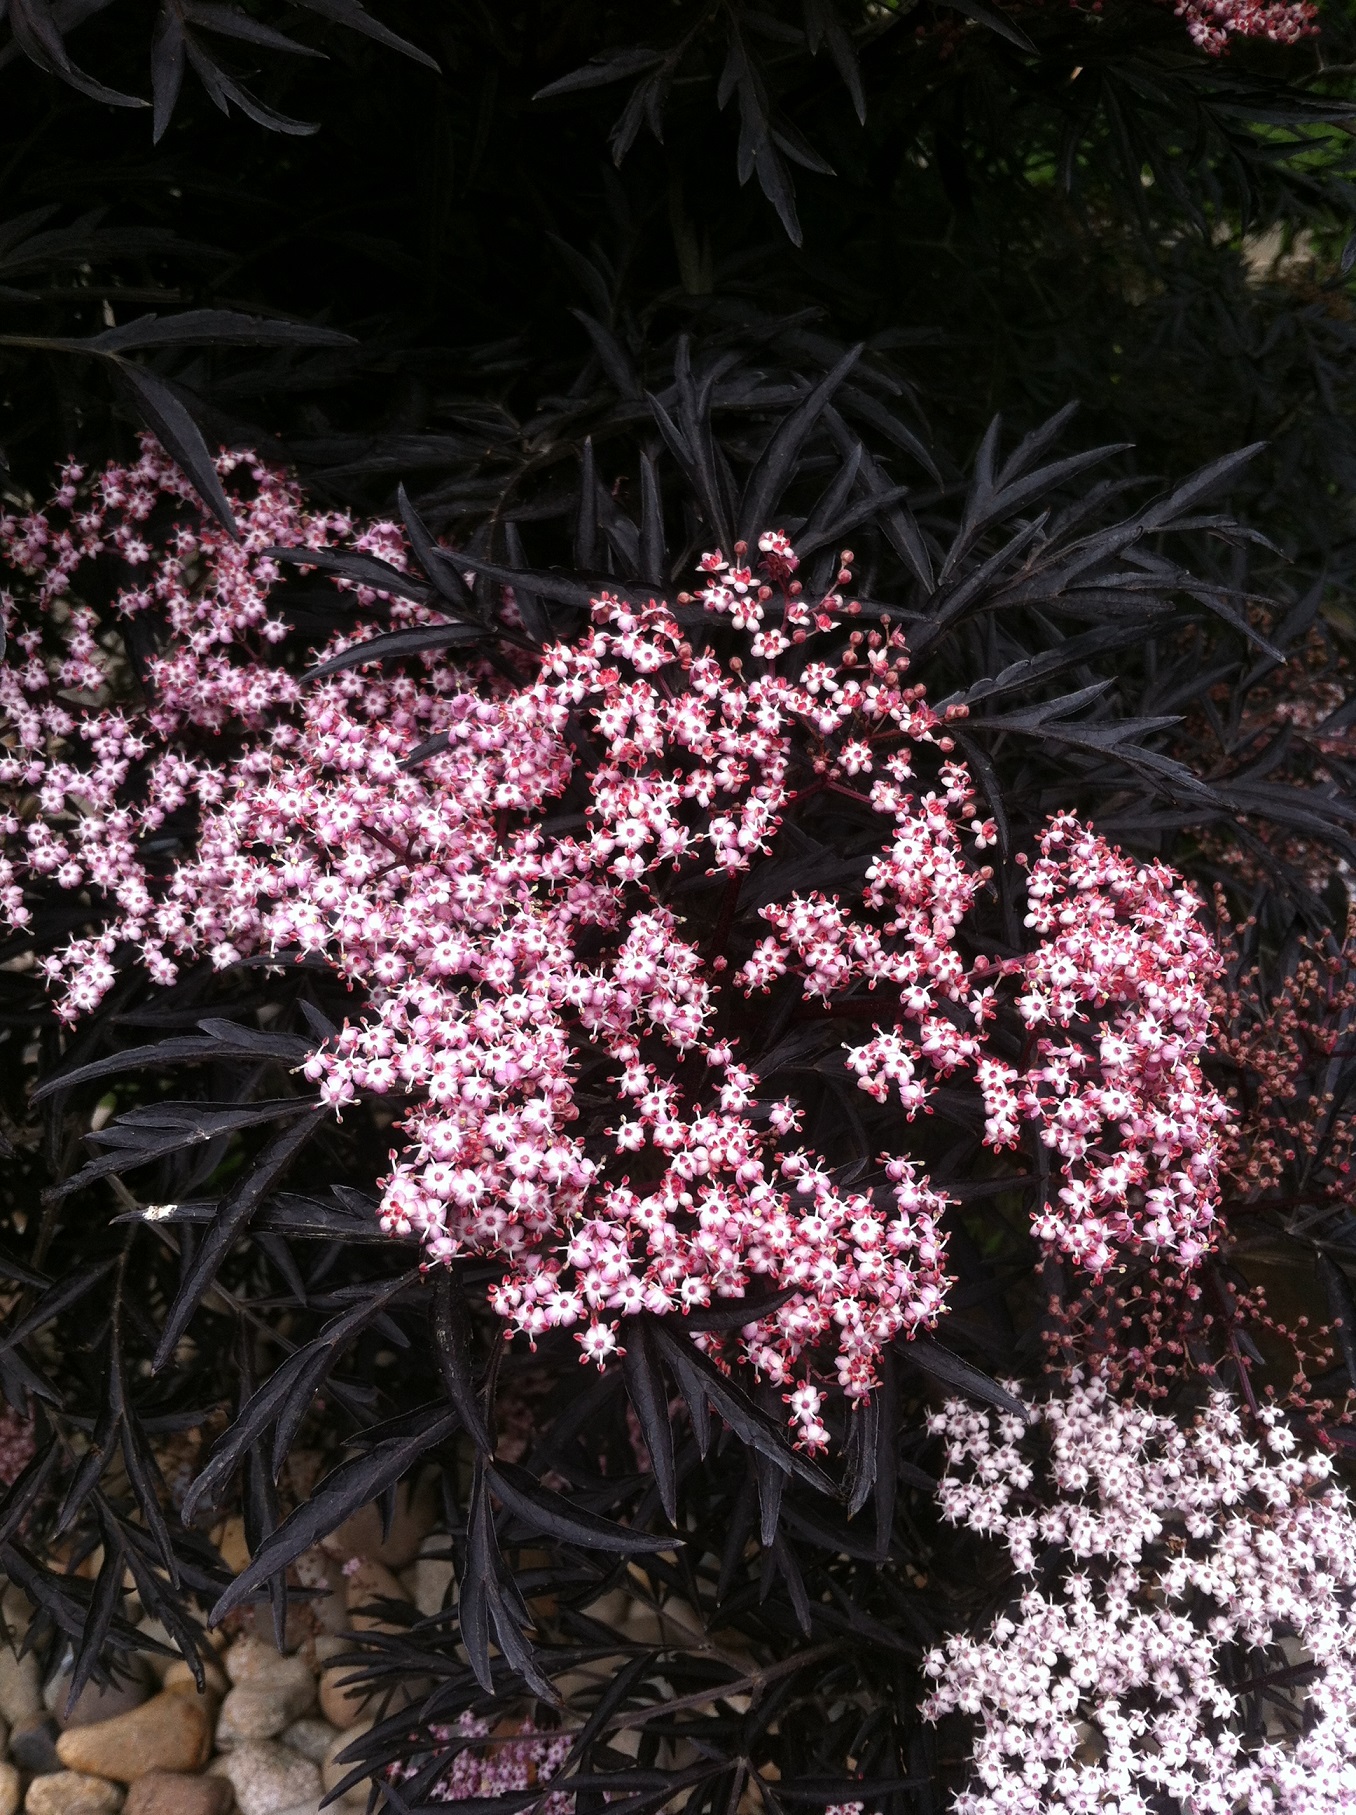
Budburst in our native Sambucus.

How to achieve privacy with yew hedging

By | landscape maintenance, Strata Maintenance | No Comments

Privacy is a huge issue at some multi-family strata complexes. One way of achieving privacy is through hedging. This then was my task late in March. I’m not sure why the previous landscape maintenance company didn’t complete this project. It was clearly near the top of the strata list. It took me one day to complete it. I hope the residents appreciate their new privacy.

Step 1 Supplies

The first step obviously involved shopping for supplies. I picked up pre-ordered yews (Taxus x media ‘Hicksii’) at Specimen Trees in Pitt Meadows, a wholesale tree and shrub supplier. I love this place because it’s full of labelled trees and one of friends works there. Since it rained heavily, off-roading in my company truck was a huge bonus.

I also picked up a yard of soil amender. KEY: always top-dress your new installs for instant great look and to give the new plants a nice ‘kick’ with fresh soil.


IMG_2541

Pre-ordered yews at a wholesale nursery


Step 2 Bed preparation

This step was fairly easy because there used to be a row of cedars providing privacy; until they died. This meant that the new grass wasn’t as established and the soil underneath was good. KEY: Considering the recent summer heat wave and winter snow load damage done to our landscape cedars (Thuja occidentalis ‘Smaragd’), companies are switching to sturdier yews (Taxus x media ‘Hicksii’).

First, establish a deep edge line with a ninety degree edge. Then, dig up the turf and remove it. Warning: not all facilities consider grass chunks as green waste so ask first. It’s still fairly cheap to dump it but make sure it’s on the correct pile, especially if there are rocks attached.

Complete your bed preparation by levelling off the soil.


IMG_2543

Establish deep edge.


IMG_2545

Remove all grass chunks.


IMG_2548

There used to be a cedar hedge here so the soil is fairly good.


Step 3 Yew install

I set out all twenty yews in the bed to make sure the spacing was correct. Then I installed the yews one by one. Each yew was treated the same exact way. Each plant was set in the hole and positioned so its best side faced the walkway. Who wants to look at stems? Make sure the plant is nice and green and full on the high-profile side.

Next, cut the string and remove it. Also remove the top third of the burlap. Then plant the yew slightly higher in the hole because the root flare is slightly hidden in the clay root ball; and remember, we will be top dressing everything at the end.

KEY: Backfill your planting holes with the original soil. It might be tempting to use the nice new amender from the truck. Don’t do it. Water will find it easier to enter the planting hole, it will waterlog and your yews will fall down like joysticks. Always use the original soil for back filing.


IMG_2549

Set it out and check for correct spacing


Step 4 Double-check and top-dress

Almost done! Double-check every single yew for positioning and then top-dress with soil amender. KEY: Make sure the plant root flares aren’t covered in inches of soil. Install the soil so it doesn’t cover the root flare. Then, touch up your deep edge, collect any debris or garbage and do a courtesy blow.


IMG_2553

All done!


Conclusion

Projects like this can be very satisfying. The residents get some privacy back and your helpers get to break their landscape maintenance monotony. The yews should perform better than the original cedars.


Lawn aeration: start with why

By | landscape maintenance, Landscaping Equipment, Lawn Care | No Comments

My introduction to lawn aeration wasn’t the best. My employer at the time, a prominent Lower Mainland landscape maintenance company, forced me to aerate roughly one half of their many strata properties. Incredibly, nobody even told me why we were putting holes into lawns. And the days were so busy I forgot to ask. I was that new to landscaping. It usually took two crews three weeks to aerate all of the properties.

Start with why

Now, many years later, I get to train new workers in the field. Before they even got to touch the lawn aerators, I made sure they knew why they were doing it. Armed with this knowledge, their physical punishment is easier to take. It also limits corner cutting. Once the dudes get tired, the number of holes and their depth decline. Don’t let up. Push on.

The one best thing

If you don’t do anything to your lawn all year, definitely aerate it in spring. Aeration allows air and water to reach the grass root zone which improves growth. Leave the cores on the lawn. They will disappear in no time.

Home owners without regular landscape service will probably get a knock on the door from a young guy with a pamphlet and machine in the driveway. Most strata landscape maintenance contracts include this service automatically with lime application.


photo 5 (6)

Aerated lawn. leave cores in place


Hands vs machine

If you have a smaller lawn you can easily hand-punch it with a hand core aerator. I love the Fiskars model because it’s larger and doesn’t get blocked with debris like smaller models. I use it on smaller client lawns where renting a machine wouldn’t make sense.


photo 4 (6)

Fiskars core aerator for small lawns and inaccessible corners


If you have larger lawns, you will need a machine unless you have a teenager at home with energy to burn. It’s fairly simple to operate. Just remember to slow down as you approach pavement and fencing. The big hog needs a second to slow down.

The machine comes with weights so use them to get nice deep cores. Skip the extra weights if your lawn is soft. Remove them when loading and unloading the machine!


photo 5 (7)


Conclusion

Let’s review. Lawn aeration allows water and air to reach the grass root zone and should result in a healthier lawn. If you don’t do anything to your lawn all year, at least aerate it. It’s worth the effort. Your lawn will thank you for it.


Five hernias, really!

By | health and safety, landscape maintenance | No Comments

Five hernias! That was the news an experienced landscaper delivered to his boss. That’s not good. Experienced, senior workers are expected to do a lot in the field. When they go down, production can suffer. Sometimes hernias require surgeries and rehab. They definitely lead to light duties for affected workers. For months.

I’m not a medical doctor, nor is this blog about diseases and ailments. But we must note that hernias happen when abdominal muscles fall out of place. There are many types of hernias. Not one of them is fun.

Key issue: you can get a hernia by lifting heavy objects improperly. That definitely applies to landscaping.

The worker above is incredibly stubborn and set in his ways. By examining his mistakes we can educate future landscape workers and thus avoid future medical issues.


  1. Don’t make tarp “bombs”! If your company uses tarps to collect green debris do a simple pull test once in a while. Can you still pull your tarp along? If it’s becoming difficult, tie it up using slipknots and get a new tarp. This is especially important when you work in hard to access corners of your landscape.
  2. Don’t be a hero! If you or your team mates made a tarp “bomb”, get help lifting it. You won’t look soft. You definitely won’t be a hero in a doctor’s office. Get help with heavy tarps. Big bombs can happen when you are short on tarps, for example. Whatever. Just try not to make them.
  3. Don’t be a tarp slave! Move your work truck closer to your tarps or use a good commercial wheelbarrow. Do not be a tarp slave. It destroys your back and can give you a hernia. It’s also inefficient. Consider my favourite story: working on a boulevard with my crew, weeding and cultivating, I looked up and saw four workers walking away. Each worker had a tarp on his back and I didn’t see them for another 15 minutes or more. That was extremely upsetting since we had a wheelbarrow 15 meters up the boulevard from me. One worker could have done the trip to the truck, maybe two. Not four.


IMG_5635edit

Vas as tarp slave, only do this for short distances


IMG_9524

Note slipknots for easy release; if it’s too heavy, get help

When landscapers decorate their house walls

By | Species, Tips | No Comments

You can easily decorate your house walls on a budget. I like to decorate my apartment walls with pressed plants put into cheap wooden frames. I started this when I collected samples of my favorite tree, Albizia julibrissin (silk tree). I wanted to keep it but I didn’t have the money for nice picture frames. It was the same with pressed tree leaves I collected in Western Japan.

Pressing plants

It is unlikely that you have proper plant presses at home. Not to worry. You can use older, heavier books. Put your collected leaf and flower parts into the pages of your book. Do it gently. Also make sure they aren’t wet. Do your collecting on sunny days. Once it’s all in, stack other books on top and leave it for a few days.

While you wait, visit your nearest Dollarama store and pick up cheap wooden frames. Mine cost $2-3 each.

After a few days, check on your pressed samples. Install them in your wooden frames. I like to label mine but it’s optional. I also find it useful to tape the samples into place so they don’t move when I put the glass on top. That’s it. You’re done. You can decorate your study, your hallway or your garage. All on a budget.

Past collections

This project reminds me of my undergraduate years at the University of Saskatchewan. My plant systematics professor issued proper plant presses to all of his students. He gave us the task of collecting plants and bringing them to class in September. Great! Now what? I had visions of Charles Darwin hopping on a ship expedition and disappearing for years. My story is much, much humbler.

Since I also needed cash, I took a low-paying motel job in a southern Saskatchewan town called Eastend. Town is a flattering description. I remember the people as friendly if slightly freaked out by my East European accent. Years later, someone would discover dinosaur bones in the area and tourism would improve. I have no desire to ever return there.

The collecting didn’t go well at first. The landscape was dry, sporting only grasses and cactuses. Pressing succulent cactuses is a bad idea. I was so inexperienced, I actually tried it.

Then I got a lucky break when I met a local teacher. He was very happy to take me to a nearby coulee. The place was predictably nice and green and my presses filled up fast. Thanks to this kind teacher, several of my samples were accepted into the university’s herbarium collection. They bear my name for future plant students to see.

Cruising

While my samples were drying I hung out with my employer’s kids. That’s when I experienced small town cruising where young people drive up and down the main street in town. This is what happens when you travel properly. Not like a tourist but like an embedded person. It was a bizarre way to spend an evening. But it was authentic. Sadly that was my first and last cruising experience.

Results


IMG_1365bIMG_1364b


IMG_1366bIMG_1369b


IMG_1368bIMG_1367b


IMG_1363bIMG_1362b


untitled

How to have fun with winter plant ID

By | Seasonal, Species | No Comments

Winter can be a great time for practicing your plant identification skills. The work days aren’t as hectic and the winter season offers a different look. Walking through your landscapes, you might notice a plant and realize that its name escapes you. I know all about it. It happens to me lots. At the worst moment, too. Like when the boss arrives on site.

Let’s look at a few examples.


Pinus contorta subsp contorta (Shore pine or Lodgepole pine)


IMG_1165b

This is a commonly used pine in our West Coast landscapes. Plant ID hints: a) The needles come in pairs and b) the cones have sharp prickles on their scales.


Hibiscus syriacus (Rose of Sharon)

You must be familiar with the Rose of Sharon flowers. But what about winter? What we are seeing is dehiscent seed pods. This means that the seed pods open along built-in lines to release their contents. In this case, the seed pod opens into five distinct parts and the seeds spill out.

The seeds are actually very cute. They are almost heart-shaped with hairs. I saved some and if I find time, I will try to grow them.


IMG_1180


Choisya arizonica (Aztec pearl)


IMG_1285

You will be familiar with Choisya ternata which has bigger leaves. This shrub has finer greenery and its white flowers are equally as nice. This is the one plant I had trouble memorizing until I saw it at last year’s CanWest Hort Show in Abbotsford. Now I try to associate it with Arizona.


Ophiopogon planiscapus (Black Mondo grass)

Full marks if you remembered the full species name! I love this plant because it’s so dark. New foliage is dark green. It produces bell-like summer flowers which turn into black berries. The Black Mondo grass in this photo is a great border plant close to a clubhouse.


IMG_1282


Sambucus racemosa (Red elderberry)

I remember this tree-like shrub well because we have hack it up every winter so it doesn’t go too wild on our strata properties. It looks bad for a while but the shrubs look fine in spring. It can grow 2-6 meters tall. Because it has soft stems with a pithy center, you can cut through most canes with your Felcos. (For my blog on Felco snips click here.)

Flowers appear at the ends of branches and are visited by butterflies and hummingbirds.


IMG_1147IMG_4525b

Now check out the sister plant Sambucus nigra (Black lace). This species is planted in people’s yards, not in wild zones, because it’s stunning. The first time I saw it in White Rock I was hooked. It took me a while to realize that this plant was related to its sisters in the riverbed zone. The sisters I rudely demolished so they wouldn’t grow out of hand.


IMG_3905b


Winter can be a great time for plant ID skill work. Give it a try. You never know what you will discover.

Kuno garden

By | gardening | No Comments

When I arrived at Garry Point Park in Richmond last year, I was there for a 10km MEC race. I had no idea Garry Point Park was a large 75 acre waterfront park. Since I got there early, I went for a walk to check out the park and to take a few pictures.


IMG_9016

Early morning rainbow.


IMG_9788


IMG_9789


IMG_9787 (1)


Kuno garden

Imagine my surprise when, during my pressing search for a public washroom, I discovered a Japanese garden! No way. Ignoring my bladder, I shot a number of pictures. Kuno garden is tucked nicely into a corner. It commemorates the centennial year of the arrival of the first Japanese immigrant to Canada. Many people don’t realize that pre-WWII Japan was fairly poor. Fishermen emigrating to Canada had it easy compared to the “karayukisan” girls. They were the spare mouths to feed in small towns so they were sent to points in Asia to earn money with their bodies.


IMG_9831IMG_9053

The garden isn’t huge. It sports many pine trees pruned Japanese style; and the usual elements like bridges and lanterns. The plant material is local. Nothing exotic. I thought the garden was in decent shape.


IMG_9802 (1)

Large rock, a lantern and tightly pruned pines.


IMG_9065

More stones and a bridge.


IMG_9068

Nothing shocking here: Japanese maples, Azaleas, rhododendrons, mugo pines.


IMG_9805


Garry oak


IMG_9841 (1)


Surprise discovery number two. To reach the public washroom I had to pass under Garry oaks from which the park obviously derives its name. Quercus garryana has round spreading crowns and thick, grooved, scaly greyish-black bark. It grows up to 20m tall.

Acorns are small with shallow scaly cups. Leave are deeply lobed and bright green above; paler with red to yellow hairs underneath.

As for my race, it went OK. I will always remember it for the farmer who closed the trail in front of us so she could shepherd her shaggy cows across. This pregnant pause confused my Suunto heart rate monitor. The cows were in no rush.

If you drive to historic Steveston, it might be worth your while to drive a bit more and check out this park. It was a pleasant discovery for me. Who knows, it might be the same for you.


Source: BC government.