Hardscape shock
2014, Kwantlen Polytechnic University. Sitting in my Red Seal challenge preparation course I was shocked to find out that landscape horticulture involved a lot of hardscape construction. One third of the exam, to be exact. And I wasn’t alone. Many of the other candidates also expected questions on plant families and specific plant species. Clearly, we were about to face our fears.
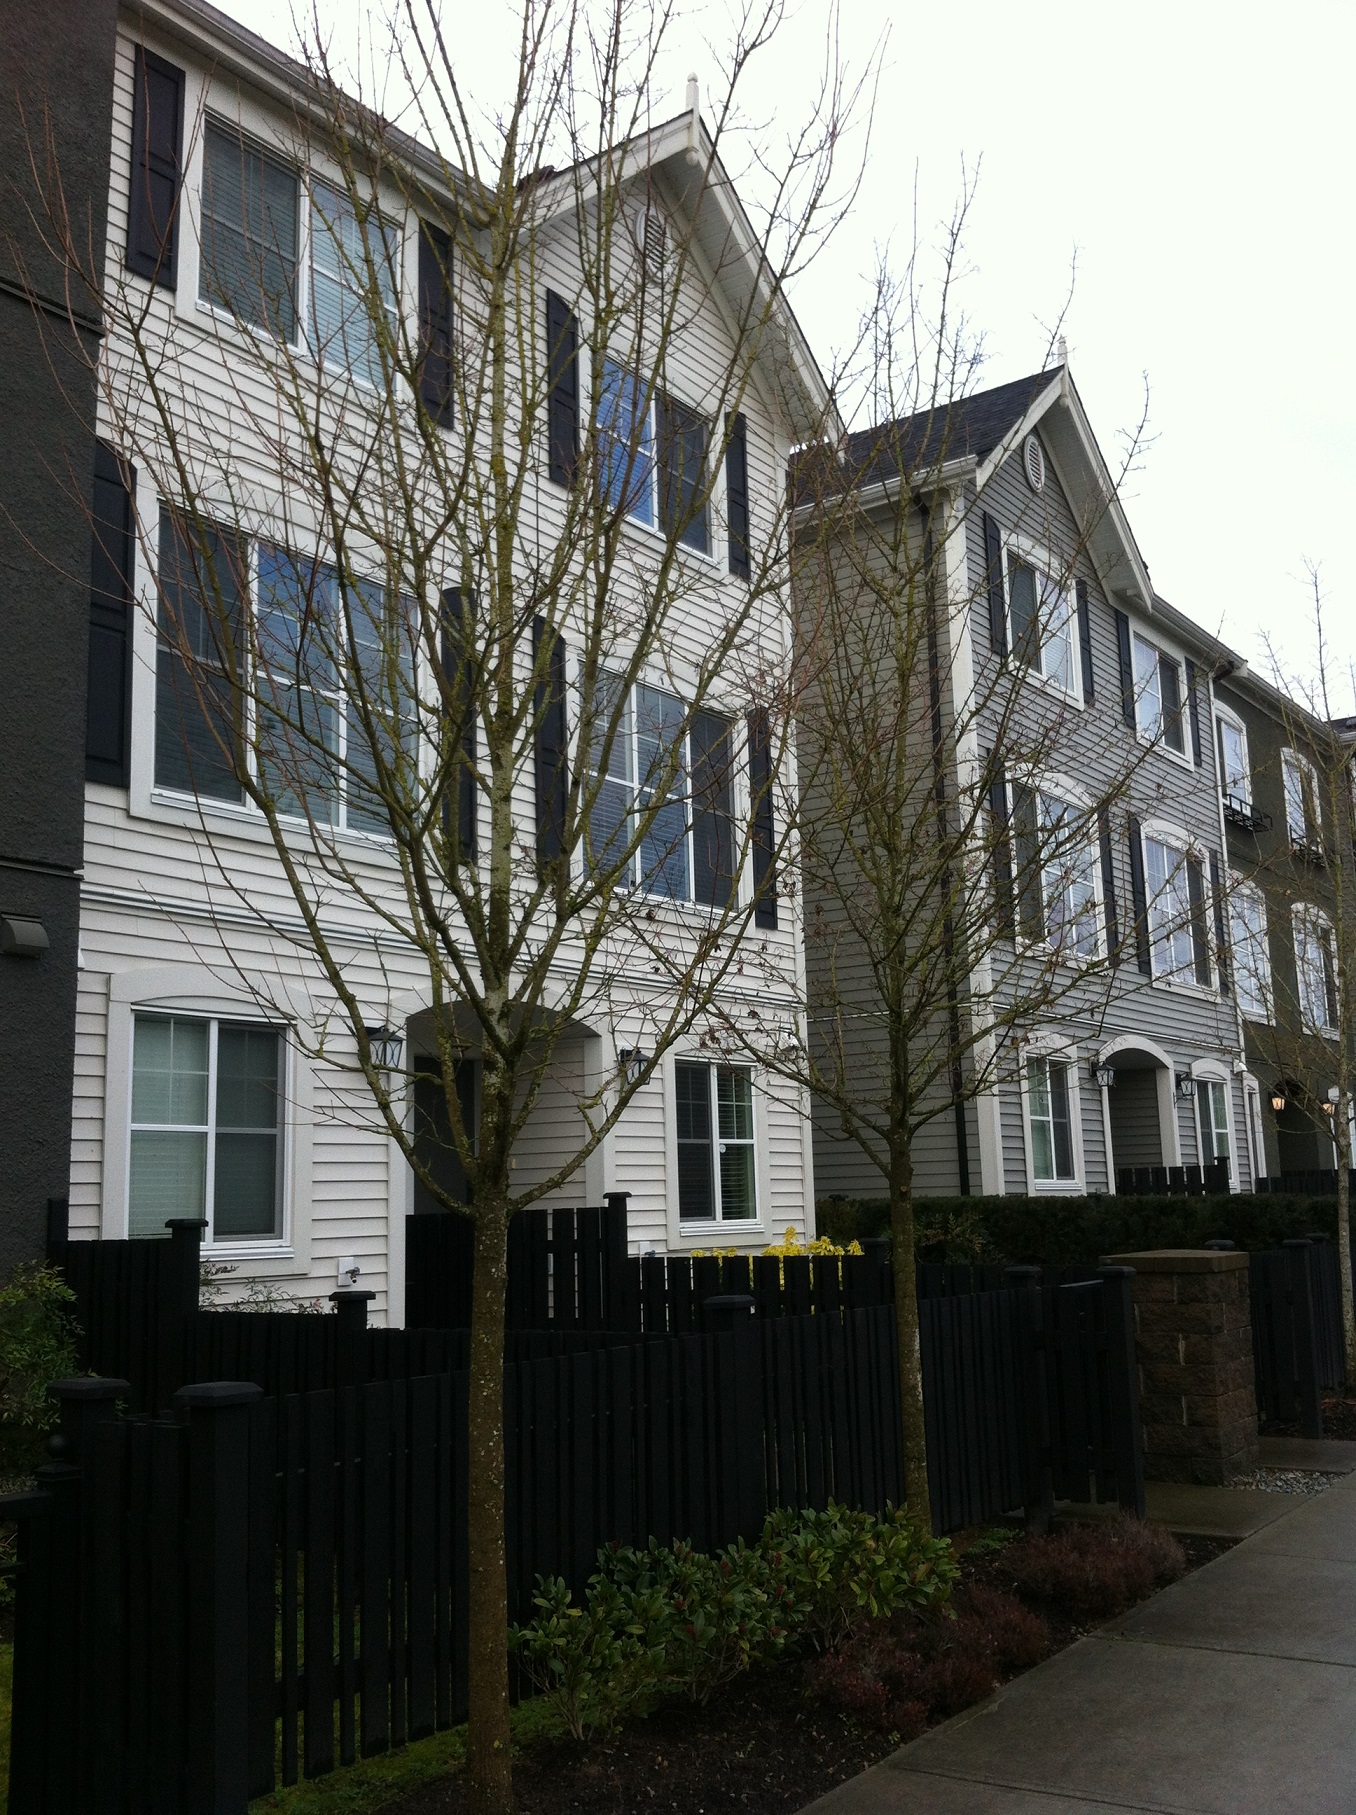
Fast forward to August, 2016. My boss needed help fixing a hazardous spot at the top of a walkway. Uh-uh. Here we go. No more textbooks. This was real life. Plus consider that I prefer working with live plants. I find hardscape materials too cold.
This is what I learned as I faced my fears.
Basics of paving stone repair
A) Taking notes and pictures as you dismantle everything is very important. It makes it easier later when the stones go back in. Stack everything intelligently.
B) Install mason sand (finely crushed sand) to build up the low spots. Park as close as you can to your work area. Our access was limited which meant bucket work. And lots of sweat.
C) Use tamper tool to flatten the sand and even it out.
D) Re-install bricks and use rubber mallets to beat them into place. Pray they all fit.
E) Cover the stones with mason sand and broom them into gaps.
Mission accomplished. Sort of. The big hole was gone but since there was still a small tripping hazard, we will have to go back and dismantle a larger area. Maybe I will call in sick. Or go and face my fears.
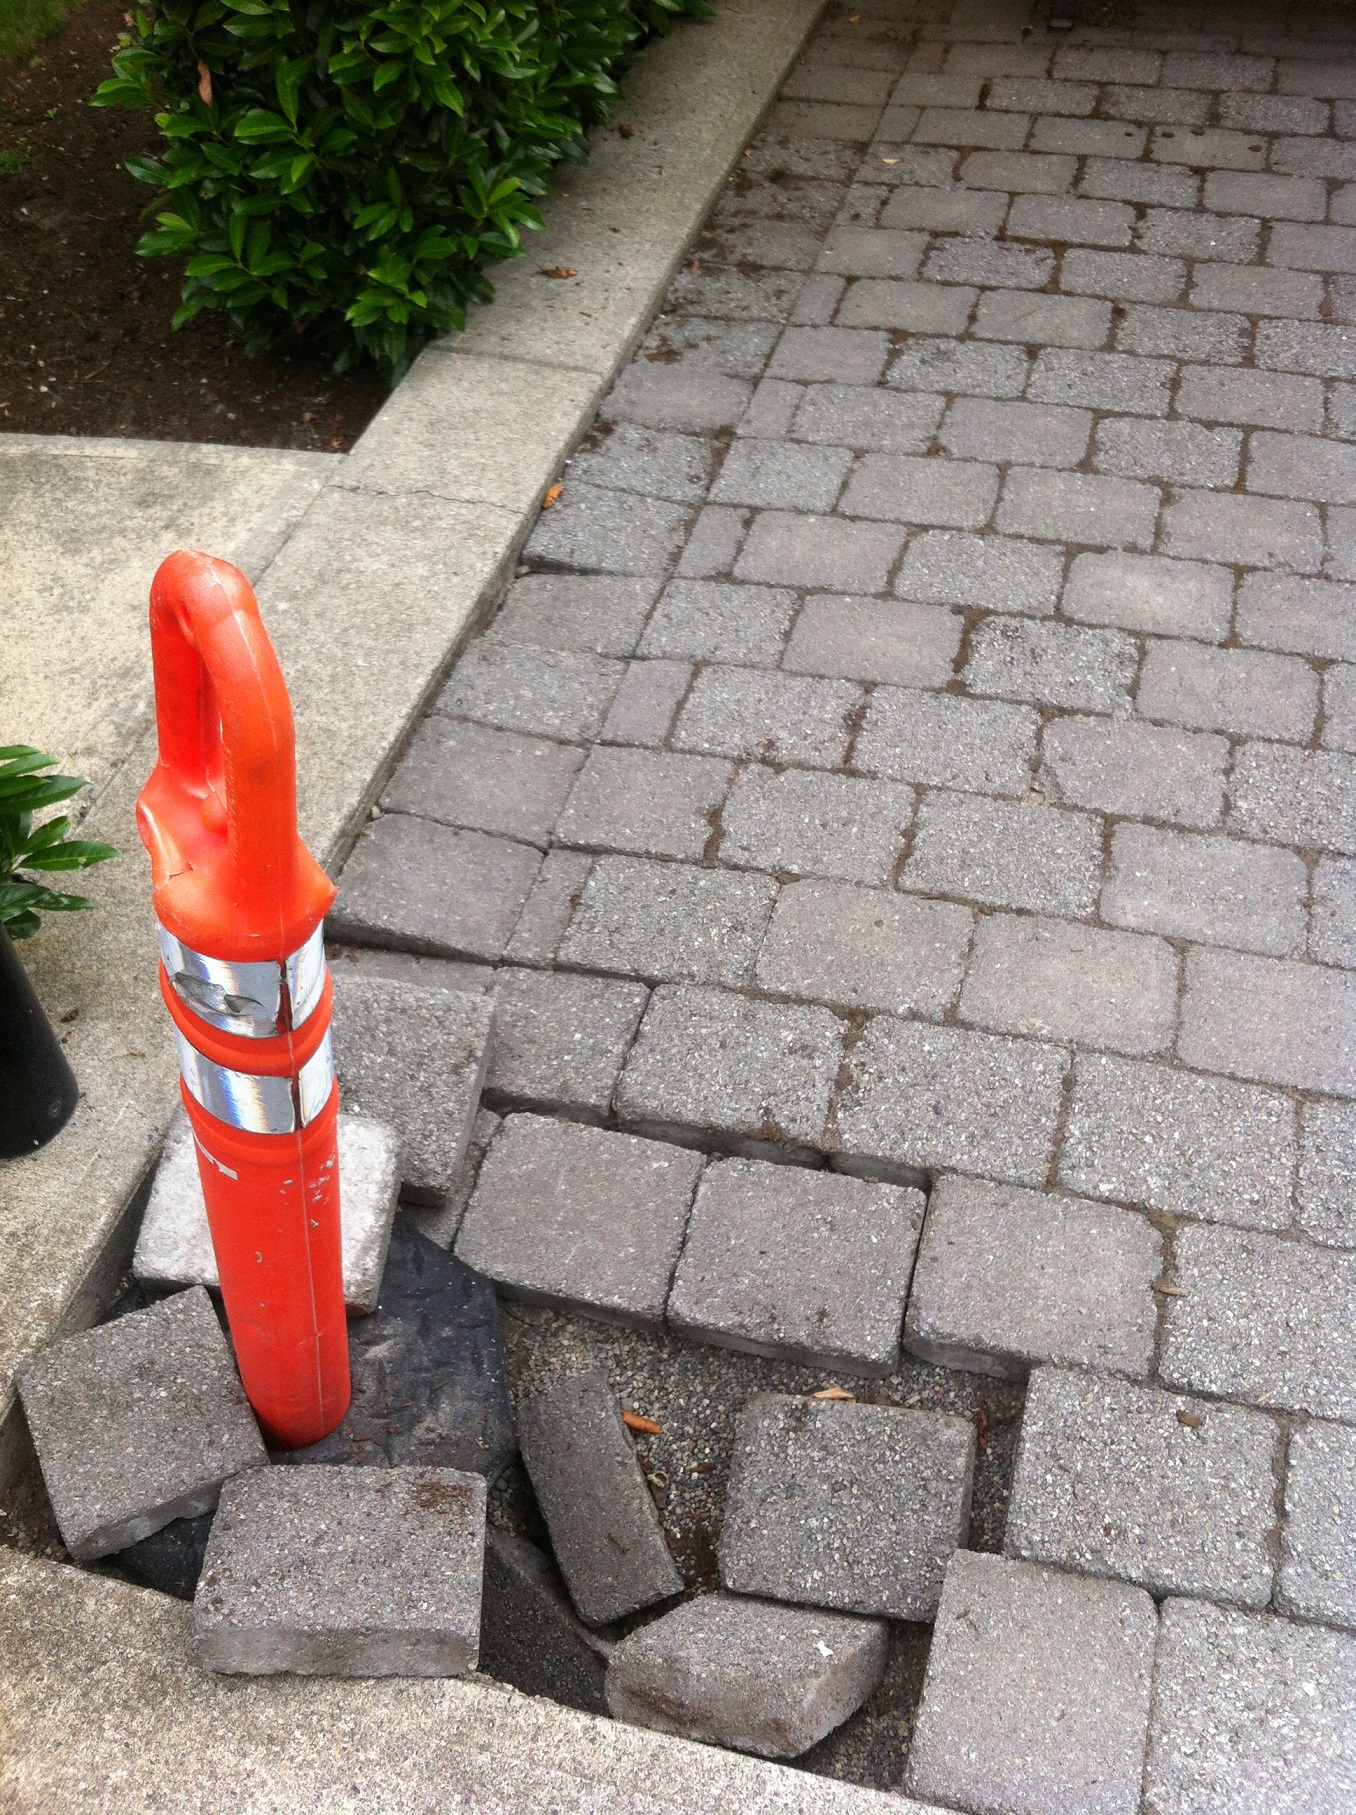
A nasty wash-out at the top of a staircase
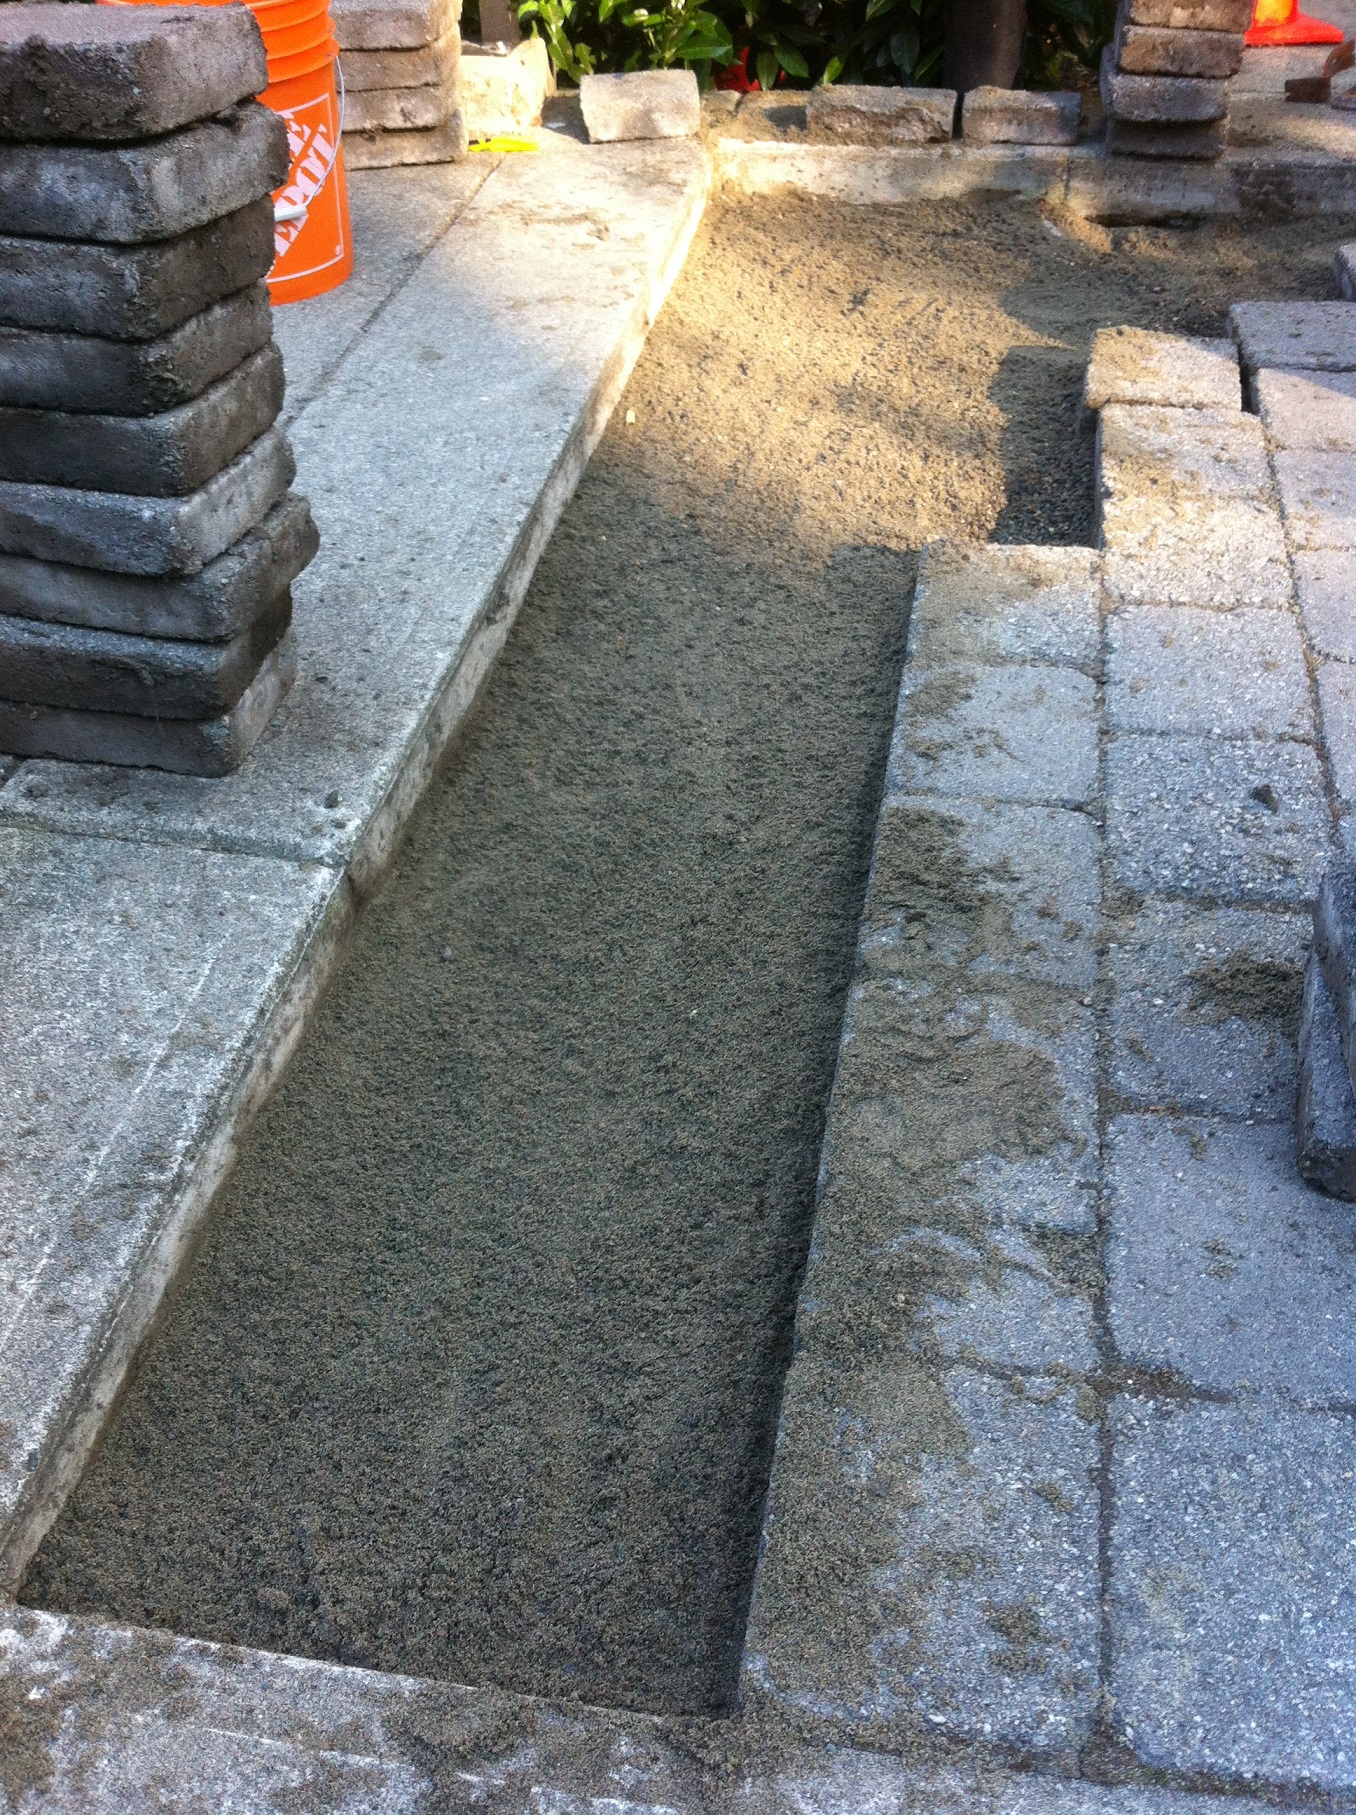
Keep track of dismantled stones; install mason sand and use tamper tool
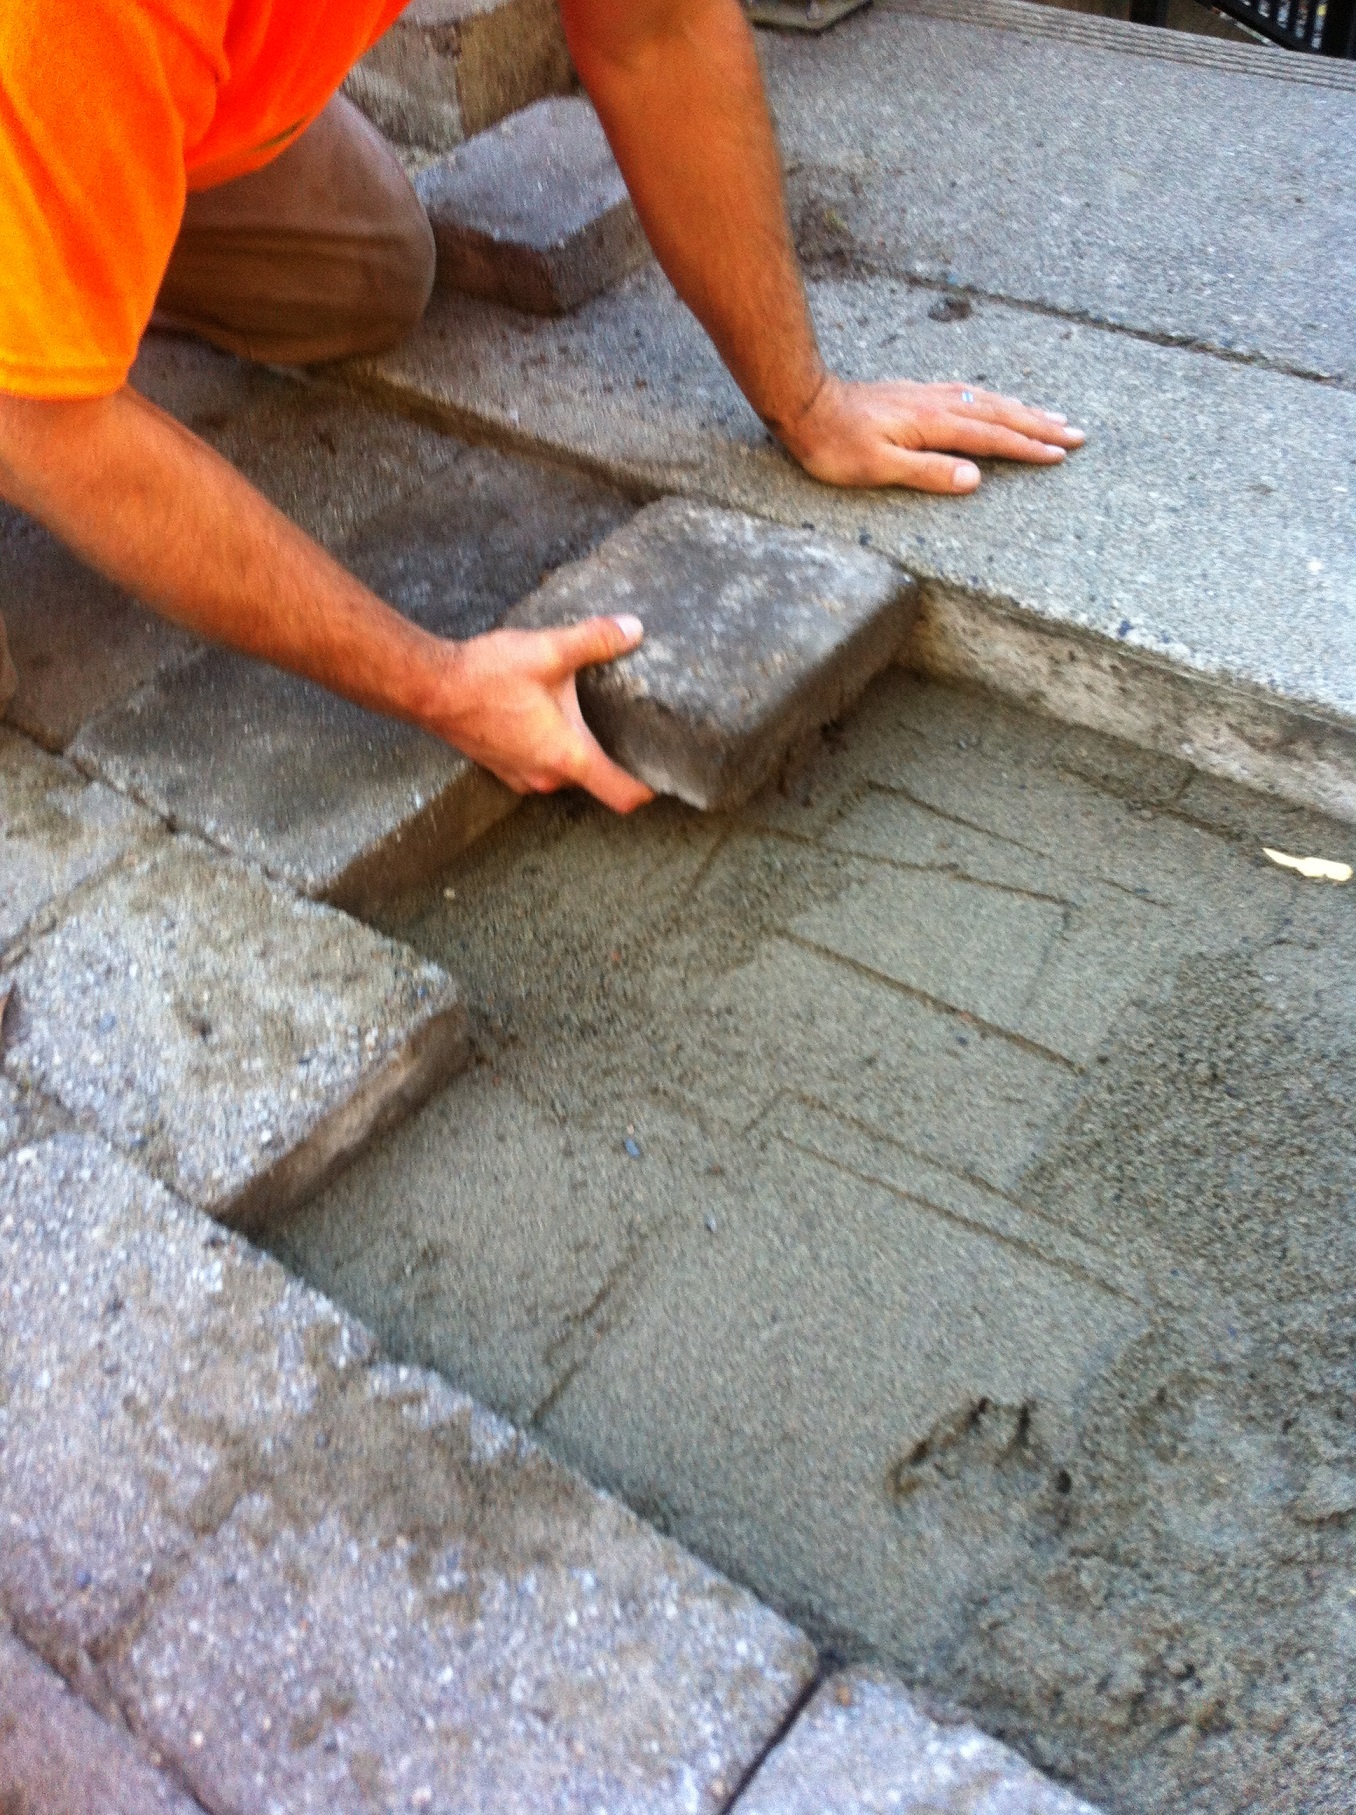
Stones go back in, pray it all fits, use rubber mallets
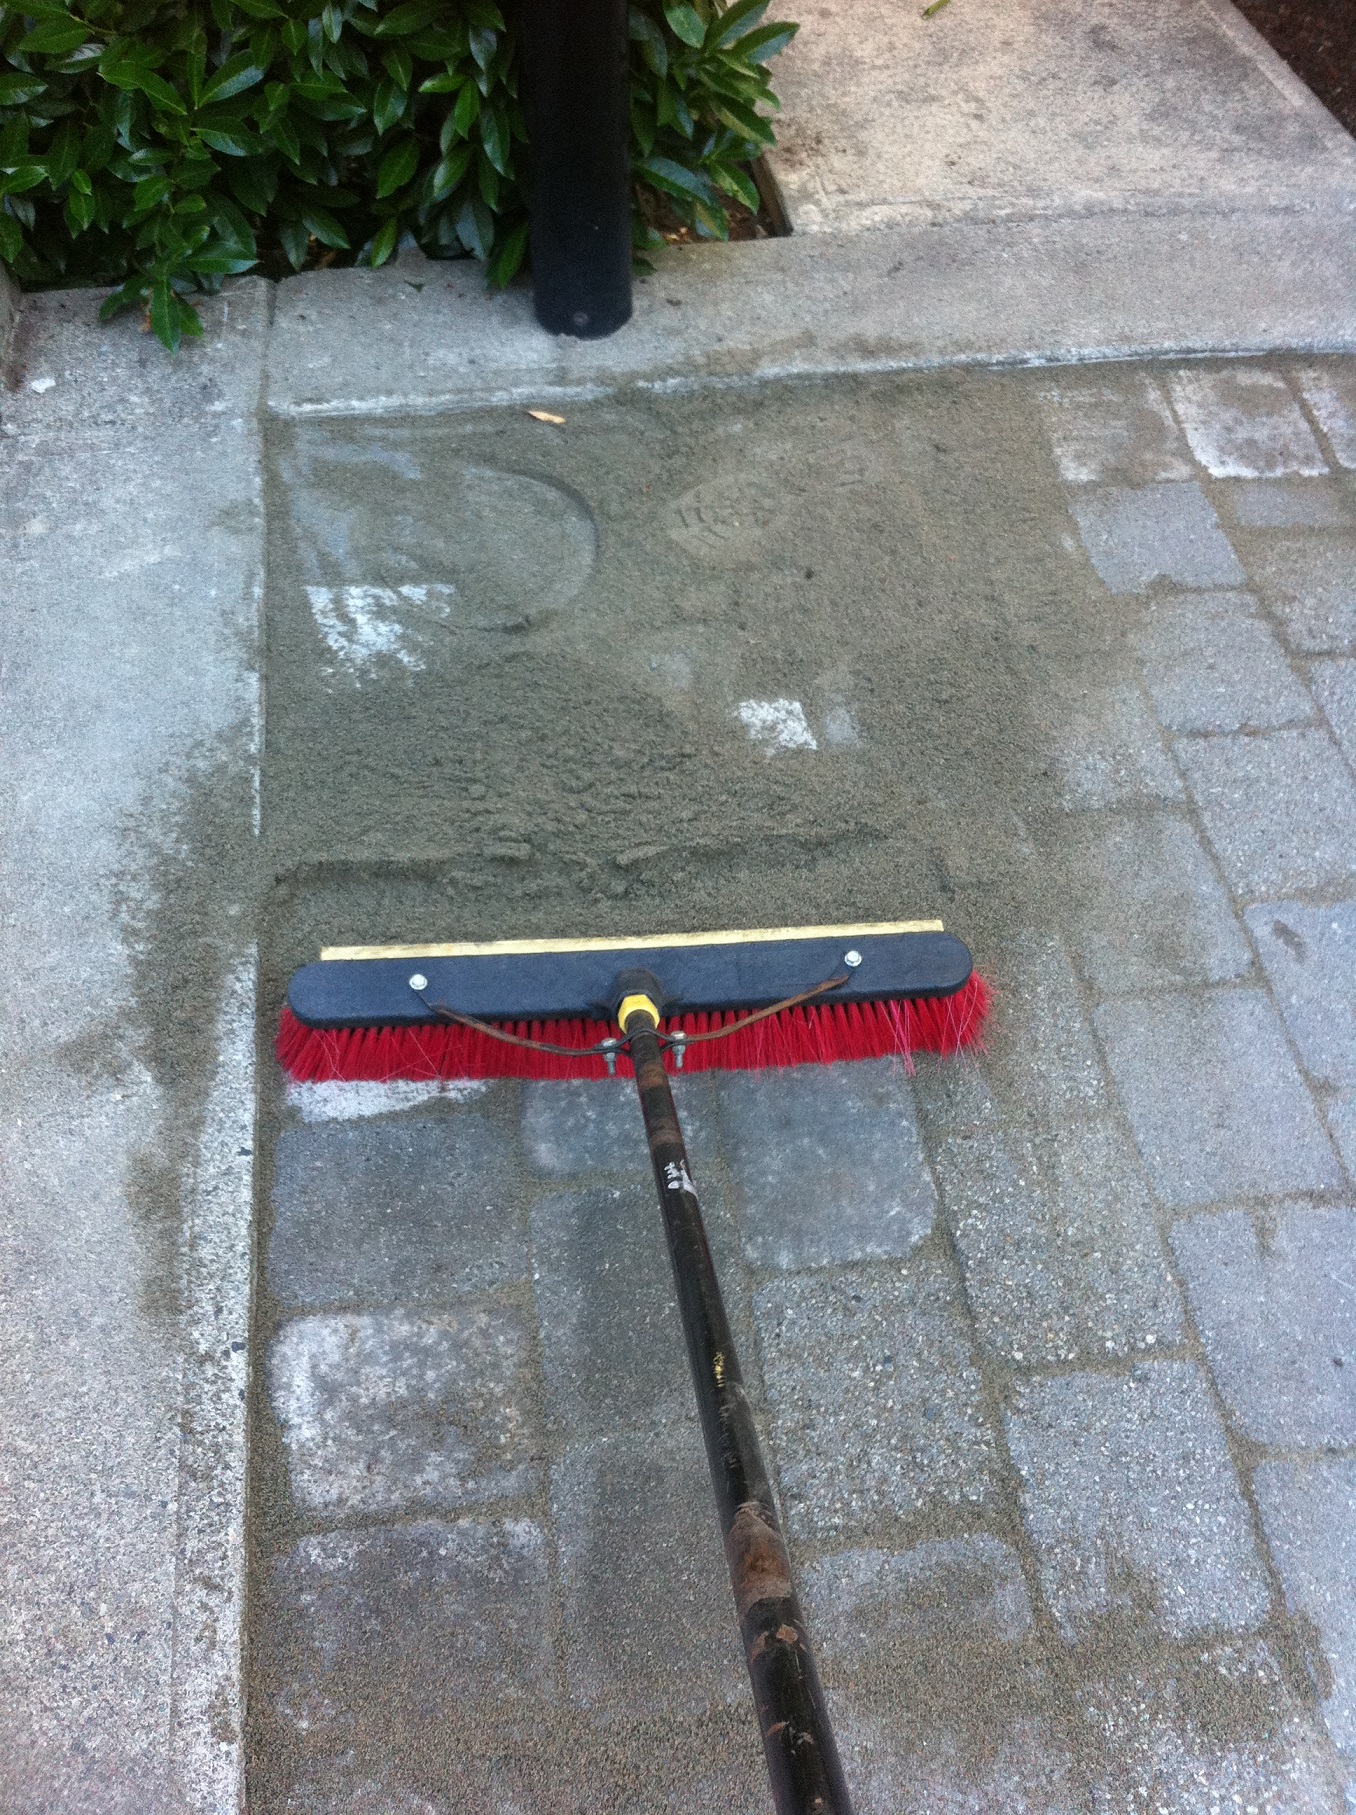
brush mason sand into gaps
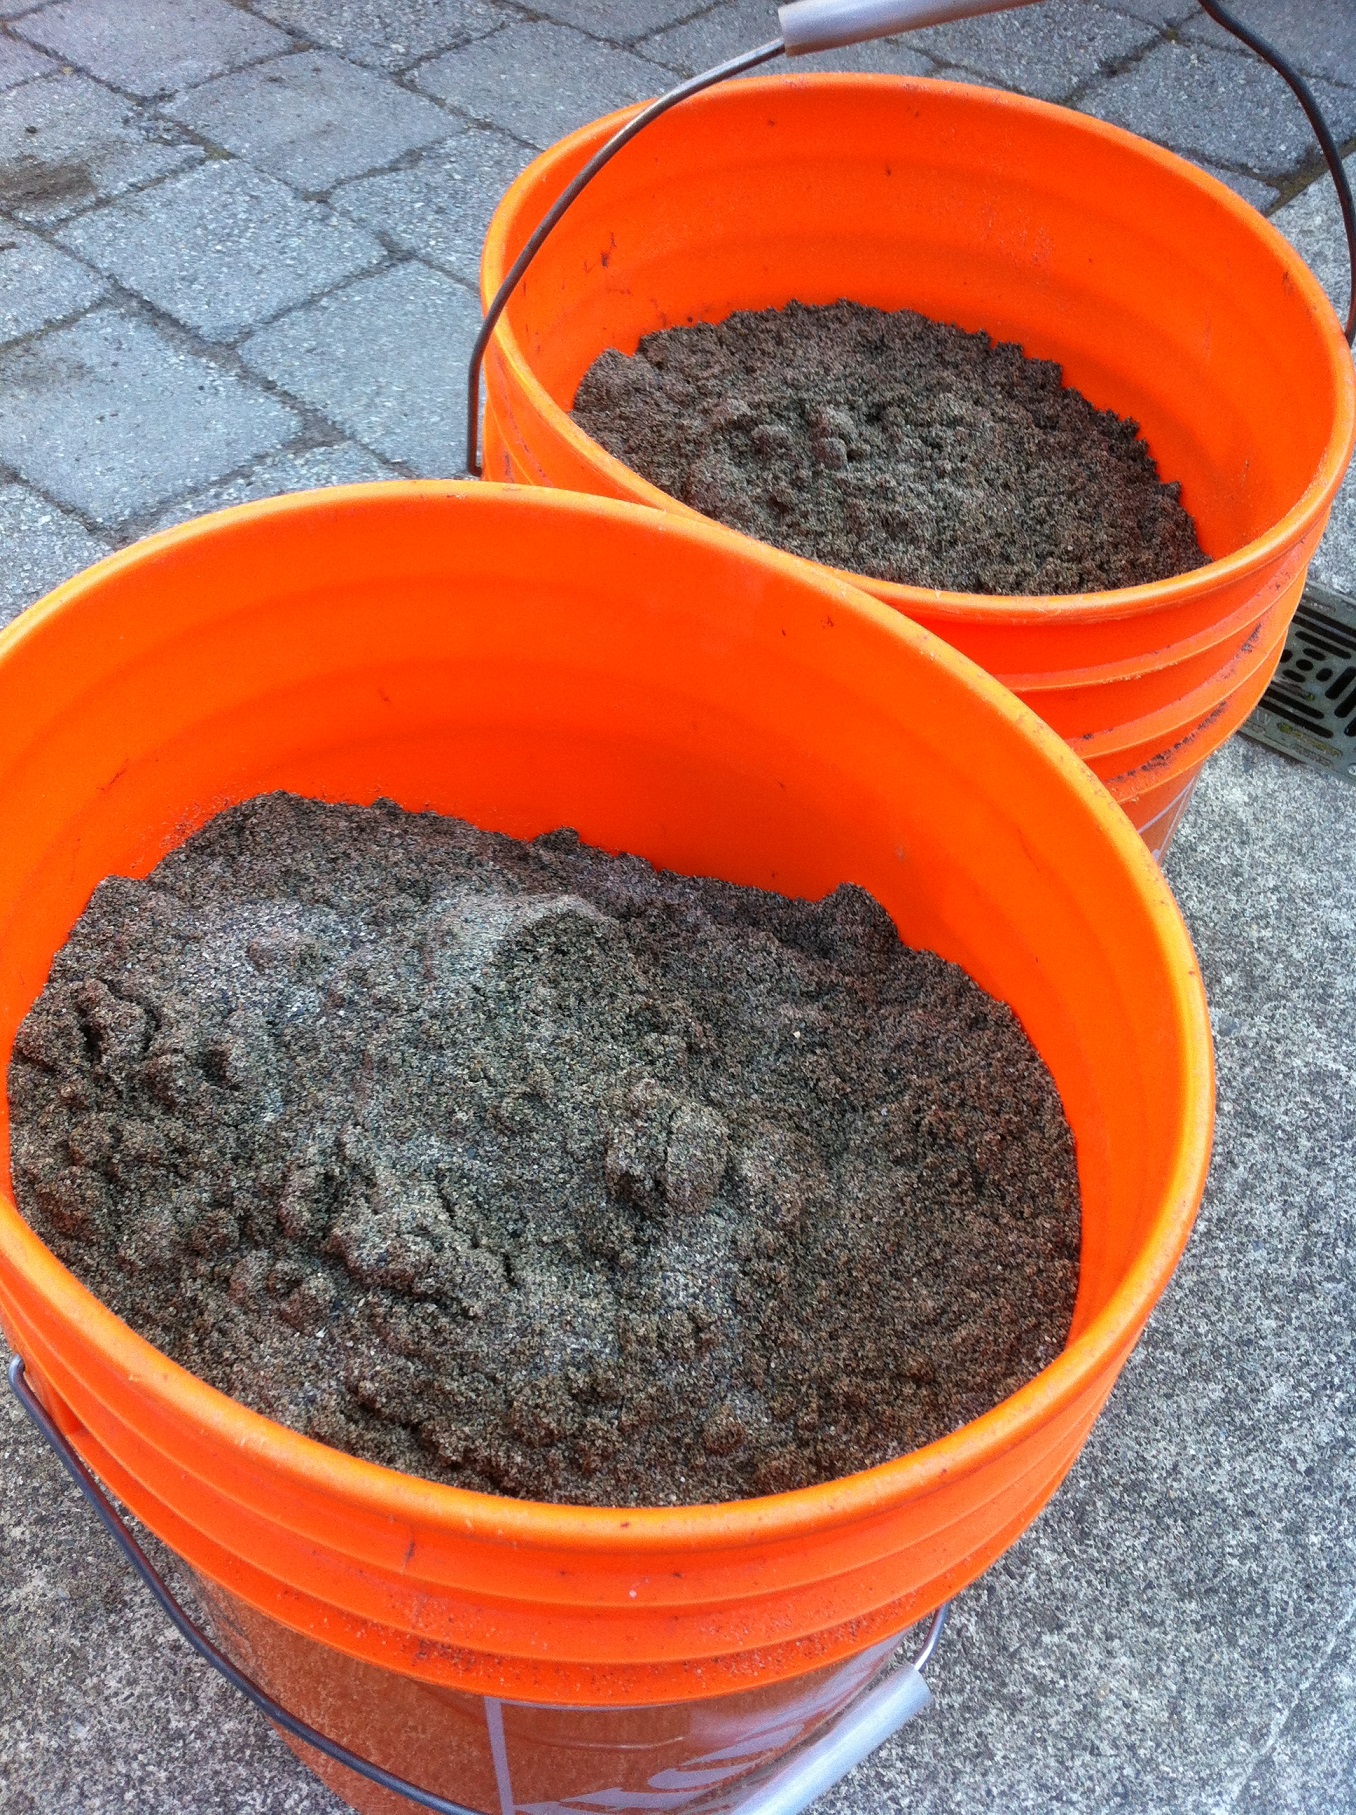
fine mason sand
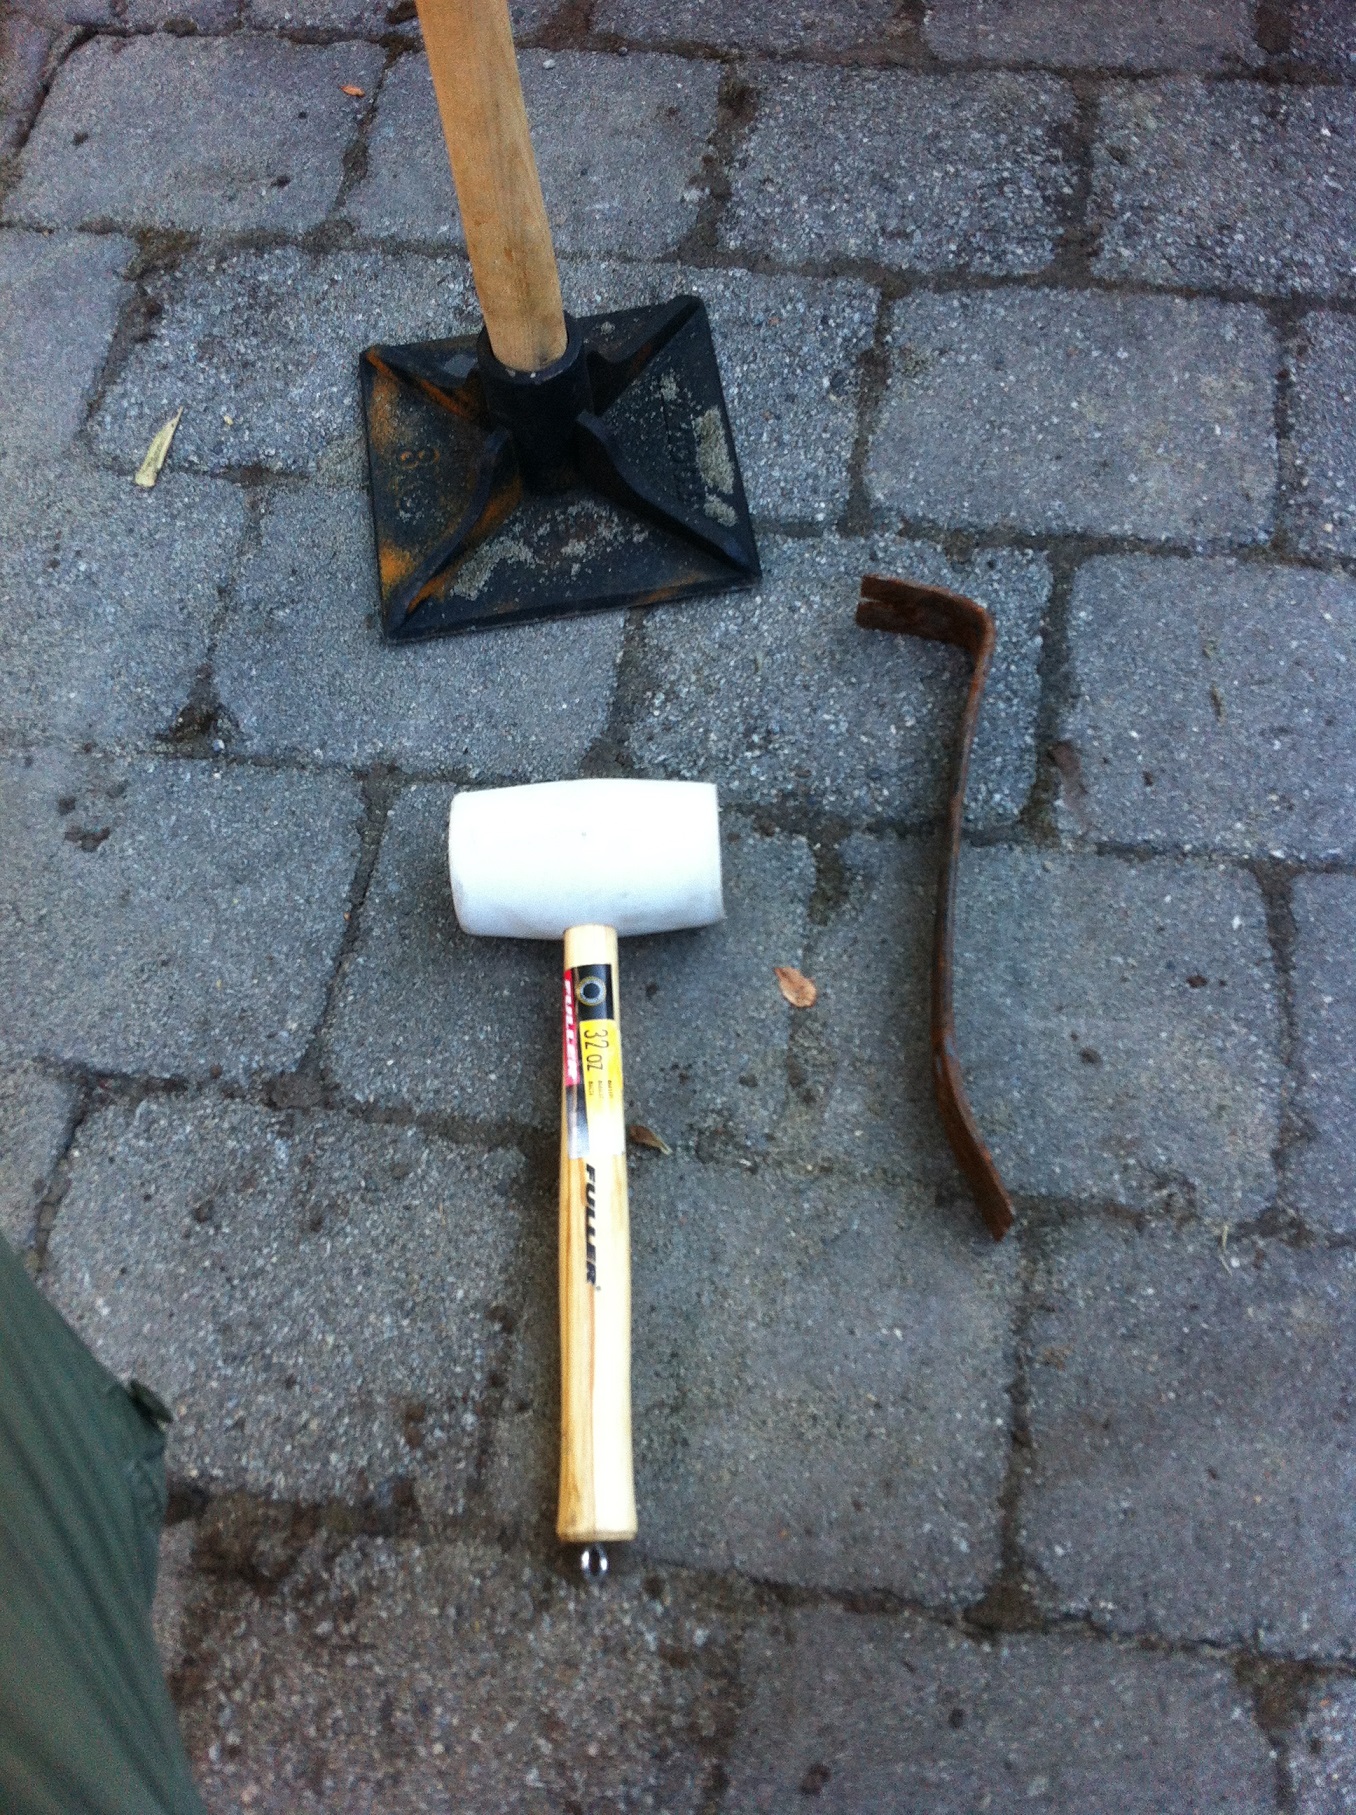
Tools you will need