Monthly Archives

November 2019

Risking arrest to see California’s Eucalypts

By | Events, Trees | No Comments

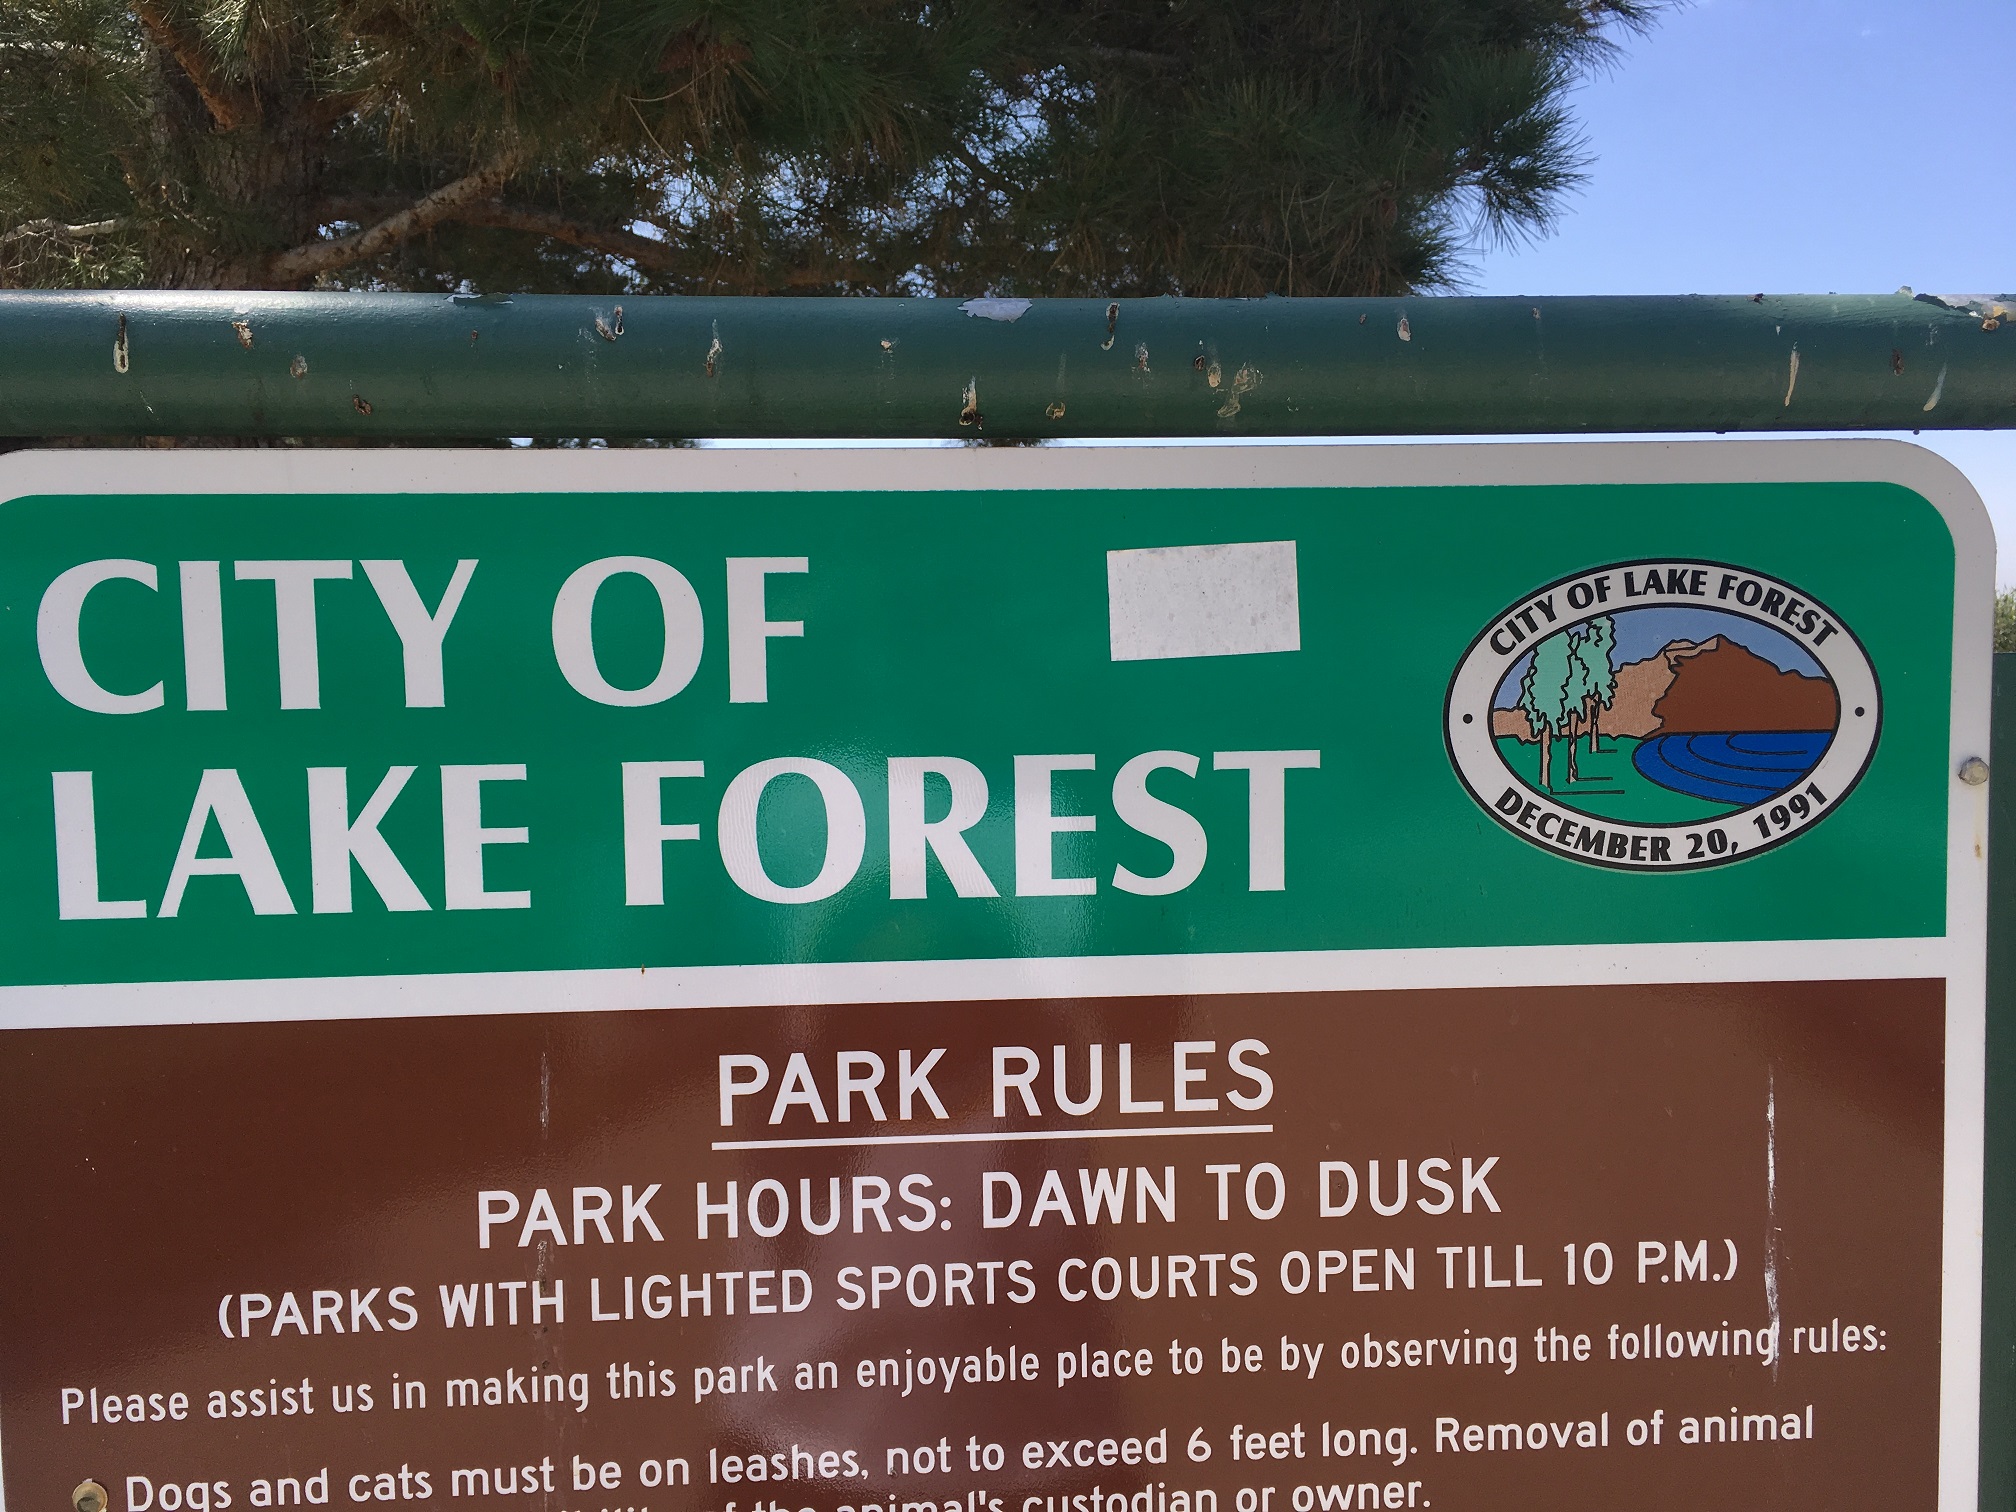
This past August I found myself in Lake Forest, California because of my son’s soccer tournament. It was yet another sunny morning and it was getting hot. It was too hot for the boys to have a serious soccer practice. So I left the team at the tennis courts and walked across the street.


IMG_4030


Private property!

My target was a nearby line of beautiful and huge Eucalyptus trees. It was like Christmas for this arborist. The trees looked awesome and as I took more pictures I drifted onto a church parking lot. There I shot many other landscape plants. I was having a fantastic California morning until a voice woke me up from my plant trance.


IMG_4050

I love these Eucalyptus trees.


“Can I help you? This is private property!” Immediately I thought oh, shit, was this an open carry state? Then I mumbled something about visiting California and loving their church landscaping. “We get all kinds here!” was his reply. So I apologized and told the dude I was leaving. No need to call the police. He then wished me a pleasant visit and I wondered what the Sunday sermons were like.


IMG_4048

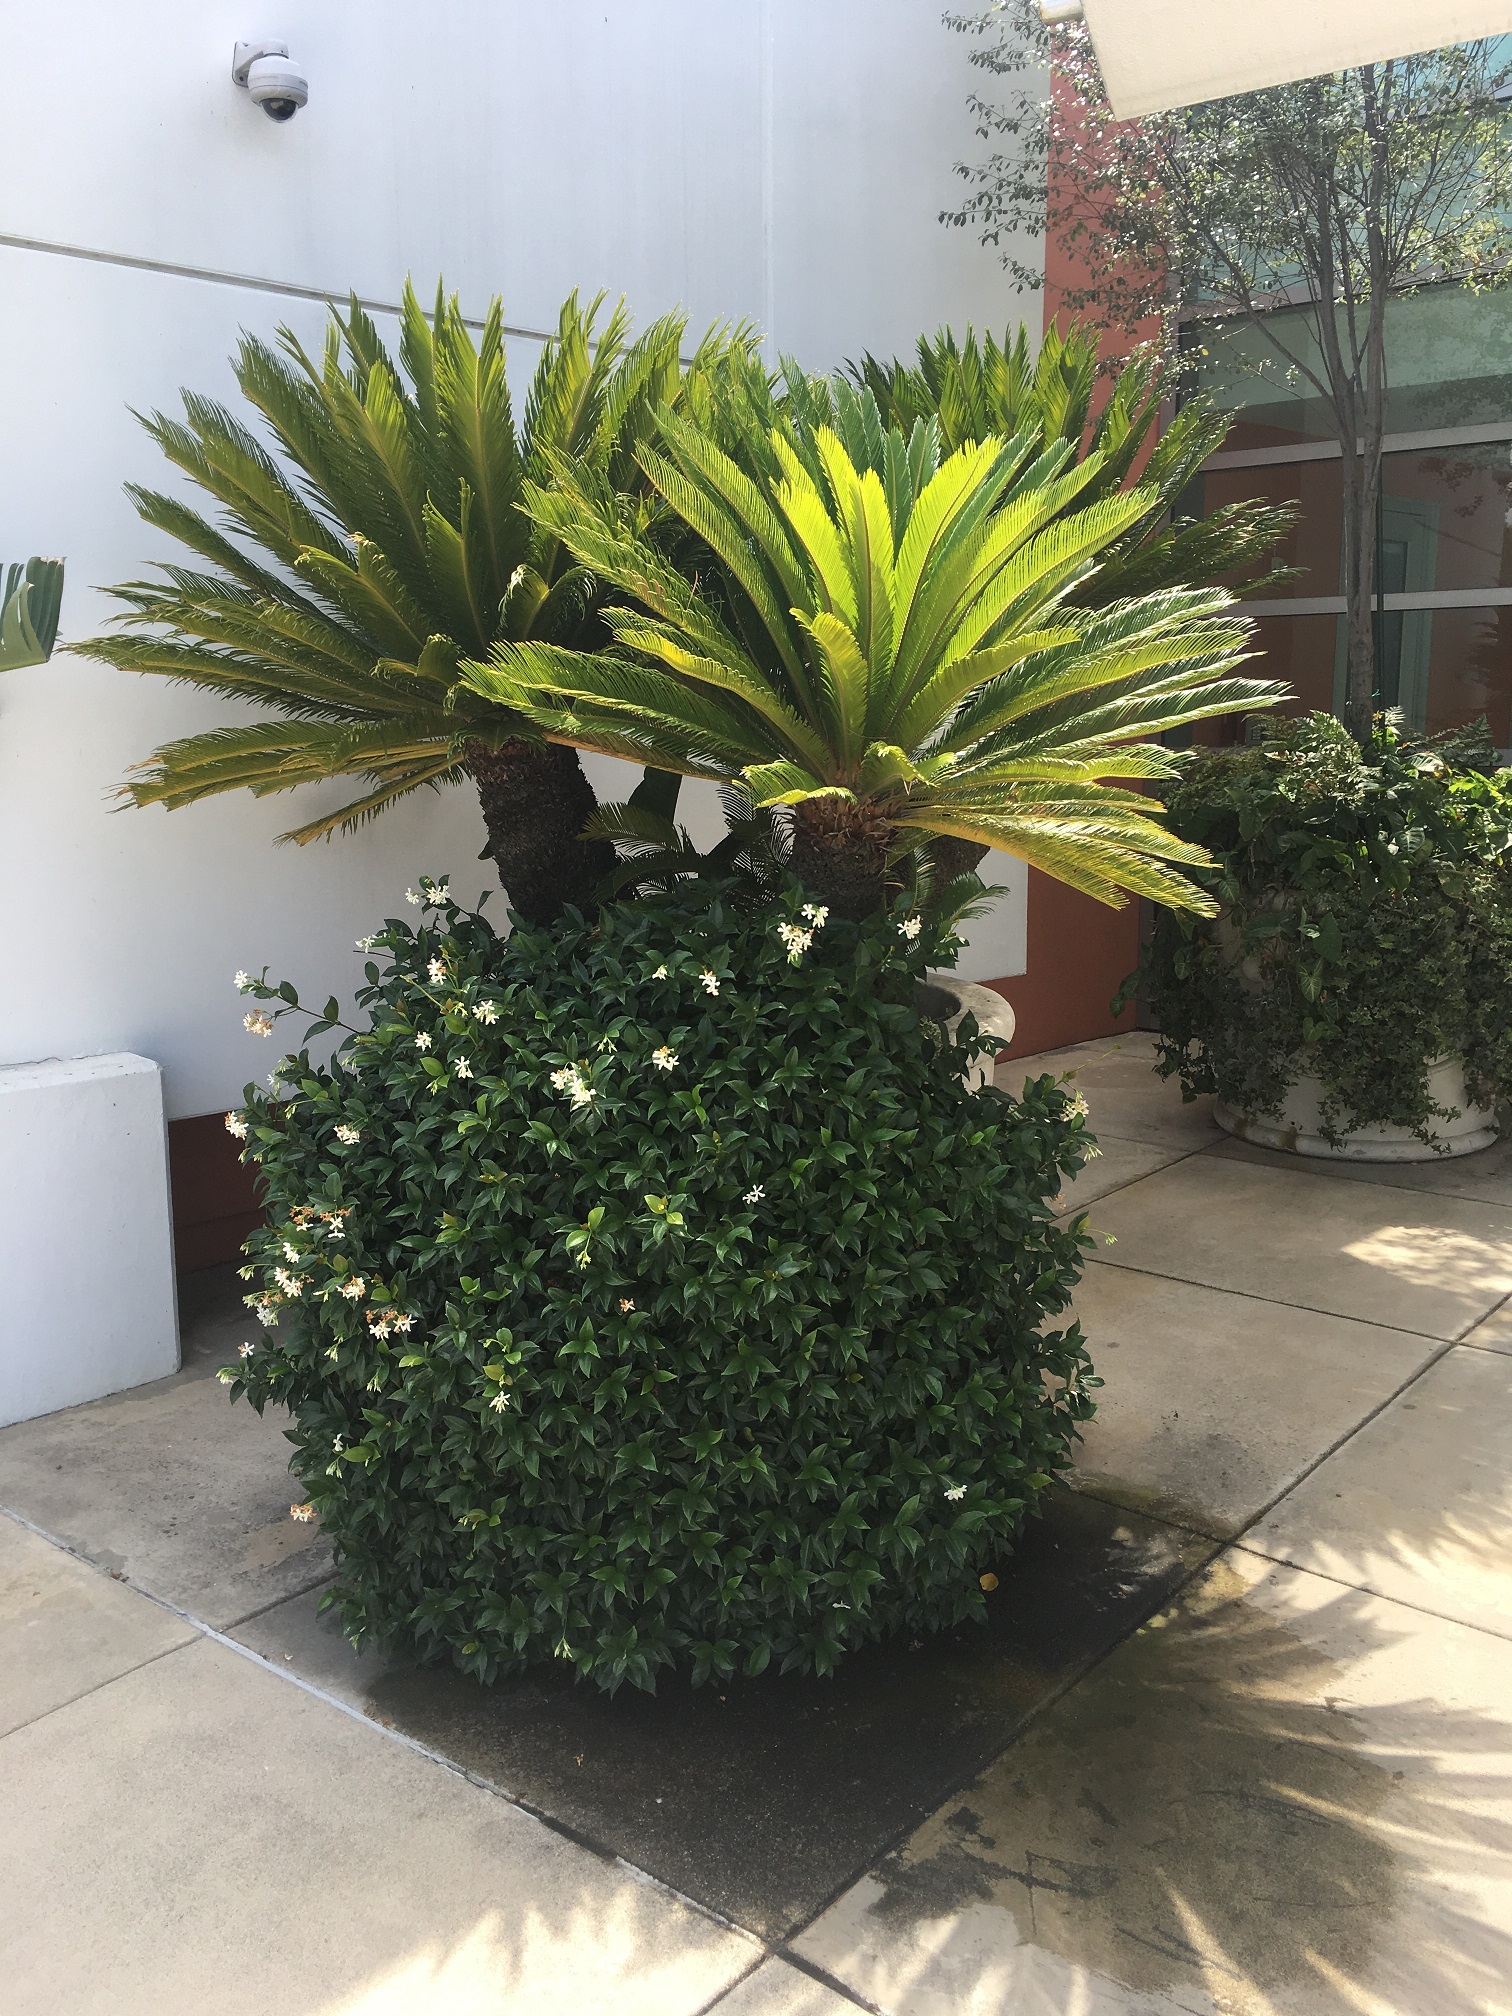
Note the security camera.


Trees in Paradise

I have since learned that Lake Forest used to be an Eucalyptus plantation. Now it’s a master-planned community with beautiful landscaping. I was blown away by the landscaping so much, I walked into the nearest bookstore desperate for some sort of plant guide. And I found a door stopper gem there called Trees in Paradise by Jared Farmer. (I will review this excellent book in a future blog.)

Farmer devotes a one hundred page chapter to Eucalypts and it’s a wild ride. The trees were imported from Australia and became very popular in California. And then it all swung the other way. Eucalyptus plantations in San Francisco were abandoned and the trees were allowed to go wild.

One glitch stands out from this book chapter. Californians wanted to reproduce the success Aussies had with their fast-growing Eucalypts. But what they didn’t notice was that the Aussies were processing old growth Eucalypts.

The new growth Eucalypts in California were extremely difficult to process because the young trees behave badly when they’re run through saw mills. Farmer does a great job of explaining this. Basically the trees break apart at the saw mill so it’s hard to get the nice straight lumber saw mills wanted. Bummer.

I think the Eucalypts I saw in Los Angeles looked great. I can’t wait to see them again in August 2020 but I will be more mindful of private property lines. “Canadian pro blogger dead in California” would be an unfortunate headline.


Go deep when edging

By | Edging | No Comments

Deep edging beds is a perfect landscape task for the fall. Many bed edges are worn out or completely obliterated by November and they look awful. And now that we are no longer mowing and edging there is plenty of time for this work.

Also, if your garden never had any edges, you can easily establish them by following the same procedure outlined below. You will be rewarded for your efforts with nicely defined edges.

Step 1

Use a good edging shovel-flat on the bottom- and drive it into your edge at precisely ninety degrees. Don’t fake it. Go for perfect ninety degrees. A few inches deep should suffice but, personally, I love deep ankle busters. And I pay for it when crews call the boss to complain about their supervisor creating hazardous edges.


IMG_7008(1)

A) is the tired old edge, B) is the new edge and the white arrow shows the correct shovel angle.


Step 2

After you drive the shovel into your edge, place your foot behind the shovel before you dislodge the soil. You have to do this to prevent the edge from getting rounded off. Remember, the best looking deep edge is ninety degrees.

Step 3

Your deep edging will generate soil and turf chunks. Don’t leave them in your bed. Beat them up with your cultivator and remove any grass chunks. Keep the soil and rake it in for a nice, even finish.

Obviously, if you’re establishing new edges you will generate more waste. In this example, I only touched up existing edges so my clean-up was minimal. Whatever the case, never leave the soil chunks in the bed. They look bad.

Step 4

When you do your clean-up blow, gently blow off any soil off your grass edges. Just do it gently so you don’t blast out soil from your beds.

Then step back and enjoy the view of your new deep edges. They should last until mowing resumes in spring and beyond.


IMG_7011(1)

All done! Note the sharp edge, no sign of chunks and the grass is clean.

Low-idle advice for mechanically-challenged landscapers

By | Landscaping Equipment | No Comments

I use small engine machines almost every day in the field, mainly Stihl models. I use them but I don’t pretend to understand them. My favourite tasks are almost always related to plants; machines I barely tolerate. When something breaks down the machines go straight to the dealer for repair.

This simple blog post covers low idle problems and it’s intended for mechanically-challenged people.

The problem

Once in a while a problem pops up and I know there must be a simple explanation. Take this recent example from the field.

Power shearing cedar hedges is a common fall task in our West Coast landscapes. Usually there are miles of hedging to shear and time is short. Now imagine my frustration when I let go of my machine to move the ladder along and the engine dies. Once I’m ready to continue the engine starts and functions properly as long as I keep my finger on the trigger.

I also had the same problem with my backpack blower. As soon as I eased up on the trigger, the unit would shut off. Moving the blower off and on my back and restarting it is extremely annoying.

The fix

At it turns out, this low-idle problem has an easy fix which is great news for this mechanically-challenged landscape professional. The fix is so easy, I had to write a blog post about it. Slowly, very slowly, I learn about the machines I use every day and you can too.

Step 1

Grab a small screw driver provided by Stihl or any other model. Until now I’ve been only using it to execute blade changes on blade edgers.


IMG_7086


Step 2

Find the circular port hole labelled LA on the back of your blower or small engine. That’s where the screw driver goes.


IMG_7087


Step 3

For this step you should consider using a mask because the unit has to be turned on and sucking exhaust isn’t safe. With the unit running, stick the screw driver in and move it until you hear the engine speed up. It took me a while to do this but eventually I let go and let the blower idle. Once it stayed on without shutting off I was back in business. It was an easy fix. I had no idea.


IMG_7089


Let’s review. If your blower or small engine shuts off instead of idling, you can easily fix it with a small screw driver. Doing the repair yourself in the field will save you time and needless frustrations with repeated restarting.


Take this step before challenging the Red Seal exam

By | Education, Events | No Comments

Hort Education BC is putting on a preparation course on Saturday, November 23, 2019 at the UBC Botanical Gardens. If you have 7, 920 documented hours in the horticulture industry (roughly four seasons) you can challenge the Red Seal exam. This preparation course is an excellent way to increase your chances of passing. Here is why.

Egan Davis

Egan Davis, the instructor, teaches at the UBC Botanical Gardens and he is super experienced and knowledgeable. He is a plant geek. You can ask him lots of questions but not about actual exam questions. Those are kept secret. You have to earn the Red Seal qualification; there are no short-cuts. The exam tests your knowledge and experience.

Egan sports a booming voice and excellent delivery. I doubt you will forget spending a day with him. He helped me pass in 2014 and I will forever be grateful to him.

2014

When I took this course in 2014 I was in a rush because up-coming municipal jobs required Red Seal papers. And the preparation course was very new and evolving which is why it was free. Now it will cost you $90 but trust me, it is money well spent.

I took the full day course, studied for a few weeks and took comfort in the words of my municipal gardener boss. She told me I would do well based on listening to my comments in the field. This definitely encouraged me. The rest was all work experience from fifteen seasons in the field and landscape industry certified studies.

I did not smash the test but I passed! Now the ITA Red Seal diploma hangs on my wall and I am proud of it.

The key

All attendees received a thick manual which focused on areas where people struggle most. See, I told you, money well spent. I have no idea if attendees still receive manuals or what is in them but I bet it is something similar.

If you have any questions, call or e-mail Bill Hardy, he will help you: bhardy@horteducationbc.com or 604-430-0422.

Red Seal Landscape Horticulturist qualification is a nice trade paper to have. It identifies you as an experienced professional and should, in theory, lead to better pay. It also allows you to take on new apprentices.

If you are thinking about challenging the Red Seal exam in landscape horticulture take the preparation course first. Ninety dollars is a steal. Trust me.

Good luck!


Remembrance Day

By | Events, Trees | No Comments

Today is Remembrance Day, a day to remember those who gave their lives for our freedom today. Unfortunately, I had to work today but I did stop at 11 a.m. to remember those who made their ultimate sacrifice.

A new bed

In 2014, while working for the City of Coquitlam as a park labourer, we created a new bed for Remembrance Day at Blue Mountain Park. And now I drive by the park weekly so I remember fallen soldiers all year.

In subsequent years the municipality redesigned the front planted bed but the plants in the back remain. And I’m glad they do because I planted them with my city gardener boss. We planted yews (Taxus), Astilbes, maples (Acer) and one dogwood (Cornus).


IMG_7024

I planted all of the back plants in 2014 with my city gardener boss. They all look fine.


First bare-root planting

The dogwood planting was very special because it was my first bare-root planting. Bare-root planting is recommended because when you wash off the root ball you can clearly see the tree roots. This then allows you to arrange them so they look like spokes on a wheel before planting. We want all roots to run out and get established, not keep running in circles. Feel free to prune out any rebel roots.

When you wash off the root ball, hold on to the mud you create. You will use it to plant the tree after your roots are nicely arranged like spokes on a wheel. The mud anchors the bare-root tree in the hole. At the time I didn’t know this. Keeping mud in the back of the truck seemed crazy.

The procedure is to install the muddy soil in phases: soil and water go in and then you wait for it to settle, and repeat the procedure until the hole is filled. The mud cements the tree in the hole.

When we did the planting in 2014 the lawn and soil were wet so I got very muddy but it didn’t bother me. I loved the new experience of bare-root planting.

2019

Now, five years later in 2019, I finally stopped by to take a picture of the dogwood and it looks healthy. I gave it a quick wiggle test by moving the trunk back and forth. The base felt solid which means the tree is established. Yay! Success. The other plants look fine as well.


IMG_7022

The dogwood in the middle was planted bare-root in 2014.


It feels good to know that my work will be on display for many years to come. I have since done one solo bare-root planting project and I hope to do many more. You should try it next time, too.

I hope you had a great Remembrance Day!