Monthly Archives

May 2018

When you have to top natives for size control

By | Arborist Insights, landscape maintenance, Trees | No Comments

I hate topping trees and so does the International Society of Arboriculture (ISA); they even publish pamphlets detailing why the practice of tree topping is bad. This blog post, however, shows two cases where topping was somewhat justified and forced.

It was forced because a) the strata client insisted that it be done and they pay the maintenance fees so all you can do is attempt to educate them and, b) the natives in question threatened to overwhelm the spaces they occupy.
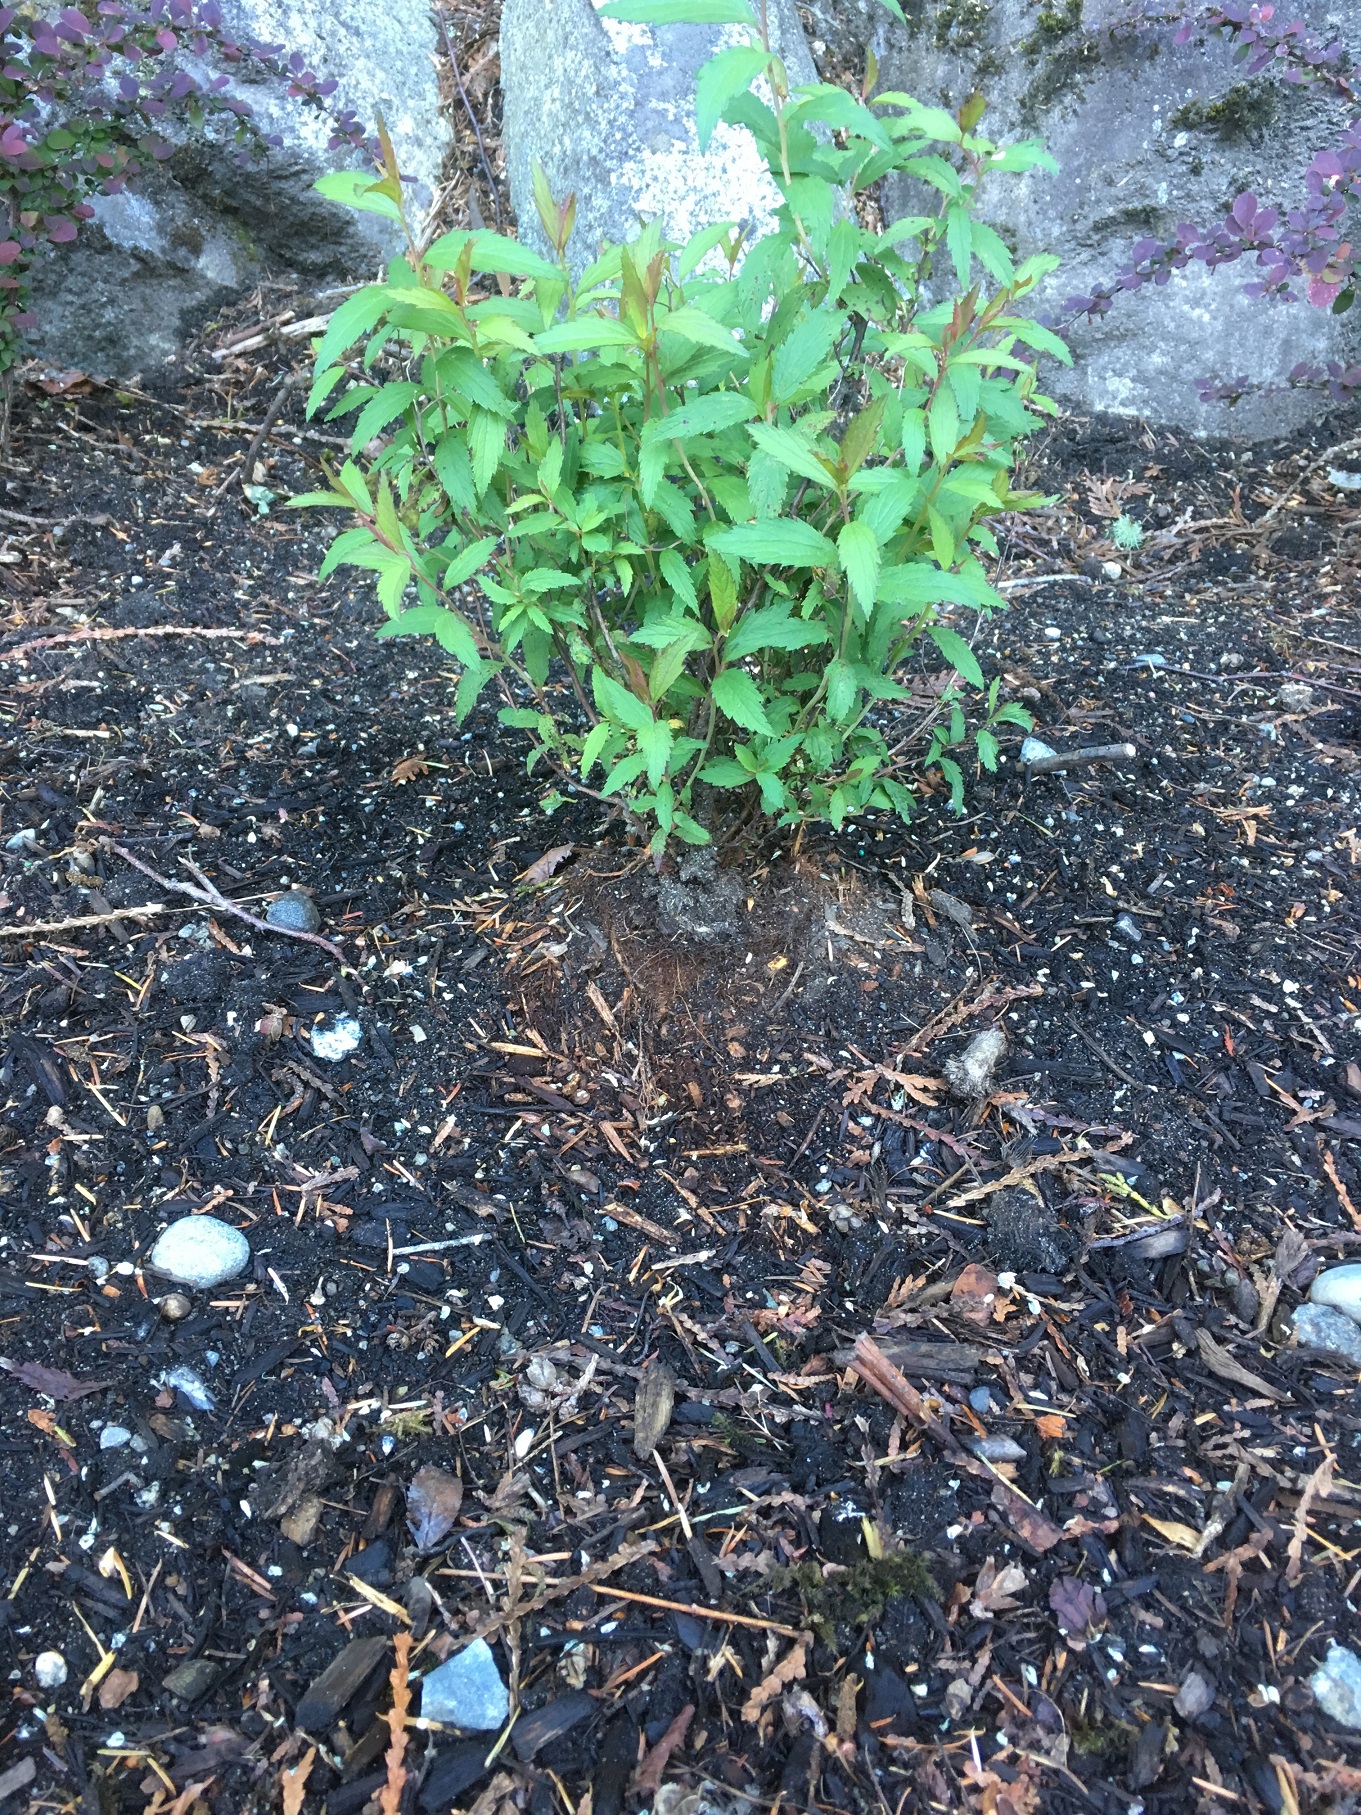
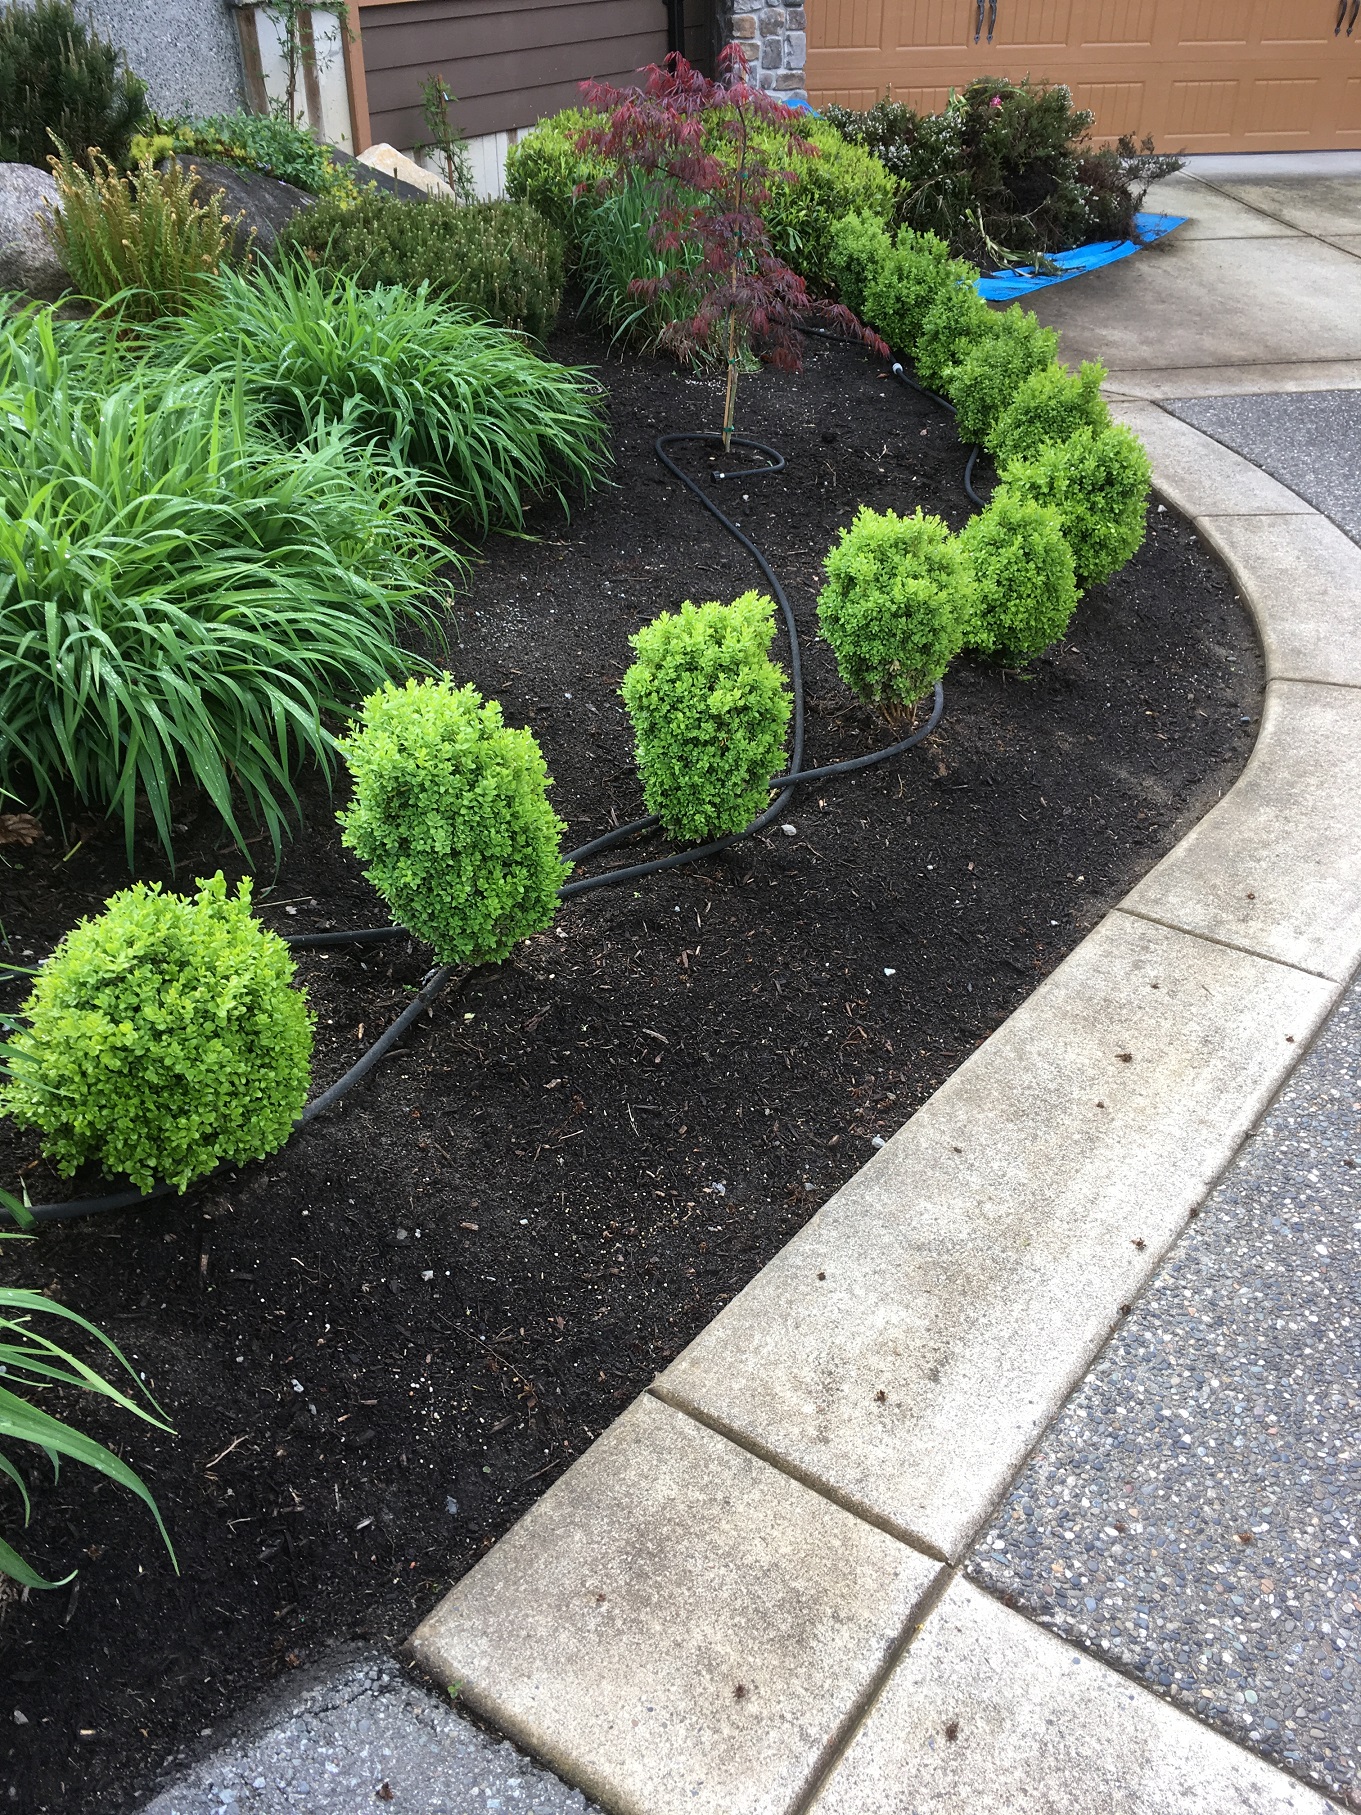
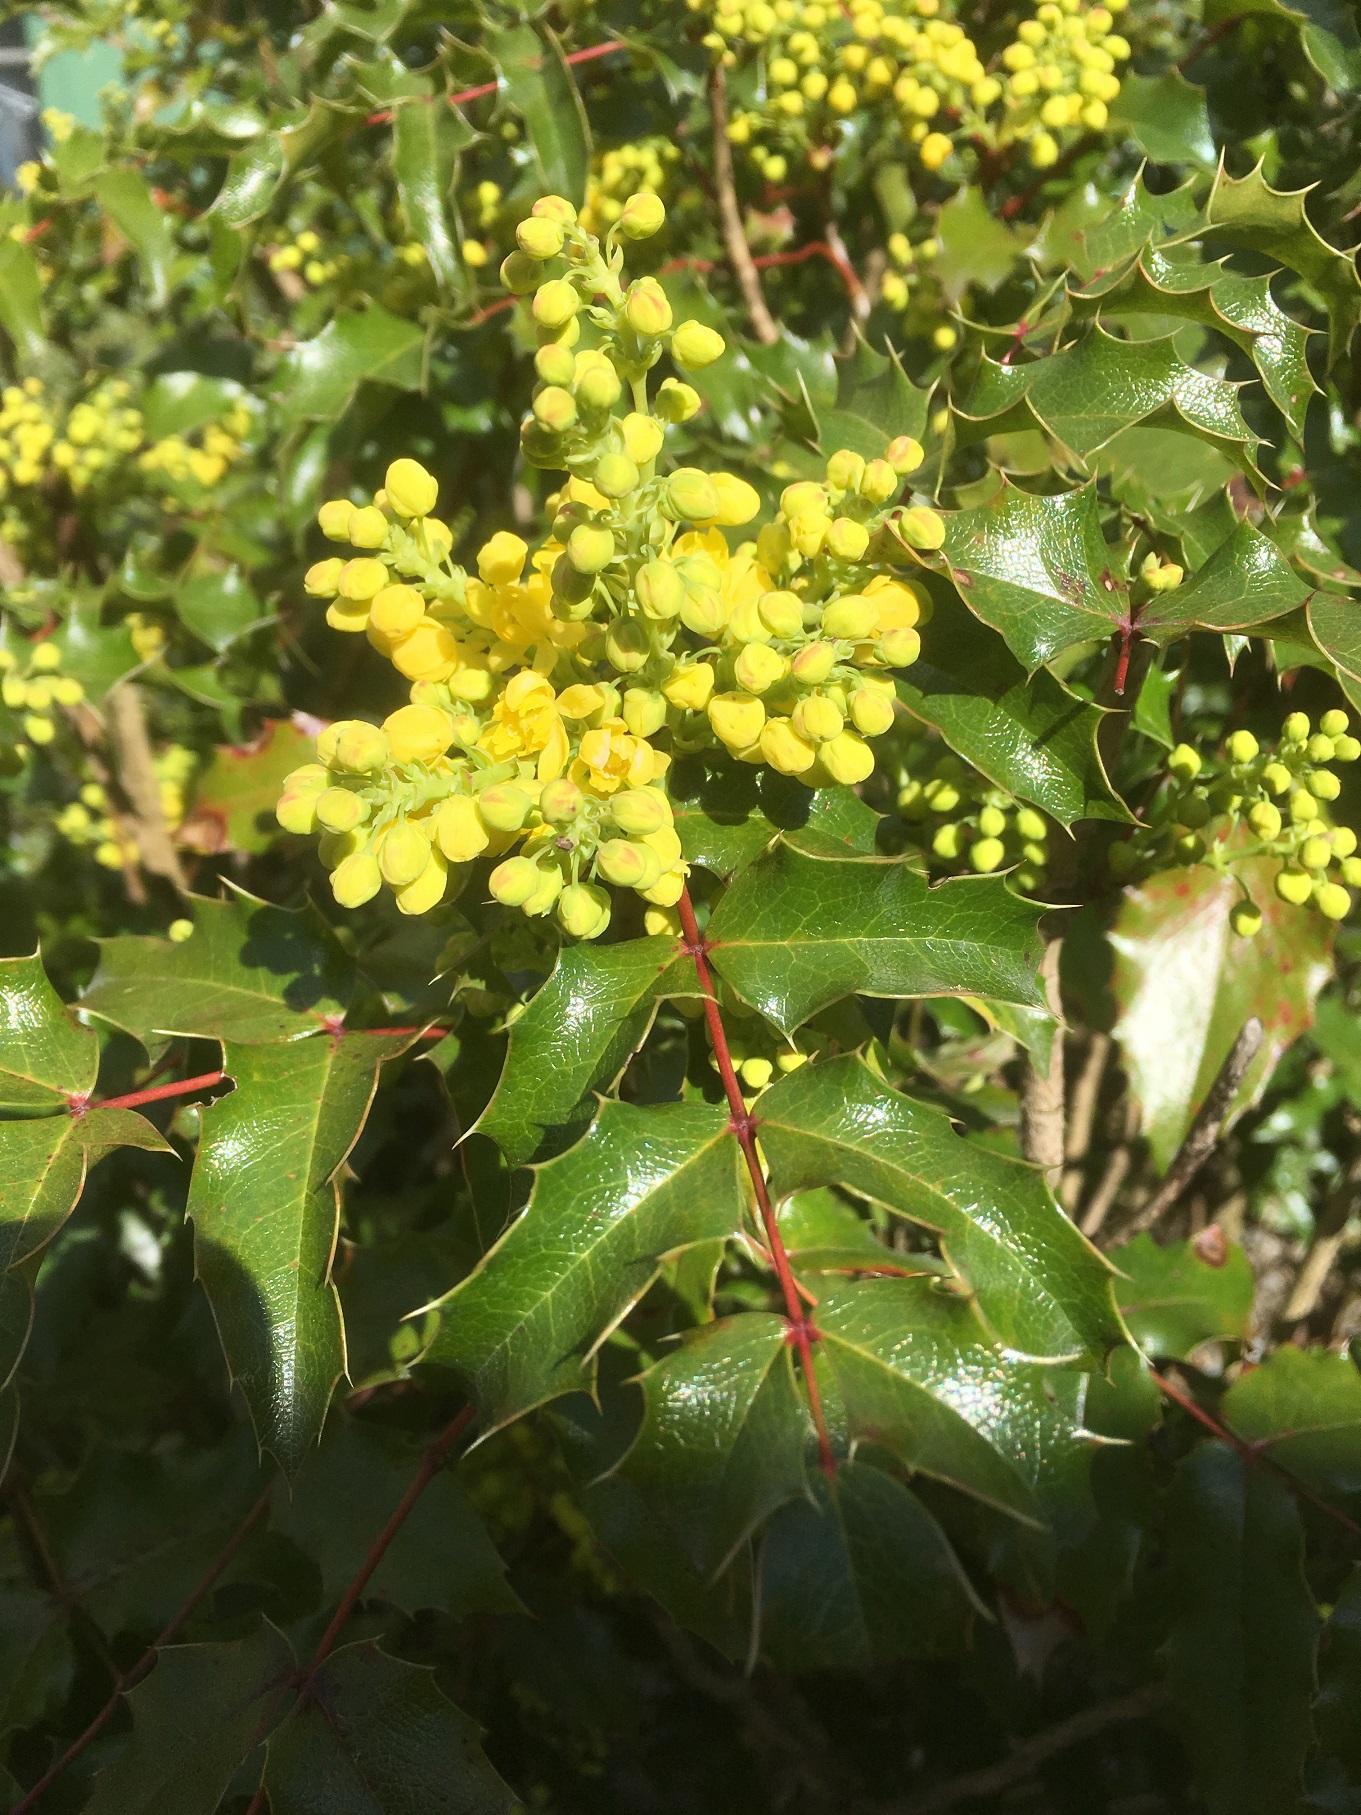
 

Salix discolor


IMG_7325

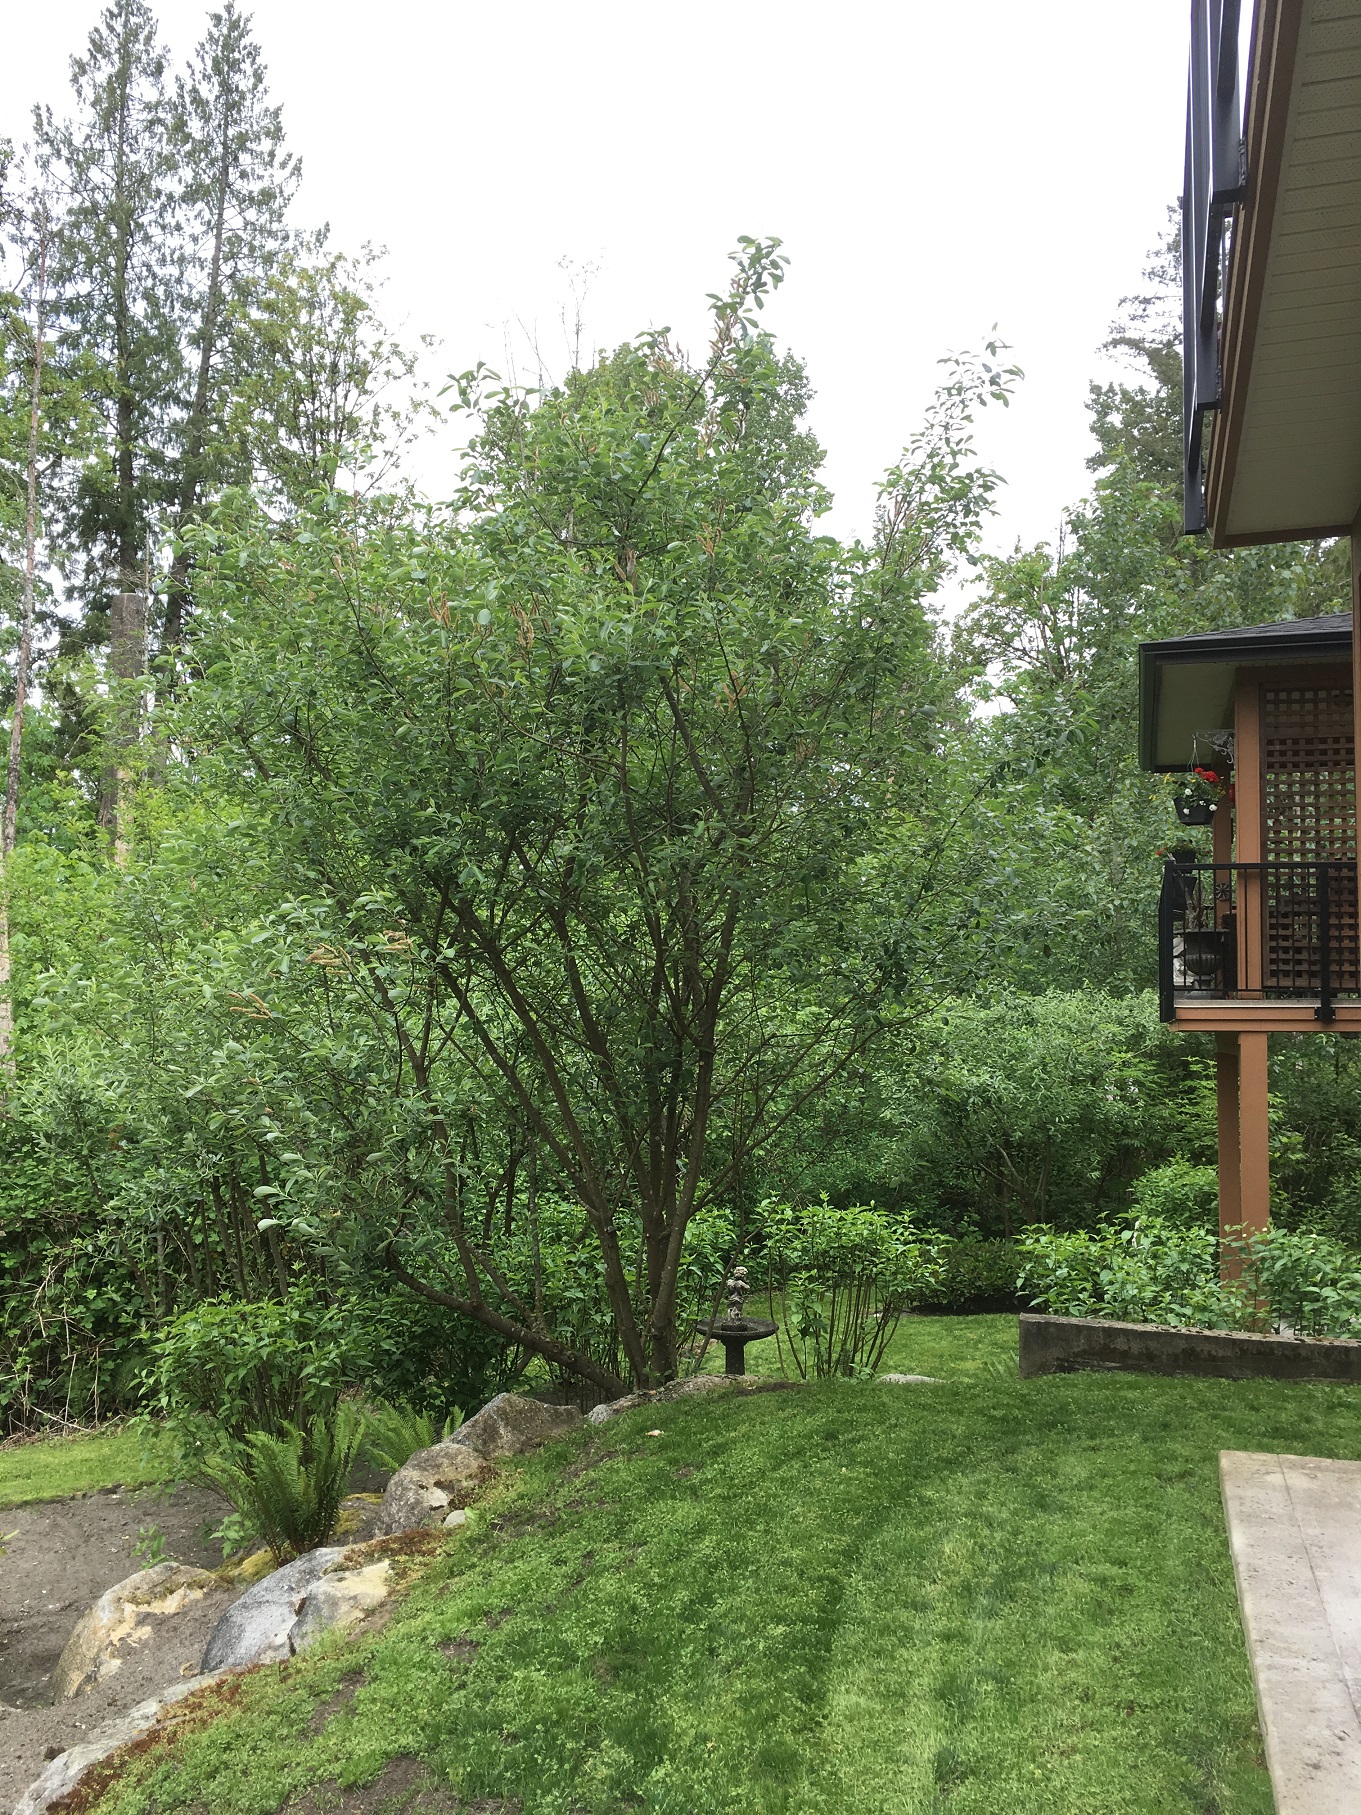
Before height reduction, Salix discolor. Note its landscape use close to woodland in the background.


IMG_7332


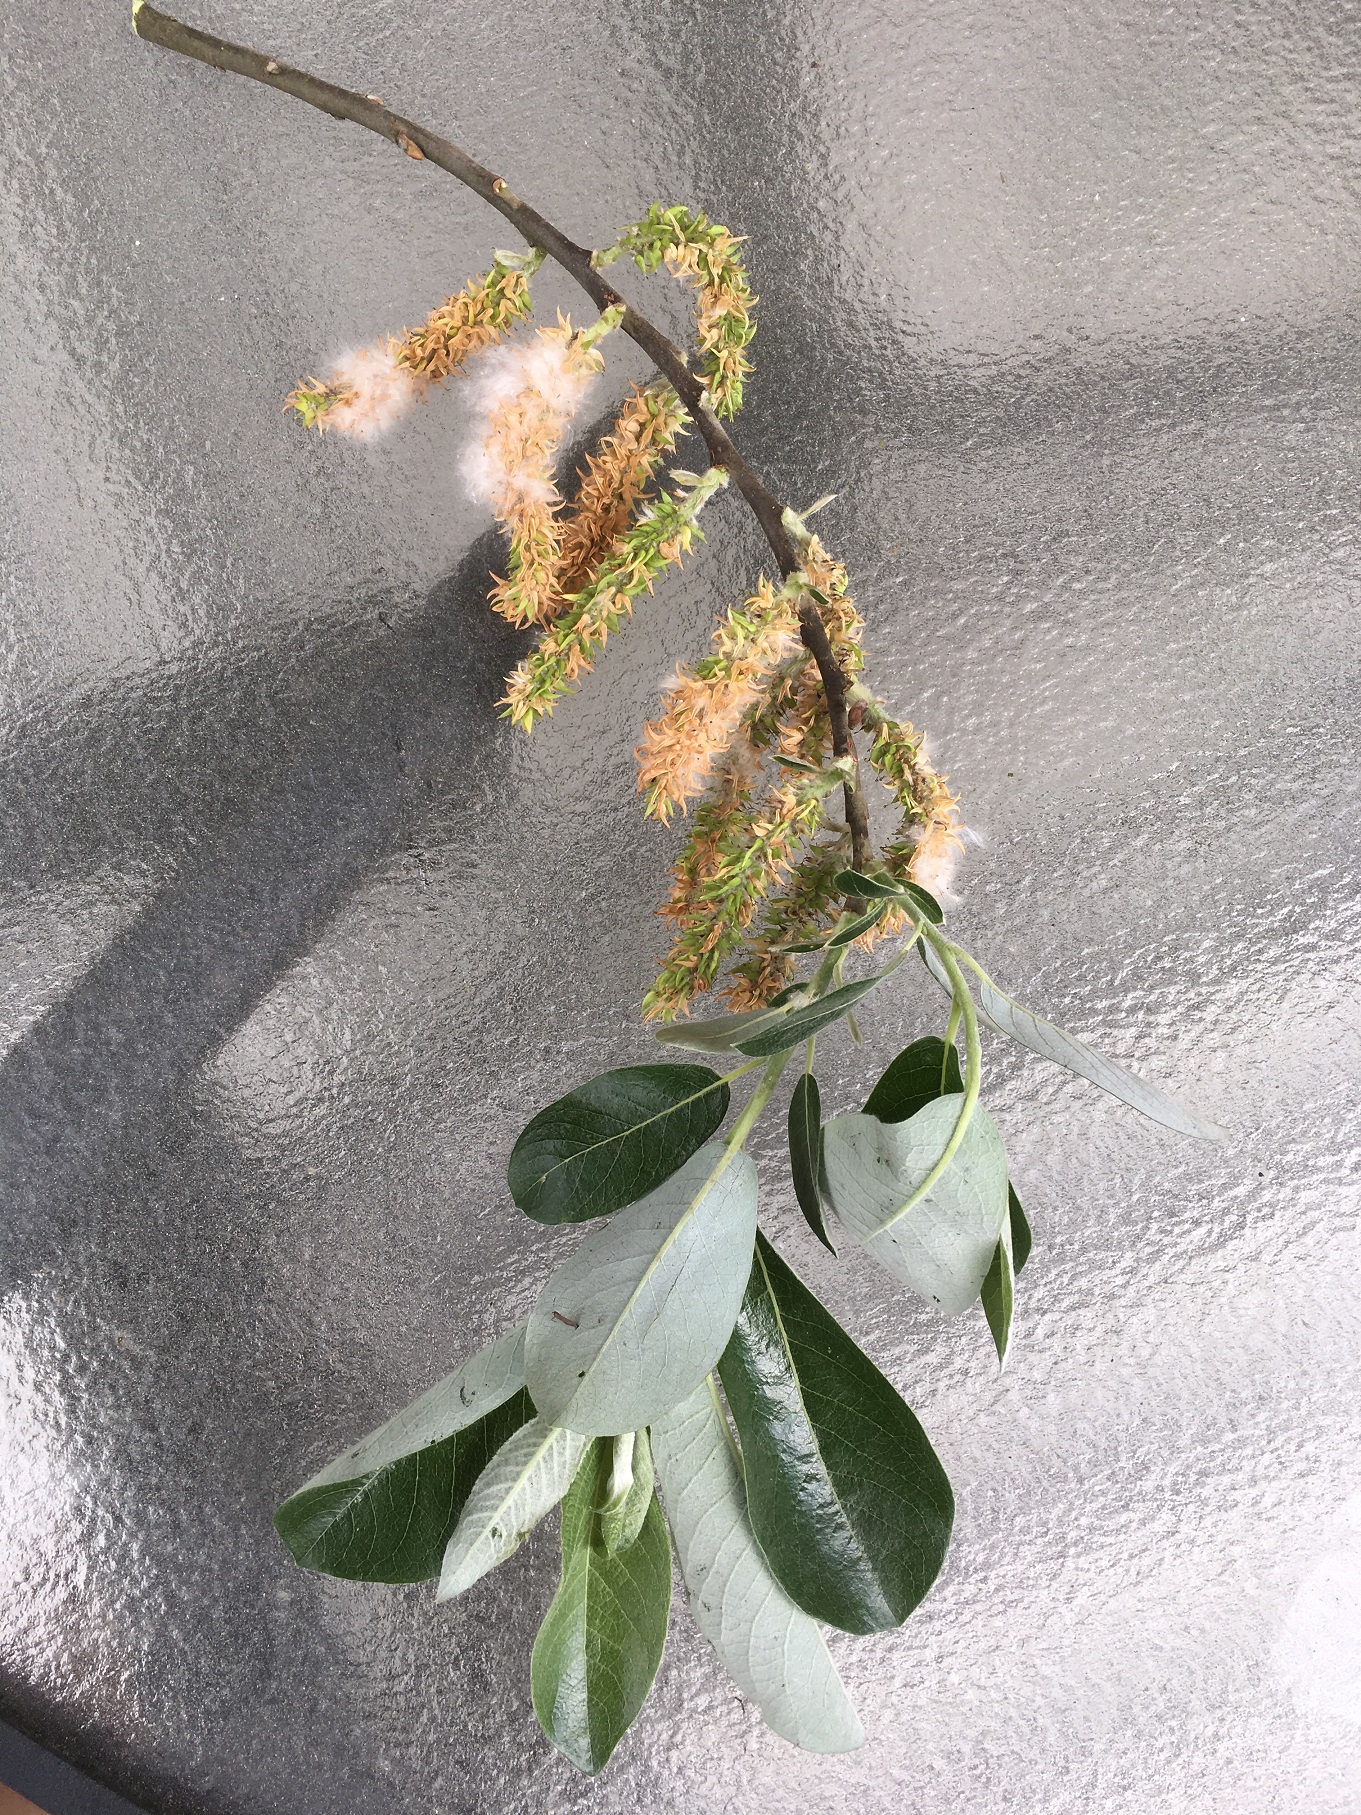
This is our native willow and it’s technically a shrub. In this setting it’s used as woodland margin shrub. But there is one problem. It reaches 7m heights quickly and the owners don’t want to see it from their upstairs patio, preferring instead to look at the tall native Douglas firs (Pseudotsuga menziesii).

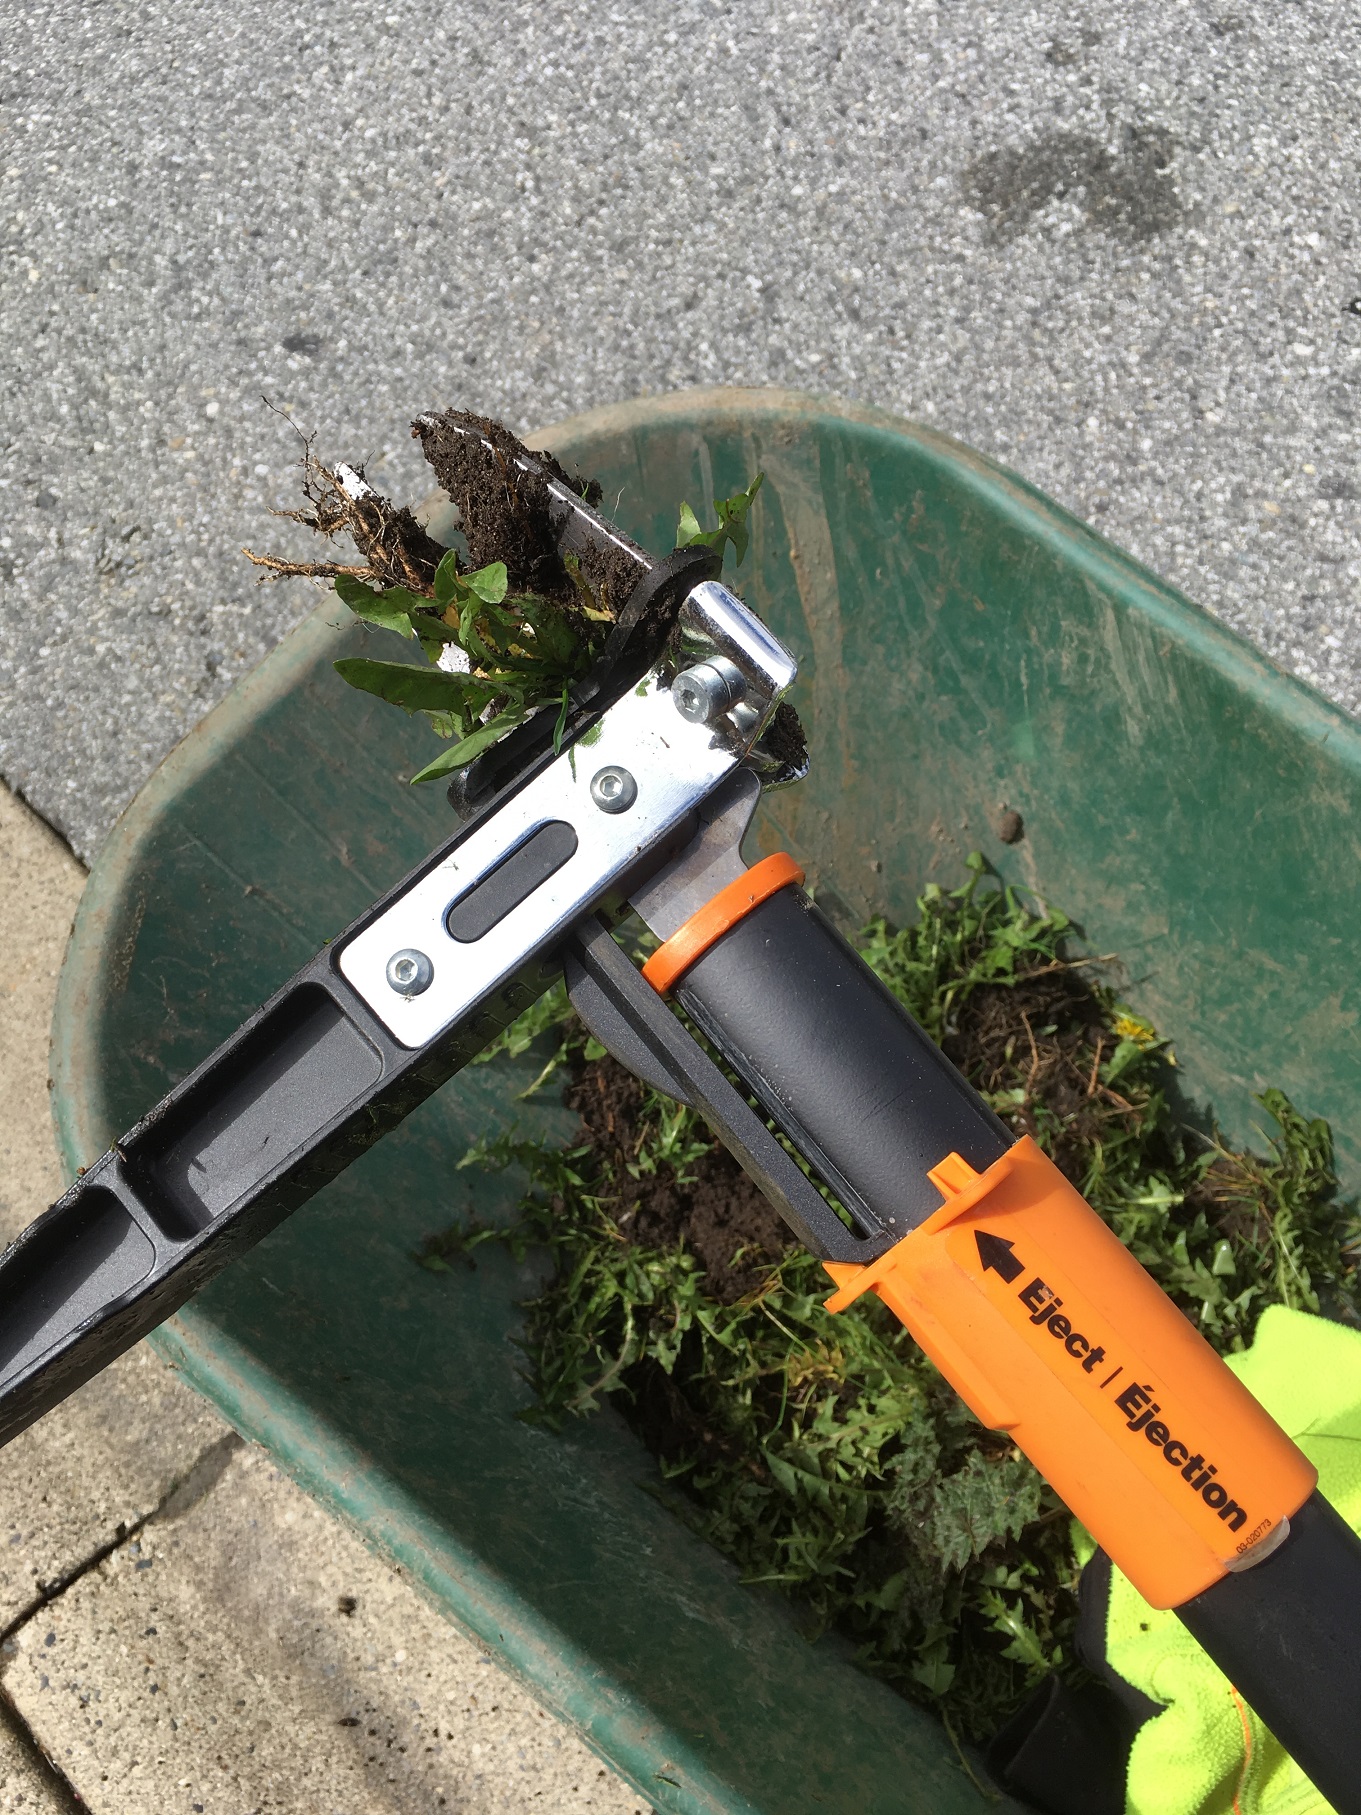
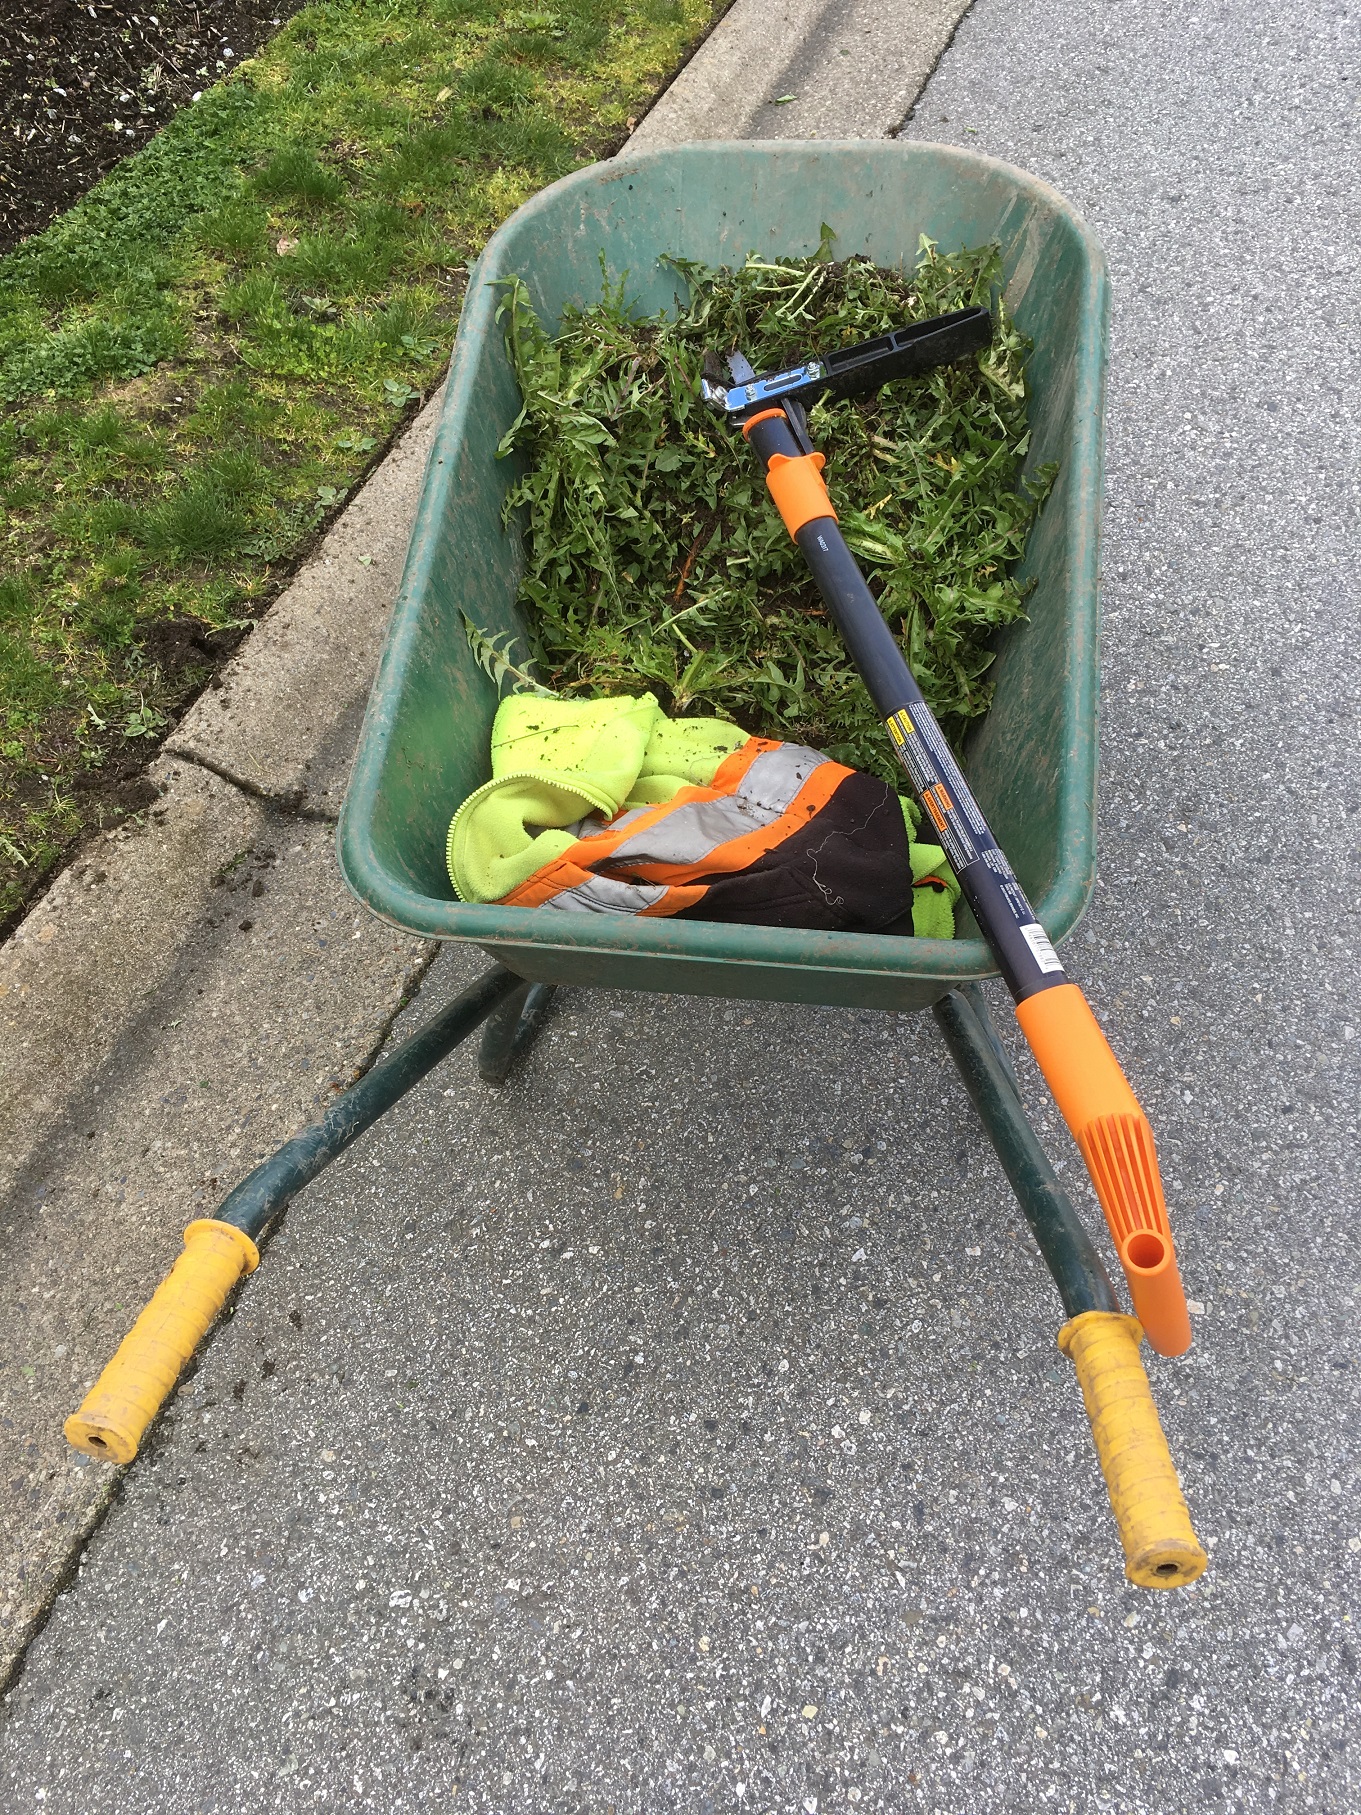
So I went in with an extendable chain saw, pole pruners, a ladder and my best friend, a Japanese hand saw. Remember, most tree work can be done with a good hand saw.

The idea was to bring the willow height down and it went fairly well although I was a bit frustrated with some of my cuts. The willow is very soft and if you fail to finish your cuts briskly then you risk bark peeling below your cut. But considering that this is a native shrub, I expect it to shoot out again after my assault.
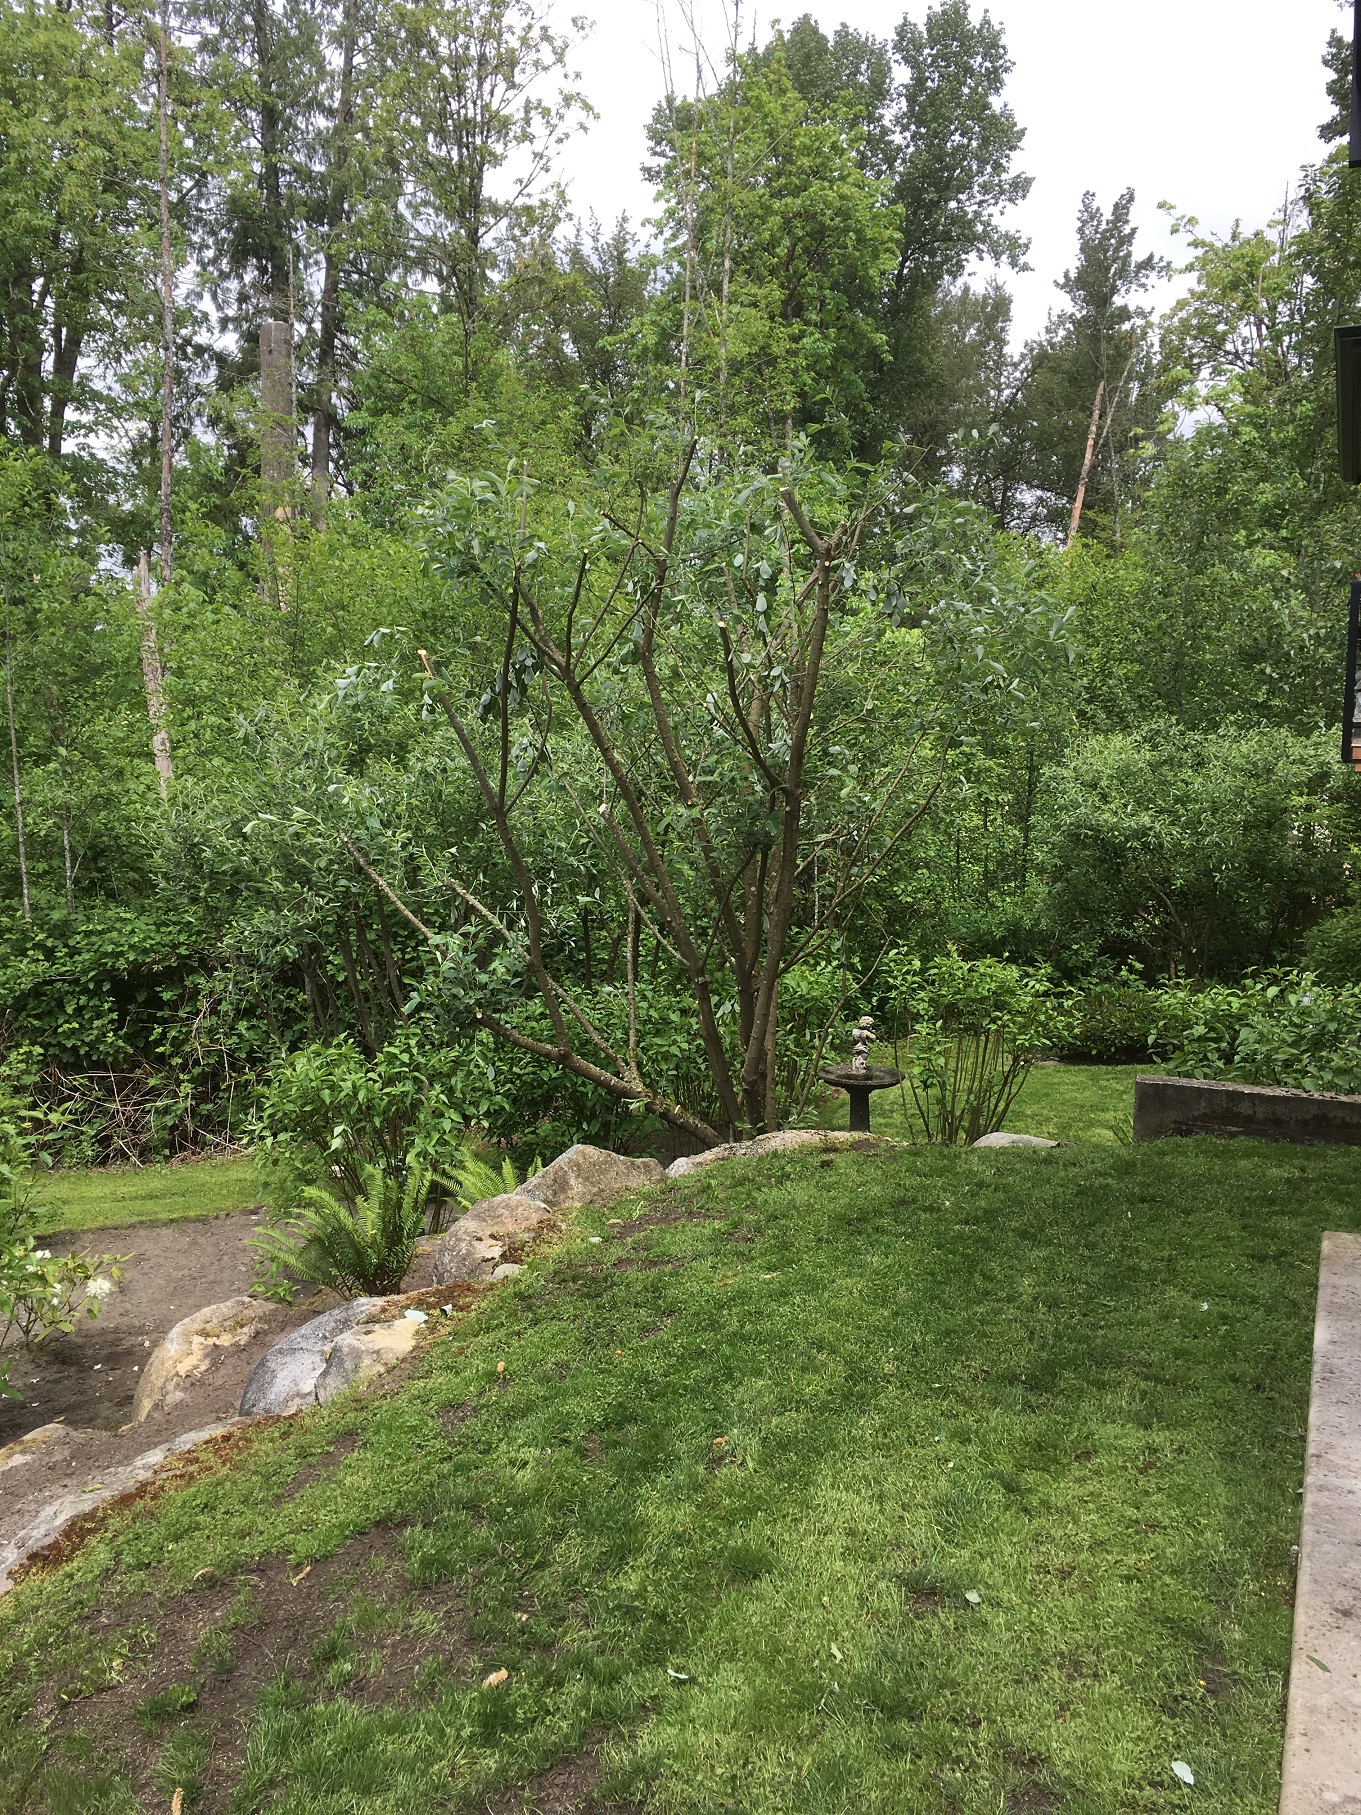
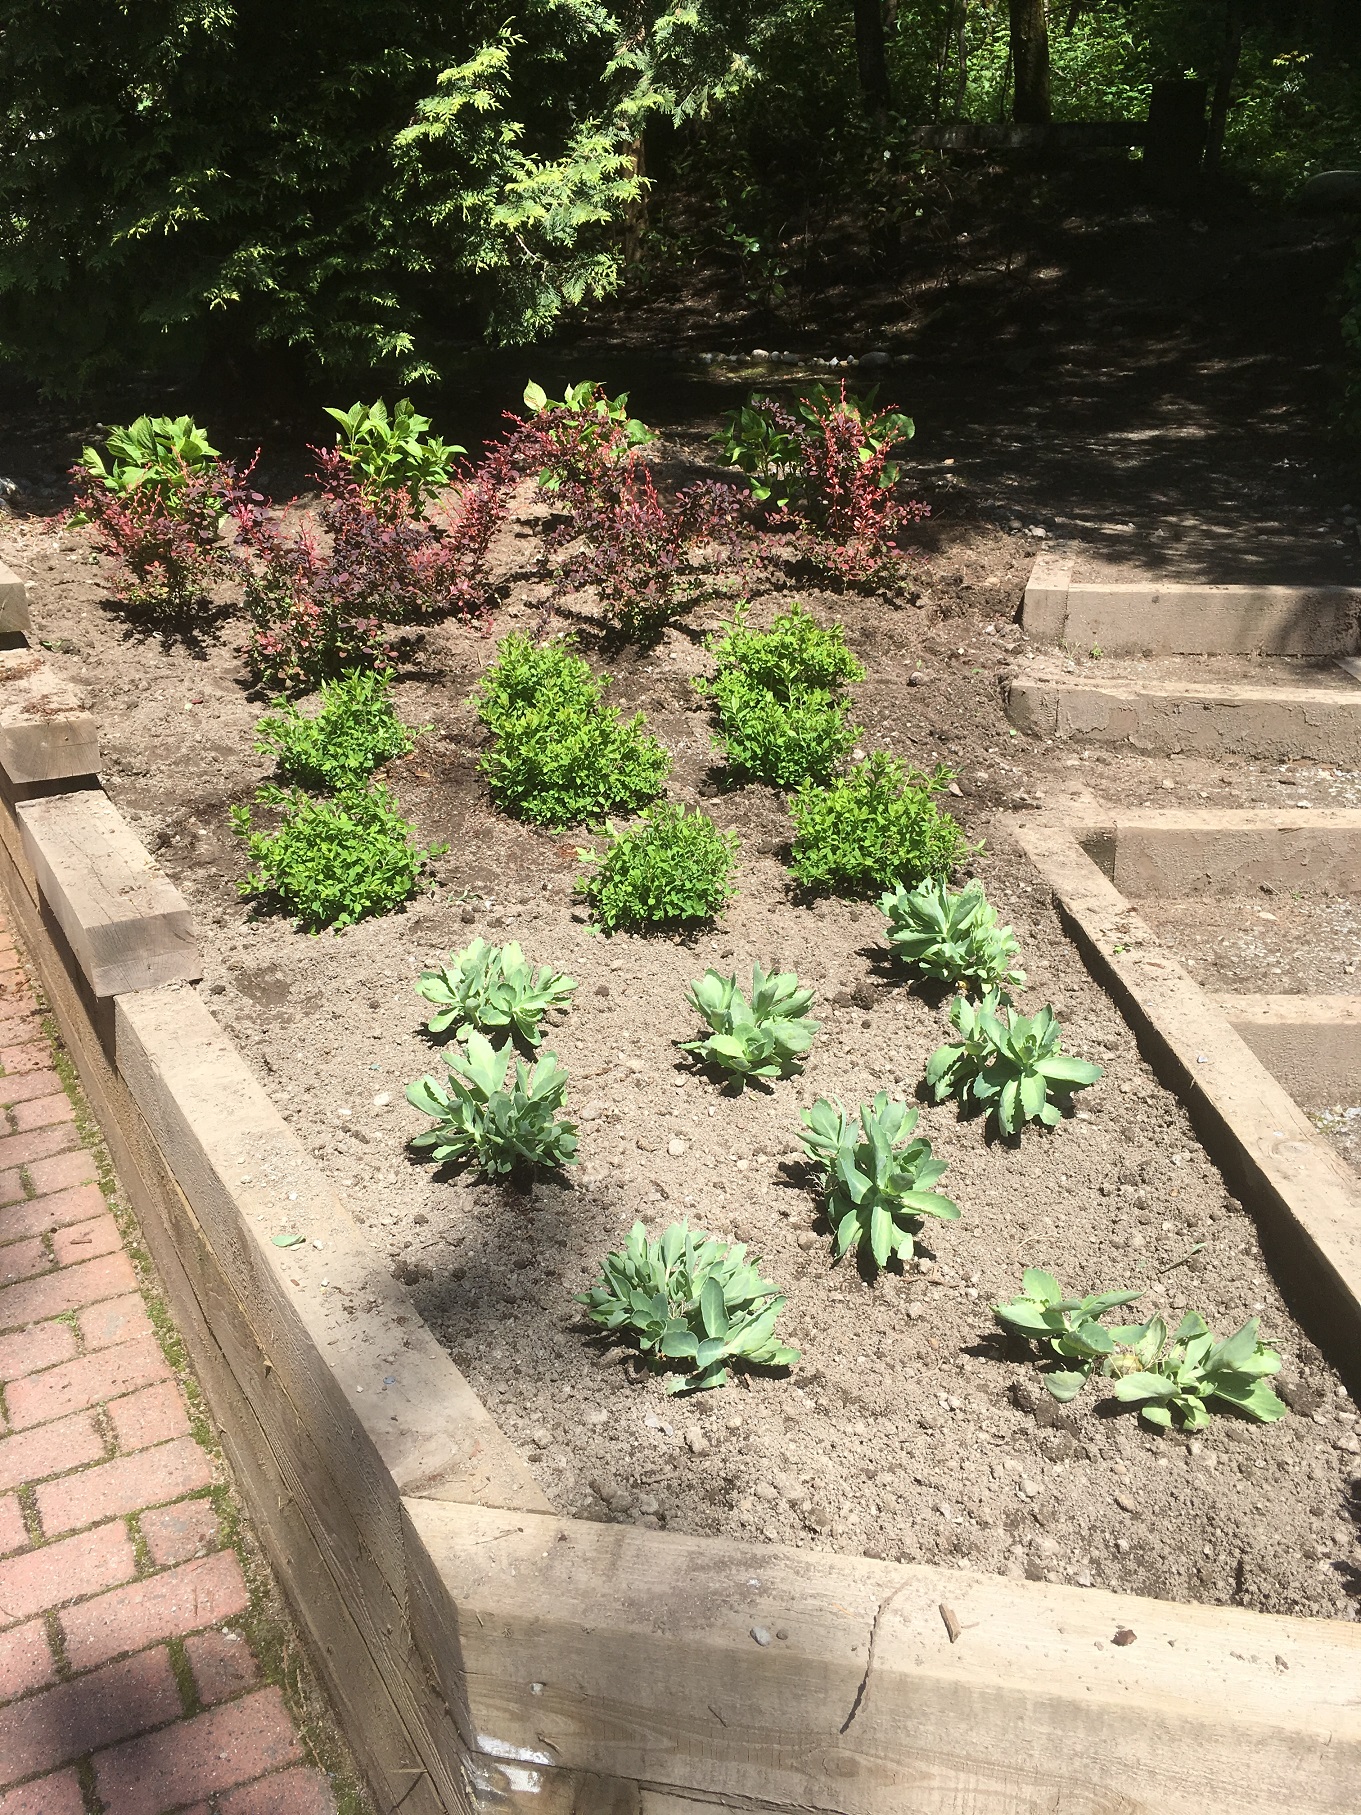
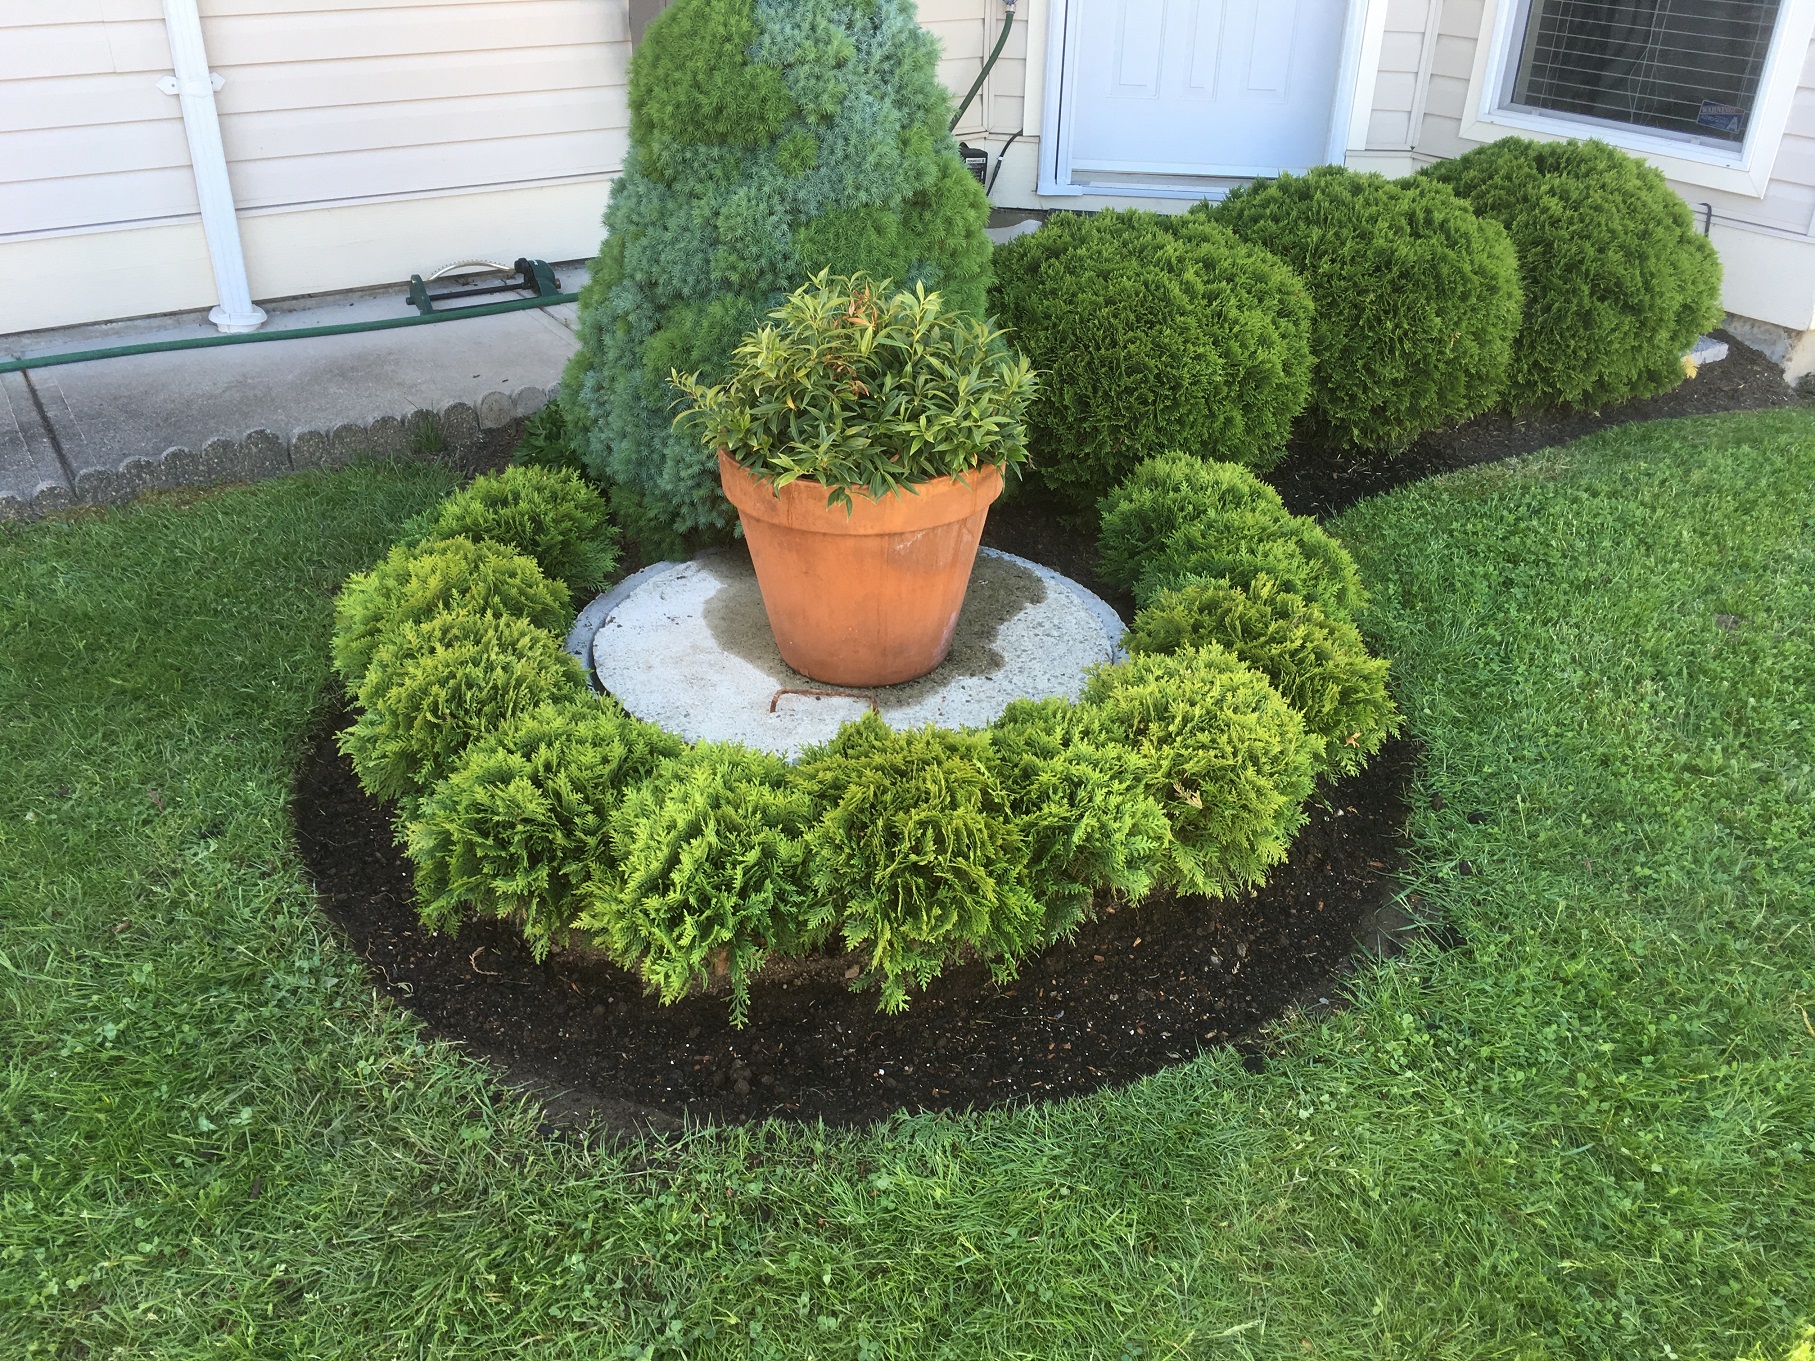
 

IMG_7336

After picture.


Acer macrophyllum


IMG_7339

BC native Acer macrophyllum with 5 lobed leaves (3 lobes dominate). The leaves are, well, big!


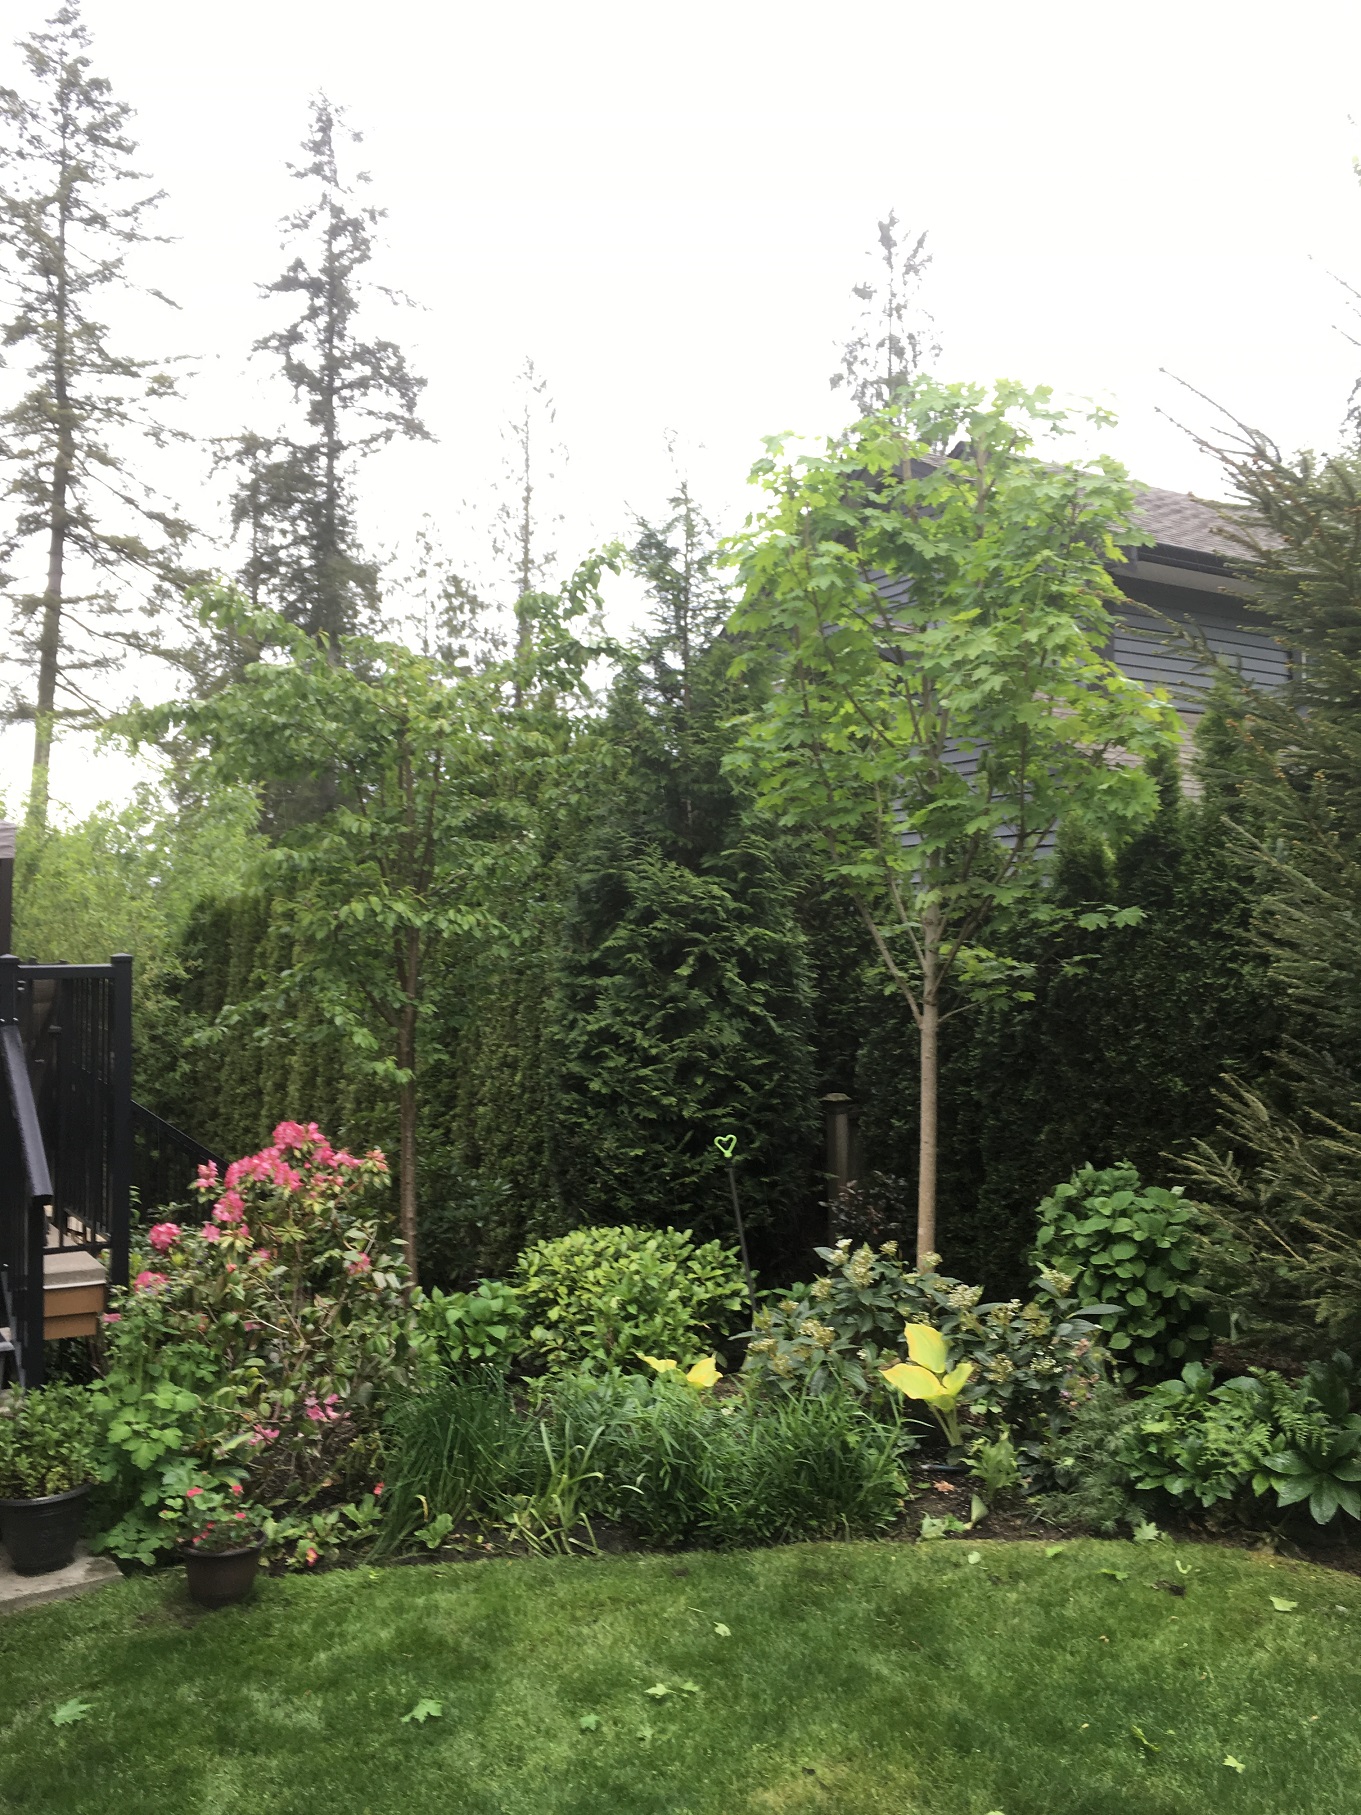
I wasn’t very happy about being sent in to top a maple tree but what do you do when the backyard belongs to the in-coming strata president? One look at his backyard made me wonder if the big leaf maple (Acer macrophyllum) was planted or simply drifted in. If you could look to the right you would see giants of the same species in the woods. There the maples are left alone and they reach the regular 30m tall, 25m spread dimensions.


IMG_6906

There is not enough space for this native species which will reach 30m without topping.


Here it is clearly not the right tree species so topping it is somewhat justified except, of course, the tree will grow again and I have a feeling I will get to know it intimately as the seasons pile on.

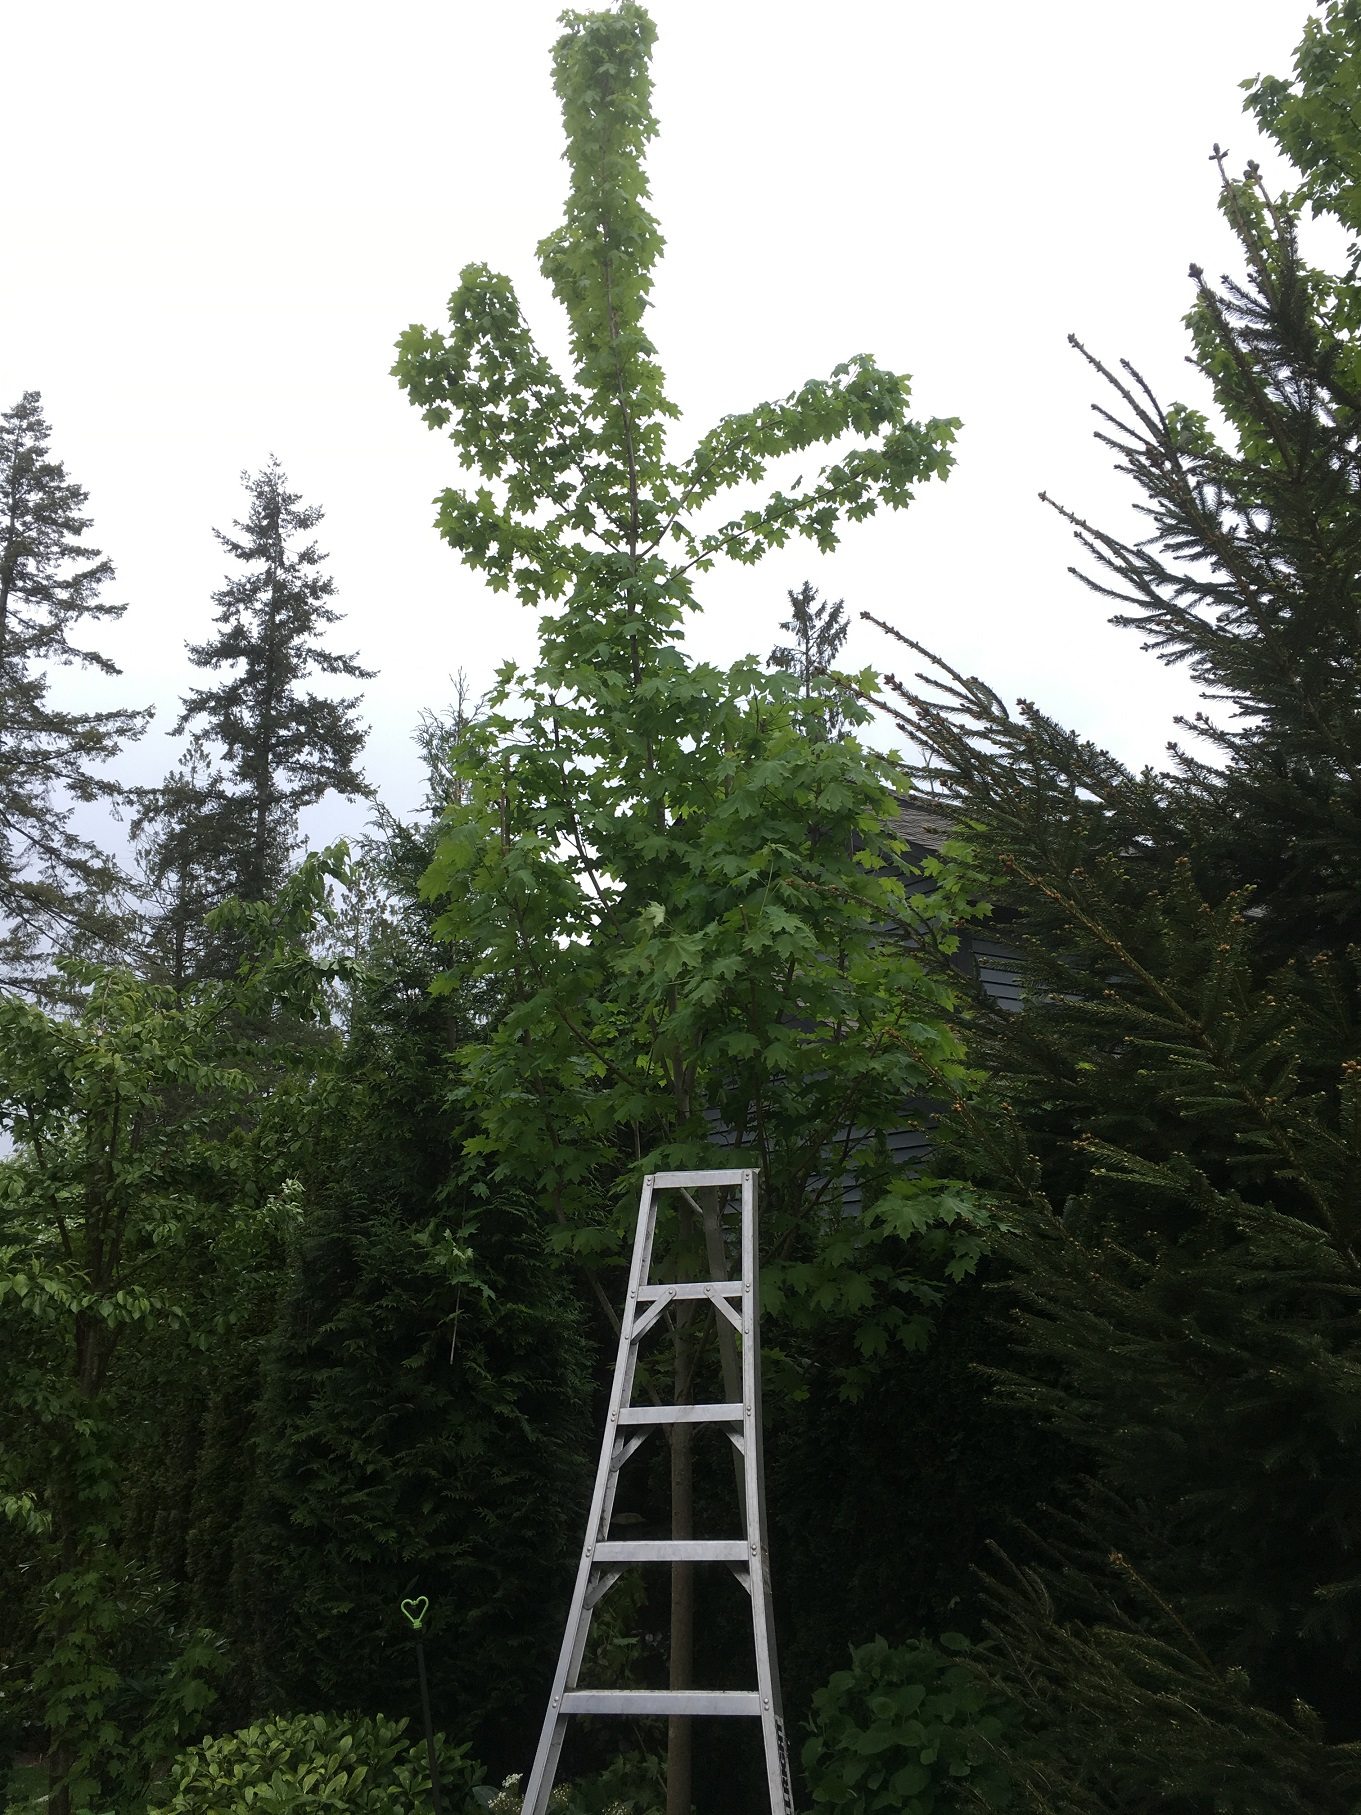
Most of the work was done with a pole pruner with the exception of the biggest leader. That required a saw and some care because there is a planted garden under the tree.

The owner was happy with my work (of course!) but all I was thinking about was how the tree did not belong there.


IMG_6910

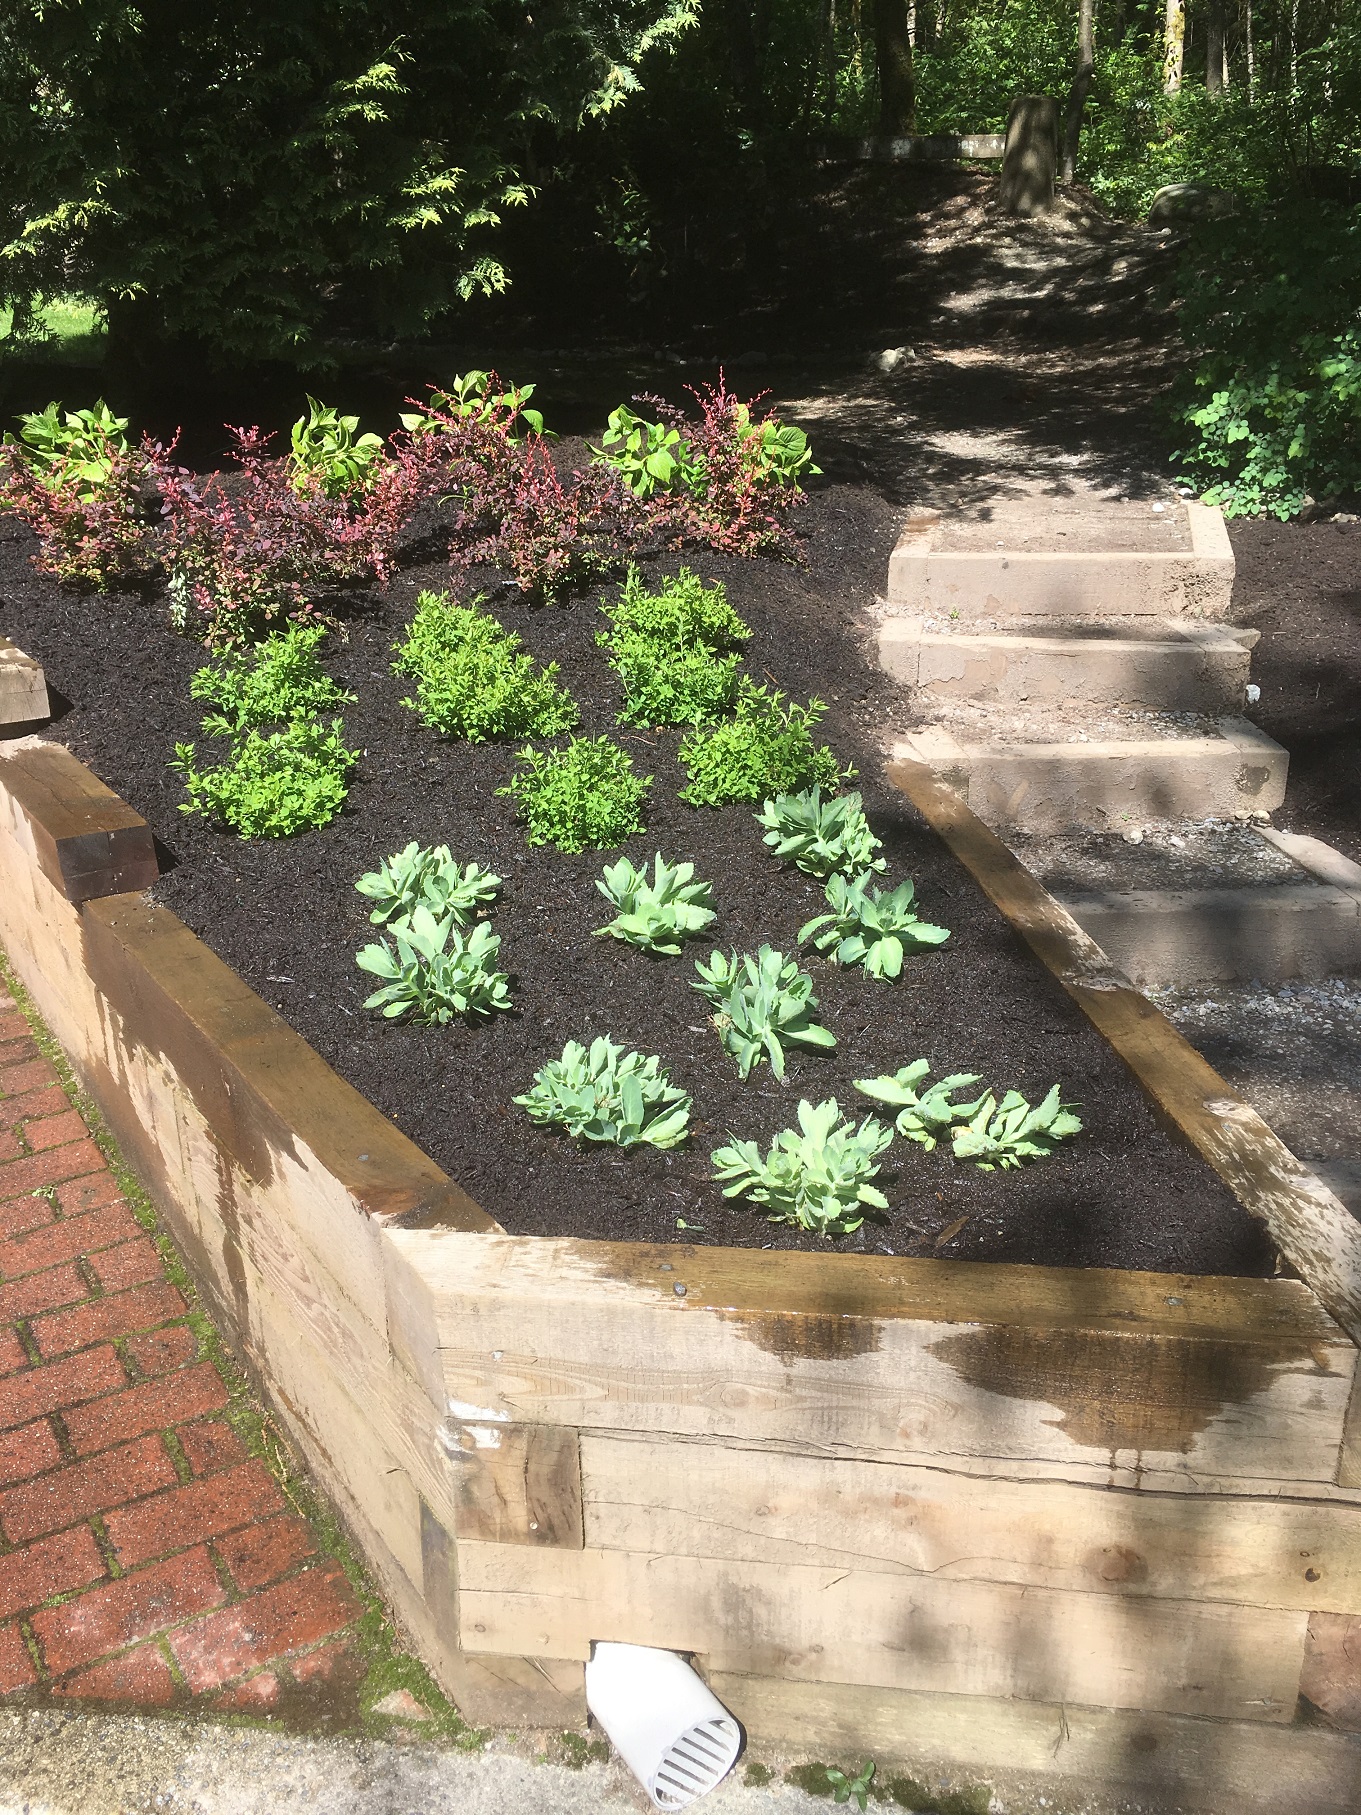
After topping picture.


Conclusion

Tree topping is a horrible idea but in some cases it has to get done. Please try to avoid it as much as possible. The big-leaf maple above will grow again which means I will get called in periodically to bring it down. The same is true for the willow which will eventually reach the upper patio sight lines.


Strata owners are addicted to flower colours!

By | landscape maintenance, Species | No Comments

When you work on strata title properties all week you notice two things. One is the repetition of plant material on all sites. And two, you notice the addition of bright flower colours by individual owners.

Repetition

If you read my blogs often you will know that I bring this up a lot. Trees and shrubs on our strata (multi-family) sites tend to repeat because they fit in with our mostly clay, acidic soils. I keep telling my new workers that, while this repetition might seem boring, it helps them with their plant identification skills. Once you learn Prunus laurocerasus ‘Otto Luyken’ you will keep on seeing it elsewhere. Then you will see it bloom and discover its scent. And if your skills are decent, you will get to hand snip or power shear it. Then you move on to the next shrub or tree until your plant ID skills become first rate.


IMG_7216

May 15, 2018, Prunus laurocerasus ‘Otto Luyken’. If you don’t notice the scent, get closer until you do. It’s not bad.


Power colours

As you work in various strata units you start noticing annuals and perennials with bright colours. That’s usually the work of female owners but I also confess to picking up cheap plants at RONA. Like Lithodora diffusa. I planted one on my patio and now when I see it in a garden I know what it is. No surprises. It barely cost a few bucks.


IMG_7203

Lithodora diffusa


Examples

It’s mid May 2018 now so let’s take a look at what other specimens are favoured by home-owners. You might want to get some for your own place.


IMG_7210

Osteospermum


IMG_7213

Dahlias are very popular!


IMG_7202

Dianthus, another popular plant. I know of one yard where the owners planted various cultivars of this plant. That’s love or obsession.


IMG_7214

Geranium, another quick and cheap way to add colour to your place.


IMG_7229

Poppies tend to spread but they look fine in afternoon sun. I love yellow.


IMG_7224

Alliums are also very popular but here it’s just one lonely specimen by the door.


IMG_6359

Monardas are nice!


IMG_7204

Clematis is a popular vine. Just keep the base of this climber cool.


Do you know how to handle installs with soil amender?

By | landscape maintenance, Strata Maintenance | No Comments

It’s always a great idea to top-dress any new plant installs with fresh and fluffy soil amender. The newly planted beds get an instant dark look and the plants benefit from having new soil amender close by. At roughly $30 per yard it’s money well spent.

Key idea

When you install fresh soil amender your bed looks nice and fluffy. Congratulations! But you must not forget that the soil amender will settle. I got a reminder of this recently when I had to re-do a bed where many plants were planted too high. What really happened was that the soil amender came in first before the plants; and the young dudes doing the plant install failed to properly account for settling.


IMG_6922

This Spirea japonica is clearly sitting too high after the amender settled.


IMG_6925

This is better.


When you bring the amender in from your local supplier it’s dark, fluffy and beautiful but eventually it settles as it loses it’s fluffiness. So if you’re planting in this kind of situation, remember to adjust for settling. Otherwise, you will be like me replanting several specimens that are clearly sticking up and showing their roots.

Native soil

It just so happened that I was installing new plants next door to this area and on this day the plants came first; then we brought in soil amender for top-dressing. This approach has obvious advantages. One, the plants are planted in native site soil, not in fresh soil amender; and two, the planting level is obvious so we don’t have to guess at future amender settling.

Once you’re done top-dressing, it’s always a good idea to water in your new plants. Also, if the soil amender is still warm, try not to pack it directly around the plant stems. Instead, leave a bit of space between the plant stems and soil amender.


IMG_6939

Finished plant install in native soil, before soil amender application.


IMG_6944

After soil amender and watering. This frequently used staircase area now looks much better.


Conclusion

Soil amender settles over time so try to plant in native soil and then top-dressing. Planting directly in soil amender means that your plants could be sticking out too much once the amender settles.

Always top dress your newly planted beds with soil amender because they look better and it benefits the plants. Water your new plants in.

Can you handle boxwood aroma?

By | Landscaping, Species | No Comments

Last spring one strata owner approached me regarding boxwoods (Buxus sempervirens) by her front door. Allegedly they smelled bad and she wanted them removed. Yeah, sure. Once she shut the door I bent down and smelled the green foliage. The aroma was completely neutral: I didn’t love the smell nor did I detest it enough to pull the plants. Then a new foreman took over the site and I forgot about it.

Now let’s fast forward to spring 2018. After making landscape upgrades at one of our sites, one corner unit had a new boxwood hedge installed by their front door. It looked great but the owner’s wife couldn’t handle the smell!? So we had to pull the boxwoods and replace them with dwarf cedars.


IMG_7113

These “smelly” offenders were removed and replaced.


I couldn’t believe it. There it was again: female occupant unable to handle the smell of her boxwood hedge. And a new blog post was born because I had to look this up.

Searching for aroma

According to one internet source, boxwoods get their scent when the sun heats up the oil in their leaves. I find that I have to get really close to the plant to smell anything. And there are people who compare the boxwood scent to cat urine. Others get reminded of their time spent in gardens. Personally, I fall into a neutral category: I don’t find the scent attractive, nor do I detest it. I simply notice the plants.

Buxus

Boxwoods are great! They can be sheared into formal hedges and they stay green all year. In one case four owners got together and they replaced tired-looking Heathers with boxwoods.


IMG_6894

Note the pile of discarded Heathers.


IMG_6896

Buxus


Actions

So what can you do if you want to avoid boxwood aroma issues? For one, don’t install Buxus sempervirens by front doors or by any frequently used area in your landscape. And two, plant Buxus microphylla which doesn’t sport the same offensive aroma. Finally, you can replace the boxwoods with something else.


IMG_7129

The switch is completed.


The key idea is that everything depends on your own sense of smell. Some find the boxwood aroma unbearable and some get reminded of the happy times they spent in gardens. So next time you see boxwoods, bent down and smell them.

You can also learn about boxwoods by joining the American Boxwood Society.


Unsung landscape hero: Liriope muscari

By | Species | No Comments

The first time I really noticed Liriope muscari I was a municipal parks worker maintaining a sports complex. I noticed the mass planted clumps of green but I had no idea what they were until my knowledgeable co-worker helped me out. After you read this blog post I hope you will agree that this plant is a workhorse in our landscapes. I would say it’s an unsung hero.

Landscape uses

Liriope muscari is a perennial with grass-like evergreen foliage and it works well either as mass-planted groundcover or as a border along sidewalks. This is precisely where I ran into this plant again early in 2018. I was helping one of our foremen at a new site and as we walked along he asked me what the grass-like plants were. And I was ready to answer his question thanks to my municipal experience.


IMG_4404ed

Liriope muscari border use


IMG_1009 (12)

Liriope muscari groundcover use.


This plant fits perfectly between the fences and the sidewalk. The grass-like foliage shades out any weeds and the plant doesn’t spread aggressively. One big bonus is that Liriope muscari doesn’t require any maintenance. All you have to do is cut back the old foliage.

The plant prefers full-sun to part-shade conditions but it tolerates different types of soil and light, heat, humidity and drought! Not bad at all. That’s why it’s a landscape workhorse.

Bonus flower

Liriope muscari produces flowers in late summer which then turn into single-seeded berries on a spike. My picture shows a white flower but you will most likely see purple flowers.


IMG_1010 (11)


Lawn edging

When I opened a recent issue of Fine Gardening magazine, I noticed a hint from a reader. Instead of deep edging his lawn-bed border he plants Liriope muscari. Then when he mows his lawn he just brushes by the plants and allows them to define the border between lawn and planted bed. Mowing is easier than establishing and maintaining a deep edge. I really like this idea.


If you need a good, low-maintenance perennial for your border or groundcover, you should try Liriope muscari. It tolerates all kinds of conditions, requires minimal maintenance and it produces nice flowers and berries. It deserves its unsung hero label.

How I spent an afternoon with dandelions

By | gardening, Landscaping, Species | No Comments

Dandelions (Taraxacum offcinale) didn’t become unwanted weeds until the twentieth century, probably just as green lawns became the norm for detached houses. Ted Steinberg shows us how the whole quest for perfect lawns happened in his book “American green.” This blog post will show you that you can actually have some fun pulling dandelions from your lawn.


IMG_5863

Taraxacum offinale


Strata setting

Stratas or multi-family complexes also demand lush green lawns so that’s why I got to pull dandelions one afternoon from high-profile front lawns. And after mowing for four hours straight, it was a welcomed cool-down task.

The yellow dandelions stick out too much and kill the green monoculture look so they have to go. And I had a great, sunny afternoon at work pulling them out.

Fiskars tool

This was also my first time using and testing Fiskar’s weeding tool which promises easy weeding without bending over. Great. The tool worked perfectly fine but allegedly some of the other units fell apart quickly.

Step 1

The unit has a plastic orange slider which gets the tool ready like a one-shot gun. Pull it up and get ready to aim.

Step 2

Aim the tool right over the dandelion leaf rosette and plunge it in. You need good aim and decent soil. Our lawns were fine so forcing the tool in was relatively easy. My aim took a bit of time, especially when the plant was smaller. I still had to bend over to pick up leftovers and pull out very stubborn specimens.

Step 3

Step on the black plastic bar. This tilts the tool and pulls up your dandelion, assuming your aim was good. No bending over required.


IMG_5457

Step on the black bar to pull out the weed without bending over.

Step 4

Move the plastic orange bar down to release the captured weed. This step reminds me of removing a spent gun shell. Definitely use a tarp for your weeds unless you’re mowing the lawn right after. I brought a wheelbarrow with me.


IMG_5458

Slide the orange bar down to eject the captured weed.


IMG_5461


Cool plant

According to Wikipedia, in the past gardeners used to weed grass from around dandelions. How things have changed. I remember playing with dandelions as a kid but now as a landscape professional I’m not allowed to tolerate them in the landscape.

I knew you could make tea from dandelion roots because once I bought a box and actually drank the tea. And you can eat every part of the plant. The roots are best consumed in late fall or winter when they’re not as bitter. Both flower buds and leaf rosettes can be eaten.

I don’t want to list all of the health benefits here but let’s just say dandelions contain a lot of good stuff. I think they’re amazing plants.


IMG_5476

The entire plant is edible!


Plant photo essay: spring sun edition

By | Plant Species Information, Species | No Comments

I love sunny spring mornings. The plants look great in the sun and the mornings are still cool enough for me to thoroughly enjoy. Yes, the landscape is finally alive. I dream of these days when I work outside in the winter landscape. So let’s take a look at a few common plants I shot with my iPhone in the sun.


IMG_6165


Tulips don’t come back reliably every year so try to change them. Have some fun and experiment with different color combinations. I love this yellow red variety.


IMG_6498


It’s a riot when Rhododendrons are in full bloom. I don’t see too many yellow flowered Rhodos.


IMG_6143


Bergenia cordifolia is a fantastic perennial. I even devoted a short blog post to it. Enjoy the flowers and then just clip off the flower stalk when the show is over.


IMG_6396


Ribes sangiuneum has attractive early spring flowers.


IMG_5265


Mahonia aquifolium is a common landscape plant with prickles on its leaves. I like the warm yellow flowers on this landscape workhorse.


IMG_6397


Vinca minor is now considered an invasive groundcover plant but the purple flowers are attractive. I have salvaged Vinca in pots on my patio and they work well there. Garden centres still sell them.


IMG_6176


Euphorbia hybrid cvs. is hard to miss in the landscape because of its prominent flowers. If you have to prune them you will discover the sticky white sap that courses through the plant.


IMG_6428


Japanese maples (Acer palmatum) are landscape all-stars. I love the reddish leaf margins.


IMG_6502


Katsura trees (Cercidiphyllum japonicum) are stunning in full bloom.


IMG_6161


Magnolia trees are also flower champions but sadly the flowers don’t last very long. In full bloom the trees are stunning.

What’s growing in your garden? What are your favourite plants? Feel free to post a comment and share your favourites. I’m looking forward to working in more spring sun this week.


Bad news for people who enjoyed Garden Making magazine

By | Education, gardening, Magazines | No Comments

All good things must come to an end. Sadly. One example is the Canadian garden magazine Garden Making. I received the bad news from Garden Making magazine last year. Because of declining advertising revenues, lack of subscribers, and the high cost of hiring good writers and photographers, the magazine didn’t make sense financially. So the beautifully produced print edition had to go. Great! Not what I wanted to hear.


The last No. 32


IMG_5007 (1)

The last print edition of Garden Making magazine.


So imagine my surprise in late March when I discovered Garden Making magazine issue no.32 in my mailbox. Yay! Did they find new money to continue? No. This was just one last issue called Garden Solutions. Which made me wonder if there was a solution to problems with publishing print copies of a garden magazine in the internet age.

The editors called their magazine a labour of love. And it really was. They hired good writers and photographers and every issue was a learning experience. Now all that remains is the online version. And I’m back to buying copies of Fine Gardening (USA) and Horticulture (USA). Sadly, there is nothing in printed form left in Canada.

Digital format

Maybe I’m overreacting because I subscribe to Horticulture magazine in digital format. Not because digital is better necessarily but because it is much, much cheaper. Viewed on my iPad, it’s totally acceptable and there is nothing to recycle. I just have to print any interesting articles for my files instead of cutting them out like I used to.

So now if you want to enjoy the Garden Making magazine you have to go online. I have to get used to it. It was just hard to let go of a beautifully designed garden magazine full of helpful information.

What publications do you read?

The best gift you can give to a landscaper

By | Landscaping Equipment, Reviews | No Comments

There is one gift every landscaper loves to receive: a nice new set of Felco snips! I got one recently for my birthday from my boss and it felt better than Christmas. Here’s why. When they are securely placed in a sheath on your belt you look professional, they make excellent cuts and they’re always handy.

Swiss quality

My favourite Swiss-made Felco 2 snips feel great in my large hands and they cut perfectly. There are many models to choose from but the 2s are perfect for fit and price. There are also many other brands on the market but when it comes to snips, Felco rules.


IMG_5305 (1)


The sheath

Most landscape professionals keep their snips handy on their hips, nicely parked in a leather sheath. The sheath is absolutely crucial. Snips nicely nestled in a sheath are always available. When I put my work pants on in the morning, there follows my belt and sheath. That way I know my snips are ready if I need them and it also minimizes my chances of losing them.

Keeping sharp snips in your pockets is awkward and dangerous. I find that without a sheath I inevitably leave my pricey trusted snips sitting on a post or fence. A few seasons back I did some weekend work for another landscaping company and I left my Felcos in one of their trucks. I have yet to get them back.

Yes, leather sheaths will cost you around $20 but it’s worth it. You look more professional and you lower the chances of losing your snips.

One tip: don’t forget to clean out your sheath. I recently discovered a lot of soil in my sheath. Enough to sustain a small plant.


IMG_5303 (1)


Parts

The spare parts kit includes a new blade and a new spring. You can expect the spring to blow up first. It usually gets old and one day it just falls out.

The blade can also be replaced but you have to time it like you do your car’s oil changes. Otherwise, the bolts gets so dirty they are almost impossible to loosen. This happens to me all the time. When I notice that my blade should be changed, I can’t loosen the bolts holding it in place.

The Felco handles are almost indestructible.


IMG_5304 (1)

This pair needs some love: a new spring, a new blade and the screws need cleaning.


Always ready

It happens to me all the time. Out in the landscape I notice a broken branch and out come my snips. Every time I need to cut line edger line, I use my snips. When the boss takes me for a walk and he notices a blemish, it’s important to have snips at the ready. Or when I apply lime and fertilizer, the snips easily penetrate the plastic covers when I have to reload my spreader.

Having a pair of quality snips on your hips also makes you look more professional.


Conclusion

I absolutely love my Felco 2 snips. They’re sharp, they last and they feel great in my hands. I always have them on my hip in a leather sheath. I also feel like a professional with a nice pair of quality snips.

Felco snips are the best gift you can give to a landscaper!

For people who wonder what a classic landscaping day looks like

By | Landscaping | No Comments

If you’re considering a career in landscaping or you just wonder what landscapers do all day, I’m here to help. It’s not all about lawn care. There are many other seasonal tasks landscapers perform. Take my day from last week. It was classic. We installed 6 yards of Douglas fir (Pseudotsuga menziesii) mulch, then 3.5 yards of 1-3″ round granite rocks and then, to cool down, we built up lawns with 6 yards of lawn and garden mix soil followed by the planting of boxwoods (Buxus).


A new raised bed

This raised bed was full of weak laurels (Prunus laurocerasus ‘Otto Luyken‘) and the strata asked for a thick layer of mulch and rocks on top. Sure. The mulch is nice and light and it smells great. This was the highlight of my morning. I wheelbarrowed most of the six yards into position.


IMG_6251

Douglas fir mulch. It’s light and smells great.


IMG_6218

Almost finished.


Then came the hard part. The 1-3″ round granite rocks are obviously heavier and they don’t smell great. But it had to get done.


IMG_6225

Not shown are decorative rocks that were placed in this bed at regular intervals in groups of three.


Lawn build-up

After lunch we turned to lawn build-up. This involves covering existing lawns with a nice layer of lawn and garden soil mix which contains a large percentage of sand. Once you move it in, you rake it out nicely and then run a rolling pin over it to get it level and ready for overseeding.


IMG_6231

To build-up this tired lawn we required several yards of soil.


IMG_6243

Ready for Boxwood planting and overseeding.


Boxwoods

Planting boxwoods (Buxus sempervirens) is easy. The only challenge is not messing up the new soil with mulch from the plant pots. I placed a tarp nearby to help me. If you do this at home, definitely water in your new plants.


Vents

The lawn patches under the vents struggle as the constant air streaming dries out the grass. So we dug it up and put in leftover road base. Then we placed extra rocks from the new raised bed job on top of it. There, another permanent solution to a nagging lawn problem. The rocks won’t care one bit how much air streams over them.


IMG_6227

The grass under this vent struggled all year so removed the top layer.


IMG_6228

Next came road base layer because we had some leftover.


IMG_6229

The rock on top finished the job and now we don’t have to worry about struggling lawns.


Conclusion

This was an awesome, sunny and busy landscaping day. The hours just flew by and the site looks much better. We created a new raised bed, built-up tired looking lawns, replaced dead boxwoods and we solved a nagging problem. Not a bad day.