Category

Edging

The case of shredded Hostas

By | Edging, Plants | No Comments

Shredded Hostas

As soon as you see the client slowly approaching in her car, window rolled down, you know there might trouble coming your way. And sure enough, the poor lady looked distressed.

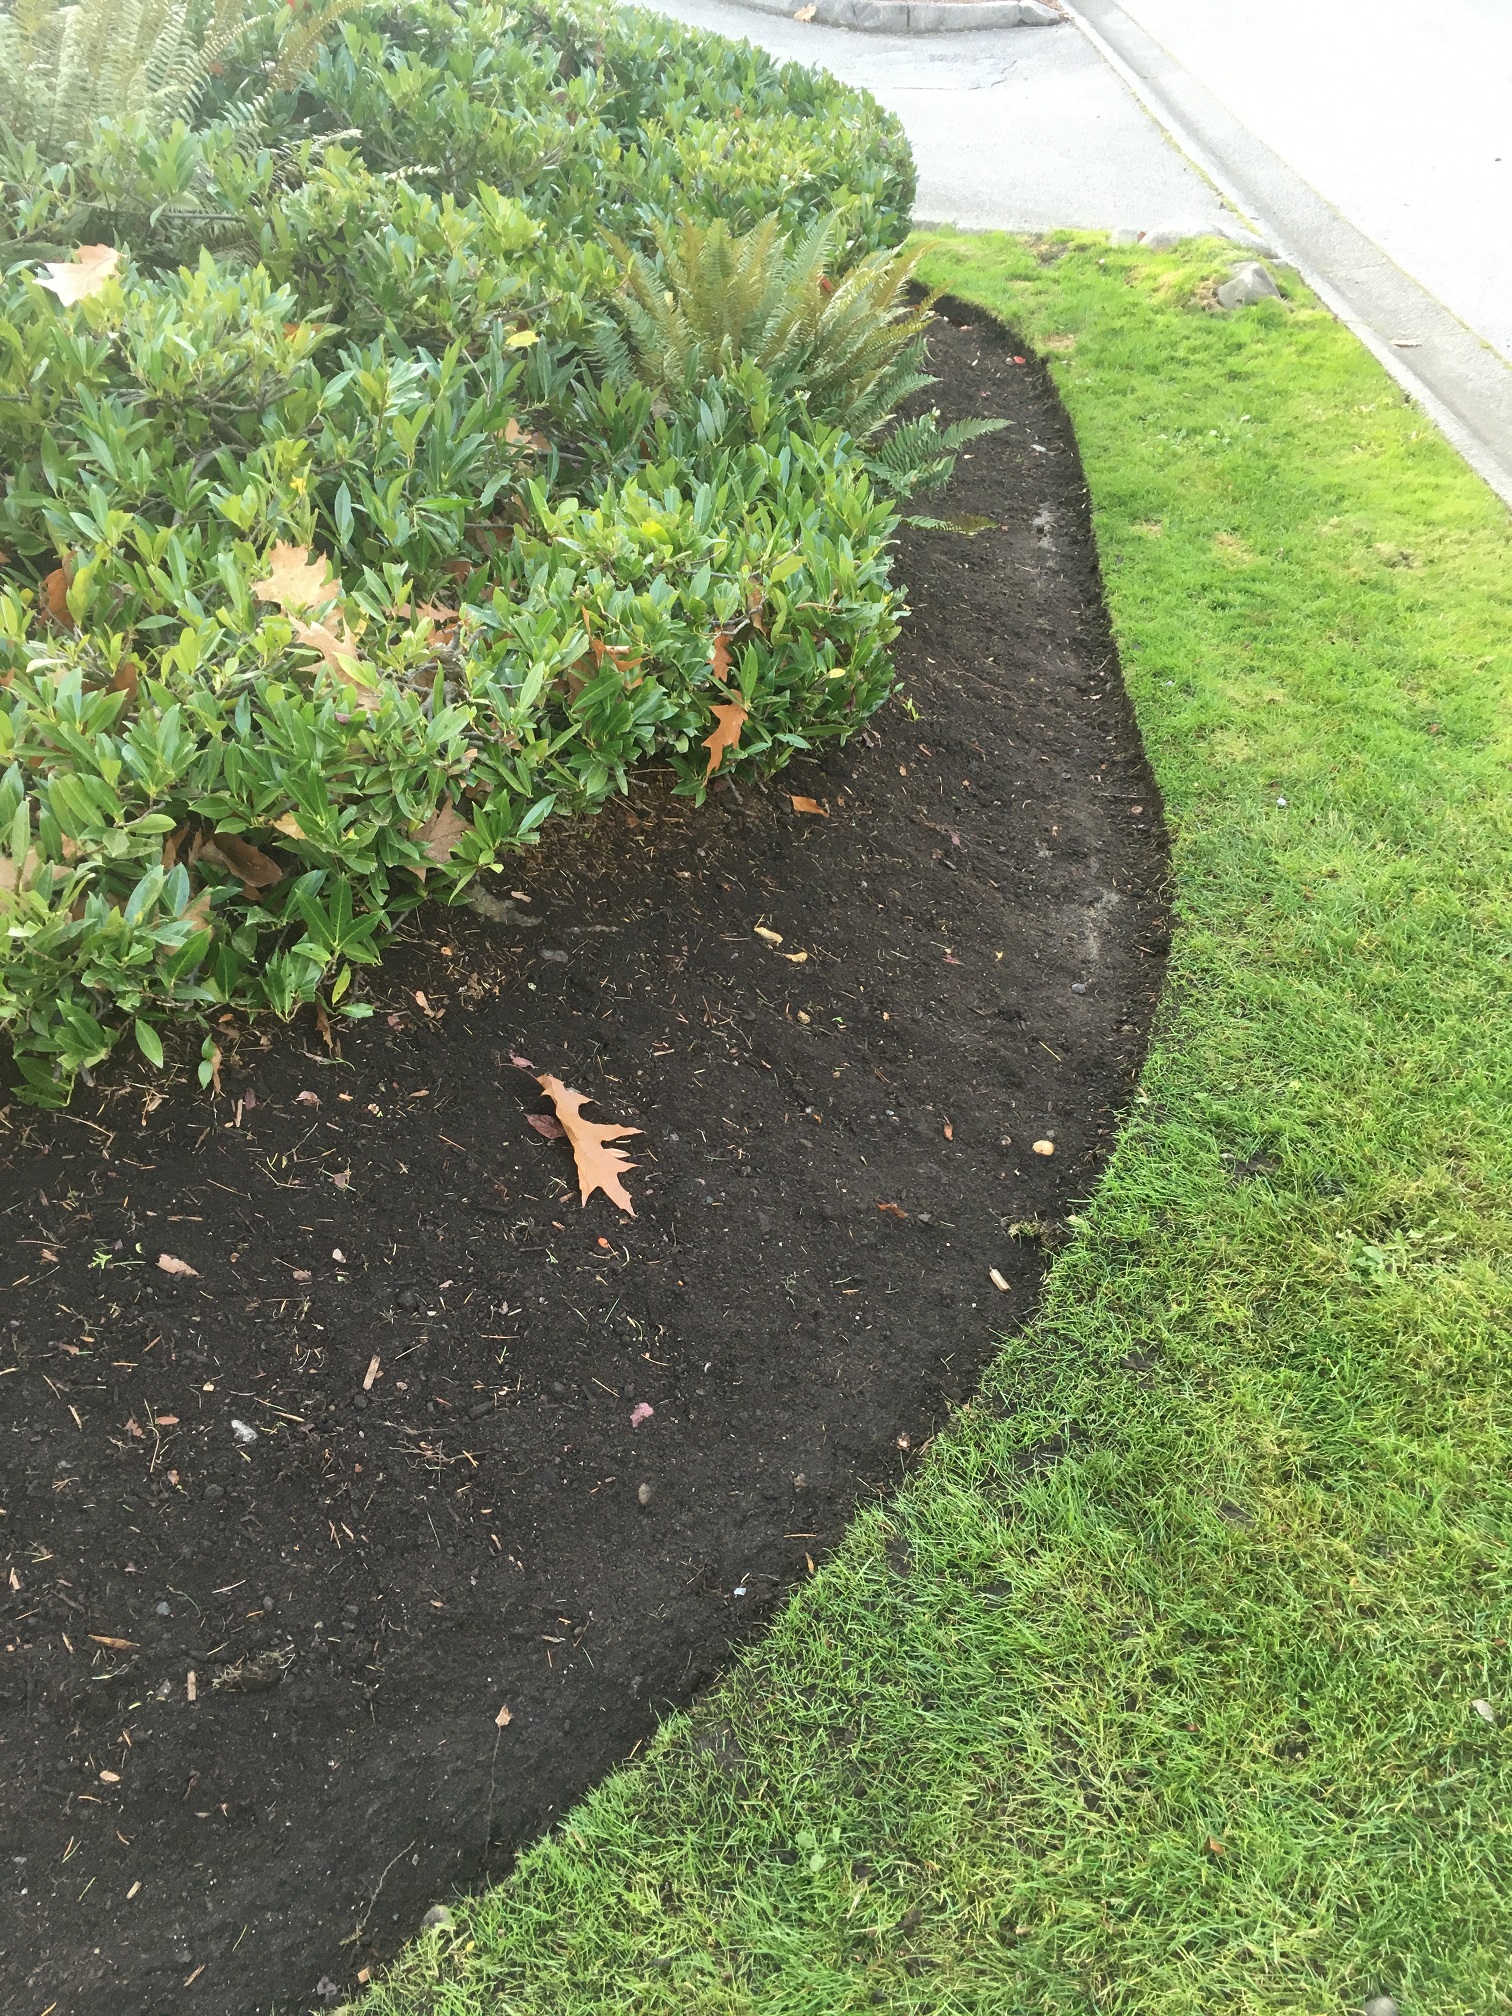
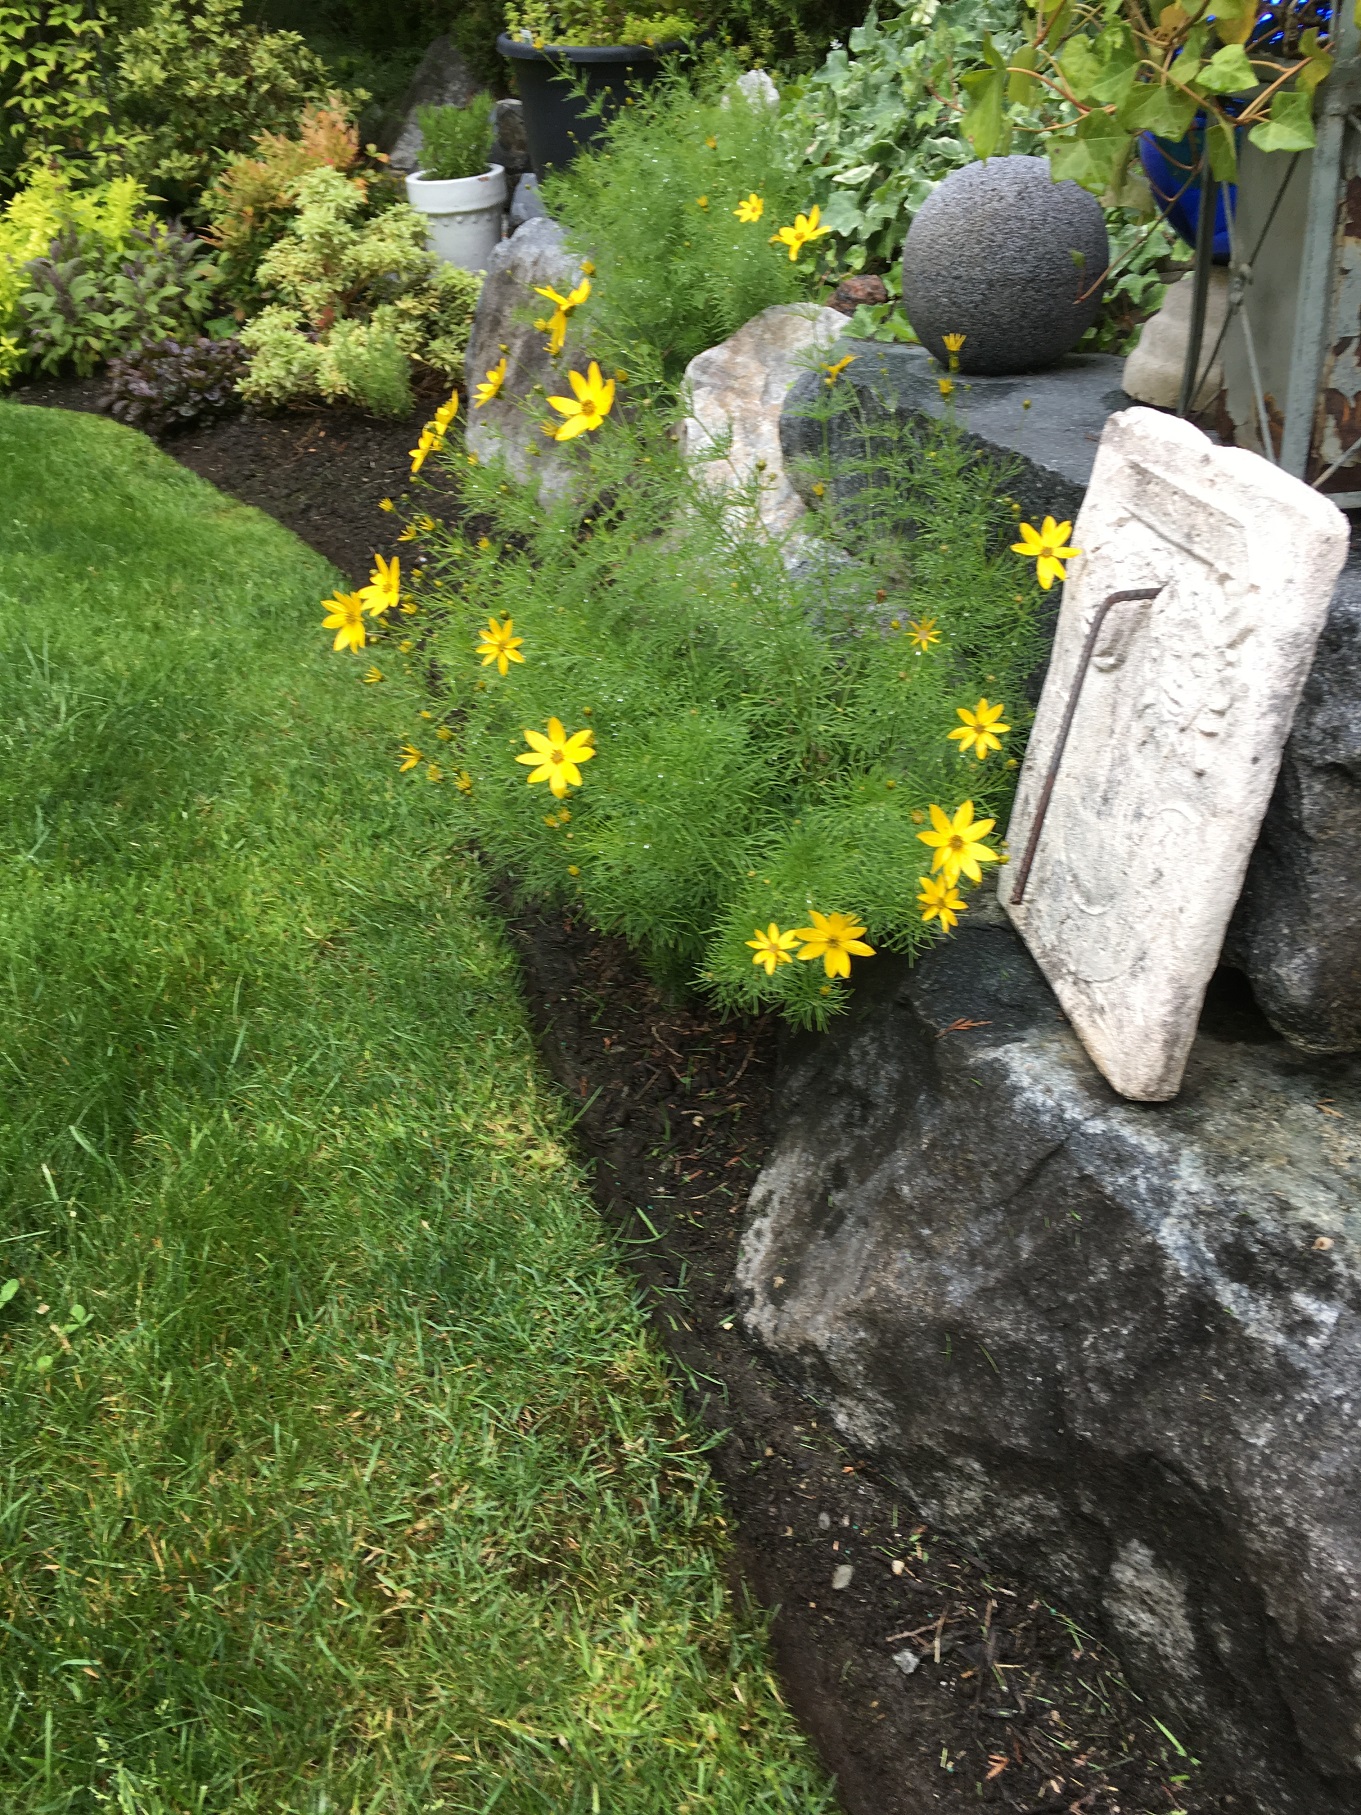
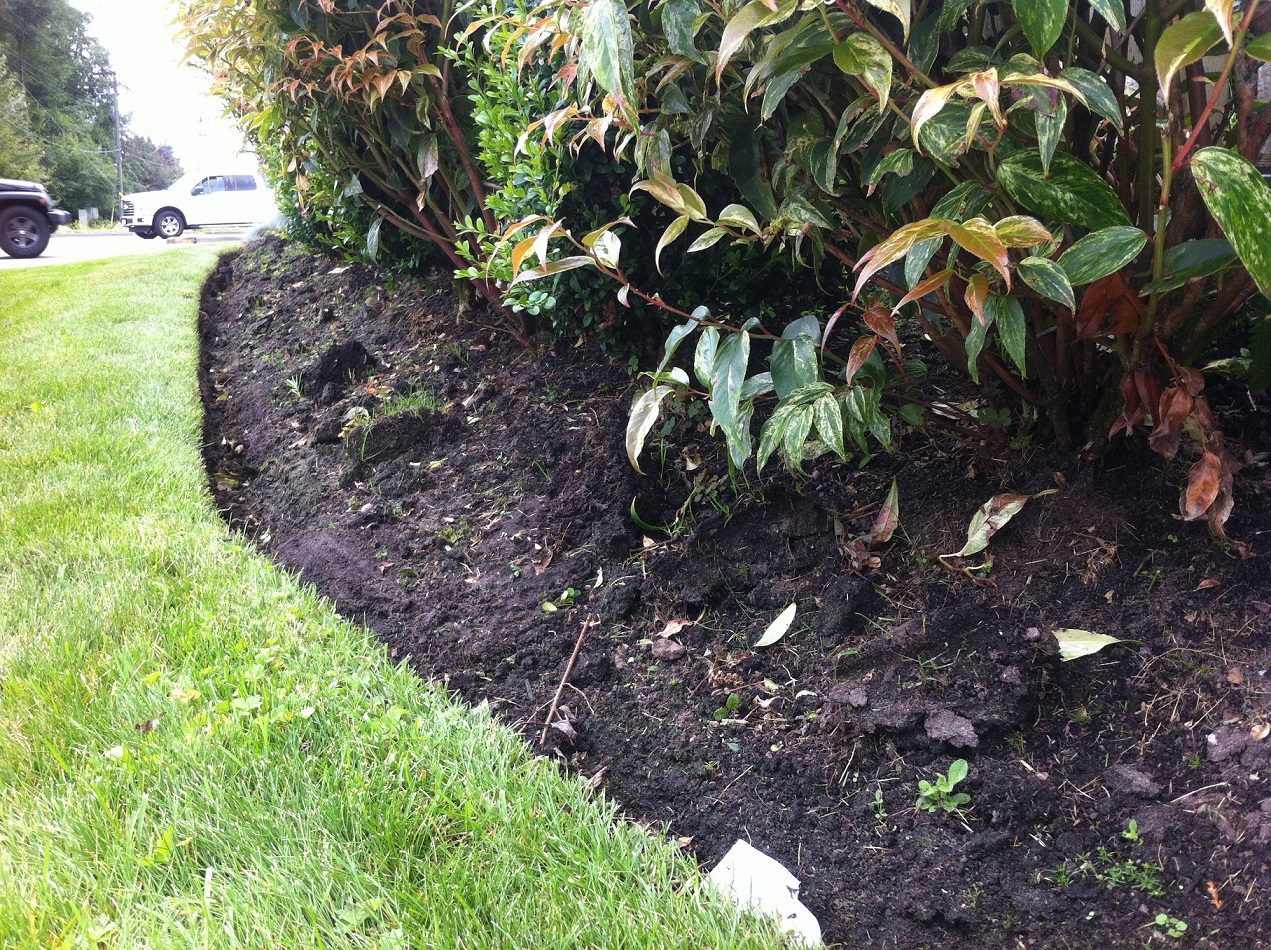
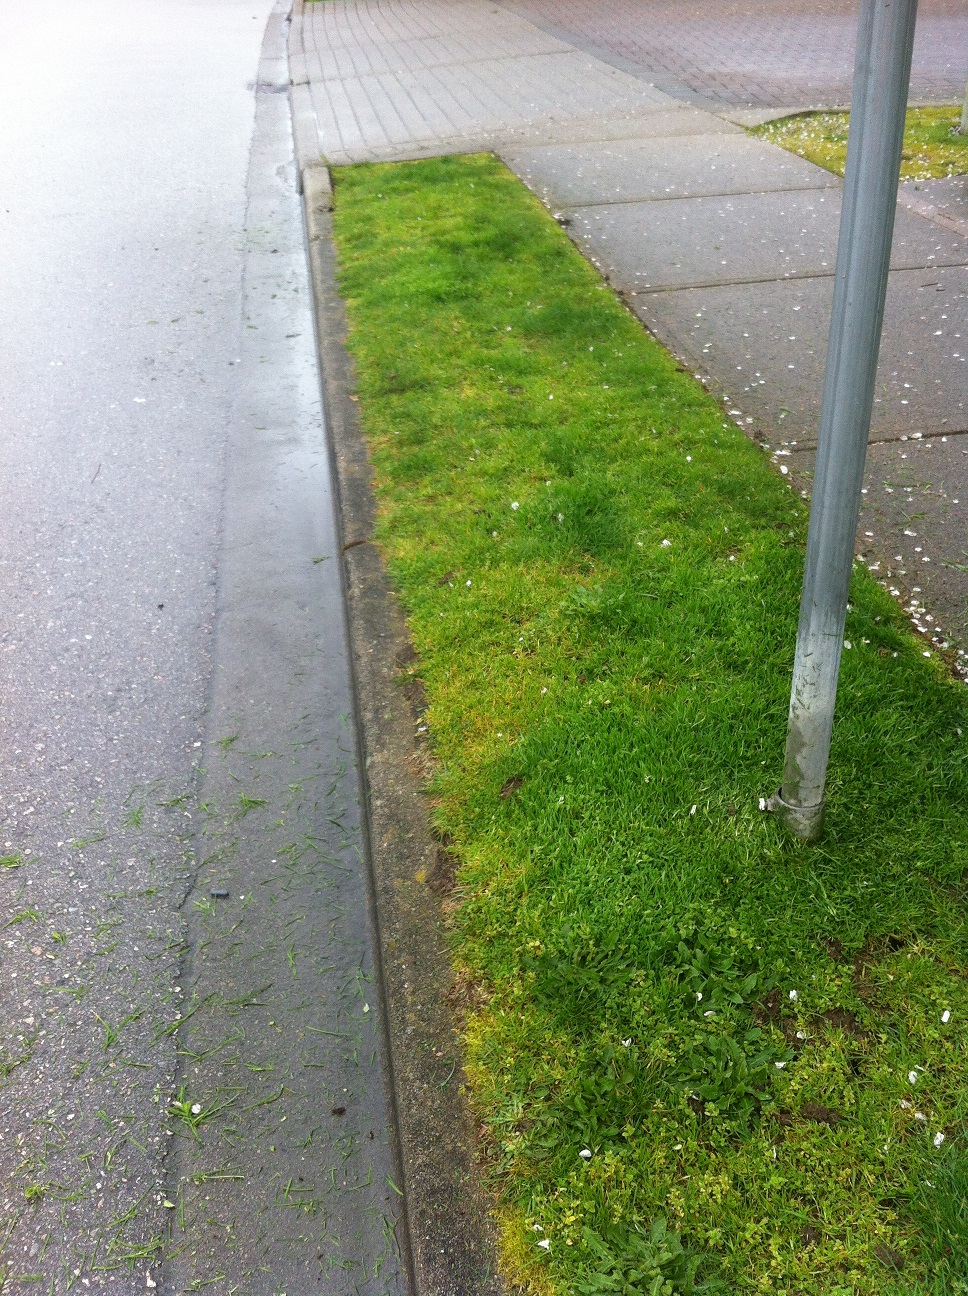
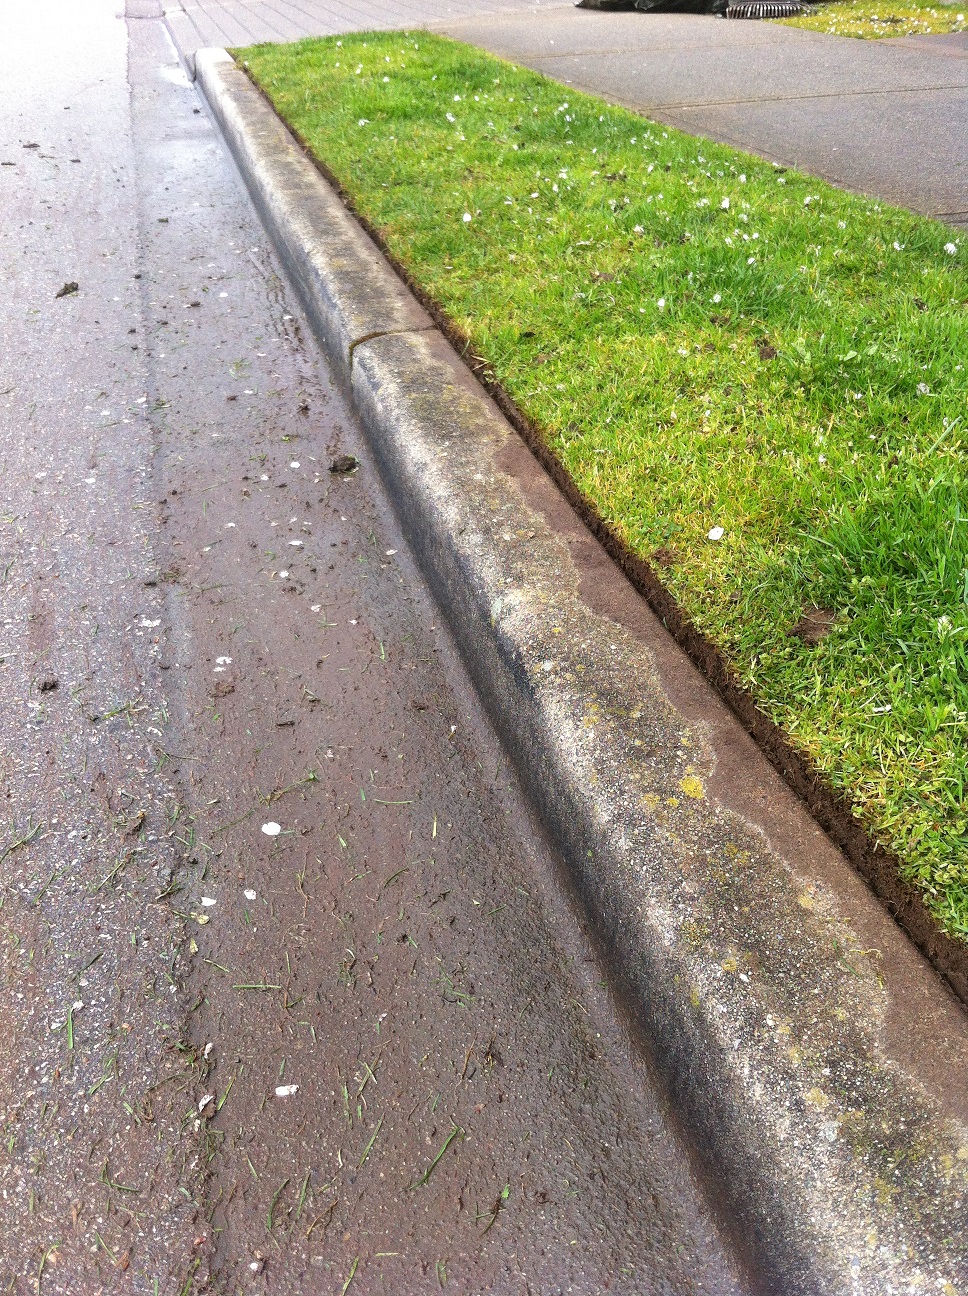
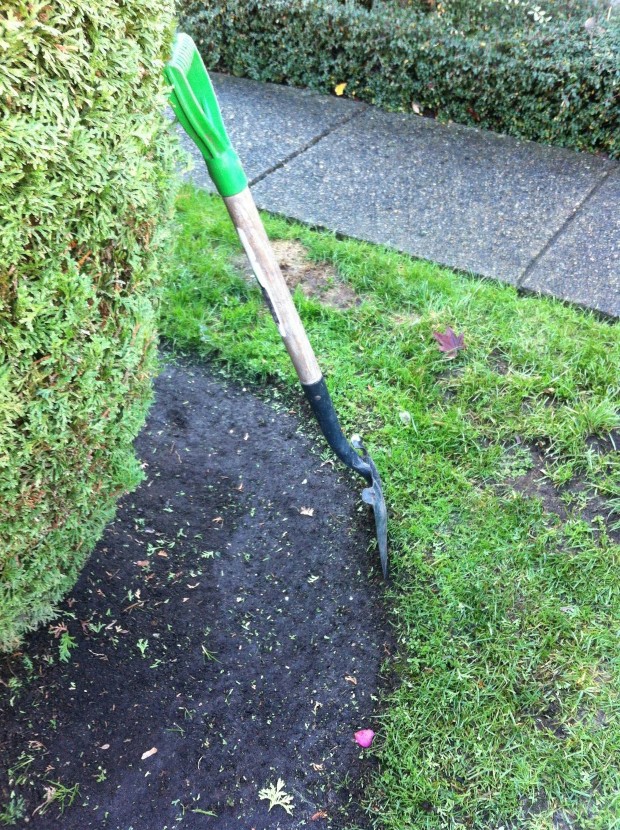
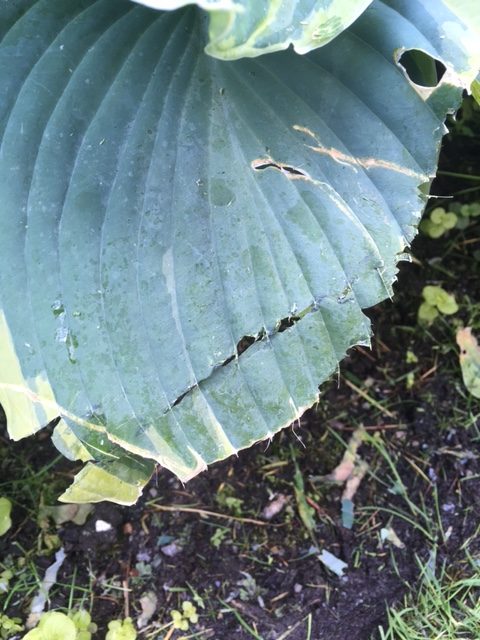
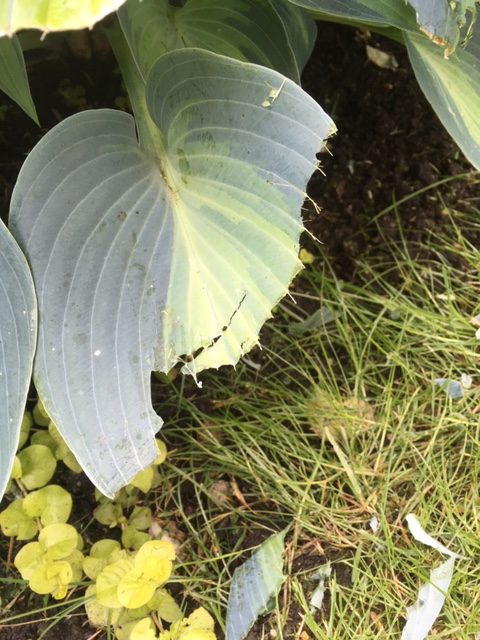
When her lawn was edged with a vertical line edger, her beautiful Hostas got shredded. She hated it and I hate it, too. It looks awful. She has every right to mention it. Take a look at the photos below.

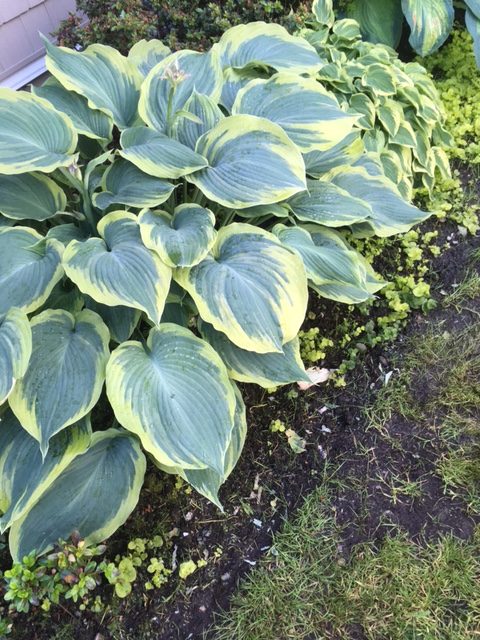
Does lawn care come first, at the expense of landscape plants? I don’t think so. I can see why the lady would be distressed about her Hostas. It’s spring and they’re finally leafed out and looking great. The only thing left for the Hostas to do is push out their flowers.

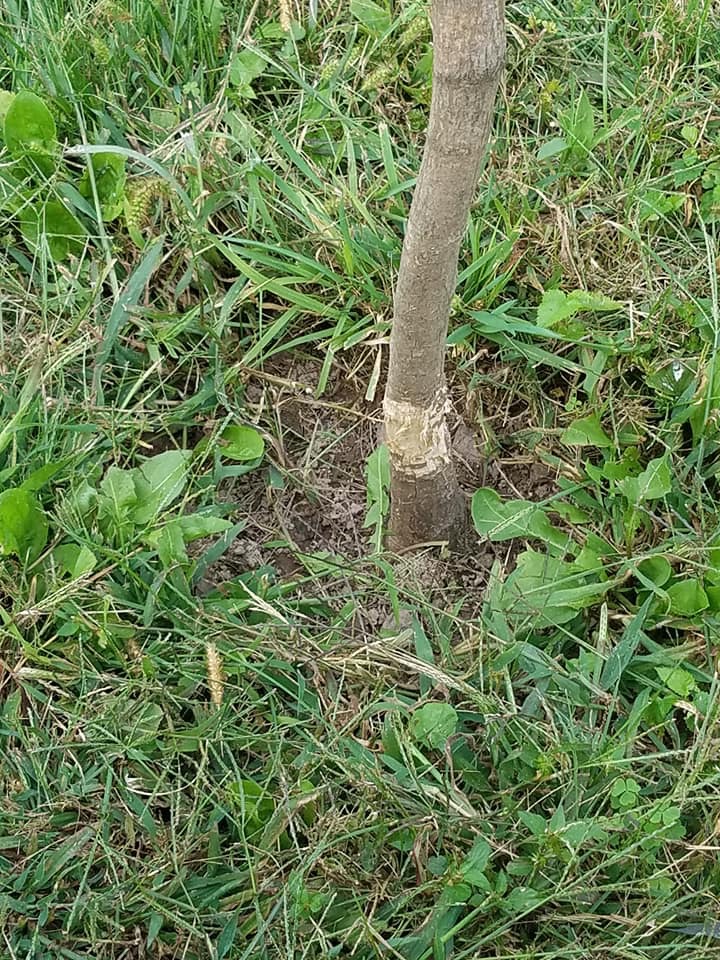
Incidentally, this also happens with trees. Do lawn care machines have the right of way? No, they don’t. We have to avoid all tree and lawn care machine conflicts.

If you want to find out why, you can take my inexpensive online course on lawn care mistakes. Click here for details and let me be your teacher.

Solutions

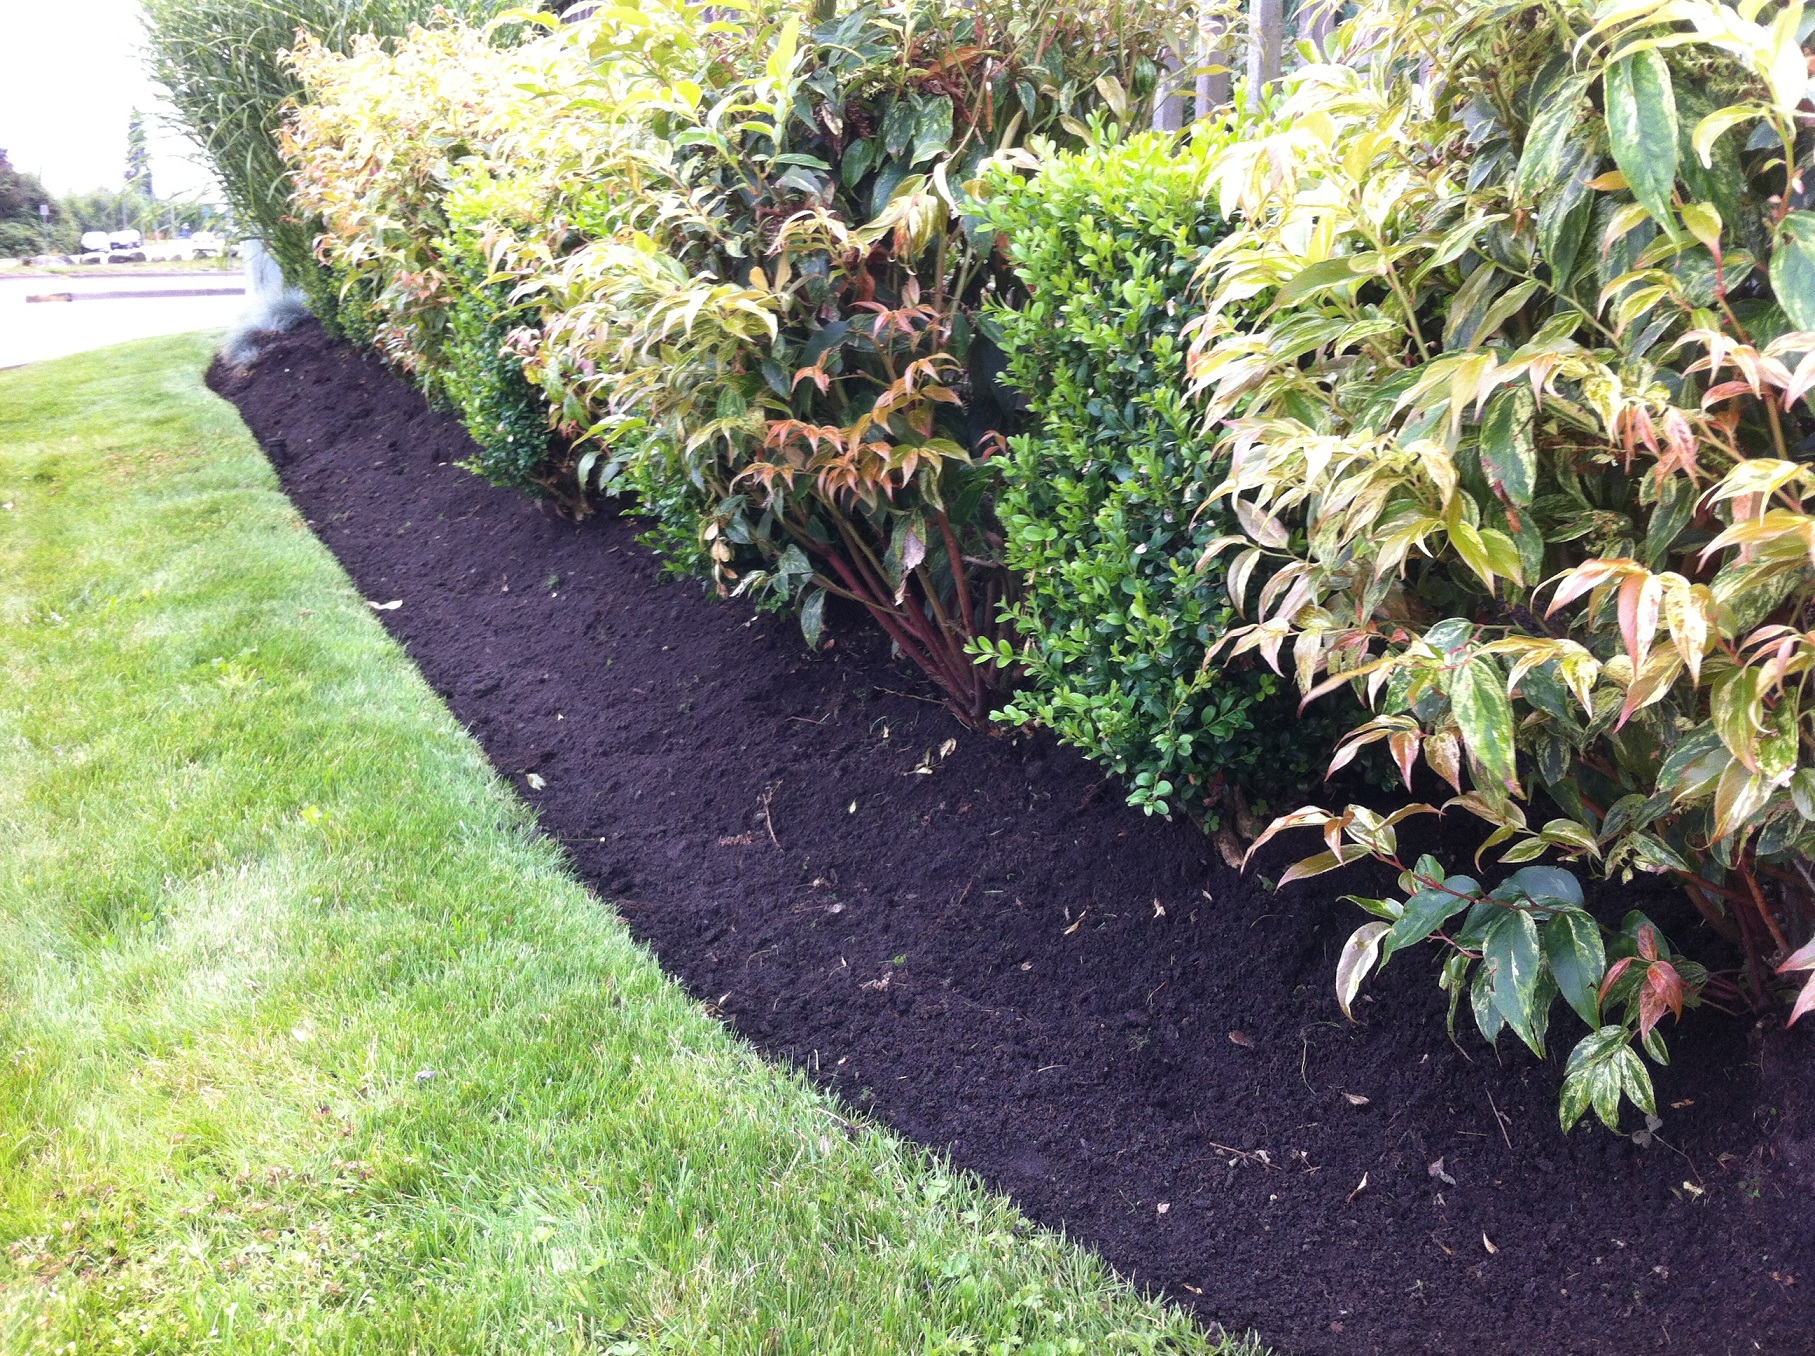
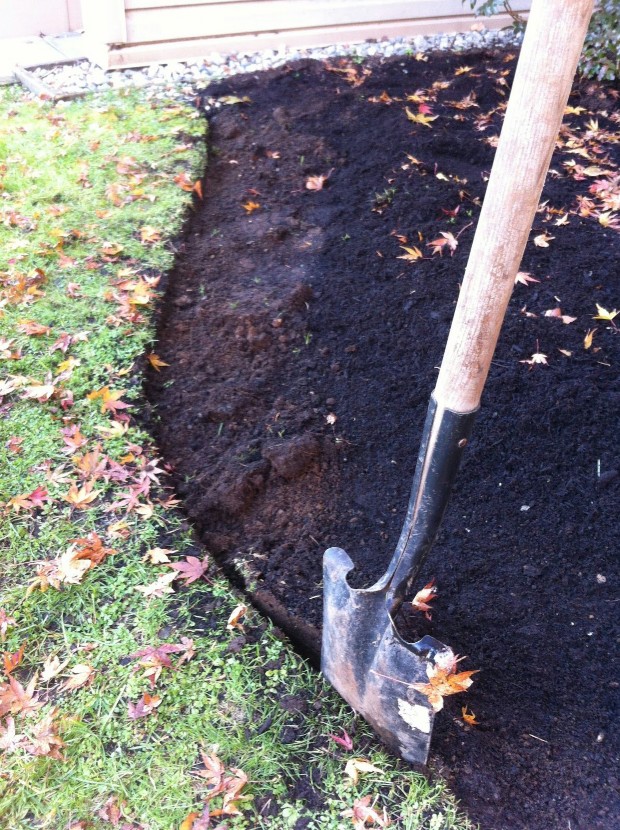
So, what do we do about this problem? We can move the lawn edge out but this would require a lot of extra labor. Plus, the lawn section is already narrow.

We can skip the edging altogether and leave the grass shaggy under the hostas. Until the boss shows up and freaks out.

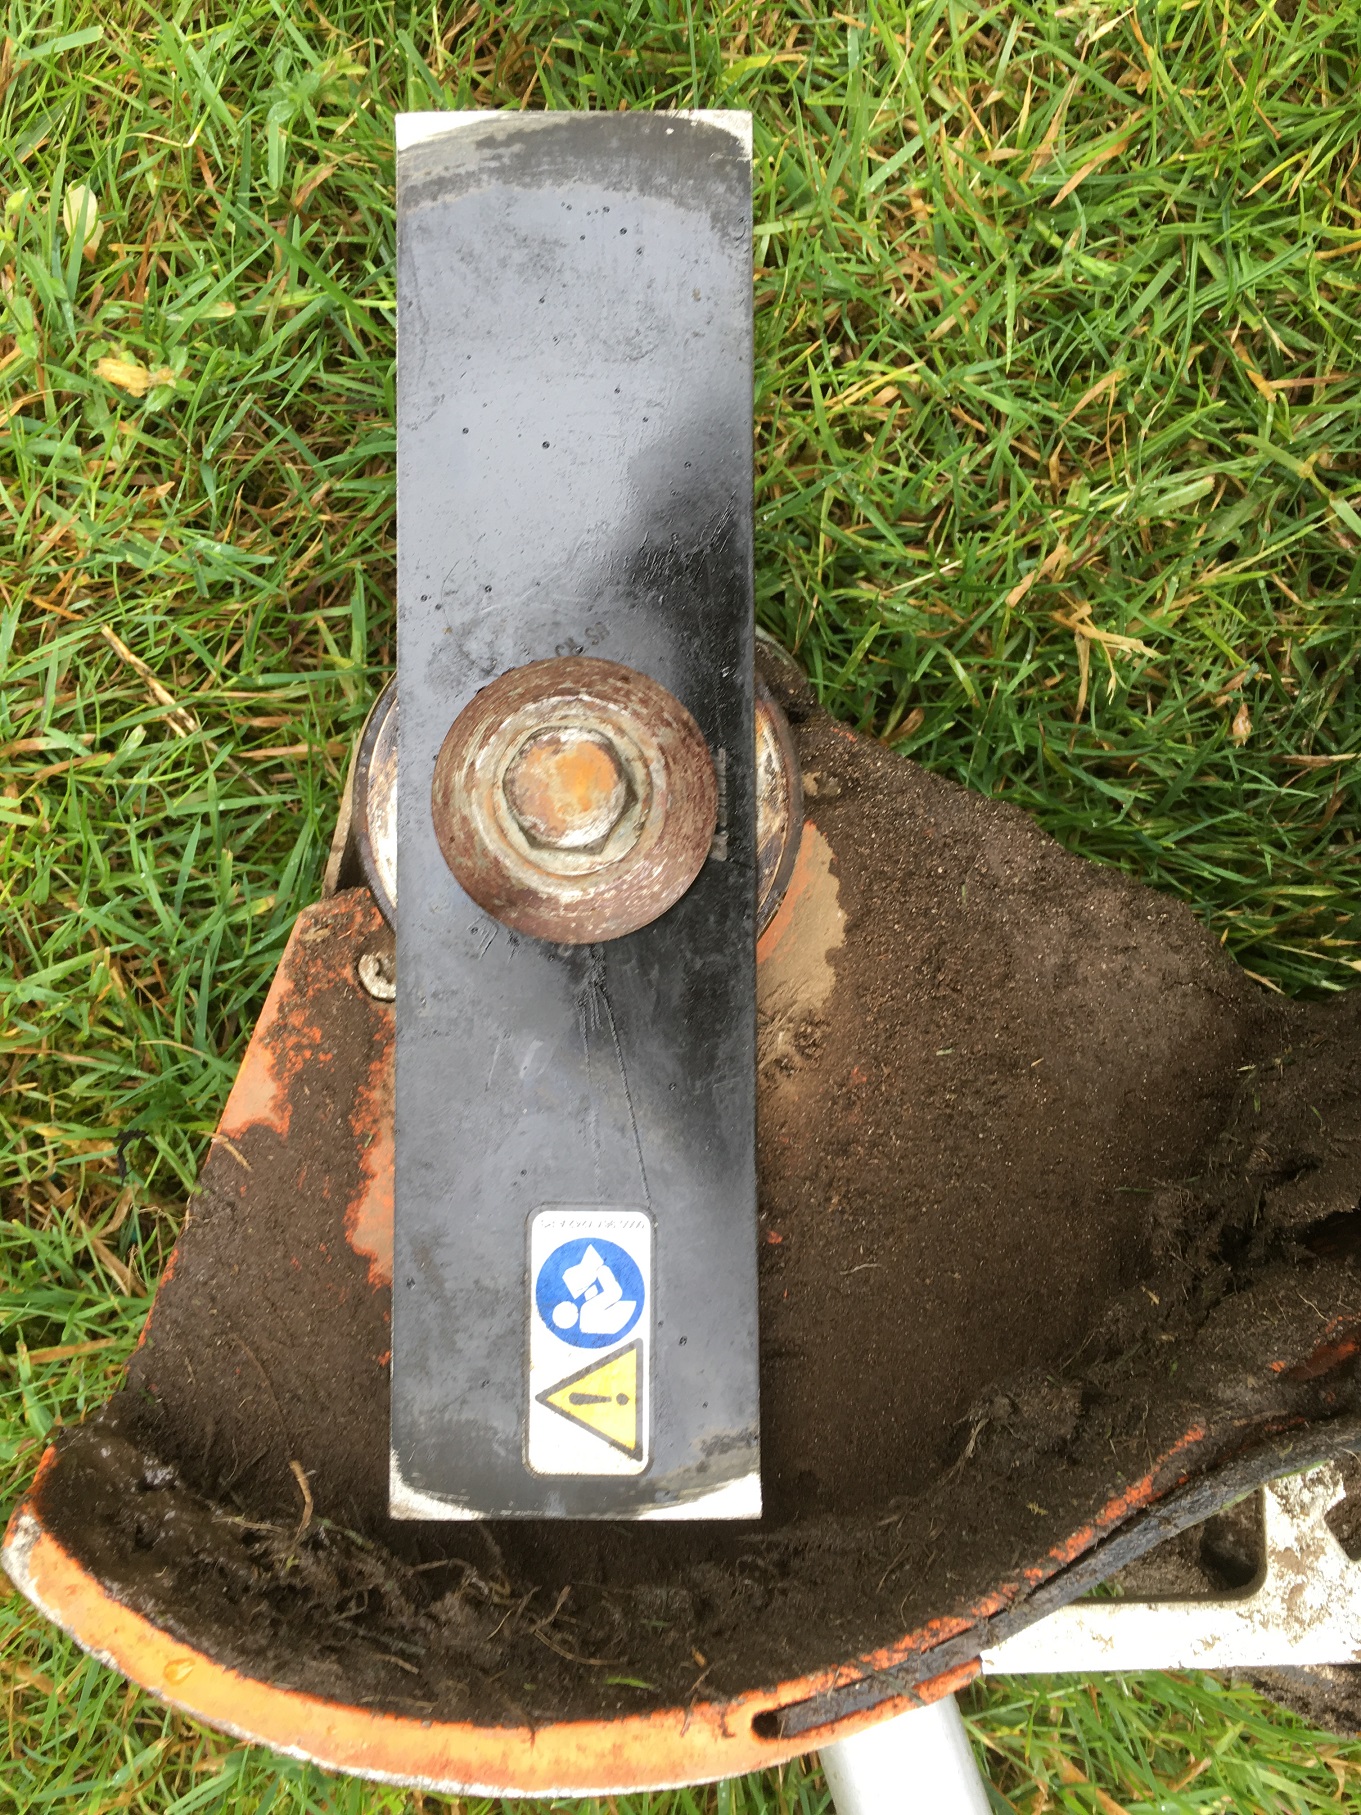
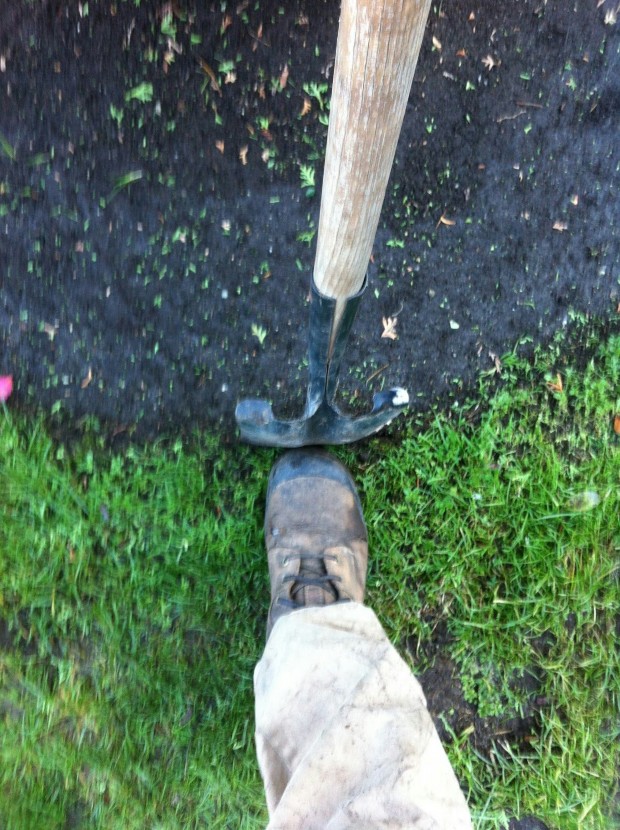
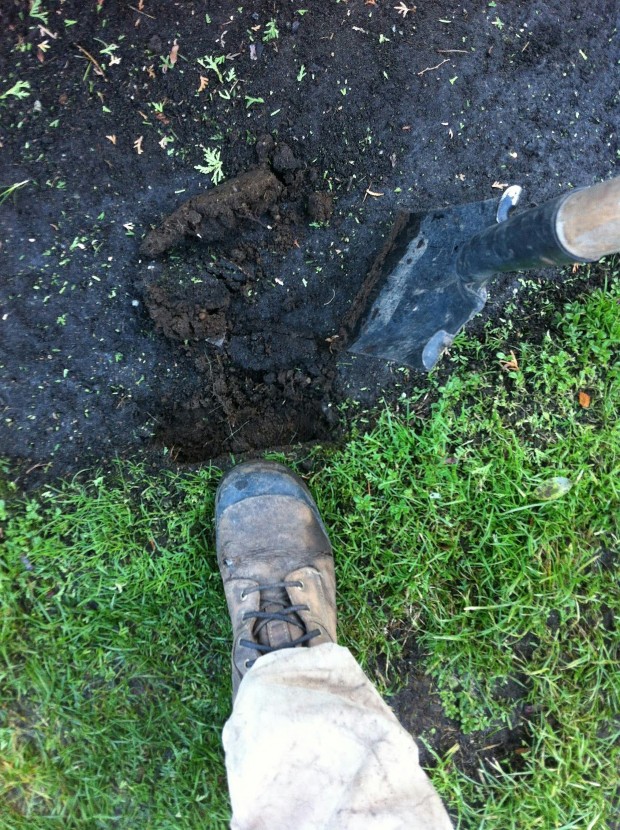
A better solution would be to use a blade edger but this isn’t a popular choice because it involves a different machine and going back.

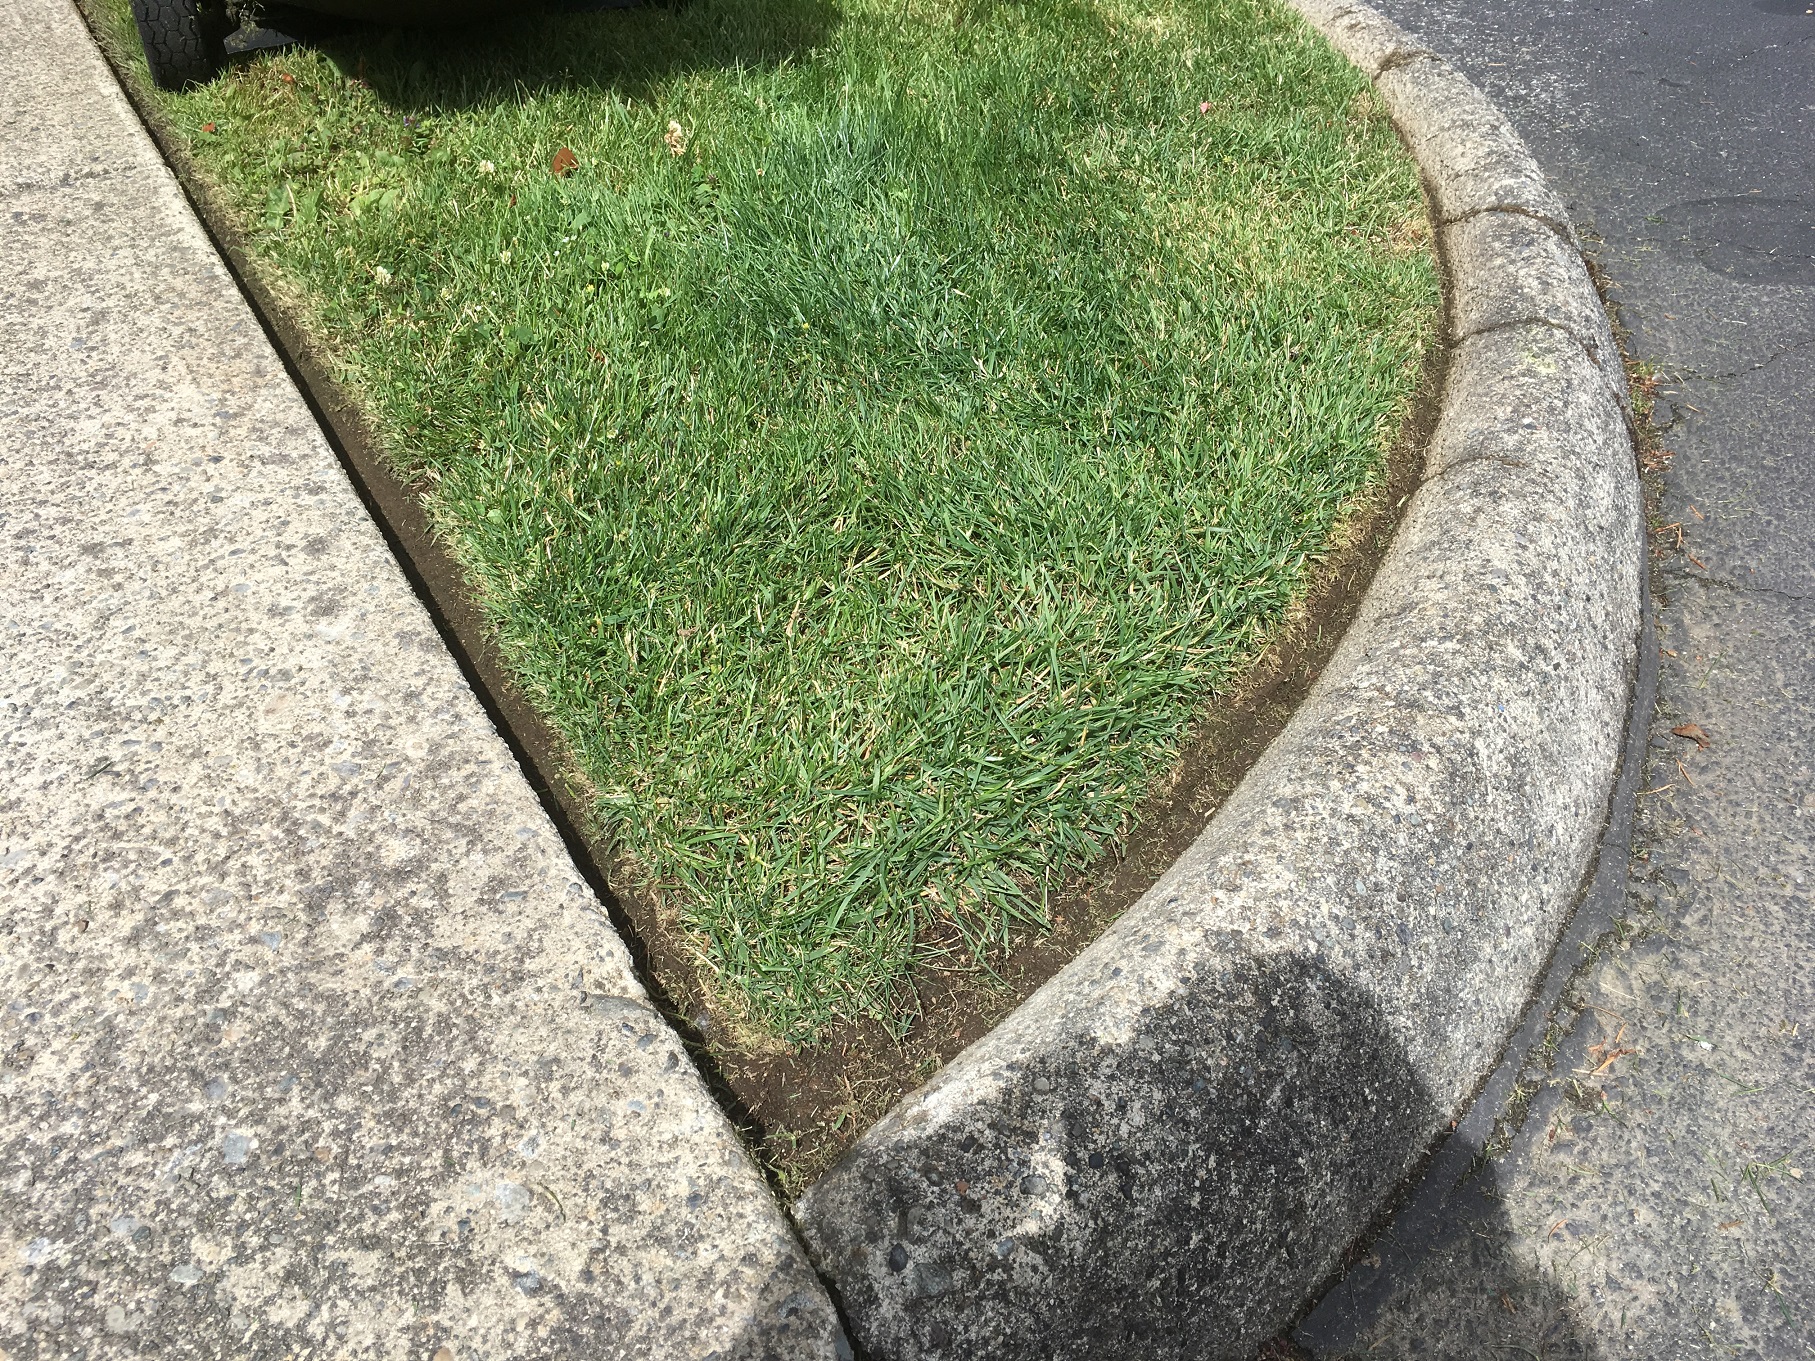
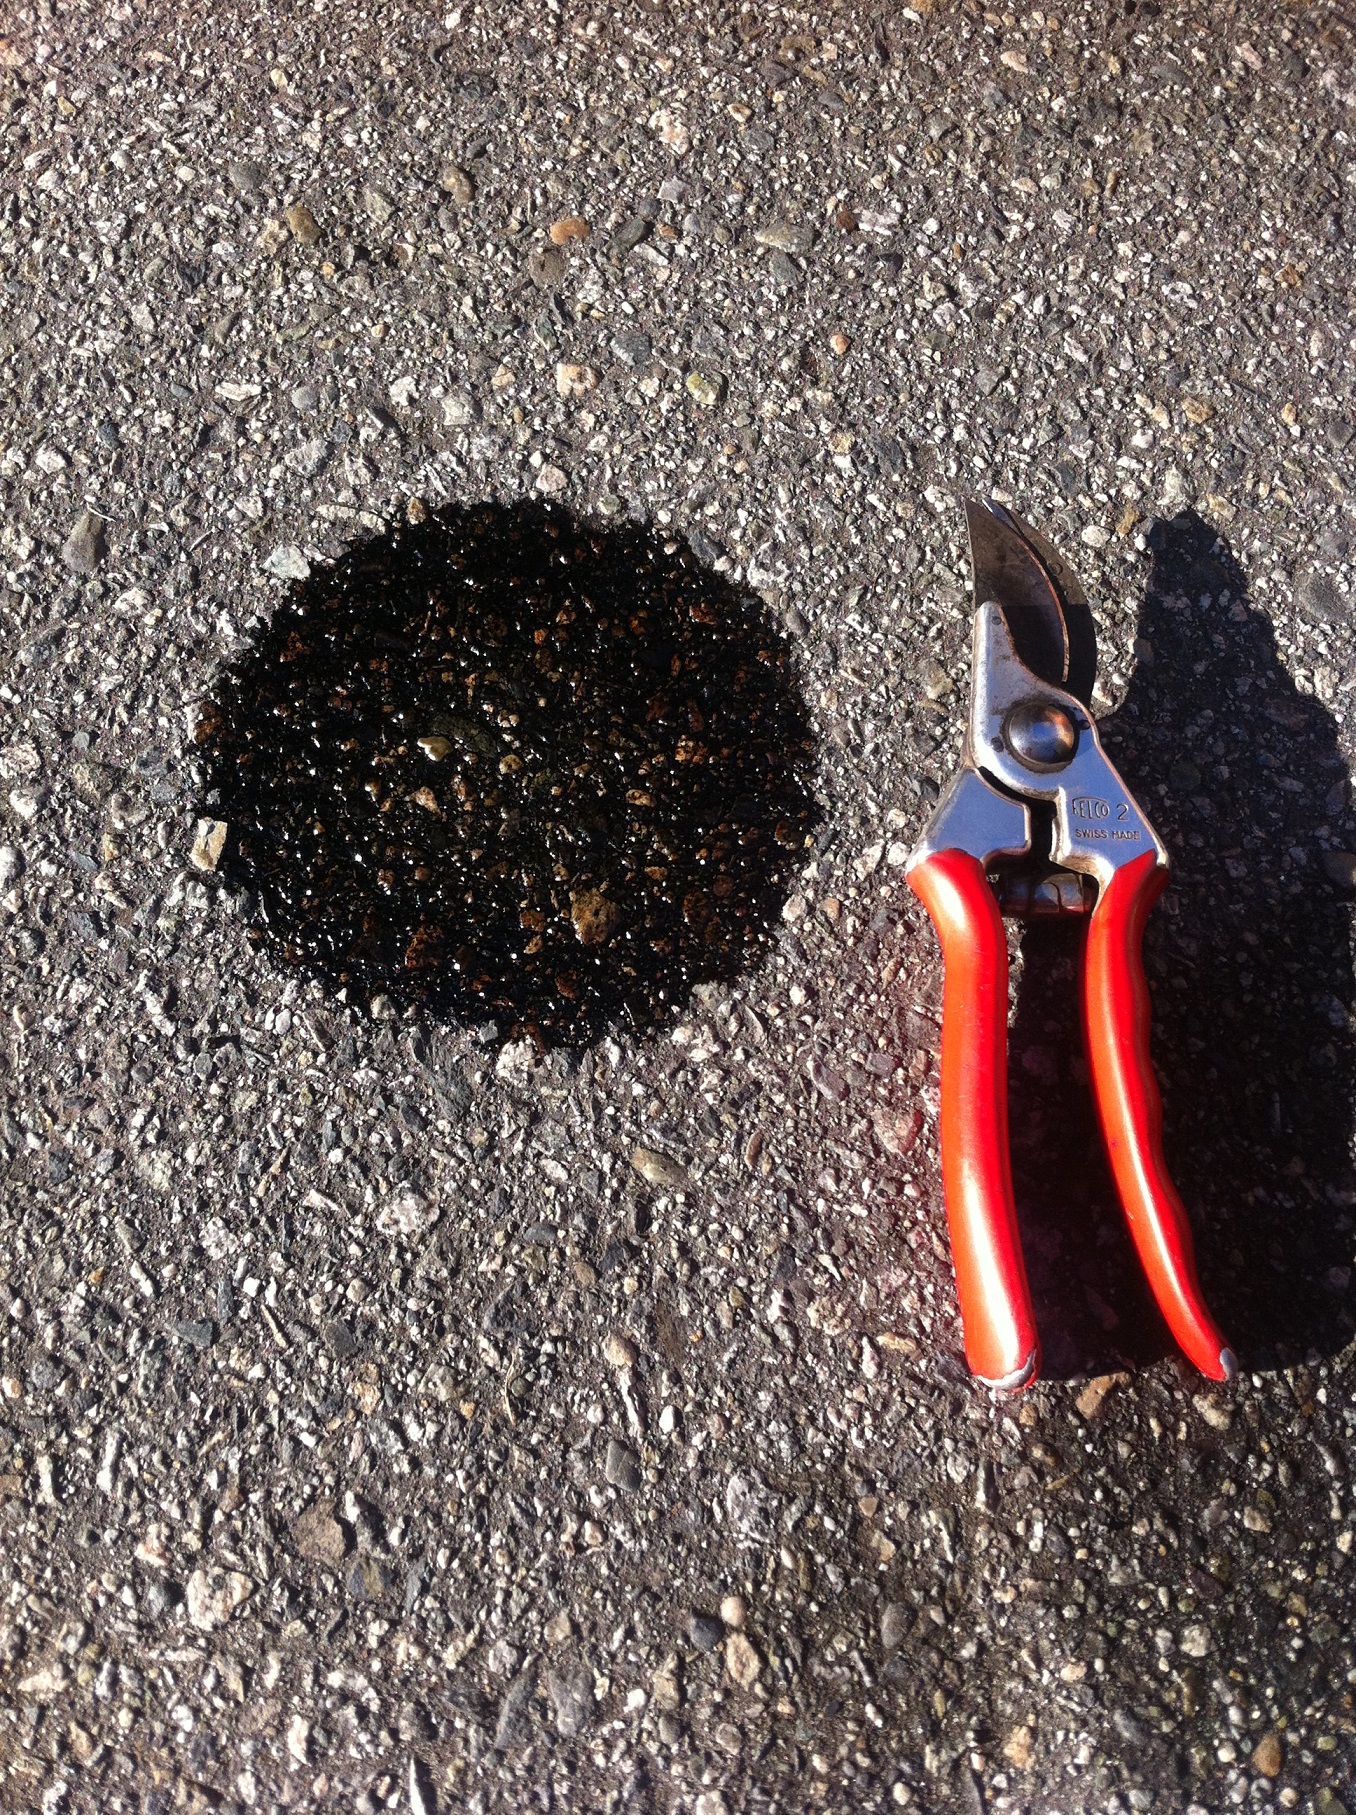
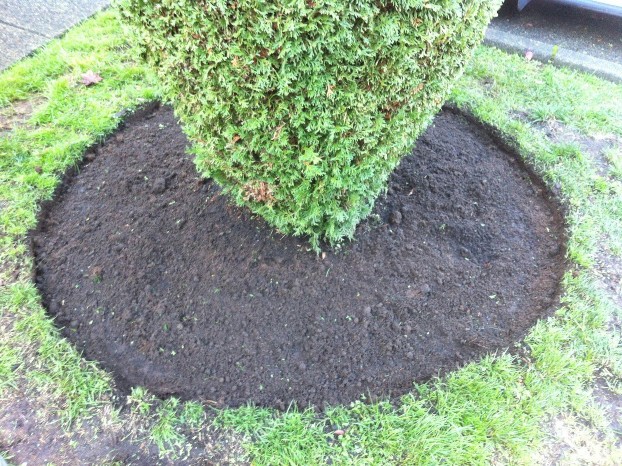
My compromise solution was to prune off the shredded leaves so as to remove the source of the lady’s stress. I also pruned off the stems that would very likely get shredded next week. With the lawn edge nicely exposed, the workers should be able to edge the lawn without shredding any plant tissues.

After pruning with the lawn edge exposed.

Conclusion

Lawn care machines don’t have the right of way. Shredding landscape plants is terrible and your clients have every right to express their displeasure. Plants should look healthy; not have their leaves shredded weekly. Be nice to hostas.

Deep edging faux pas

By | Edging, landscape maintenance | No Comments

Deep edging is an easy but labour-intensive landscape task. It gives our planted beds a nice definition and, if you read this blog regularly, you will know how to do it.

Deep edging 101

  1. Grab an edging shovel and drive it into your bed edge at ninety degrees. This will give you a nice sharp edge.
  2. The depth depends on conditions and your needs. Personally, I love deep, ankle-busting edges but it makes me extremely unpopular at work.
  3. If your edging generates grassy chunks, shake off the soil and discard the grass.
  4. The last step is cleaning up the chunks with a rake or cultivator so the bed surface is nice and smooth without visible chunks.

One exception

There are exceptions in life and in landscaping. I’m repeating myself a little bit but only because I ran into this one deep edging exception last week.

Pro tip: Training never really ends. Pay attention to all new workers.

Everything ran smoothly for hours until we hit a nicely mulched bed. This is where we have to disconnect the autopilot. The edging chunks landed on top of the mulch and now this blog post is called a deep edging faux pas.

It’s a mistake because the chunks mess up the nice, ordered look of the mulched bed. Instead, we have to do one of two things.

  1. Deep edge the bed but do not kick the soil up. Just leave it dislodged so we can manually remove it without messing up the bark mulch.
  2. Or you can rake the bark mulch away from the edge, deep edge, remove any excess soil and, lastly, rake the bark mulch back into its original place.

In this particular case, we didn’t do any major harm. I picked up the chunks and cultivated the bark mulch to incorporate any soil into the mulch. And the client will never know.

Conclusion

Deep-edging is an easy landscape task but be careful when you deep edge freshly mulched beds. You have to take a few extra steps to deep edge these areas.

Go deep when edging

By | Edging | No Comments

Deep edging beds is a perfect landscape task for the fall. Many bed edges are worn out or completely obliterated by November and they look awful. And now that we are no longer mowing and edging there is plenty of time for this work.

Also, if your garden never had any edges, you can easily establish them by following the same procedure outlined below. You will be rewarded for your efforts with nicely defined edges.

Step 1

Use a good edging shovel-flat on the bottom- and drive it into your edge at precisely ninety degrees. Don’t fake it. Go for perfect ninety degrees. A few inches deep should suffice but, personally, I love deep ankle busters. And I pay for it when crews call the boss to complain about their supervisor creating hazardous edges.


IMG_7008(1)

A) is the tired old edge, B) is the new edge and the white arrow shows the correct shovel angle.


Step 2

After you drive the shovel into your edge, place your foot behind the shovel before you dislodge the soil. You have to do this to prevent the edge from getting rounded off. Remember, the best looking deep edge is ninety degrees.

Step 3

Your deep edging will generate soil and turf chunks. Don’t leave them in your bed. Beat them up with your cultivator and remove any grass chunks. Keep the soil and rake it in for a nice, even finish.

Obviously, if you’re establishing new edges you will generate more waste. In this example, I only touched up existing edges so my clean-up was minimal. Whatever the case, never leave the soil chunks in the bed. They look bad.

Step 4

When you do your clean-up blow, gently blow off any soil off your grass edges. Just do it gently so you don’t blast out soil from your beds.

Then step back and enjoy the view of your new deep edges. They should last until mowing resumes in spring and beyond.


IMG_7011(1)

All done! Note the sharp edge, no sign of chunks and the grass is clean.

Why I find vertical line edging disturbing

By | Edging | No Comments

How do you handle your edging at home or at work? When I started out in landscaping in 2000, I wasn’t allowed to vertical edge. We always used a blade edger and that became my habit until I switched companies. My previous employers referred to people who practiced vertical line edging as “clowns”.

Now, once in a while I give vertical edging a go, especially in lower profile areas. Vertical edging refers to a line edger with string positioned so the head spins vertically north to south. Regular line edging runs horizontally along the grass and matches the height of the mower.

So why do I find it disturbing? There are several reasons detailed below. Feel free to comment on this post and let me know how you edge. I’d love to know.


Erosion


IMG_9220


This is an actual client complaint. As vertical edging happens weekly the lawn edge erodes so the bed actually extends farther into the lawn. This is because the line doesn’t hit the edge at the recommended 90 degrees, the way a blade edger would. The owner here is planning to install permanent plastic edging.


Ditches

Blade edgers use a sharp blade which creates a beautiful discreet ninety degree edge.


IMG_9418

My favourite edging attachment.


Vertical edging creates massive gaps that aren’t anywhere near 90 degrees.


IMG_9490


Interruptions


This is by far my biggest problem with vertical edging. Blade edgers have a guard so you can easily sneak under border plants without shredding them. This is very hard to pull off with a spinning line.


IMG_9381


Now what? Clearly the Hosta pictured above is getting shredded weekly and to complete the entire edge you will also have to behead the Acer palmatum dissectum. I have trouble doing that.


IMG_9383


Pictured above is the strata president’s Coreopsis. I wasn’t brave enough to shred it so I skipped the edging. A blade edger can sneak under easily. It’s these interruptions that I find disturbing. I like to edge on autopilot.


How do YOU edge? Leave comments.

What happens when you join lawn care Facebook groups

By | Edging, Landscaping, Lawn Care | No Comments

To be honest my free time for Facebook is limited but joining lawn care groups has been the best experience ever. It gives you a nice look into issues facing lawn care and landscape operators. And most of the members reside in the United States.

If you can get past the bad spelling, bad language and the occasional gun and ammo picture, you can get rewarded with some gems.

Blowing in the streets

This is one horrible habit where the landscaper blows debris into the street so he doesn’t have to pick it up. Some municipalities have bylaws against it but that doesn’t matter. It’s a bad habit. Don’t do it. It’s best to blow any debris into piles, rake it up and put into your truck. Don’t mess up the roadways or neighbouring properties.

But there is one exception. Windy days. When the winds are howling and you can’t control the blowing then I can look the other way. As long as my workers don’t step into roadways which is extremely unsafe. Of course, the workers remember this exception and then it’s windy every day…..


Line edger vs. trees conflicts

This was from a very frustrated company owner who had received phone calls from angry clients. Why were the young trees slashed up and missing bark? Again. See picture below.

I’ve experienced this with young co-workers at a municipality. We were at a public park and my co-worker started line edging around the closest tree. And he was very aggressive. So aggressive I almost got hit with bits of bark.

So what do you do? I have already published a blog post on this epidemic and you can read it here. But let’s just recap, shall we?

The recommendations are to remove grass from tree stem areas, workers are to be held accountable and trained until they understand it. For there are implications when you slash up live trees with line edgers.

As we know, trees are resilient but repeated slashing of the bark stresses the tree. The poor plant now has to expend precious energy into repairs and will likely not grow as vigorously. Repeated hits can kill the tree. So please don’t do this to your trees. Read my blog and never slash up trees with landscape machines ever again.


IMG_0635

You can see why the owner of this young tree wasn’t happy. The line trimmer string probably wrapped around the trunk and stripped the protective bark layer. Install a plastic guard, build a tree well around the tree or just remove any grass from the base of the tree. Train all workers well and hold them accountable.


Garden grinding

This term came with a disturbing video in which the operator of a line edger buzzed weedy beds down to dirt patches. It looks ridiculous and unsafe. Your line edger should be used for edging only. Bedwork is a completely different task.

I worry about rocks flying into windows or the worker “eating” rocks. The weeds will probably come back anyway. It’s best to use garden tools for bedwork. Period.


Are you in?

Spending some free time (NOT work time!) in Facebook groups can be rewarding. Sometimes there are decent discussions about estimating, machines and worker attendance. Not every group is fantastic so look around and enjoy. Maybe we’ll see you there.

Leave group recommendations in the comment below.


Landscape maintenance in Japanese Alps

By | Edging, Landscaping | No Comments

Yuzawa

This past August we made a trip to Western Japan to celebrate my father-in-law’s medal. He received his Order of the Rising Sun from the Emperor for his contribution to Japanese construction industry. That required a formal party and full family attendance. Thus the two week visit.

The one trip we made out of town was to Yuzawa kogen, a ski area in the alps. It used to be a huge playground for people in Tokyo looking for some weekend skiing fun. Then, a new bullet train line was built to Nagano and people stopped coming. The snow is better in Nagano! Ouch.

Unlike Vancouver, you can buy an apartment in Yuzawa for $20,000. Some people from Tokyo jumped on it. Fathers commute to Tokyo by bullet train and the family lives mortgage-free.

A quick seven-minute gondola ride took us up into the alpine area. As you walk out, you notice a huge beech tree (Fagus) to your left. It turns out, at 350 years old, it’s on the Japanese top 100 oldest trees.

Alpine area landscape maintenance

As my kids enjoyed free play and overpriced ice cream, I stopped Kosuke from line edging the walkway in the alpine botanical garden. I introduced myself and asked him what he did in winter. Skiing, of course. Note the protective apron and shield. His machine says Kioritz, which is one of three names manufactured by Yamabiko Corporation. In BC, we know the other two names well. Echo and Shindaiwa. I personally own Echo machines and couldn’t be happier. My company uses Stihl.

On the other side, to my left, his older work mates were taking a break in the shade. It was late August and temperatures were approaching 30 degrees Celsius. Their job was to clean up and weed between plants after the line edger had gone through. This technique totally works in this setting. In BC you will see landscape companies fall behind on finesse work and then, in desperation, the line edger will enter planted beds. Beds it wasn’t designed for. Then you get the usual plant carnage.

Once we got back down the hill, we enjoyed hot spring baths at our hotel. The swimming pool was extra charge (major fail). No tattoos allowed! Now you know.


IMG_7843

7 minute ride, cabin attendants were cute


IMG_7842


IMG_7863

Kosuke, note protective apron and shield


IMG_7860

Alpine botanical garden


IMG_7856


IMG_7858

Busy at work, in the shade; clean up after line edging


IMG_7865

Break time!


IMG_7875

Best farmer trucks in the world!


If you ever take the super-express bullet train from Tokyo to Niigata, stop at Yuzawa.

Landscape maintenance mistakes, vol.3

By | Edging, gardening, Landscaping, Lawn Care | No Comments

Here is volume three examining basic mistakes made in landscape maintenance. Learning from other people’s mistakes is much easier. It speeds up our progress. And to become landscape professionals we must progress. That’s mandatory.


A) Re-fuelling like pigs

Sure, accidents can happen. But unnecessary fuel spills cost money, they pollute the environment and they look awful. Imagine if you park your truck in the same spot once a week. It becomes an eye-sore and a potential source of complaints.

Gas up on tarps. (Stay away from grass as it burns and turns yellow.)


IMG_6925edit


B) Don’t leave deep edging chunks behind

Proper deep edging requires a 90 degree edge. Nothing else will do. As you deep edge you will most likely generate some turf chunks. When you clean up, remove all chunks. Finesse the bed like a pro.


IMG_6351edd

Inadequate clean-up; note weeds and chunks


IMG_6354d

Much better!


C) Mower collisions with trees

This is horrific. One collision may be fine. The tree will be forced to spend precious resources on fixing the damage, instead of on growing. Repeated collisions will kill the tree as water flow is interrupted. Keep your mowers away from trees. Period. Put up tree guards.


IMG_6742

A tight fit. To stay on the curb, the mower deck collides with tree bark. Weekly!?


D) Stepping on frosty lawns

If you can help it, stay off frosty lawns. When the lawn is frosty, the grass blades have little oxygen and water inside. That means they can not bounce back the way they do in summer. They get crushed.


test

Stay off frosty lawns if possible


photo 3

With little water and oxygen inside frosty grass blades they can’t bounce back and get crushed.


E) Mohawks

Mohawks result from improper overlap. When you finish mowing a line, pivot on the back wheel as you turn. Do not move the back wheel, just spin it around. That should get you nicely lined up.

Mohawks also result from failure to mow straight in laser lines. It takes some practice. The mohawks must be fixed because one week later they will be really noticeable. Practice mowing until you eliminate mohawks forever.


IMG_2992edit

A huge Mohawk. Practice!

Have fun in the field.


Line edger maintenance basics

By | Edging, Education, Lawn Care | No Comments

Let’s talk about basic line edger maintenance. An earlier blog discussed the importance of line edger head lubrication. Now we consider the spool and smooth line feeding.

July 1st Canada Day is prime fun time but sometimes the schedule demands a little bit of work. Like all work on stat holidays, the directions are mow-blow-go. Get the basics done and bail. Overtime is costly and residents would prefer to enjoy their holiday without noise and exposure to small engine exhaust.

So imagine my frustration when the line edger was not feeding new line. Normally you bump the head -gently!-on a hard surface and the line advances. Not this past Friday. It was very hard to make progress like this, especially when the directions were to get it done quickly.

There could be two problems with the line.

A) The line is about to run out and is too short to feed out

B) The line is crossed or otherwise stuck in the spool

I changed the line carefully and still the line wouldn’t advance properly. Then it hit me. The spool in the middle of the head was worn out. (I don’t normally use this machine.) Worn out is an understatement.


IMG_5124edit

worn out spool


IMG_5126edit

pop the head


IMG_5127edit

replace spent spool, carry spare parts in your truck


IMG_5130edit

might as well install new line


IMG_5132edit

much better!


IMG_5133edit

re-fuel and bring spare line


Before you resume your line edging work, re-fuel your gas tank and put correctly pre-cut spare line in your pocket. Maximum efficiency dictates that you have spare line ready to go if you should run out far away from your truck. Extra walking is the enemy of production.

Ear protection, safety goggles and long pants are all mandatory for safe line edging. Make sure residents are at a safe distance from you. Little boys love watching machines.

Your line edger is a workhorse so take care of it.


Why you should fall in love with blade edging

By | Edging, Landscaping, Lawn Care, Strata Maintenance, Tips | No Comments

Blade edging is a great landscape maintenance tool. It gives our sites definition, it’s relatively easy to learn, and it can be done bi-weekly on standard BC strata sites. The only downside is the cost of replacement blades. (Always recycle your used blades.)

Incredibly, not all landscape maintenance companies use blade edgers to maintain nice, sharp edges on their work sites. That’s too bad. I personally love the sharp, clean look.

Let’s consider my work from mid-March 2016 on a Maple Ridge site.

Tired looking strip


blade1


This boulevard strip lacks definition. Grass is growing over the curb and it obviously gets line trimmed which does not do anything for definition; it simply rounds off the edges which is not our goal.

Key idea: the mower, line trimmer and blade edger should work together by meeting to create a nice, sharp edge.

Show time

Let’s take a blade edger with a fresh blade and see what happens. Pants, safety goggles and ear protection are mandatory. No discussions. Always let passersby go. Try not to do this work as kids walk to school!


blade2

Neglected boulevard strips like this will require some “drilling”. Keep your blade edger at ninety degrees and stay stubborn like me. You might have to run over the entire line twice. It depends. Once the edge is re-established, regular maintenance will be a breeze. Bi-weekly blade edging will suffice. Some high-profile areas like club houses can be bladed weekly.

Clean up

blade3

Obviously, this will require some cleaning. Remove all grass and dirt chunks before your clean up blow. The lawn area must be clean. Don’t go cheap here. The machine can generate black earth balls. Even one left on the lawn will detract from your presentation.

Final result

blade4

Carefully, run your blower along the entire edge. You can also blow the street assuming it can be done safely. Put on a safety high-visibility vest and do it quickly. Avoid rush hour traffic times.

No contest!

I know which picture I prefer. What about you? And your clients?


blade1 blade4

Don’t stop at boulevards. Edge your tree circles, grates and metal covers and soft bed edges. You will be glad you did.


Proper Deep-Edging 101

By | Edging, Landscaping, Mulch | No Comments

Deep-edging beds and tree wells is a great winter task. It defines our bed edges nicely. While it is not a very difficult task, there are a few pointers to keep in mind. Always put in sharp ninety degree edges and if your bed has freshly installed soil or mulch do not mess it up with soil chunks. First, rake your mulch or soil away from the edge! See example below.

Image_001

1) Only 90 degrees will do. Position your spade so you get a nice ninety degree edge.

Image_002

2) Put your foot behind the spade to prevent bed edge rounding

Image_003

3) Continue with sharp edging, then beat up any clumps and rake up

Image_004

4) All done! Do not make volcanoes, instead remove any excess soil

Important! To deep-edge beds with fresh mulch or soil DO NOT kick up fresh soil chunks over the new soil or mulch.

Image_005

1) Rake away fresh soil from the edge

Image_006

2) Deep edge and cleanup

Image_007

3) Pull back the soil to your new edge; use the same Proper procedure for mulched beds