Prickly plants can be used as green barriers in the landscape to discourage people from entering certain spaces. I was reminded of this recently when I was sent to a strata (multi-family) complex to install Berberis thunbergii plants. My task was to plant a row of plants at the top of a wall because the strata council was hoping to discourage kids from playing on top of it. Aha. There you go. It’s not just about pretty flowers. Plants can be used for specific functions. In this case to deter young kids from playing on top of a wall.
Why Berberis?
There’s lots to like about Berberis thunbergii. For one, the purple foliage is very attractive. Berberis also flowers nicely but the flowers aren’t super showy. The plants also splash out nicely in arches and they tolerate shearing.
One important key is that the plants do well in our Lower Mainland landscapes once they’re established. But how do they deter kids from playing? Well, the plants sport soft prickles that hurt just enough to discourage you from brushing your body parts against them but not so much as to cause deep gashes and bleeding. It’s a perfect plant for this situation. We had enough prickle collisions when we planted, I imagine the kids will also have some fun.

Berberis thunbergii, attractive foliage and soft prickles ready to meet any juvenile trespassers.
Step one
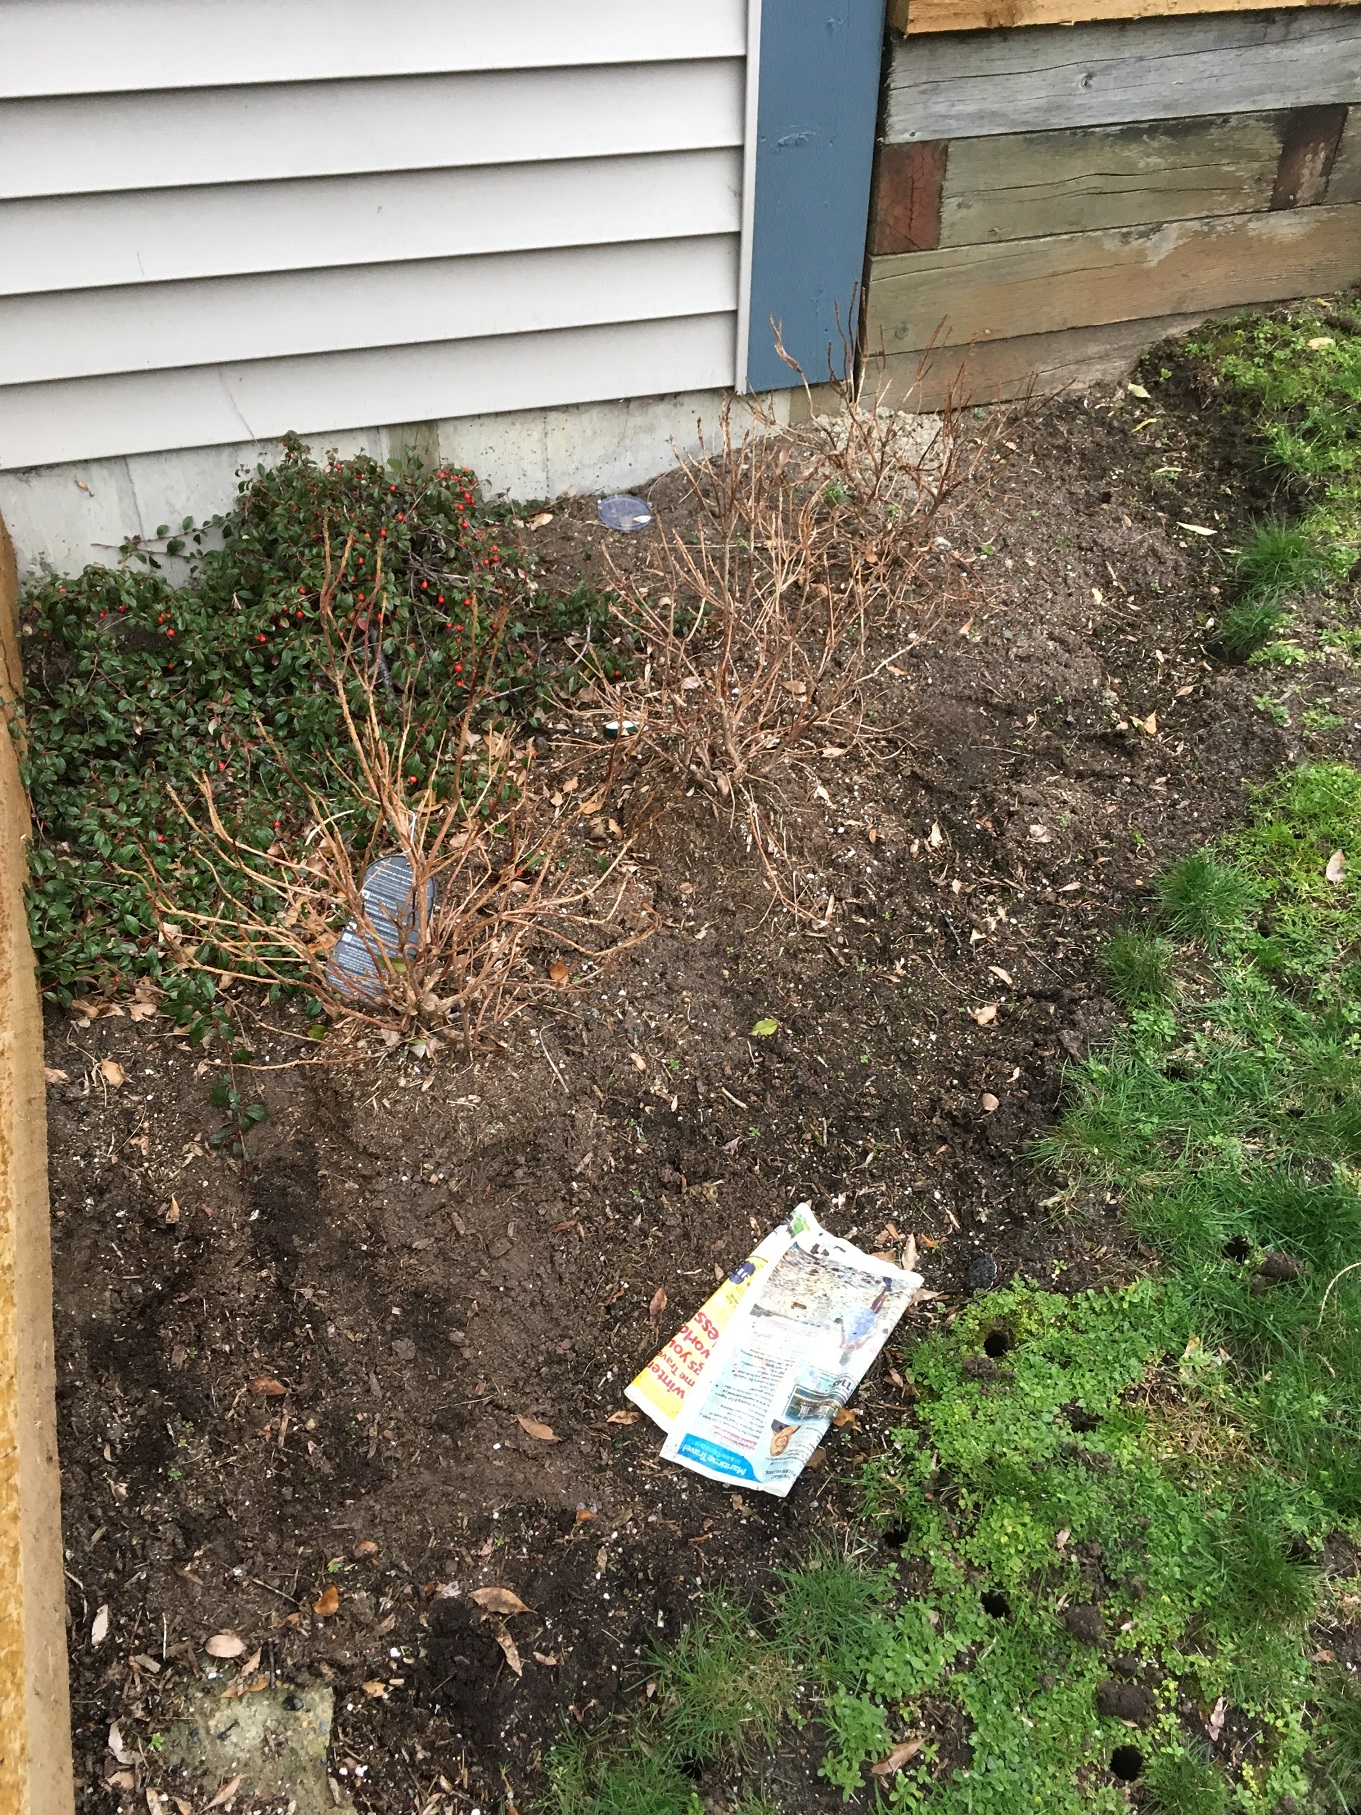
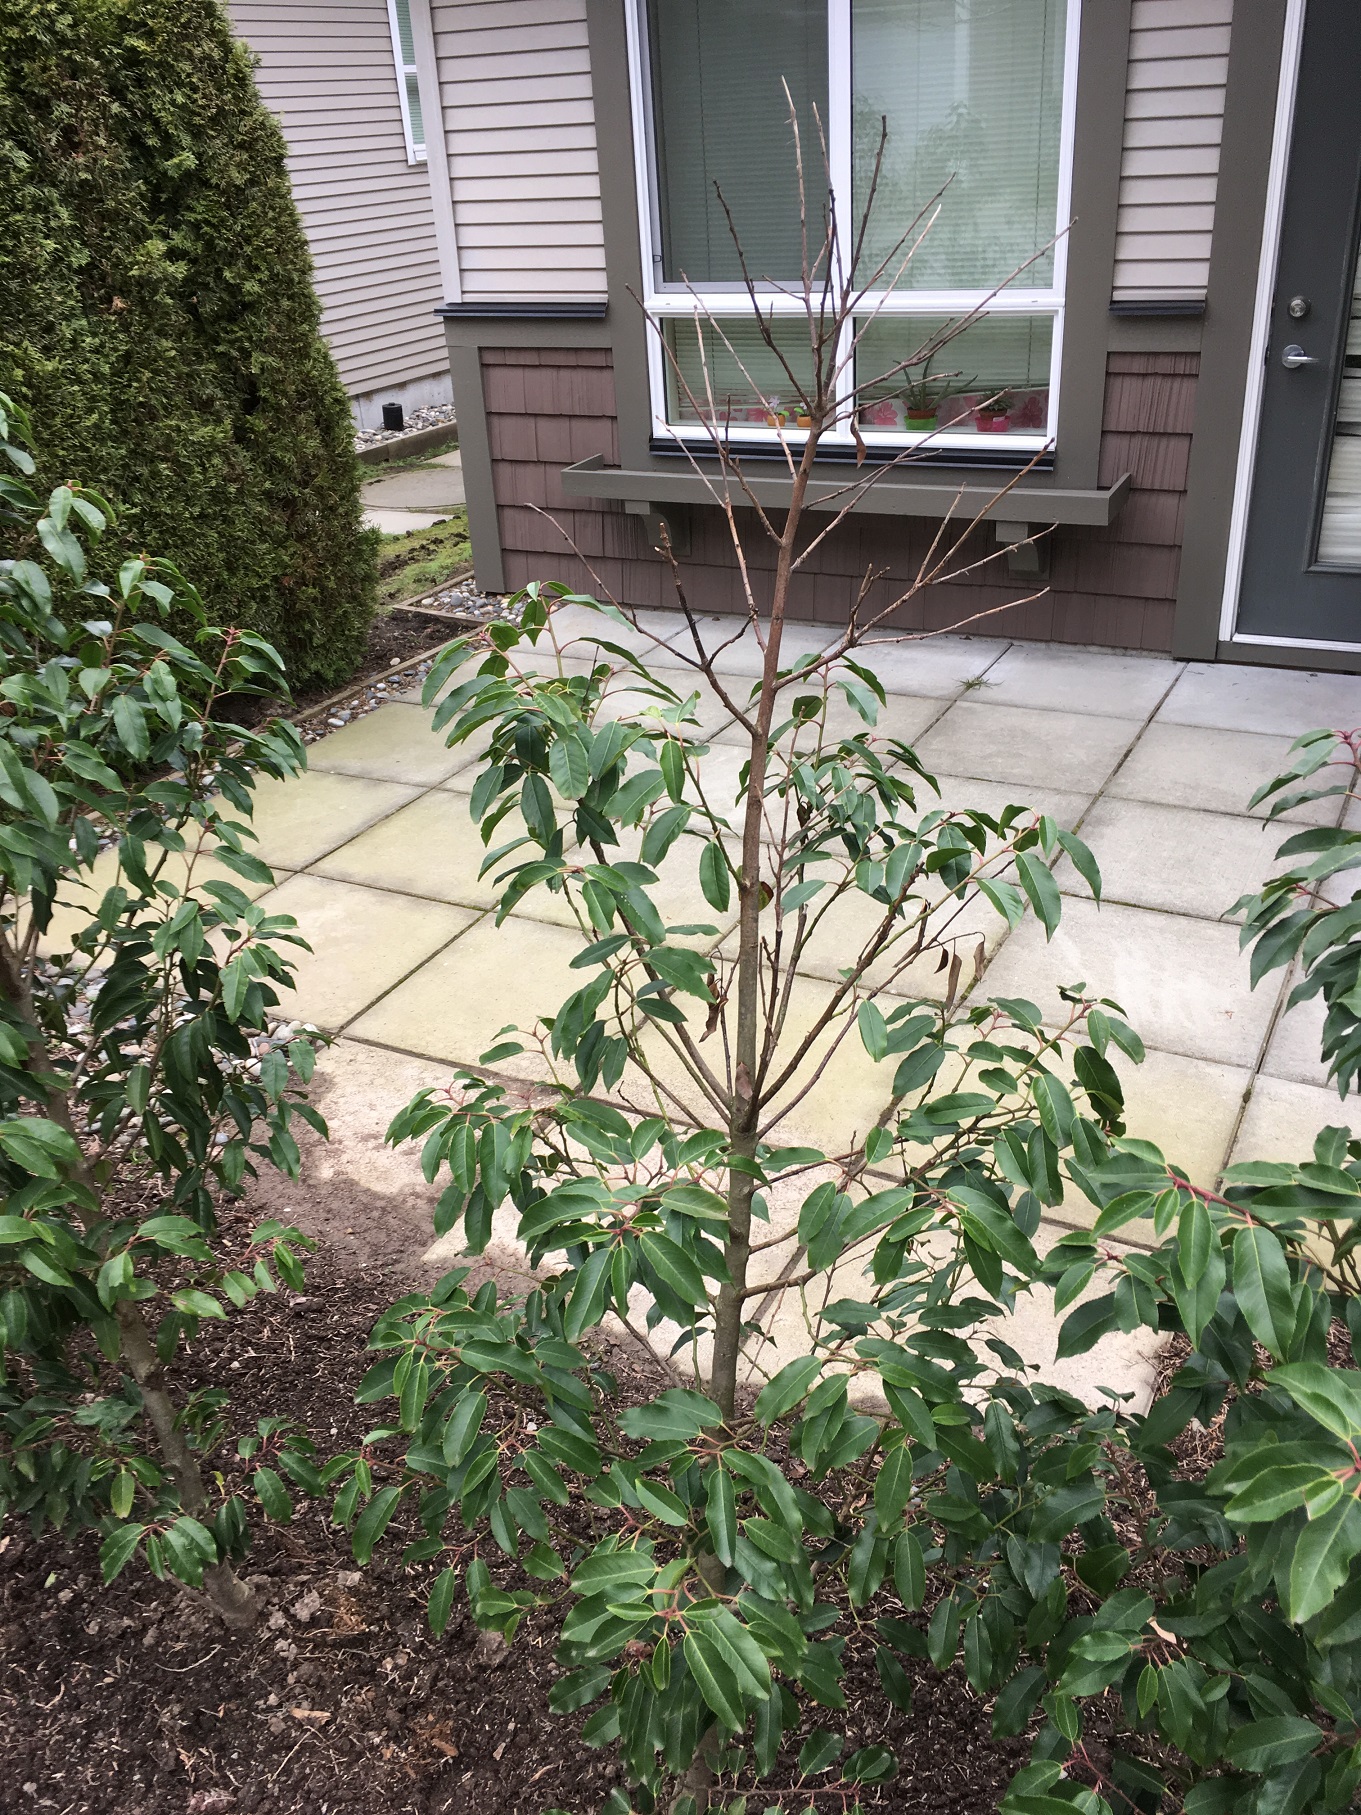
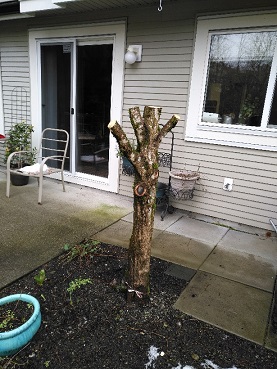
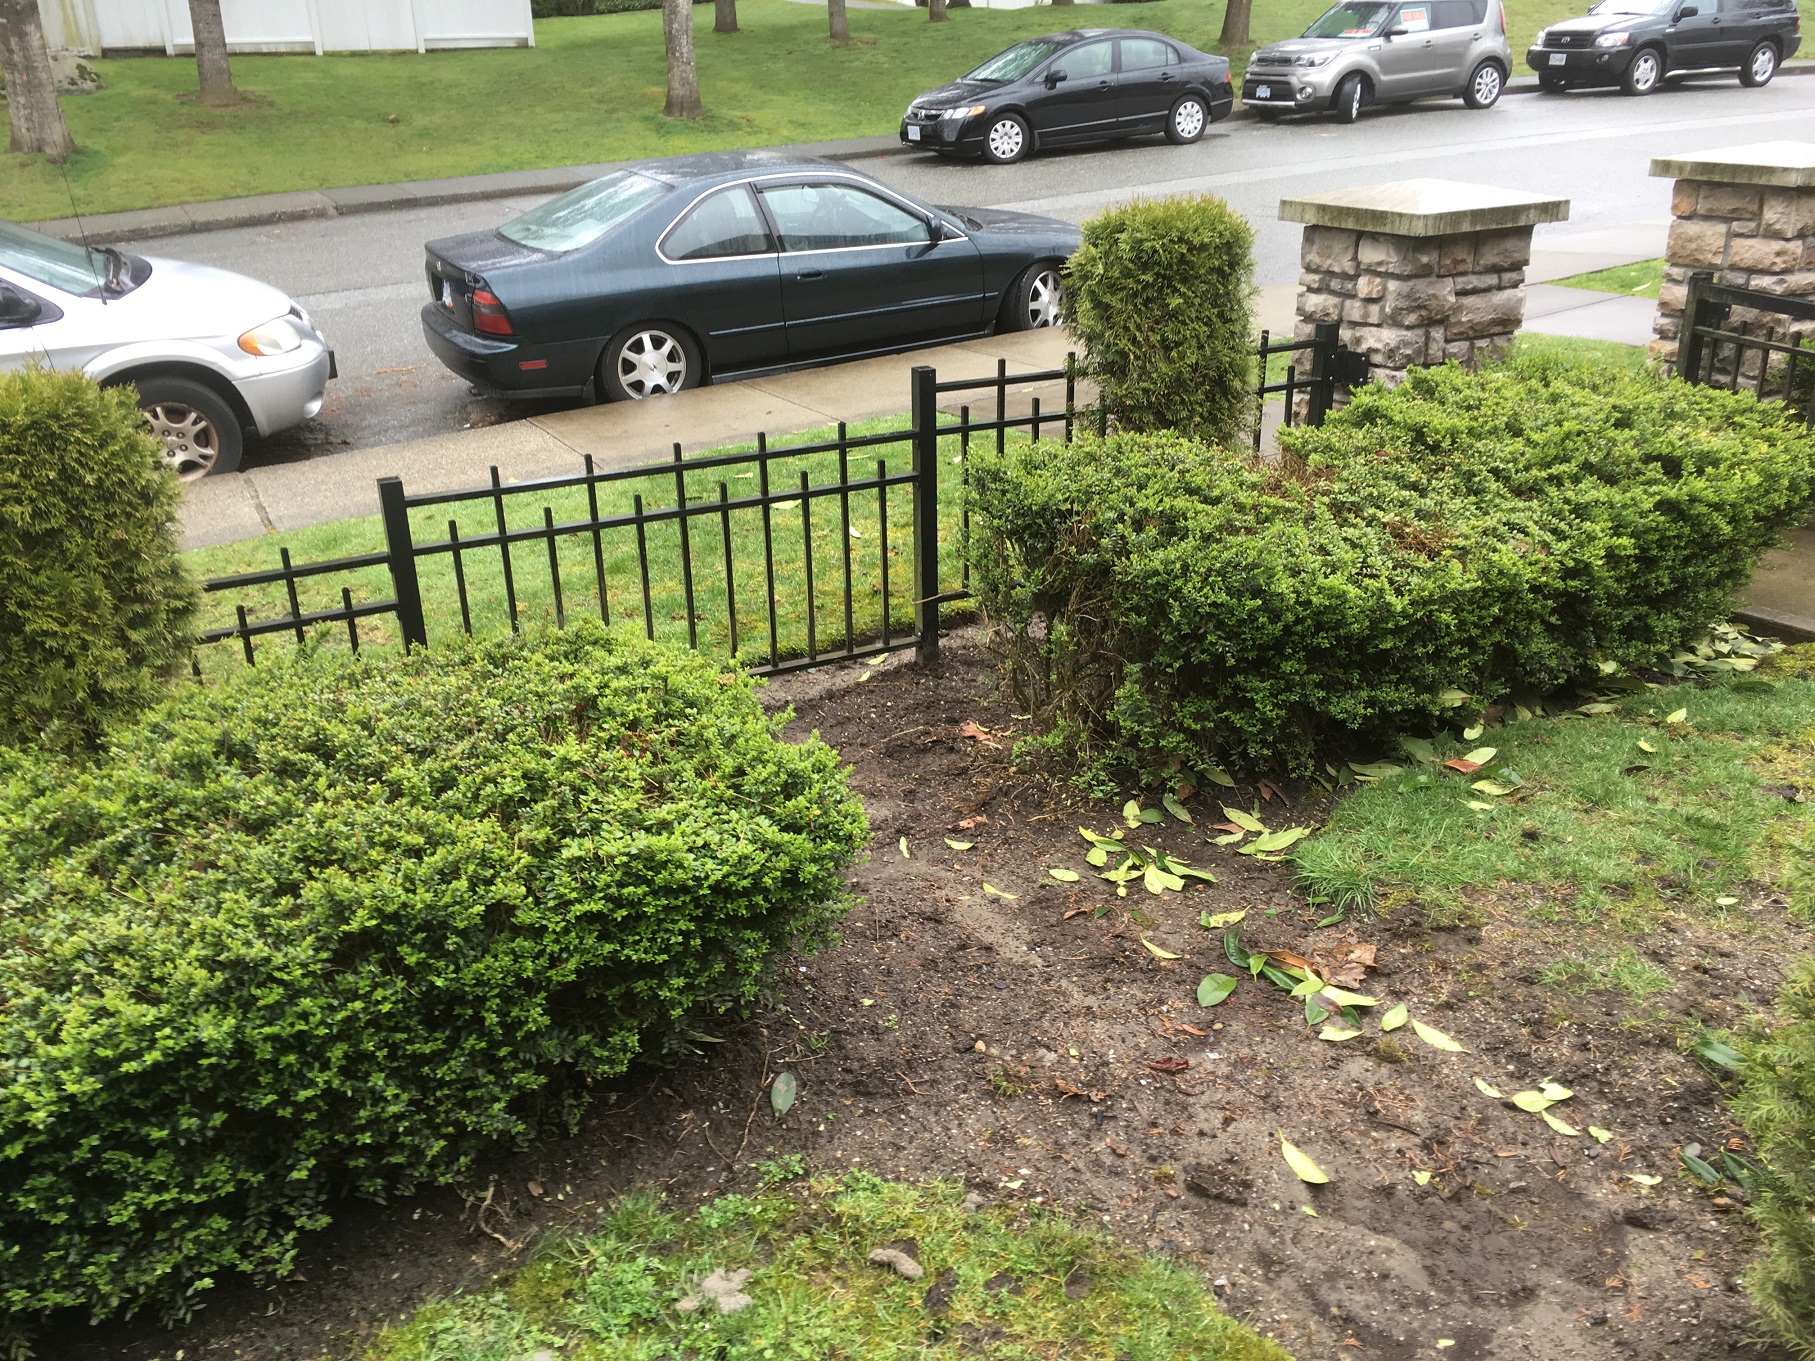
First, my apprentice and I had to remove the struggling Mahonia aquifolium plants which, incidentally, sport prickly leaf margins. Also note that I kept the best looking specimens and re-used them at a bare boulevard bed. I hate throwing out decent plants.
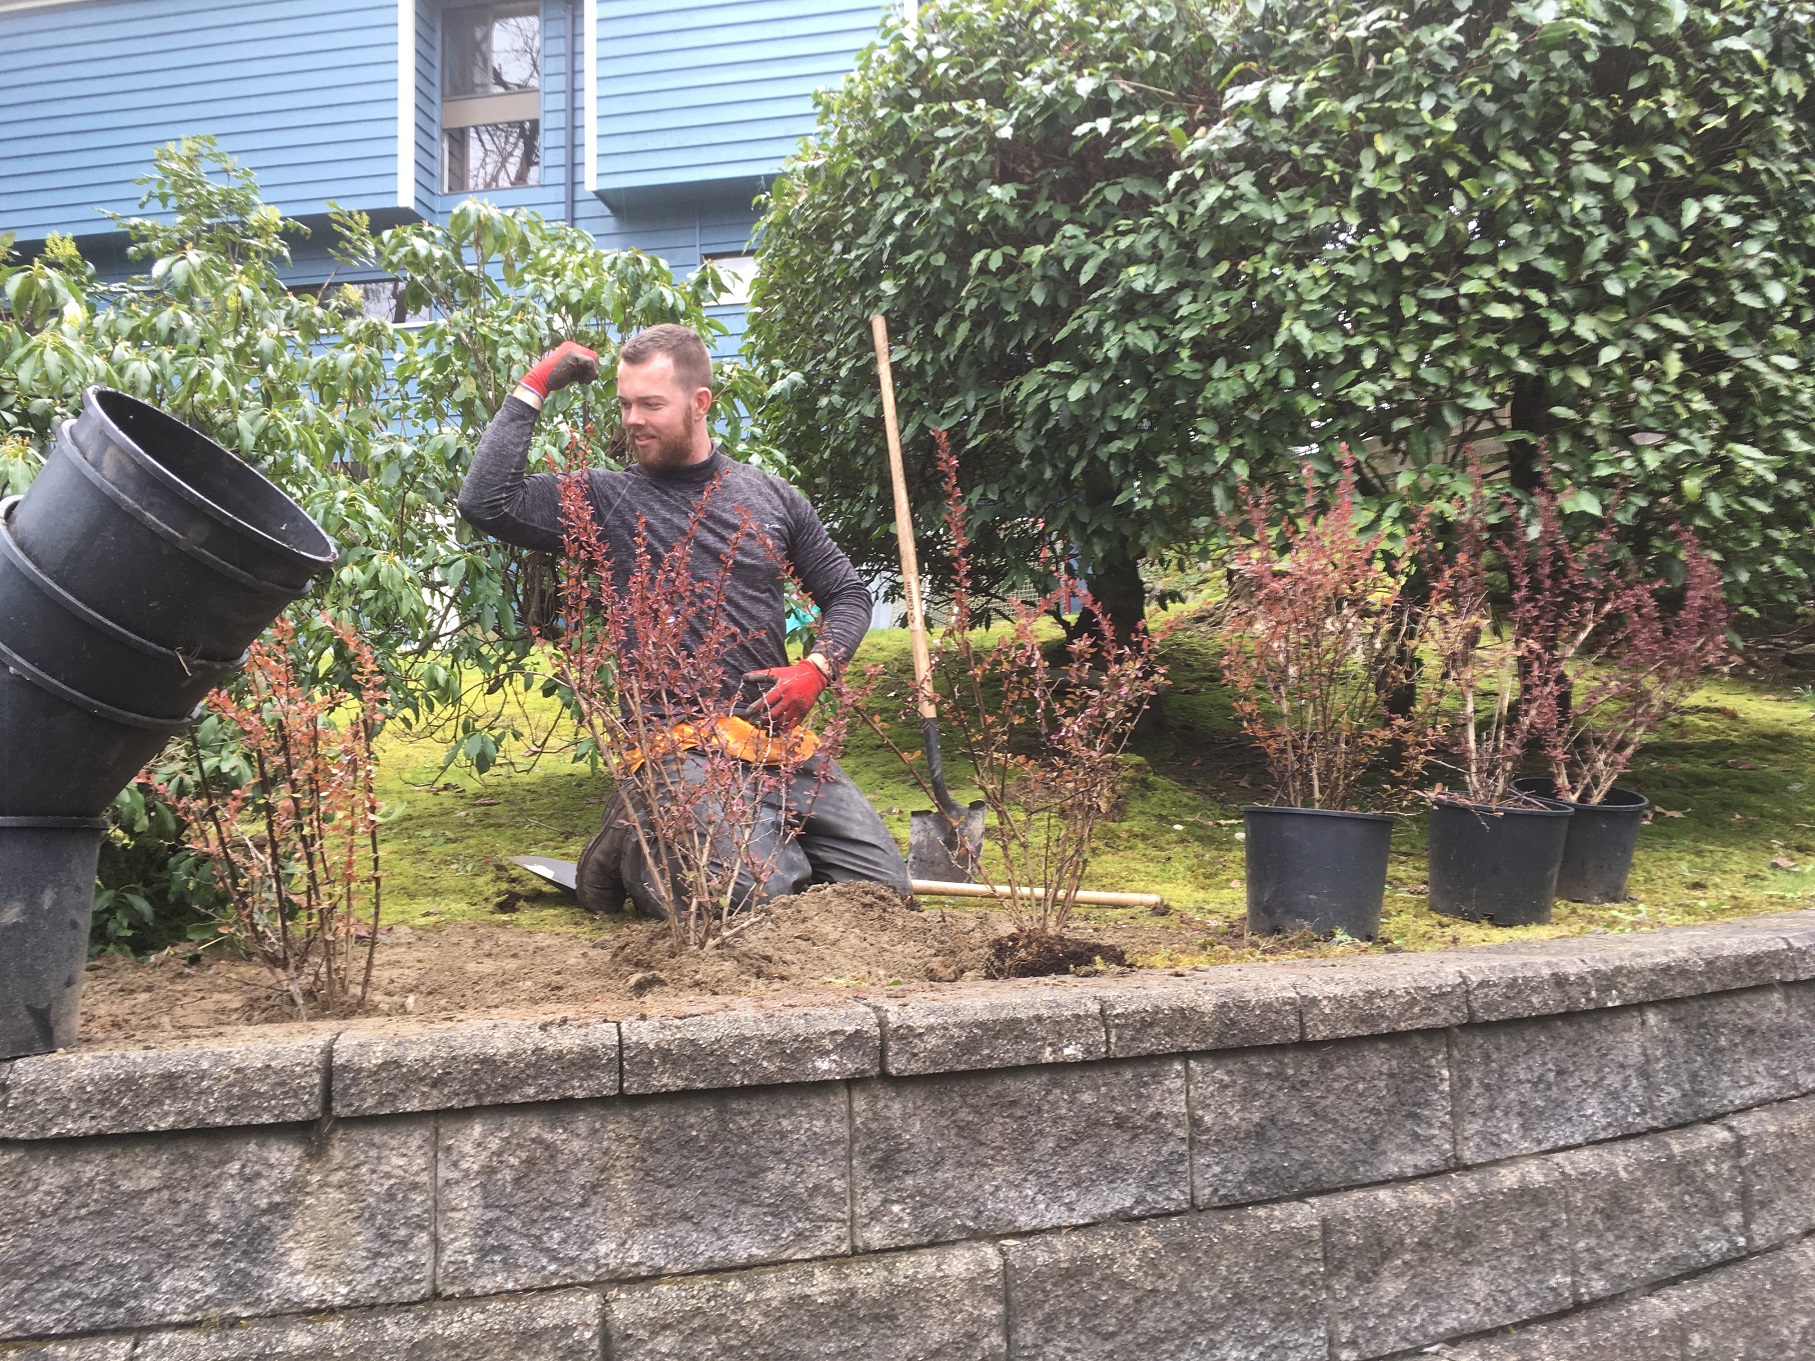
If you’re lucky enough to have a 4th-year apprentice to help you, squeeze him hard!
Step two
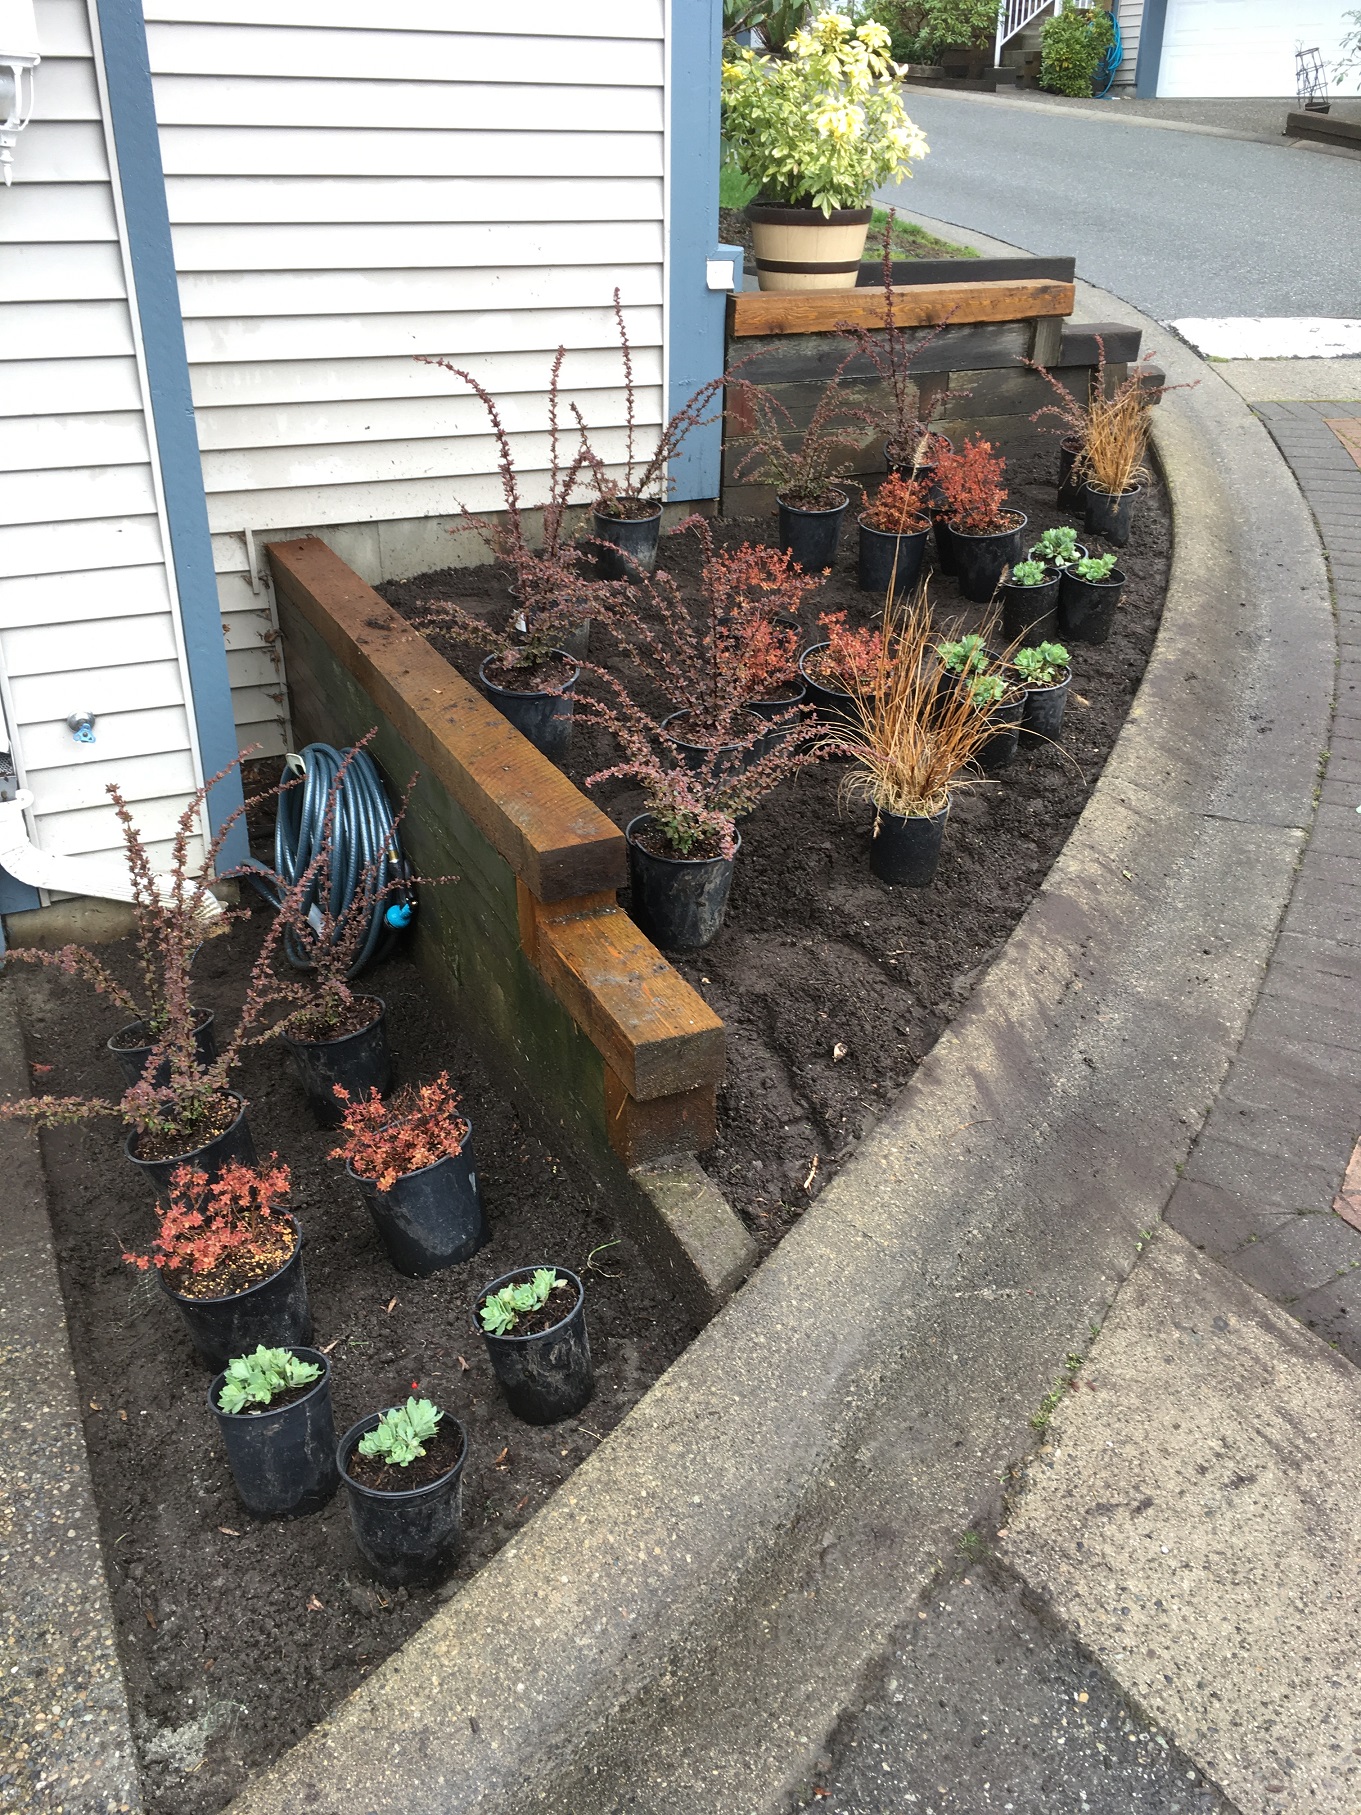
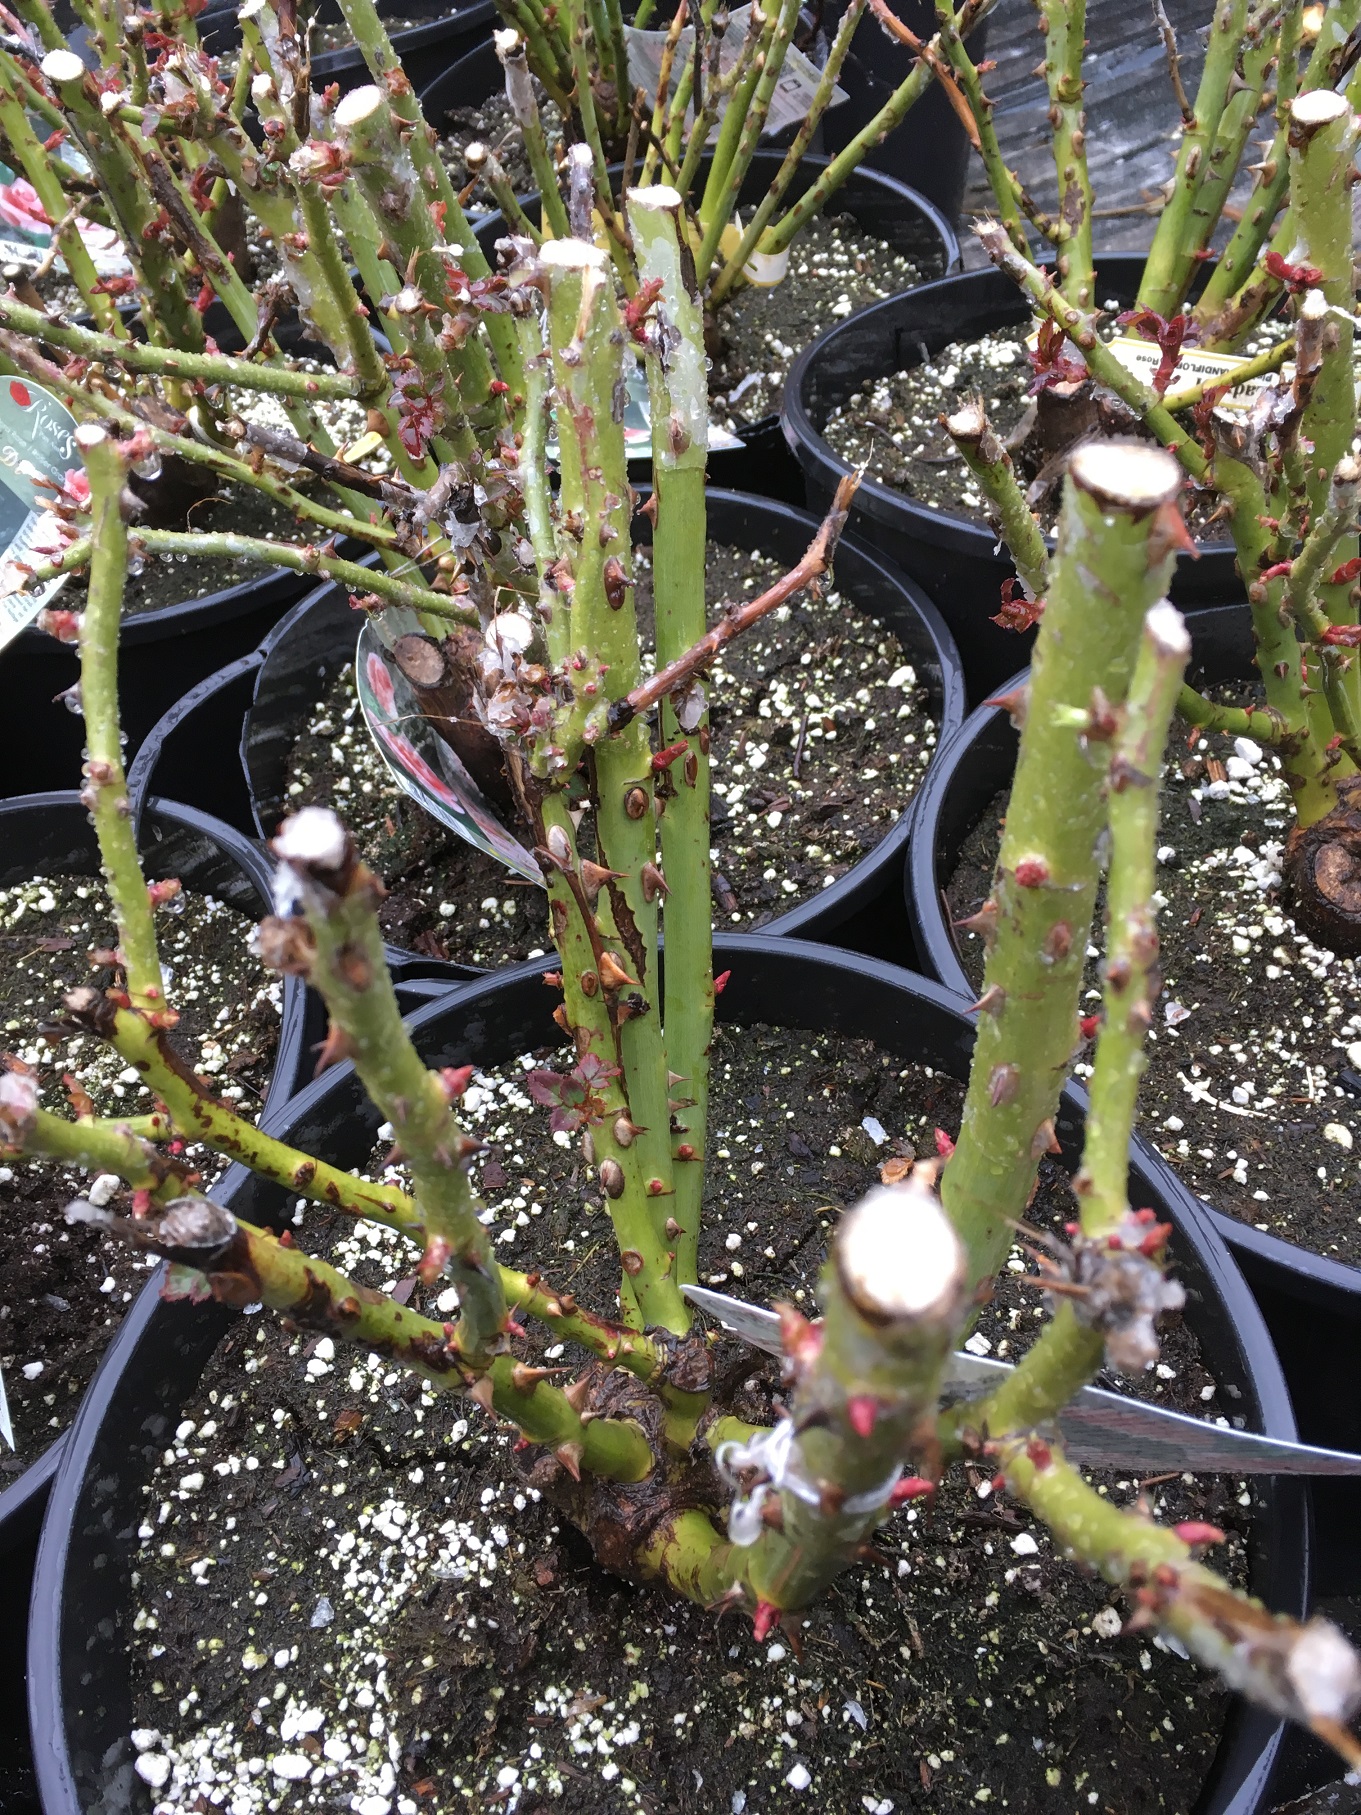
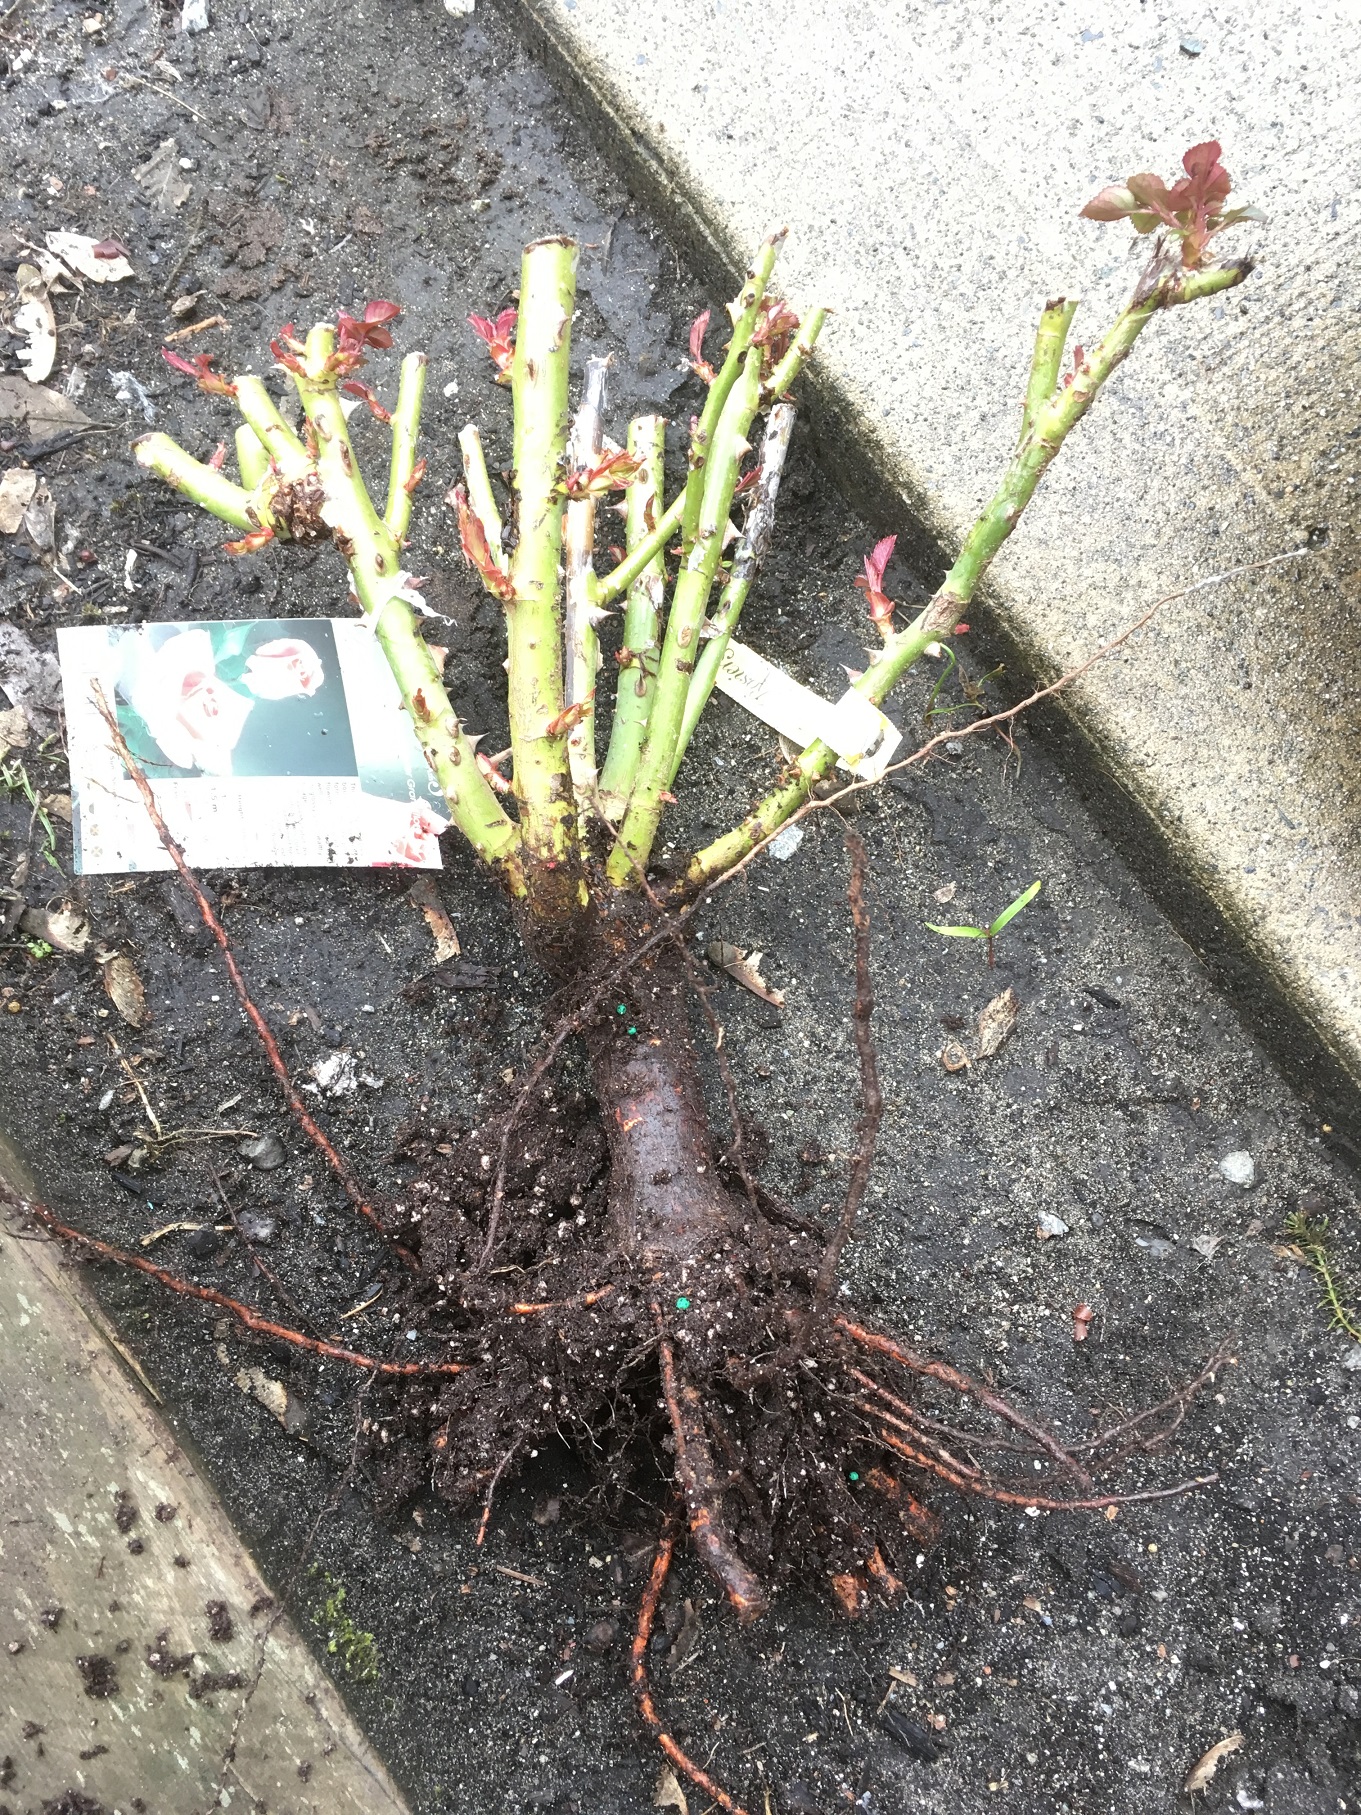
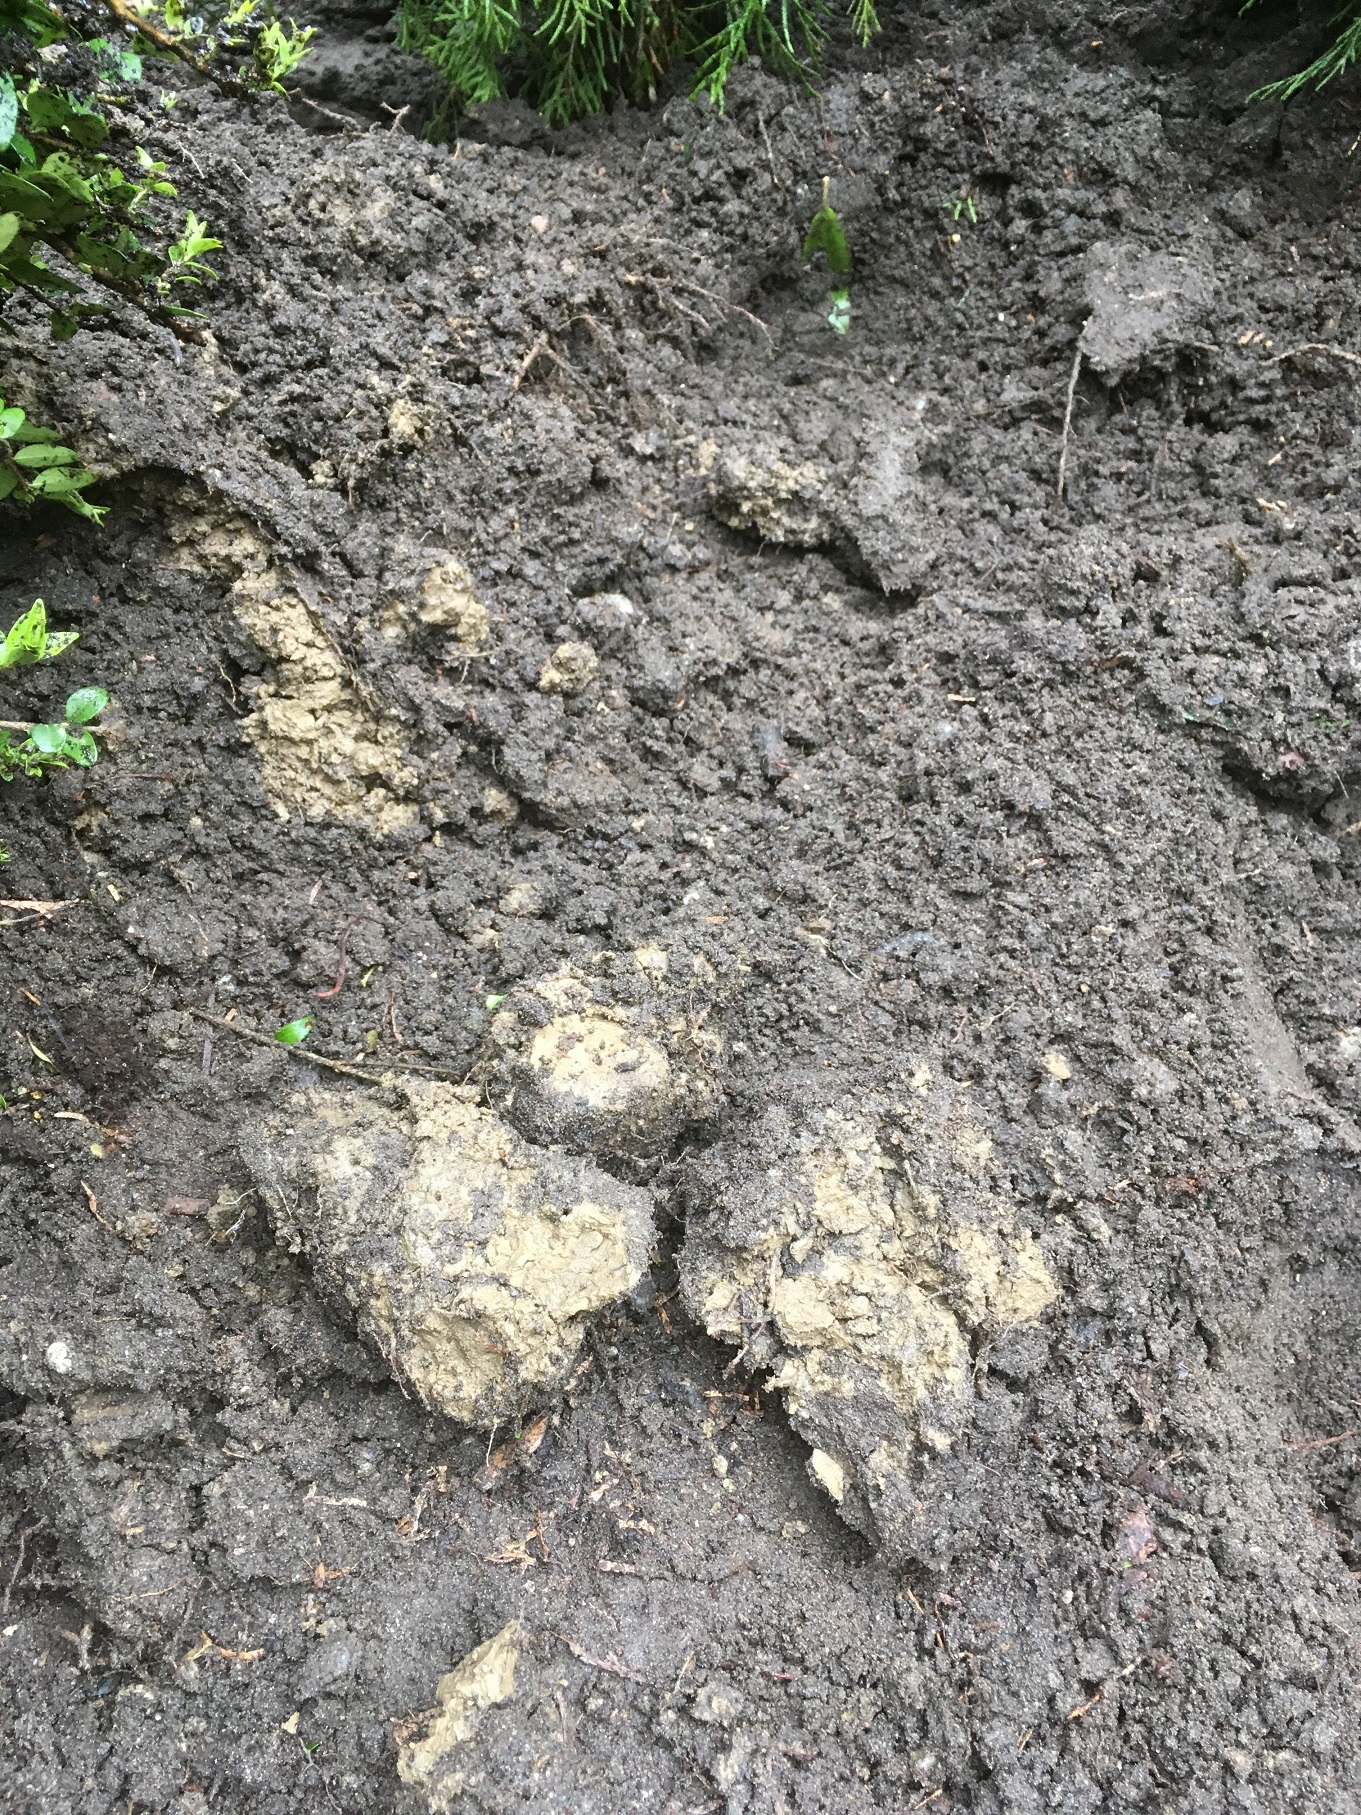
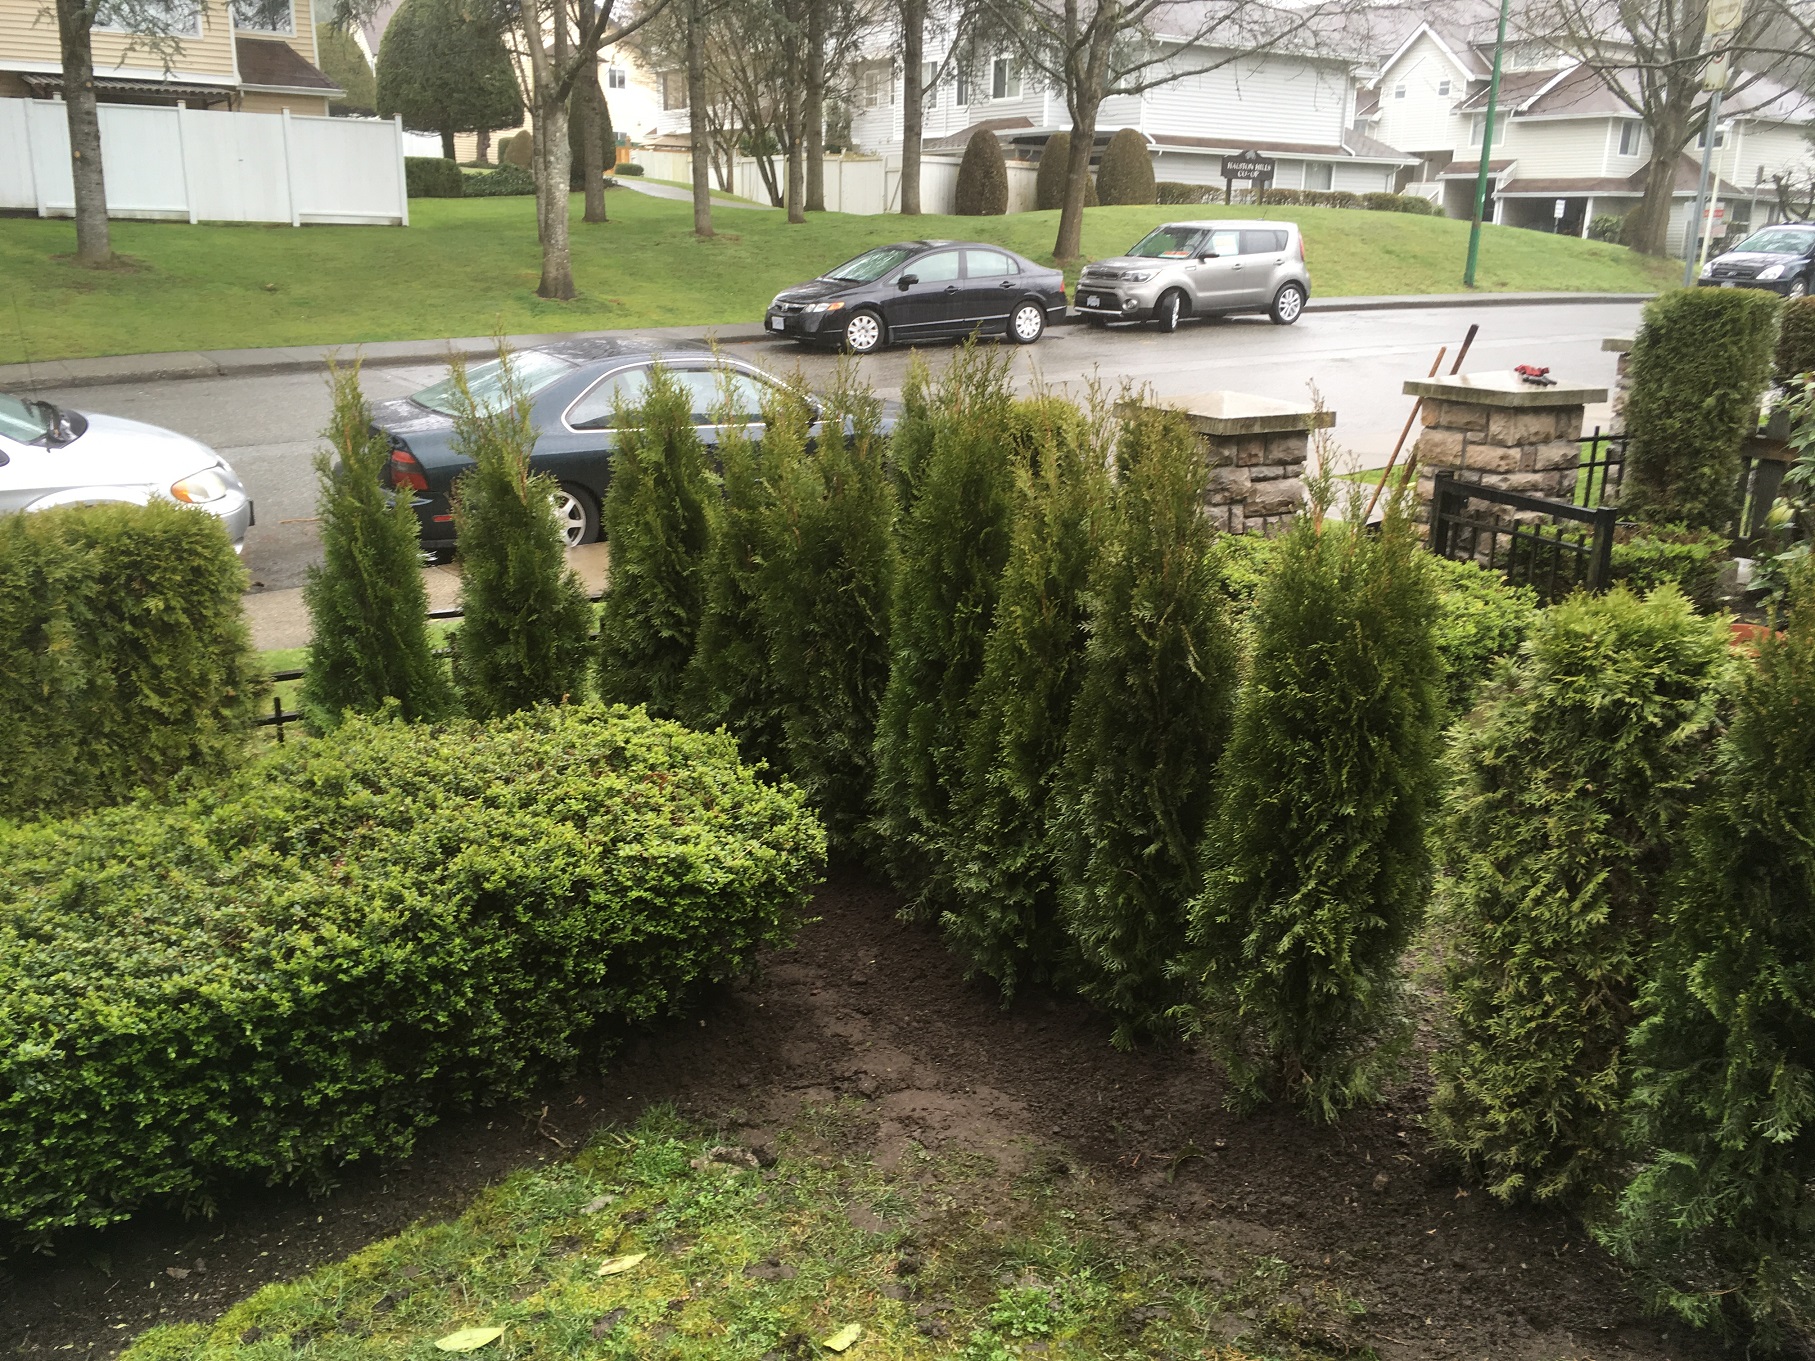
Planting the Berberis thunbergii wasn’t very easy because woodland setting means tree roots and moss. Always massage the plant roots before planting. We don’t normally have time to water in our new plants but the ground was wet and rain was in the forecast. And remember, Berberis thunbergii is a champ, that’s why we use it. As the plants grow they will fill out and form a nice barrier.
Step three
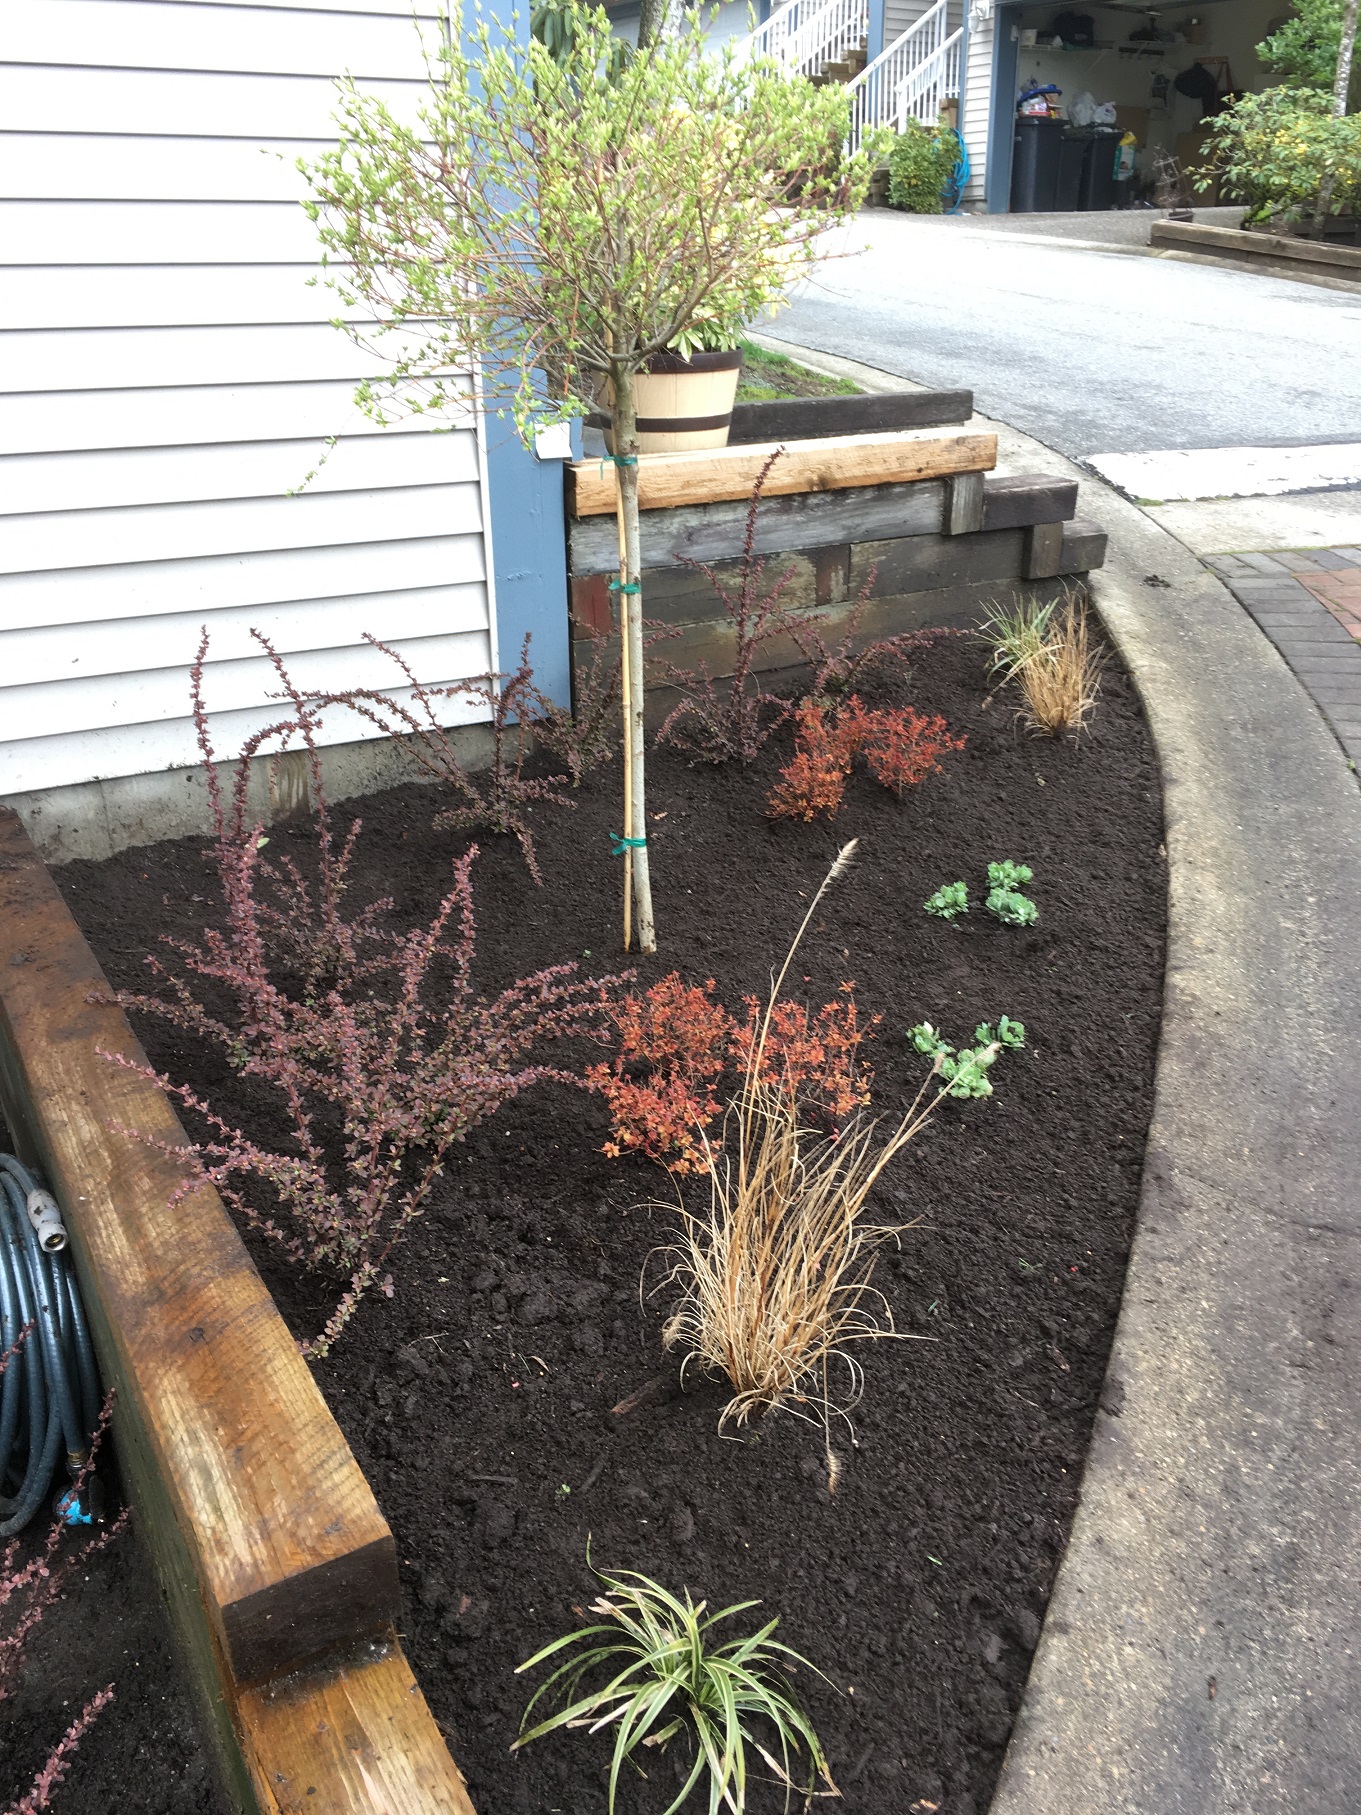
Whenever possible, use soil amender to top dress your new planting. It gives it a new black look and it gives the plants a nice kick with new soil. And remember to top dress only. Always backfill your planting holes with the native soil you excavated.
Step four
Clean up nicely with a blower and broom. Always leave your work site in great shape. If you read this blog regularly you will already know that.
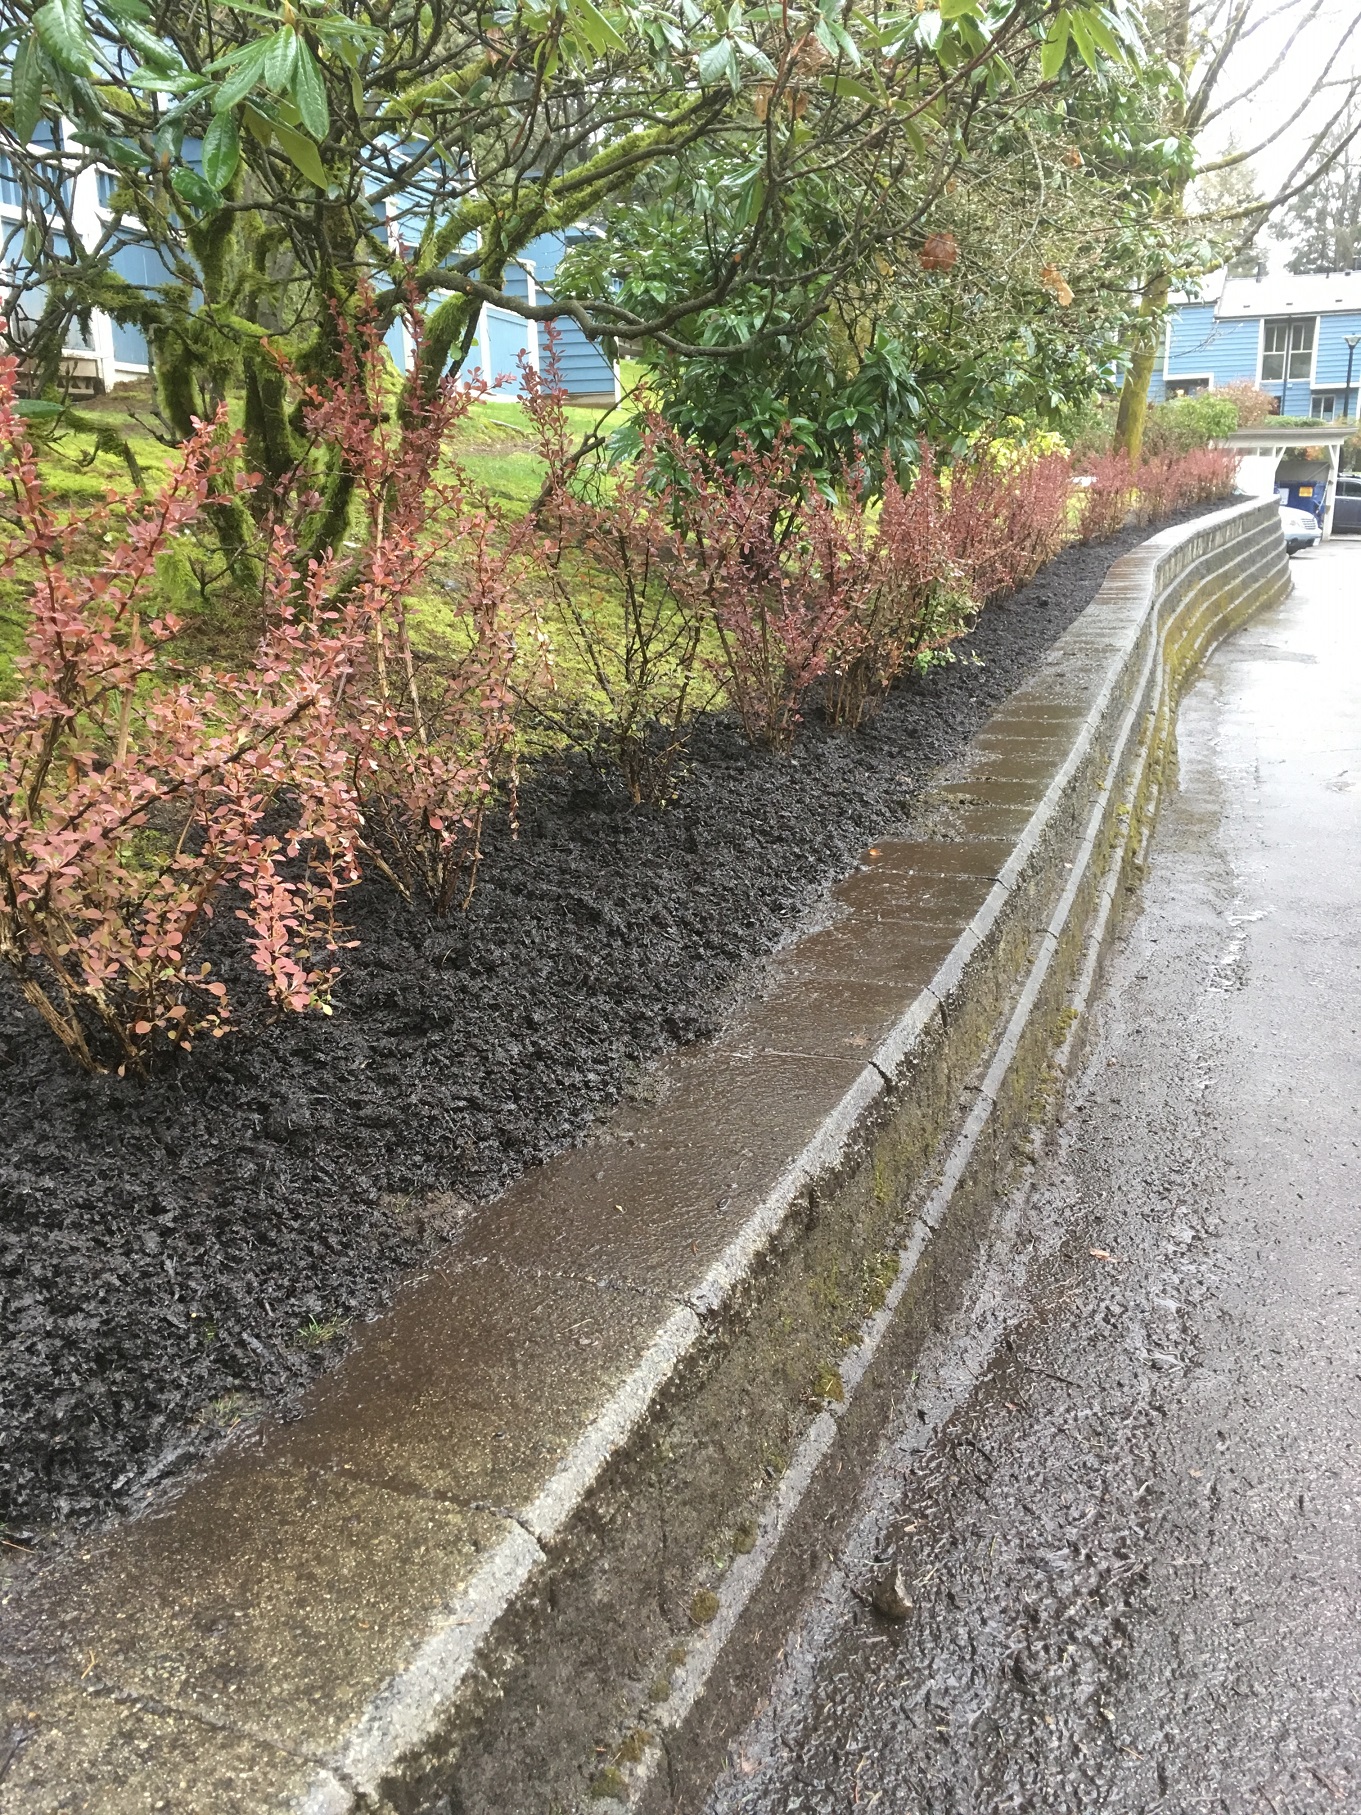
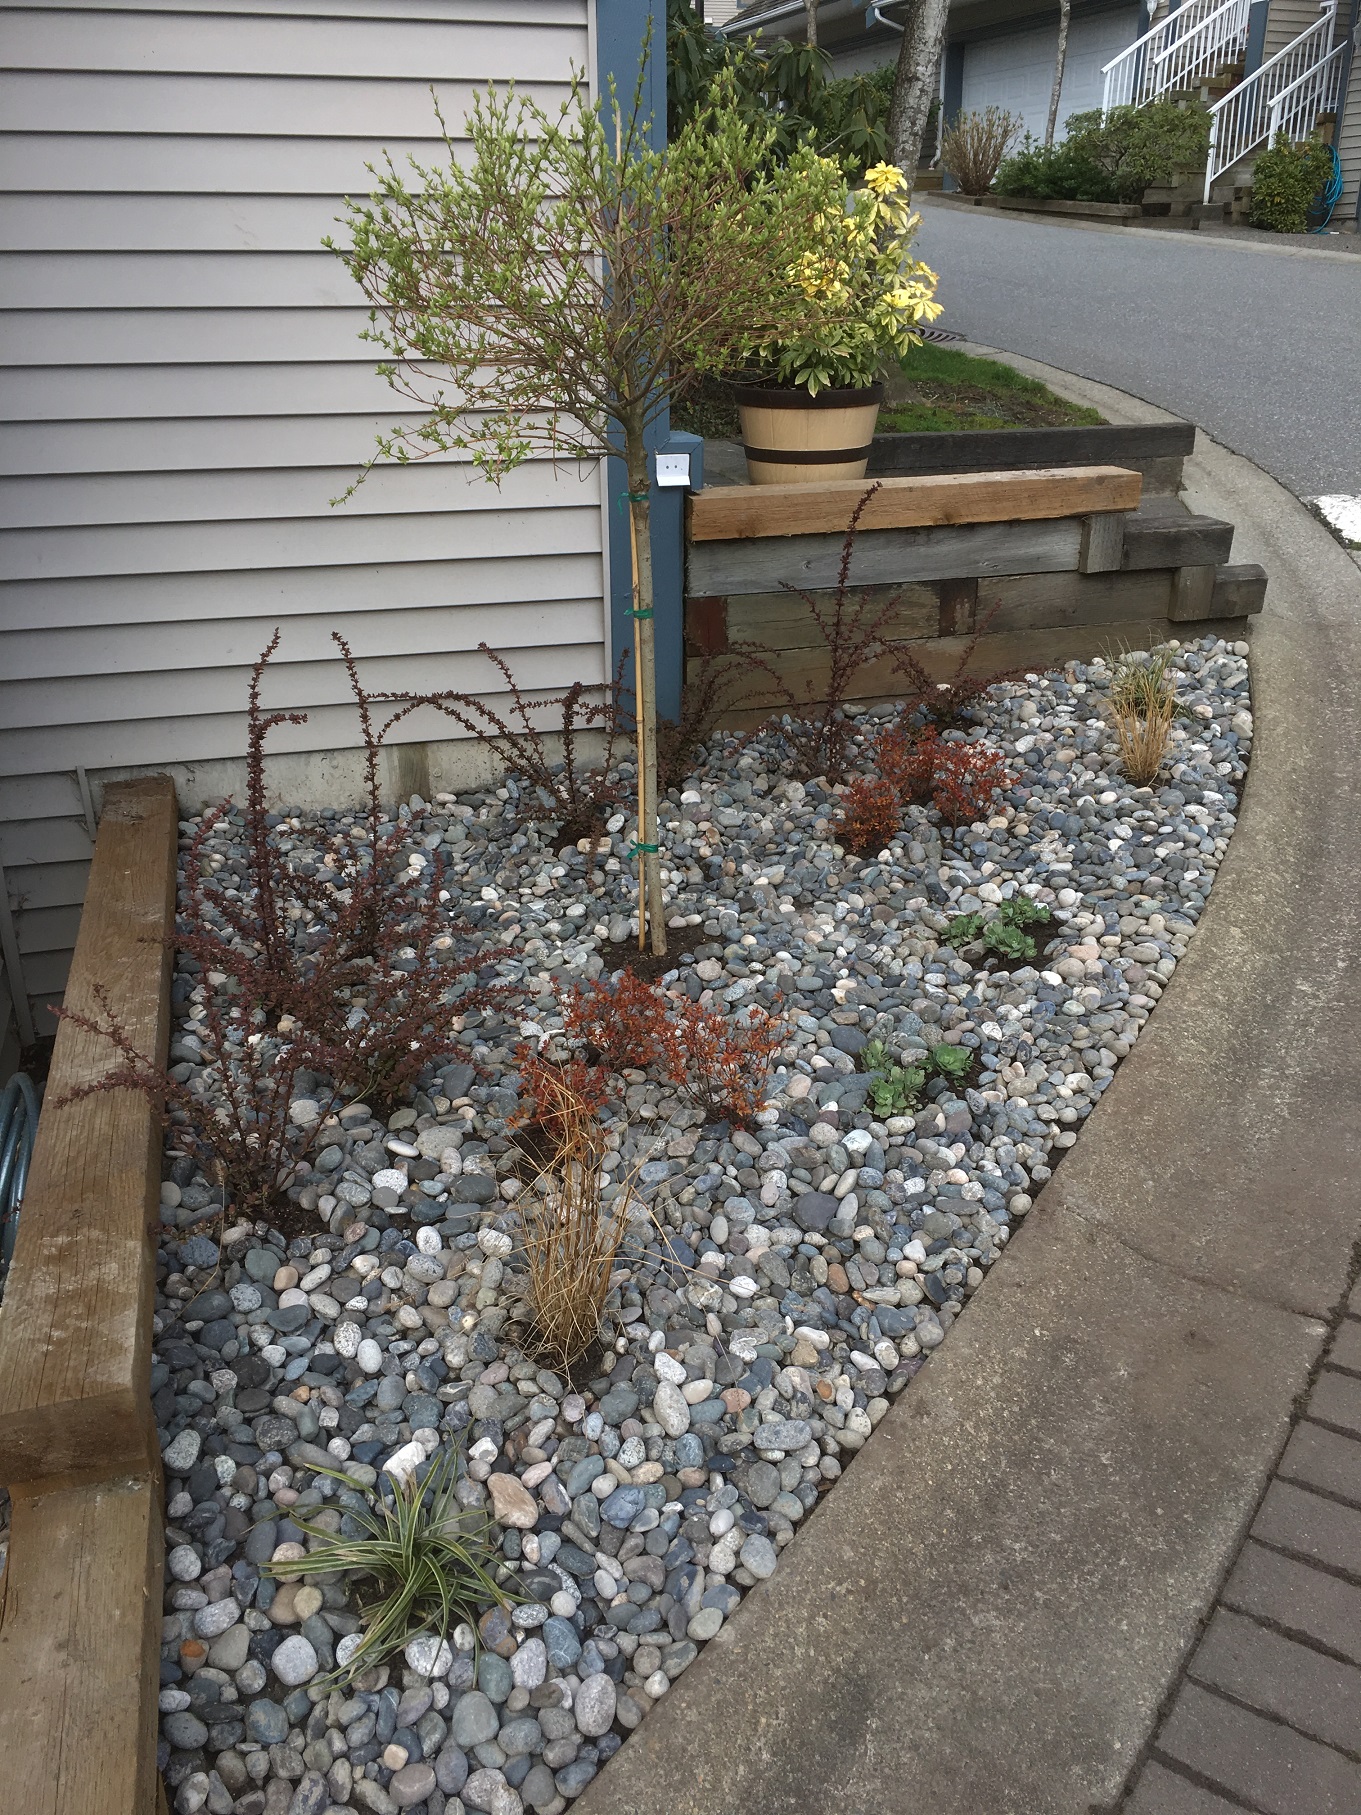
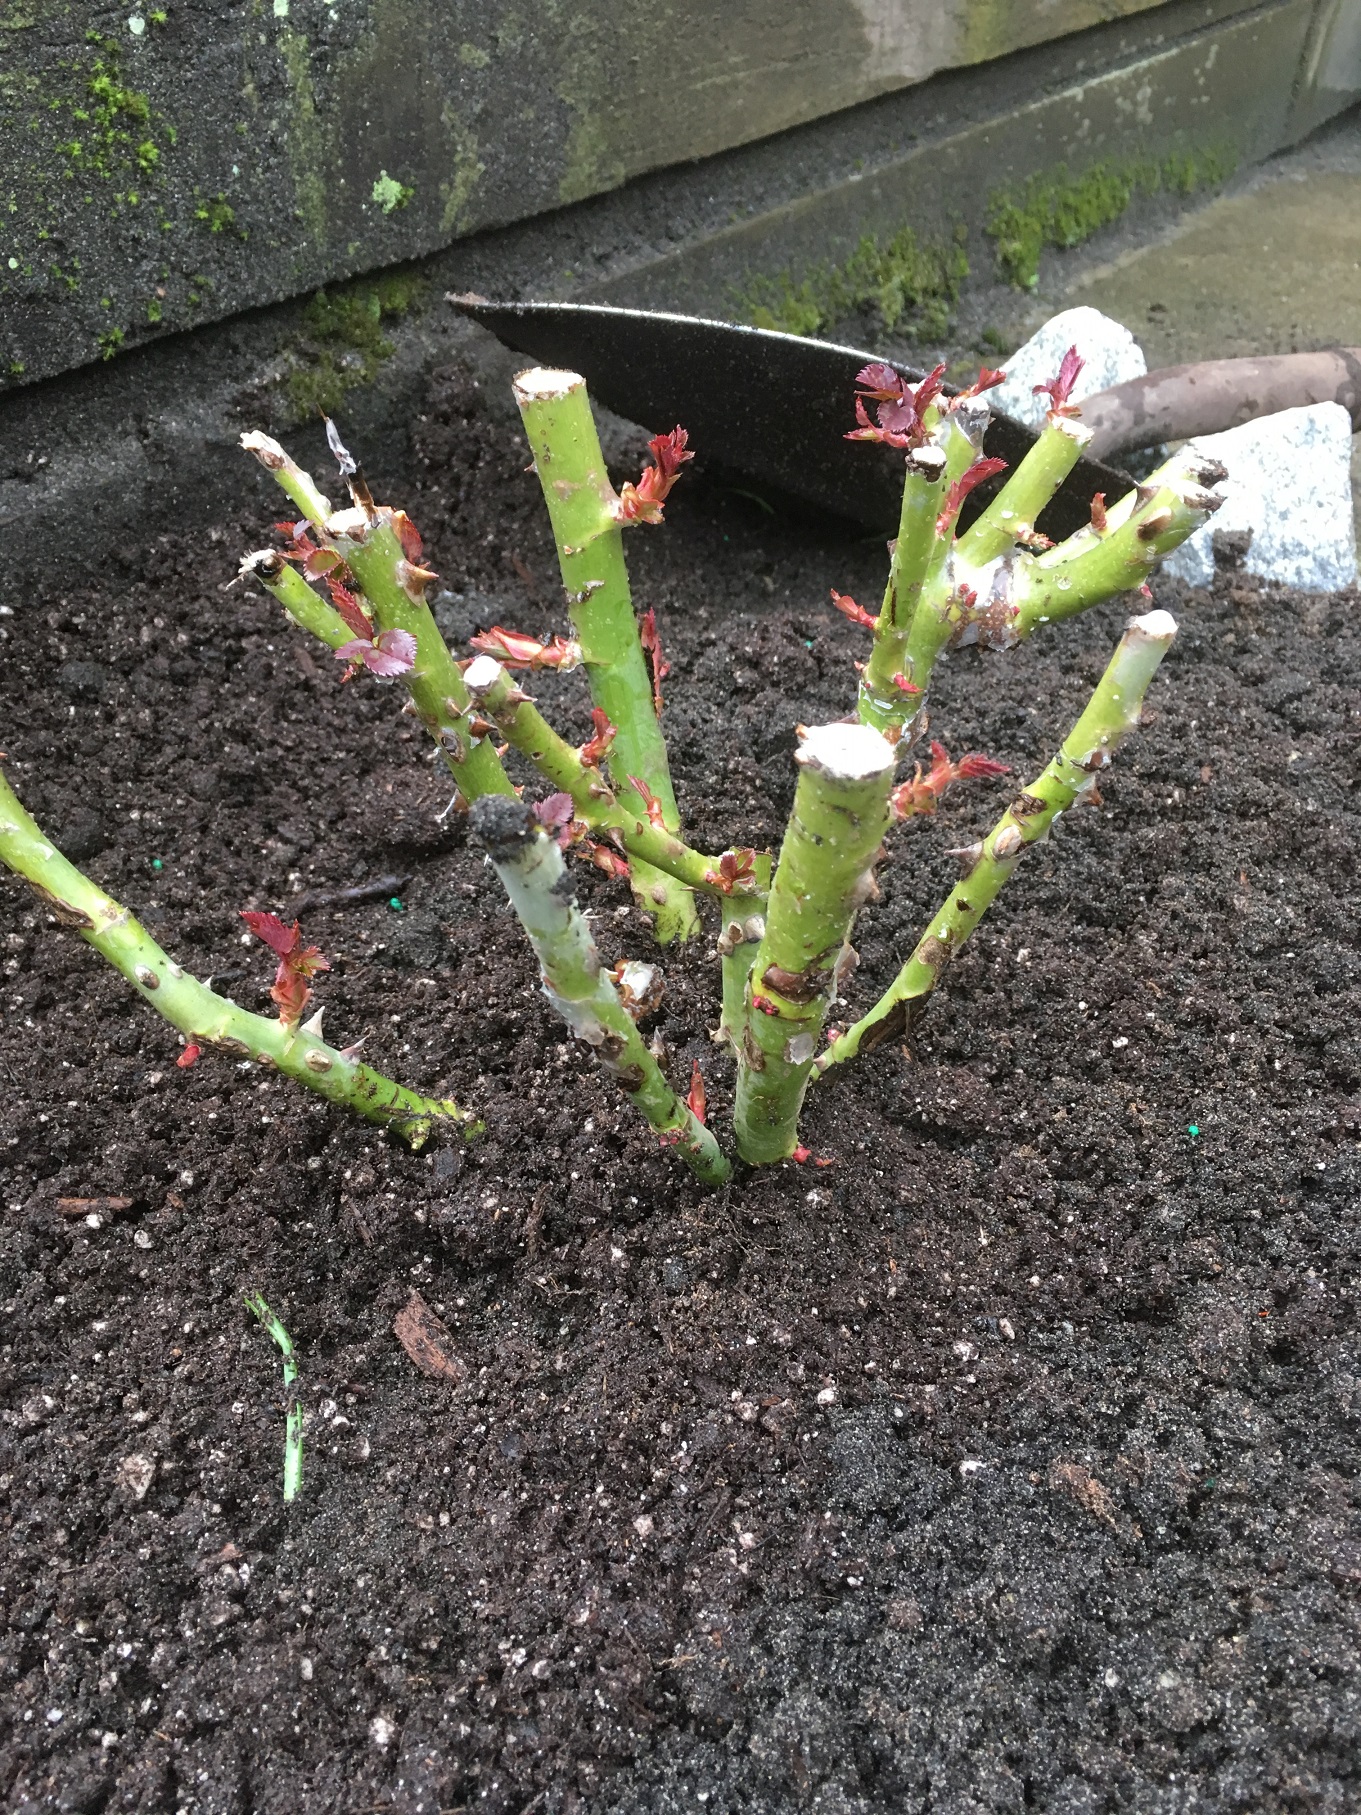
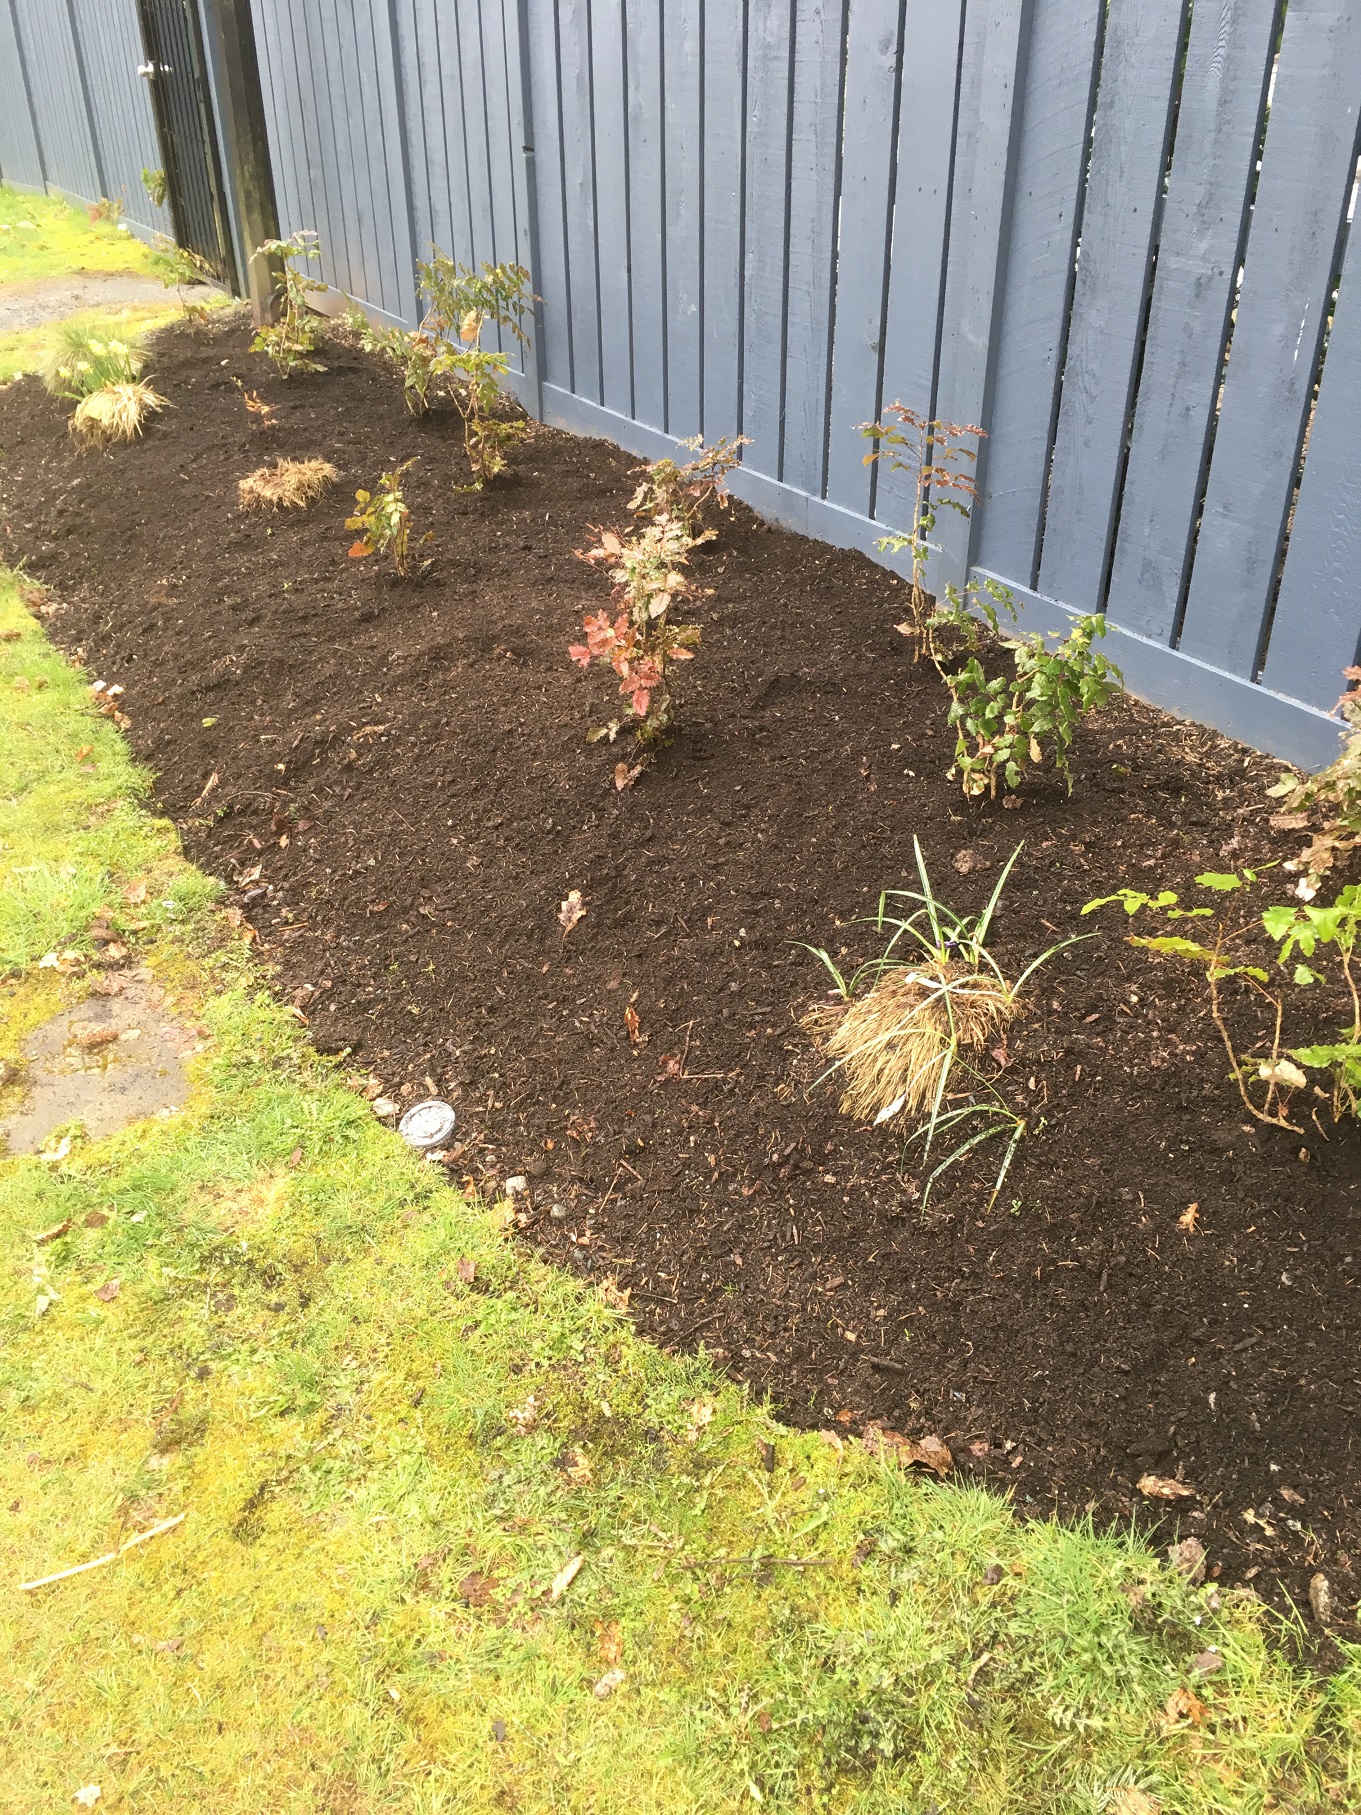
All done! Planted, top-dressed and cleaned-up.
Step five
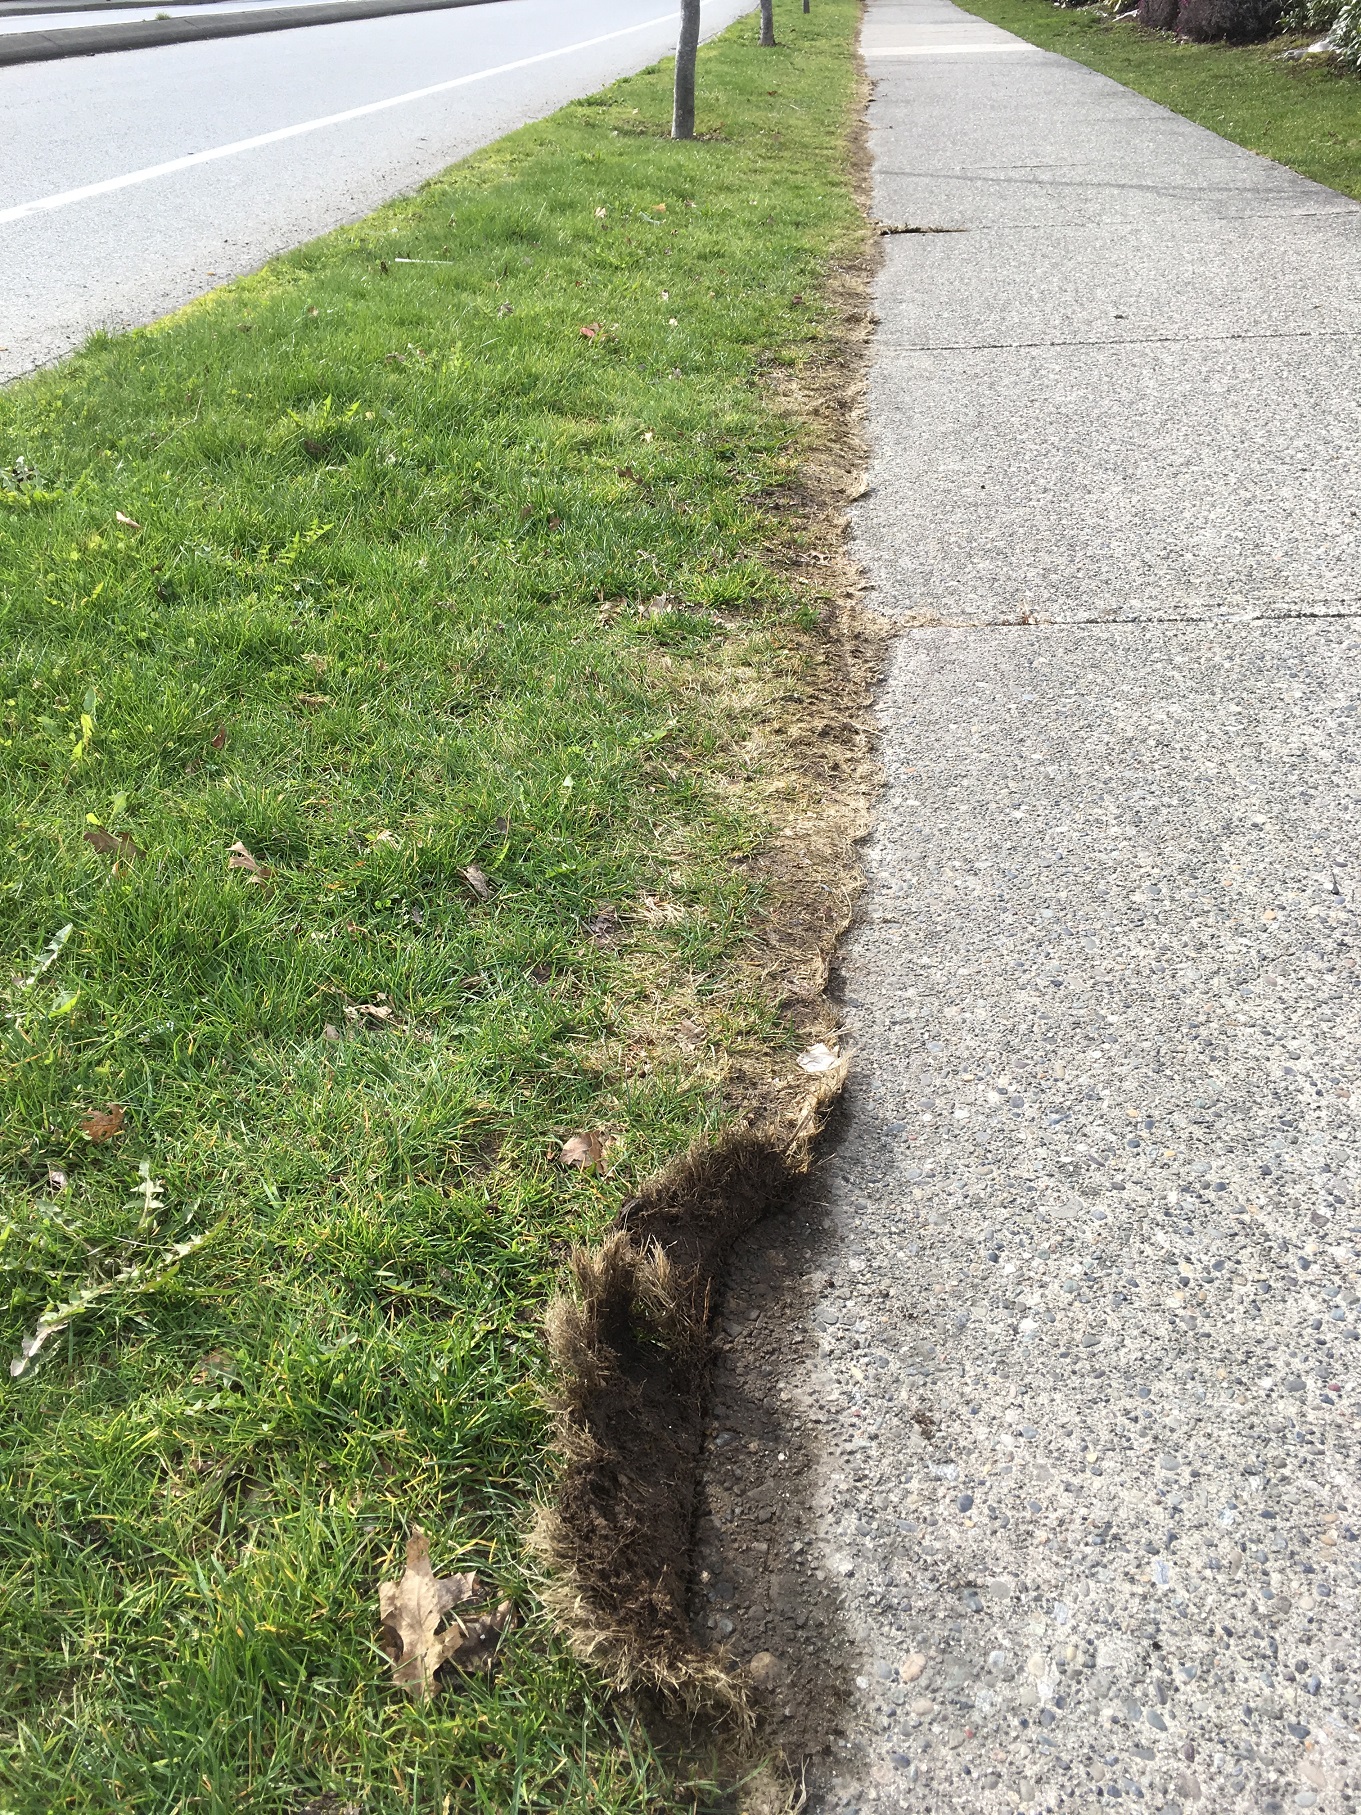
Re-plant the rejected plants elsewhere. I did this on a boulevard bed which was mostly bare and it made me happy to see the plants salvaged and given space to grow.
Unwanted Mahonia aquifolium and Nandina domestica were replanted in this almost bare bed.
Conclusion
Berberis thunbergii is a great plant to use if you need a decent plant barrier to discourage people from entering a certain space in your landscape. The prickles are hard enough to discourage trespassing and soft enough to not cause deep gashes and profuse bleeding.