Monthly Archives

September 2018

Why Persian ironwood rocks!

By | Arborist Insights, Species, Trees | No Comments

I discovered the Persian ironwood tree (Parrotia persica) in 2014 while working for municipal gardener Tracey Mallinson. We had many of these trees at the Poirier complex in Coquitlam, BC. But I didn’t expect this tree species to rock the Urban Foresters Symposium. It was mentioned in two lectures and for good reason. It also appeared in the plant ID contest as one of the 25 specimens.


IMG_3596


Bullet proof


In lecture one on urban street and landscape trees, the lecturer referred to Parrotia persica as bullet-proof. Then he introduced us to three new Parrotia persica cultivars (cv.).

Parrotia persica cv. ‘Ruby Vase’ has a more compact crown while P. persica ‘Vanessa’ has a narrow crown habit. The third cultivar is the most interesting. Called P. persica cv. ‘Persian spire’, it’s a slow-growing non-aggressive street tree or it can be used as a hedge plant. The leaves have an awesome purple boarder.


Lecture two

Lecture two covered moisture stress in the landscape. While the lecturer didn’t want to recommend specific species he did cover three tree species he liked. One of them was Parrotia persica, our new bullet-proof friend.

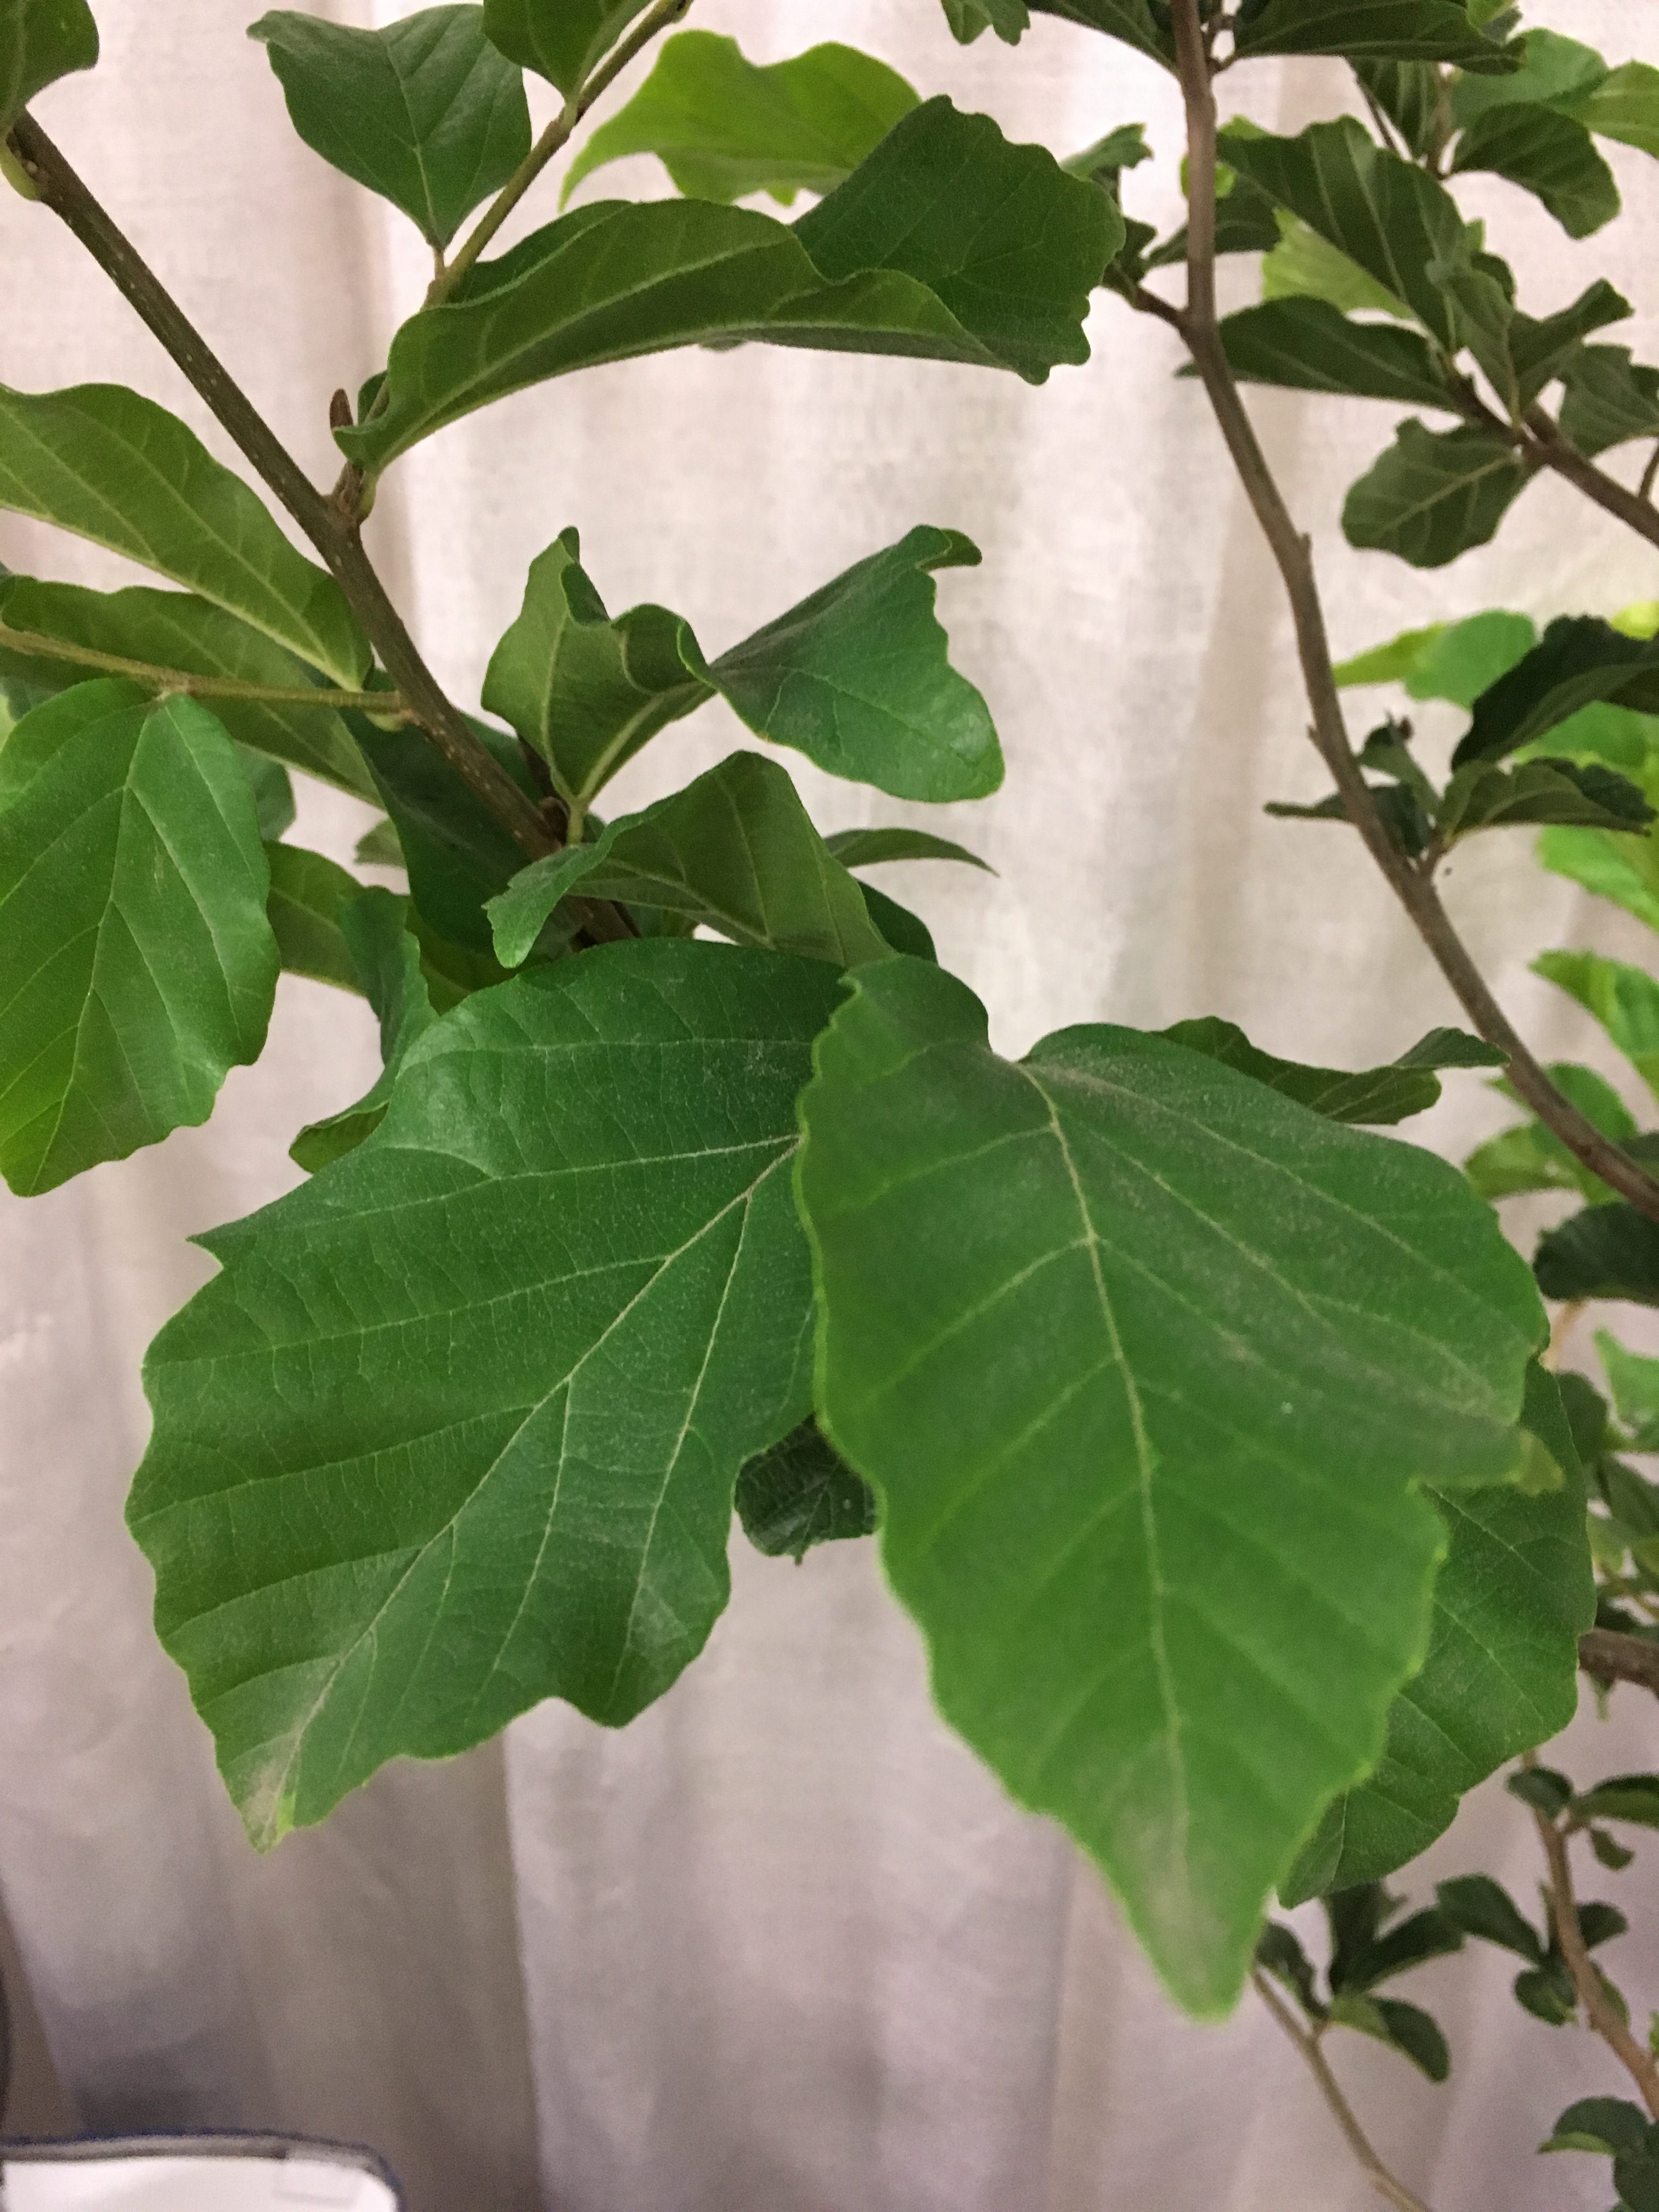
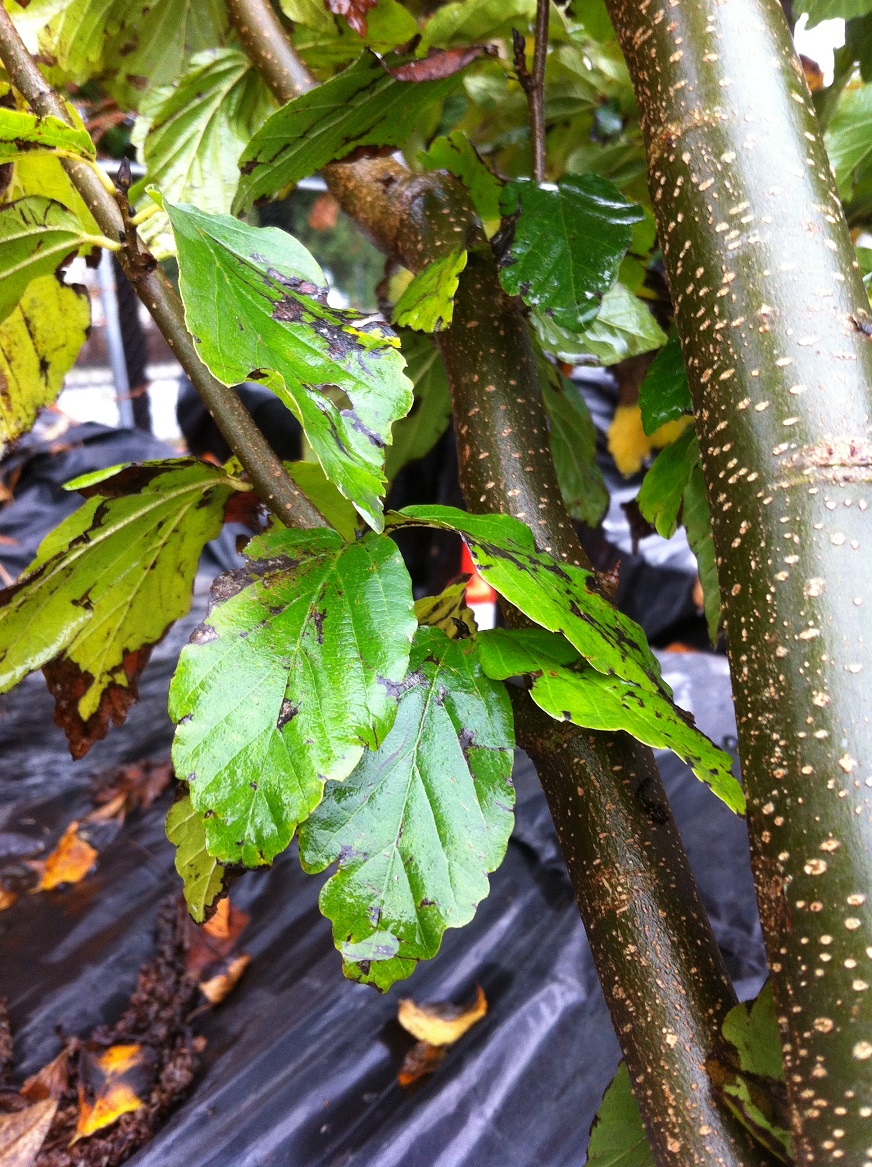
It can handle drier conditions because it comes from the high deserts of Iran. Thus the specific epithet “persica”. It has thick, somewhat hairy leaves. And it tolerates drought and alkaline soil conditions. It doesn’t suffer from any diseases and it has beautiful fall colours.

Cons

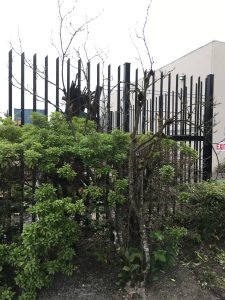
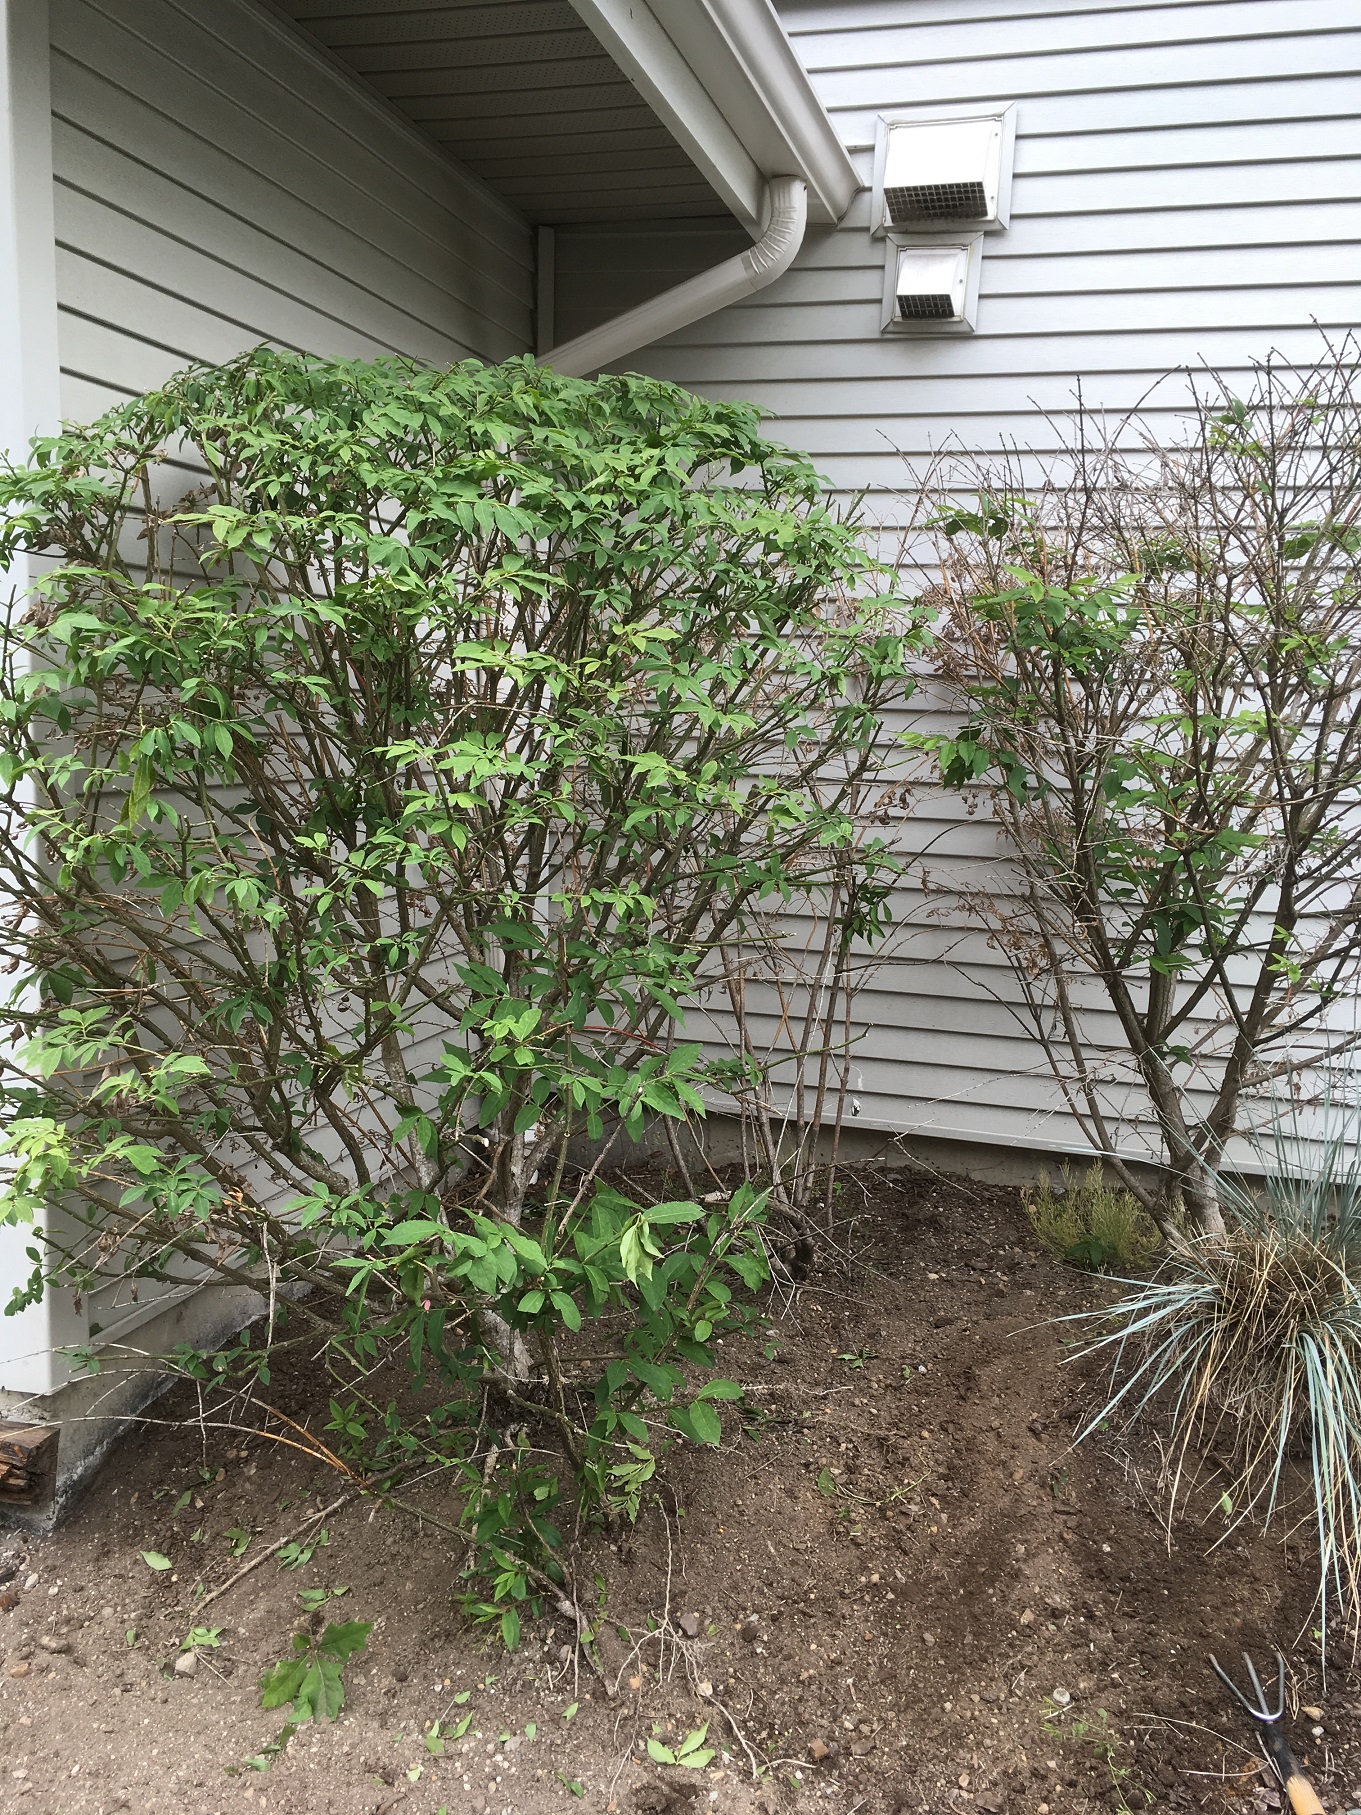
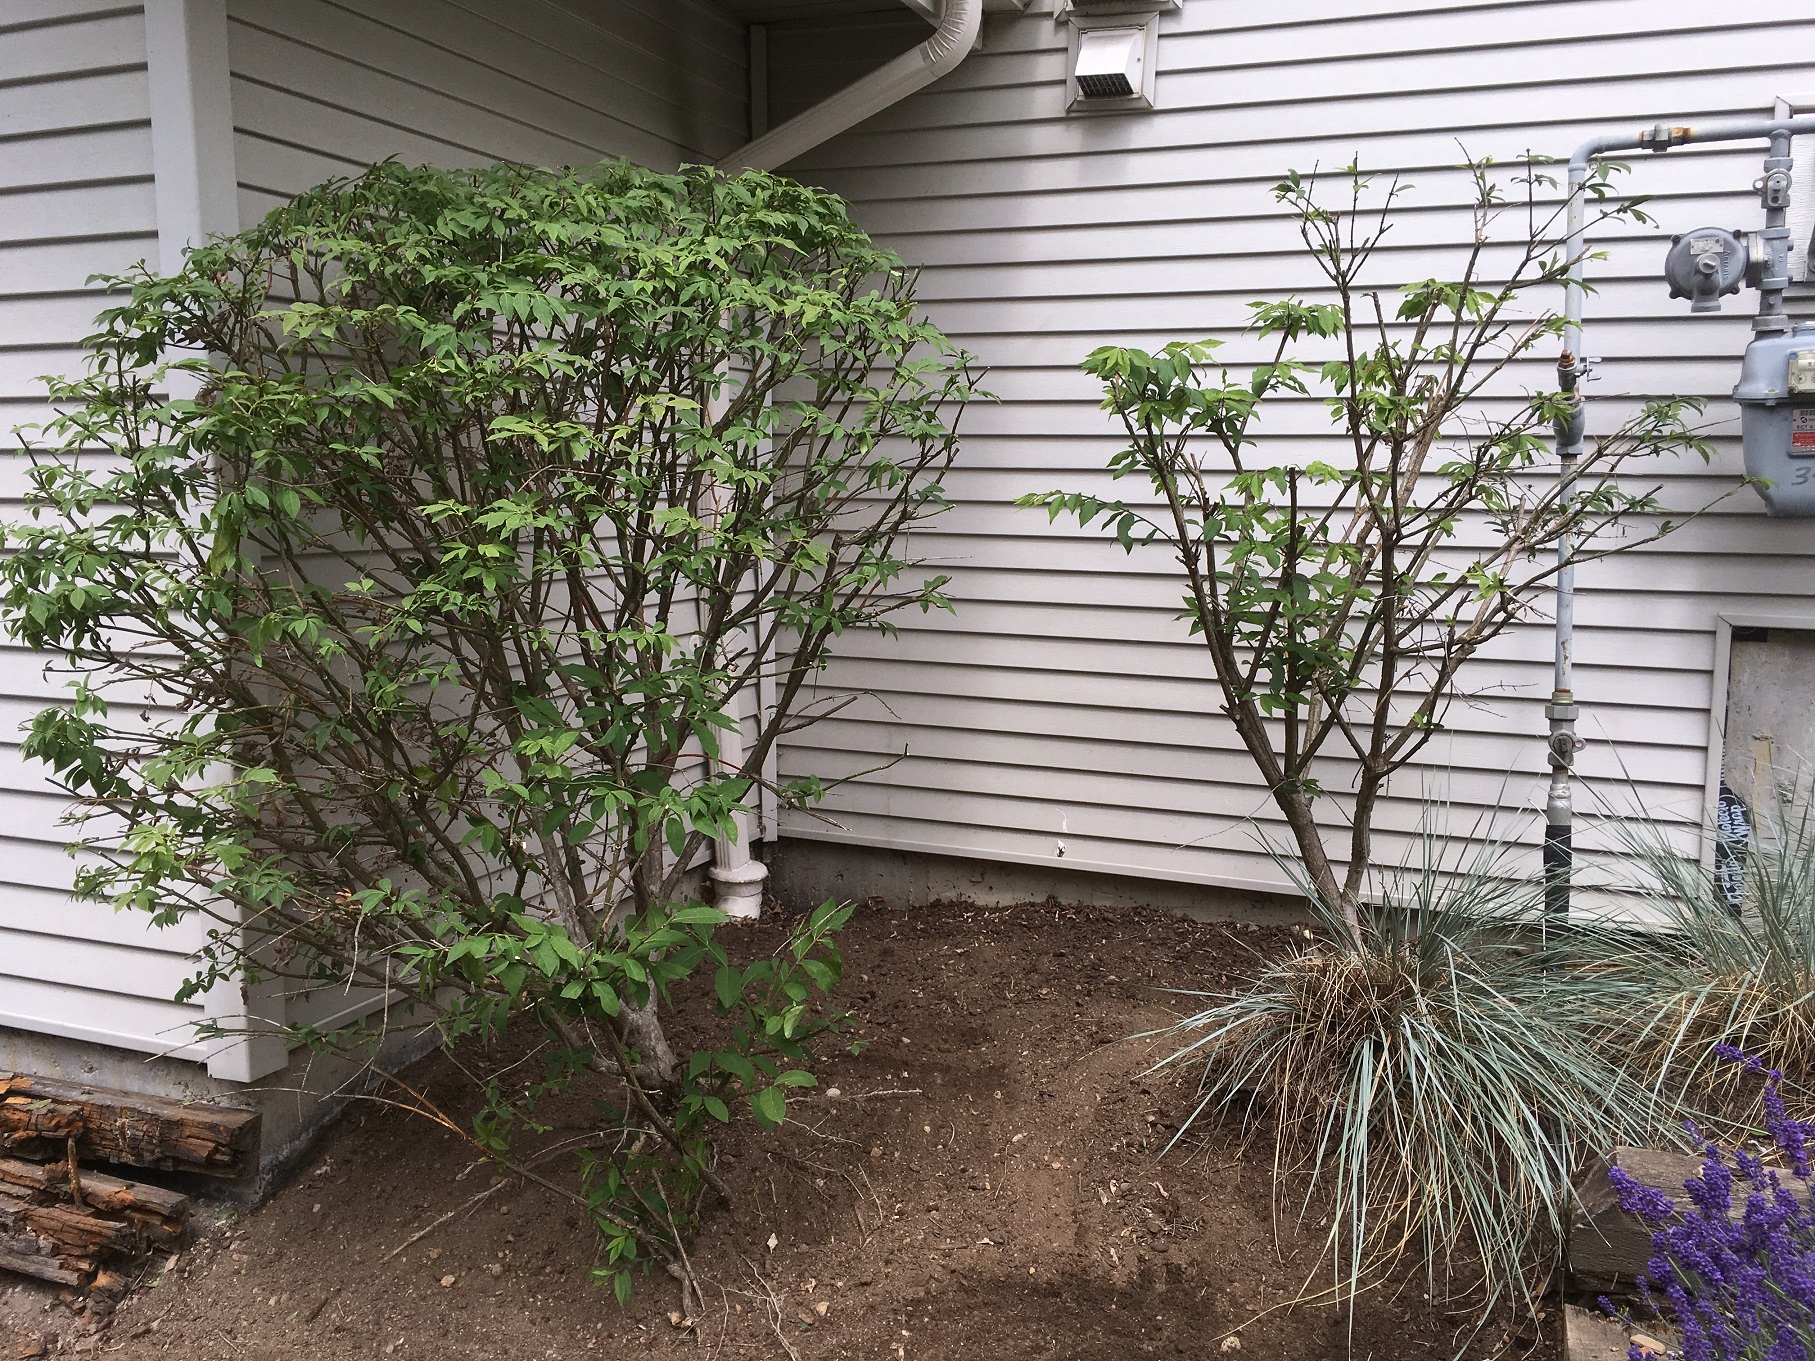
Parrotia persica is a slow grower; and the specimens I know from my landscapes tend to have irregular crowns because once in a while a branch pushes out of the crown. But again, it depends on who is looking. Personally, I have no trouble with some idiosyncrasies. Other people freak out when the crown isn’t perfectly round.

I don’t recall any problems with this tree species on any of our strata sites. So bullet-proof it is.


Perottia persica


Conclusion

If you’re considering what tree species to plant as our climate goes drier, the bullet-proof Parrotia persica is a great choice. You can try any of the three cultivars mentioned above; and you should expect decent fall colour.


IMG_3734

It feels like fall when cedar pruning starts

By | Pruning | No Comments

It always feels like fall when cedar pruning season starts. Cedar pruning is usually written into landscape maintenance contracts and it starts in fall; it can run into the New Year easily depending on site size and work load but normally the goal is to get everything sheared before Christmas.


IMG_2921

All you need: a ladder and good, sharp Stihl power shears.


First day

Last week I had my first full cedar pruning day of the season, cheered on by patches of Rudbeckias still holding on to summer. Just like me.

The line I was pruning covered enclosed patios and it was slower than usual because some owners have incredibly cluttered patios. And, of course, I didn’t have the right of way so I had to be careful not to damage anything.


The set-up

To properly top cedars a ladder is mandatory. I also used two sets of Stihl shears: one short model for tight spots and one extendable unit for topping. Remember to sharpen your blades before starting your cedar pruning season. Sharp blades glide through the foliage and give you a nice cut. Dull blades slow you down and leave little strands sticking out. Try to avoid this by sharpening your blades.

Unless your truck is nearby, always bring a jerry can with mixed gas to avoid unnecessary walking. It wastes valuable shearing time.

I also keep my water bottle handy.

No robots

Never approach cedar shearing like a robot. On this day I had to recall that patio owners value their privacy so I sheared the sides in a straight wall line, except where there were obvious deliberate undulations in the hedge.

The tops are usually hit much tighter for a nice tight laser line.

Just remember NOT to prune between the gaps because the owners want the cedars to grow into the gaps and thereby give them the privacy they crave so much.

Once in a while step back and check on your top line to make sure your laser isn’t off.


Clean-ups

Don’t go cheap on clean-ups. You can expect to do some hand cleaning off the tops of plants and outdoor patio furniture because cedar debris is fine. But don’t stress about the small stuff; use a blower for the final round and put all pots and furniture back.

Yes, shearing all day can be hard on your muscles but you get the satisfaction of seeing great looking cedar hedges.

Have some fun with it.


IMG_2923

All done: there’s a decent top line and the sides are still green. No pruning happened between individual plants because only solid hedges provide solid privacy.


Water your new installs for success

By | landscape maintenance | No Comments

It drives me crazy when I see my landscape installs neglected and suffering from lack of water. It must be the biophilia effect because I feel responsible for the suffering plants. An yet, I can’t do much about it because it’s up to the owners to water their plants. I water them in on install day.

Water for success

This is your main take-away from this blog post: new plants require copious amounts of water to properly establish. As water goes in, roots chase it down and extend. And on it goes but not without water.


IMG_1736

Disappointing.


This is the worst case because I did everything myself. I removed the dead cedars, dug the holes, bought and delivered the new cedars (Thuja occidentalis ‘Smaragd‘), planted them and watered them in. Months later I took this picture with some disgust. Directly behind me was a perfectly functioning garden hose. It just takes time to properly soak the cedars once in a while. Cedars are very thirsty in their first year.


Magnolia


IMG_1734


Because of our summer drought this Magnolia tree exhibited early leaf senescence. With some watering from me it bounced back by pushing out new foliage. The cedars behind the tree weren’t so lucky. To be fair, shading from the Magnolia becomes permanent over time but I suspect lack of water was also a major contributor to this carnage.

Note the garden hose in the picture. I have no idea why it can’t be turned on and left to soak the area for twenty minutes. Again, it’s up to the owners to water.


Success!

Luckily, some owners get it. This unit has two little kids and the owners water. Plus they installed a soaker hose so their new cedar hedge would establish. This space used to be bare with only two stumps to look at and I, literally, paid for this install with my blood. Because the nearby creek breeds a lot of summer mosquitos this project was an adventure. My next blog post will be on my intimate knowledge of insect repellents.


IMG_2777

These owners get a gold start for watering.


As we ease into fall, there will be more landscape installs. It’s absolutely critical that owners water their new plants. Good plant establishment can only happen with good watering.

How professionals handle low-profile corners

By | landscape maintenance | No Comments

I don’t believe in discrimination. Every part of the landscape should receive attention. Unfortunately, landscape companies are busy and often low-profile areas get less attention or worse, they get ignored. But that’s not my style.


Commercial site corner


IMG_8163

Before.


This ugly corner was on my list for weeks and I finally got to it. The most obvious blemish is the dead dogwood in the middle. The last thing you want on your site is dead plants. So I did the most economical thing available; I flush cut it as low as I could.

The entire bed was overrun with prickly bramble (Rubus armeniacus) which just spreads so I cut it at ground level knowing that this will be a fight until I actually dig it up.

Next came light hand pruning of the Pieris japonica shrub followed by raking and weeding.


IMG_8170

After.


It’s not exactly a beautiful garden spot that would inspire young lovers but the whole corner looks much better and I could take it off my mind.


Strata site corner


IMG_8783


This is the finished product. A crew came through and they pruned the Euonymus alatus shrub on the left. Great. If you like average, that is. So what would a landscape professional do? What would you do?

One, there is still debris on top of the shrub and, unless it’s removed, it will turn brown and make the whole shrub look unsightly. Always check plant tops when pruning.

Two, there is a dead shrub in the corner and no wonder. It’s planted under a double under hang so it doesn’t get much water. So why keep it? Remove it.

Three, the shrub on the right has lots of dead in it so I pruned out most of it. I probably should have power sheared it.

Four, there are obvious weeds like snapweed (Cardamine oligosperma) which snap when they are mature and shoot out seeds everywhere. It’s a bad idea to let weeds produce seeds. The corner should have been weeded right away after pruning.


IMG_8787

After.


The photo above shows the finished product. There are two spikes still visible on top of the right shrub but overall it is much cleaner. Unfortunately, it took two service visits to get it to this condition. As the workers gain experience they too will be able to read the landscape better and give all corners the attention they deserve.

Mow like a pro: basic mistakes to avoid

By | Lawn Care | No Comments

When new workers come on board it’s always fun to see them mow for the first time. Then the fun ends and mistakes must be gently corrected. Stay patient as the new workers get used to new sites. They mow like pros and you train them like a pro.

Let’s take a look at some examples from last week.


Missed lawns

It happens even when the yards are connected together but it can’t wait until next week because the unit owner will call to complain. Point out the miss and send the worker back. Easy.


IMG_2366

A completely missed lawn.


Tarp management

Workers are responsible for their tarps and must haul them out for collection to the road. Otherwise they get left behind and the office gets more unnecessary phone calls. The blower at the end of the day is the final check but it’s always a good idea to check on new workers.


IMG_2358

All tarps must be pulled out to the road for collection.


Mohawks

Mohawks happen when the mower doesn’t overlap properly. And they look awful one week later. Check your lawn before leaving to make sure it looks great.


IMG_2359

This mohawk will look worse a week from now.


Diligence!

Let’s not get sloppy, the gate must be moved, if necessary. The entire lawn gets mowed. No excuses. Kick the gate and go.


IMG_2365


Don’t cross your lines


So, your lawn is completed and you’re moving on. Do you take the shortest route to the gate? It would be the fastest route but it would ruin all of your beautiful laser lines. Don’t do it. Follow the edge and leave the lines intact. Never cross your finished laser lines!


IMG_2382

Learn to exit properly without cutting across your laser lines.


Mowing like a pro isn’t difficult. It just takes some time and patience. Practice, practice, practice!

Summer dangers in the landscape

By | health and safety, landscape maintenance | No Comments

There I was raking out a bed and to get under a rhododendron I had to bend down and use my hands. Seconds later my left thumb was in excruciating pain. Then I quickly clued in: my hand had just passed over a ground nest full of wasps. So I hosed off  my thumb for several minutes, finished the day and left for home in a foul mood. My left hand was swelling up with every passing hour.

There are many dangers facing landscapers in the field and in summer, insects are danger number one. Still, this was my only sting all season. And as long as I can do my job, I ignore all wasps. It’s usually the residents that panic.

One week later I ran into a tree nest full of wasps which is much easier to detect when the wasps are flying in and out. And I was ready, too! I had my spray can ready so I gave it a nice shake and aimed it at the opening. Out came a lot of white foam.


IMG_1647

This is much easier to spot than….


IMG_2425

…a ground nest.


Here is the key point of this blog post: when you buy a spray can for wasps and hornets, buy the gluey stream type not foam.

The foam coated the opening and the entire part of the nest facing me. Some wasps even escaped from the opening. Two weeks later I found live wasps still inside the nest. This doesn’t happen with the glue type spray can. The toxic glue comes out in a steady stream and plugs up the nest opening. Case closed.

Hint: use goggles and pray that the wind is blowing away from you.

I waited for two weeks before removing the nest. When I examined it, I found two wasps still alive inside. Hours later the pest control technician found some nest leftovers and questioned me about it. Most likely I had just prevented him from generating a fat invoice. Safety first!

Late summer wasp problems are common in landscaping so be careful. And if you buy a spray can to control the insects, do NOT buy the foam version.


IMG_2424

Buy this type of spray, NOT foam.


Why I find vertical line edging disturbing

By | Edging | No Comments

How do you handle your edging at home or at work? When I started out in landscaping in 2000, I wasn’t allowed to vertical edge. We always used a blade edger and that became my habit until I switched companies. My previous employers referred to people who practiced vertical line edging as “clowns”.

Now, once in a while I give vertical edging a go, especially in lower profile areas. Vertical edging refers to a line edger with string positioned so the head spins vertically north to south. Regular line edging runs horizontally along the grass and matches the height of the mower.

So why do I find it disturbing? There are several reasons detailed below. Feel free to comment on this post and let me know how you edge. I’d love to know.


Erosion


IMG_9220


This is an actual client complaint. As vertical edging happens weekly the lawn edge erodes so the bed actually extends farther into the lawn. This is because the line doesn’t hit the edge at the recommended 90 degrees, the way a blade edger would. The owner here is planning to install permanent plastic edging.


Ditches

Blade edgers use a sharp blade which creates a beautiful discreet ninety degree edge.


IMG_9418

My favourite edging attachment.


Vertical edging creates massive gaps that aren’t anywhere near 90 degrees.


IMG_9490


Interruptions


This is by far my biggest problem with vertical edging. Blade edgers have a guard so you can easily sneak under border plants without shredding them. This is very hard to pull off with a spinning line.


IMG_9381


Now what? Clearly the Hosta pictured above is getting shredded weekly and to complete the entire edge you will also have to behead the Acer palmatum dissectum. I have trouble doing that.


IMG_9383


Pictured above is the strata president’s Coreopsis. I wasn’t brave enough to shred it so I skipped the edging. A blade edger can sneak under easily. It’s these interruptions that I find disturbing. I like to edge on autopilot.


How do YOU edge? Leave comments.