Monthly Archives

October 2017

Winning with simple landscape improvements

By | landscape maintenance | No Comments

There are many simple improvements you can make in your landscapes. And they don’t cost tons of extra cash or time. You just have to work them into your regular maintenance schedule. Below are a few examples.

Drains

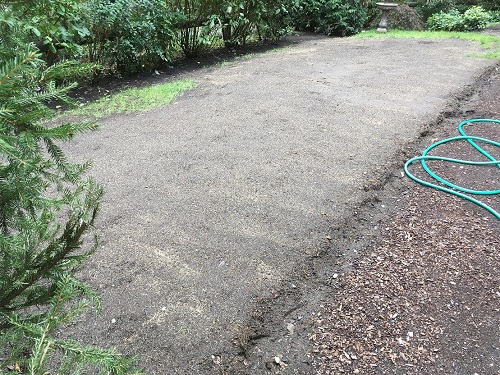
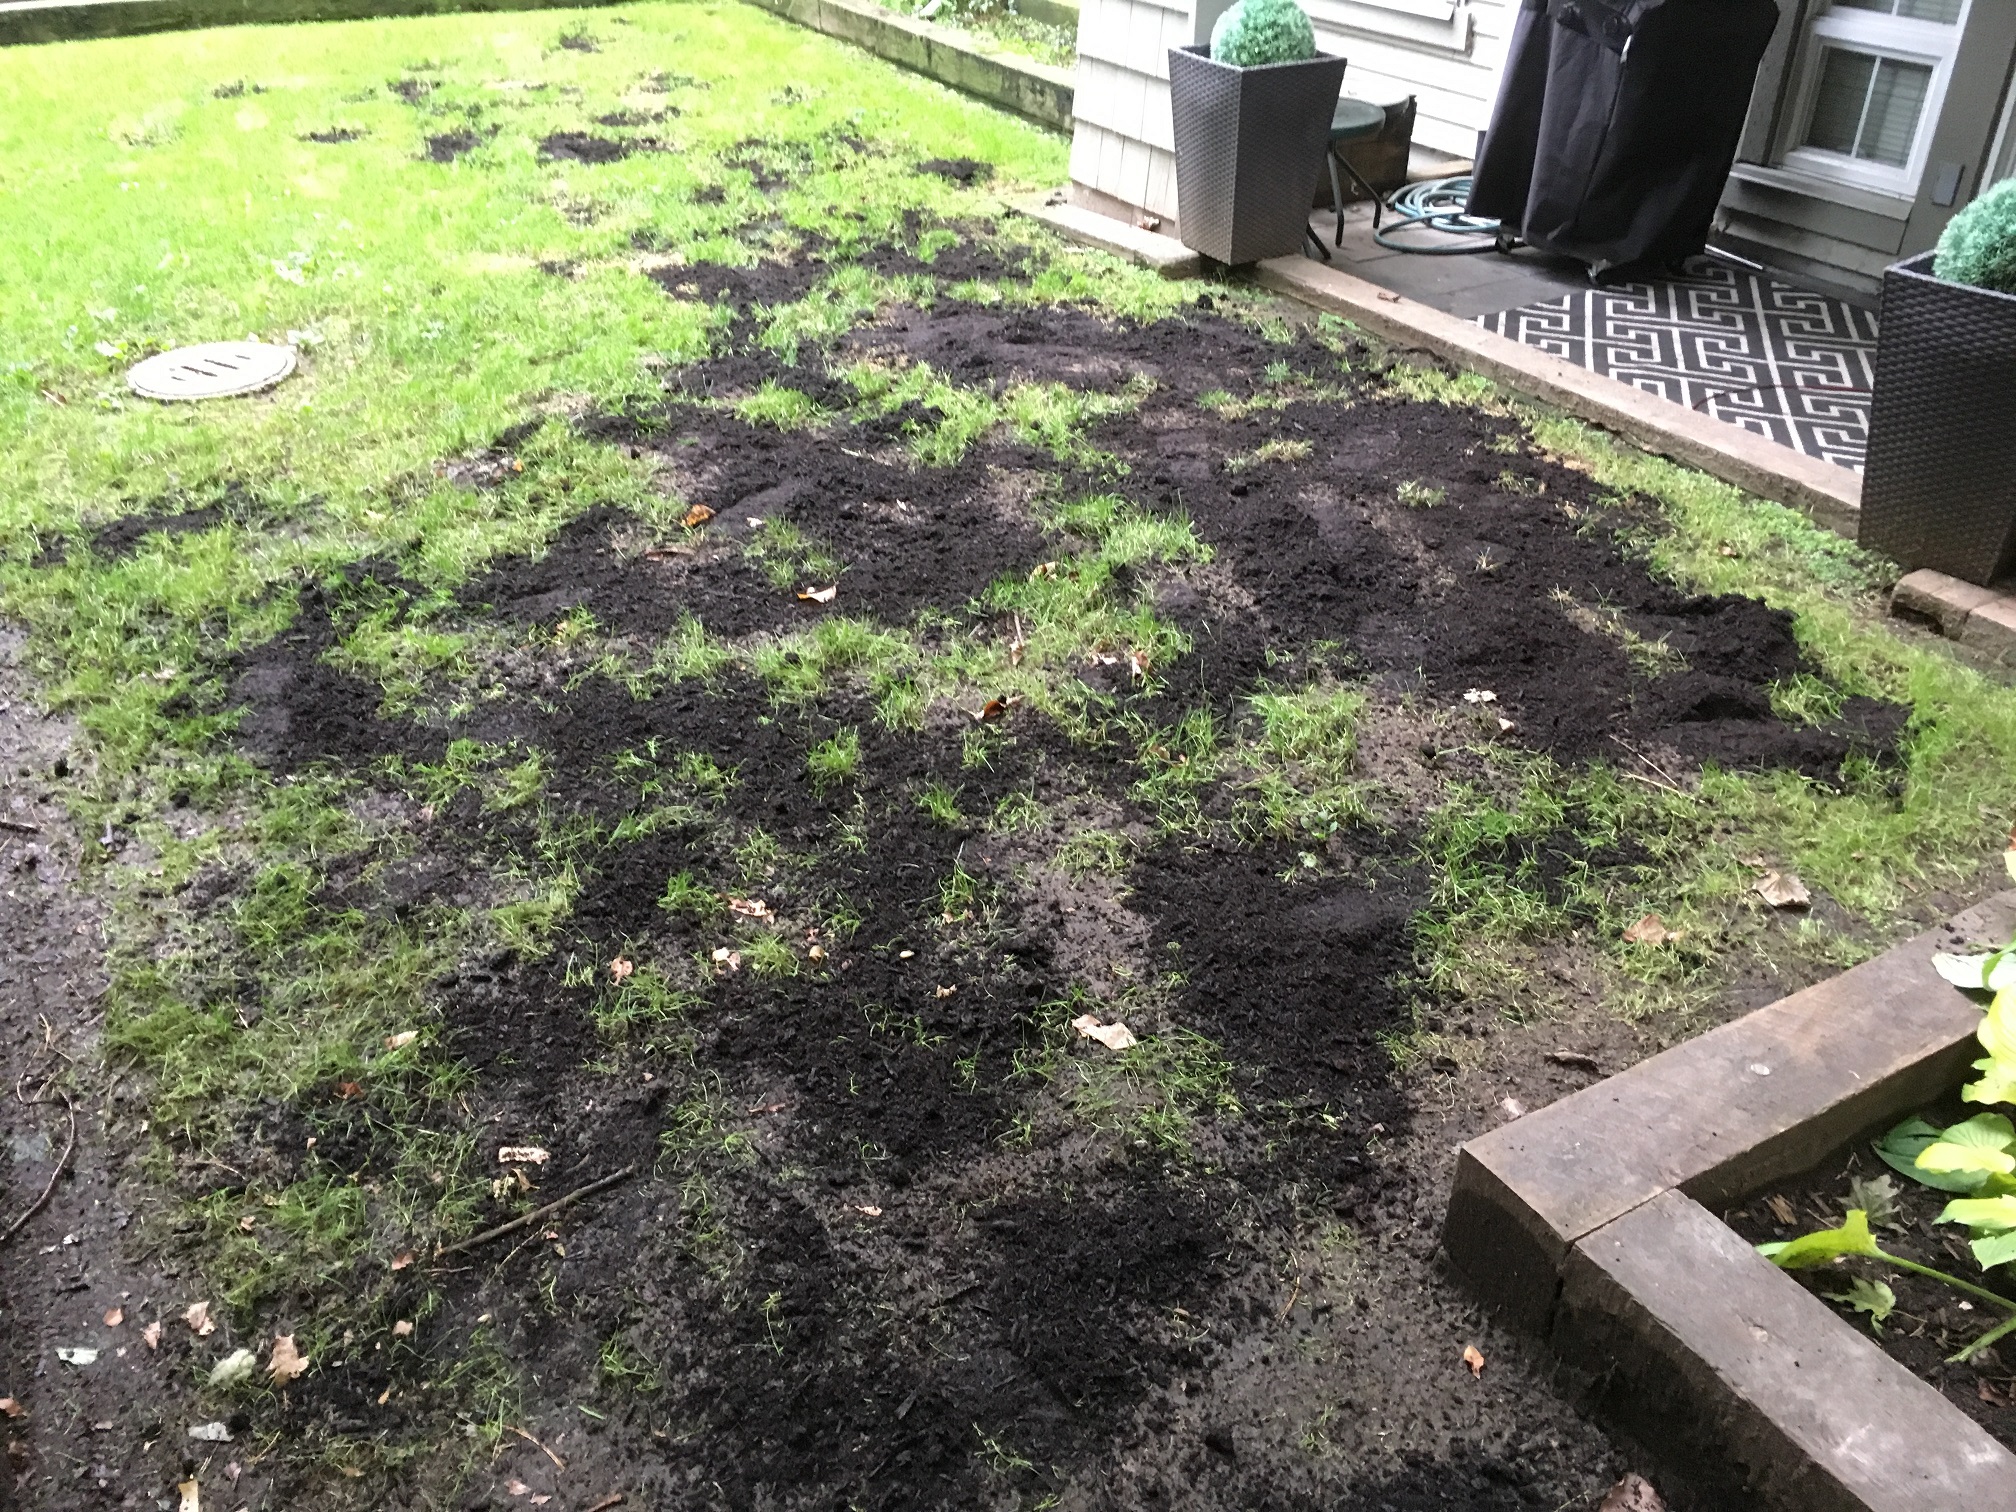
Drains in lawns are often forgotten until one day they get swallowed up by your lawn. Don’t let it happen. Let me illustrate with a quick story. Many seasons ago I was in charge of maintaining a smaller strata complex in North Vancouver, British Columbia. One day, water people came in looking for controllers. Except they weren’t able to locate them. It took extra phone calls and searches for them to realize that the controller in question was under the lawn.

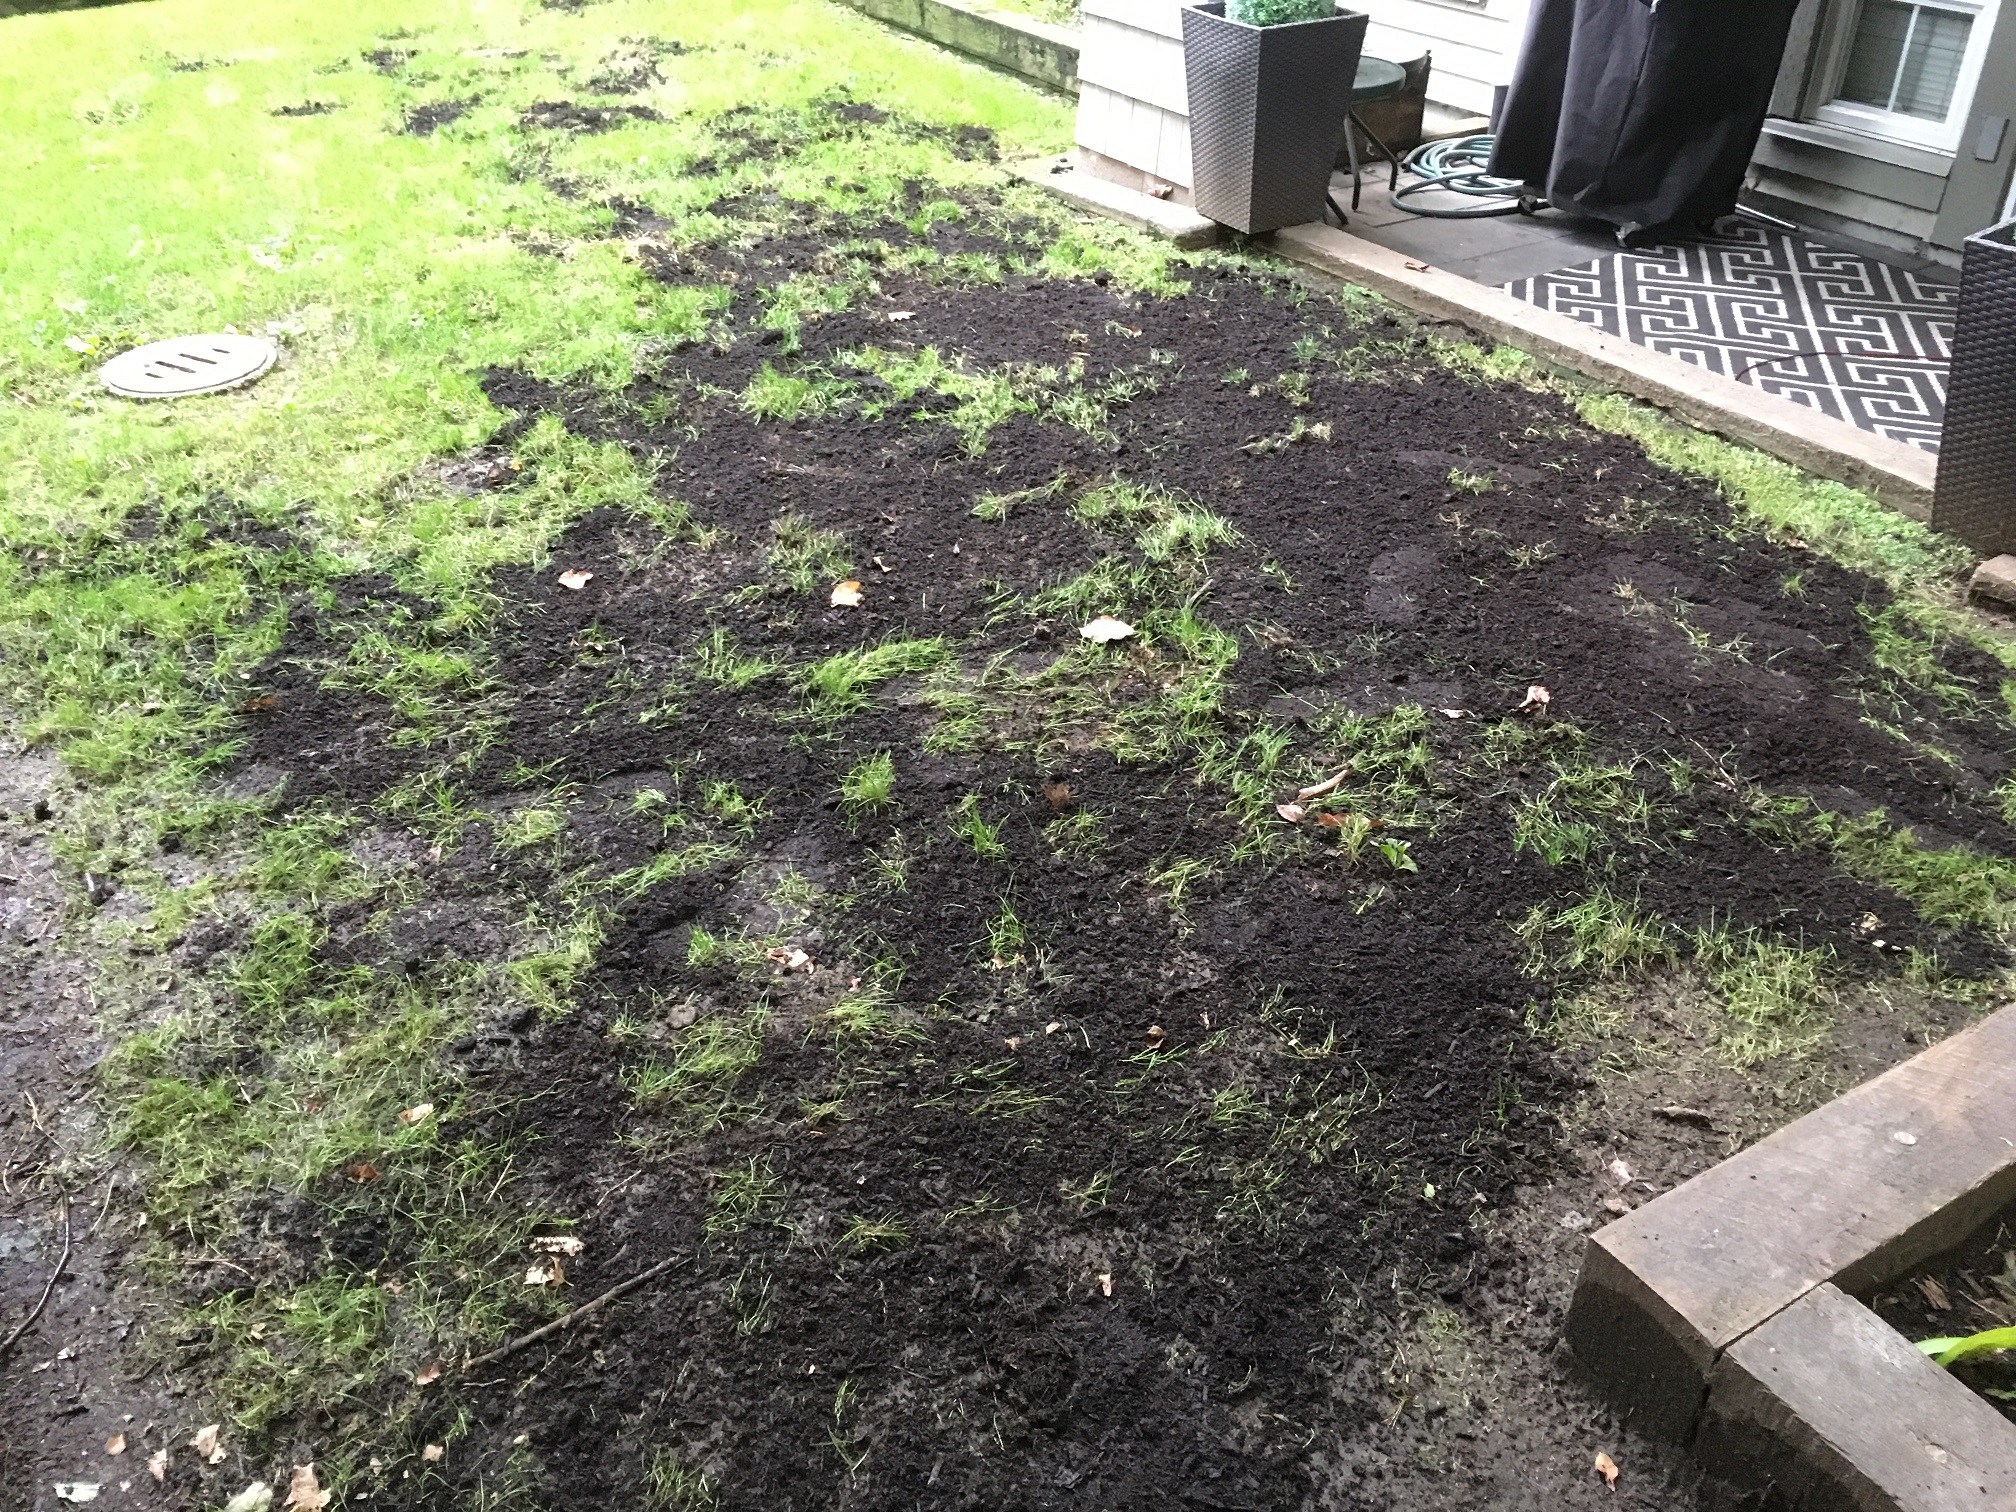
Once they dug it up and did their thing, they gave me a speech on maintaining drains and covers in lawns. And even though it wasn’t my fault, this episode stayed with me. So now I keep all drains and covers in lawn areas nicely blade edged so they can be located and accessed. And the best part is that you don’t have to do it weekly. Once in a while will suffice.


IMG_6607ed2

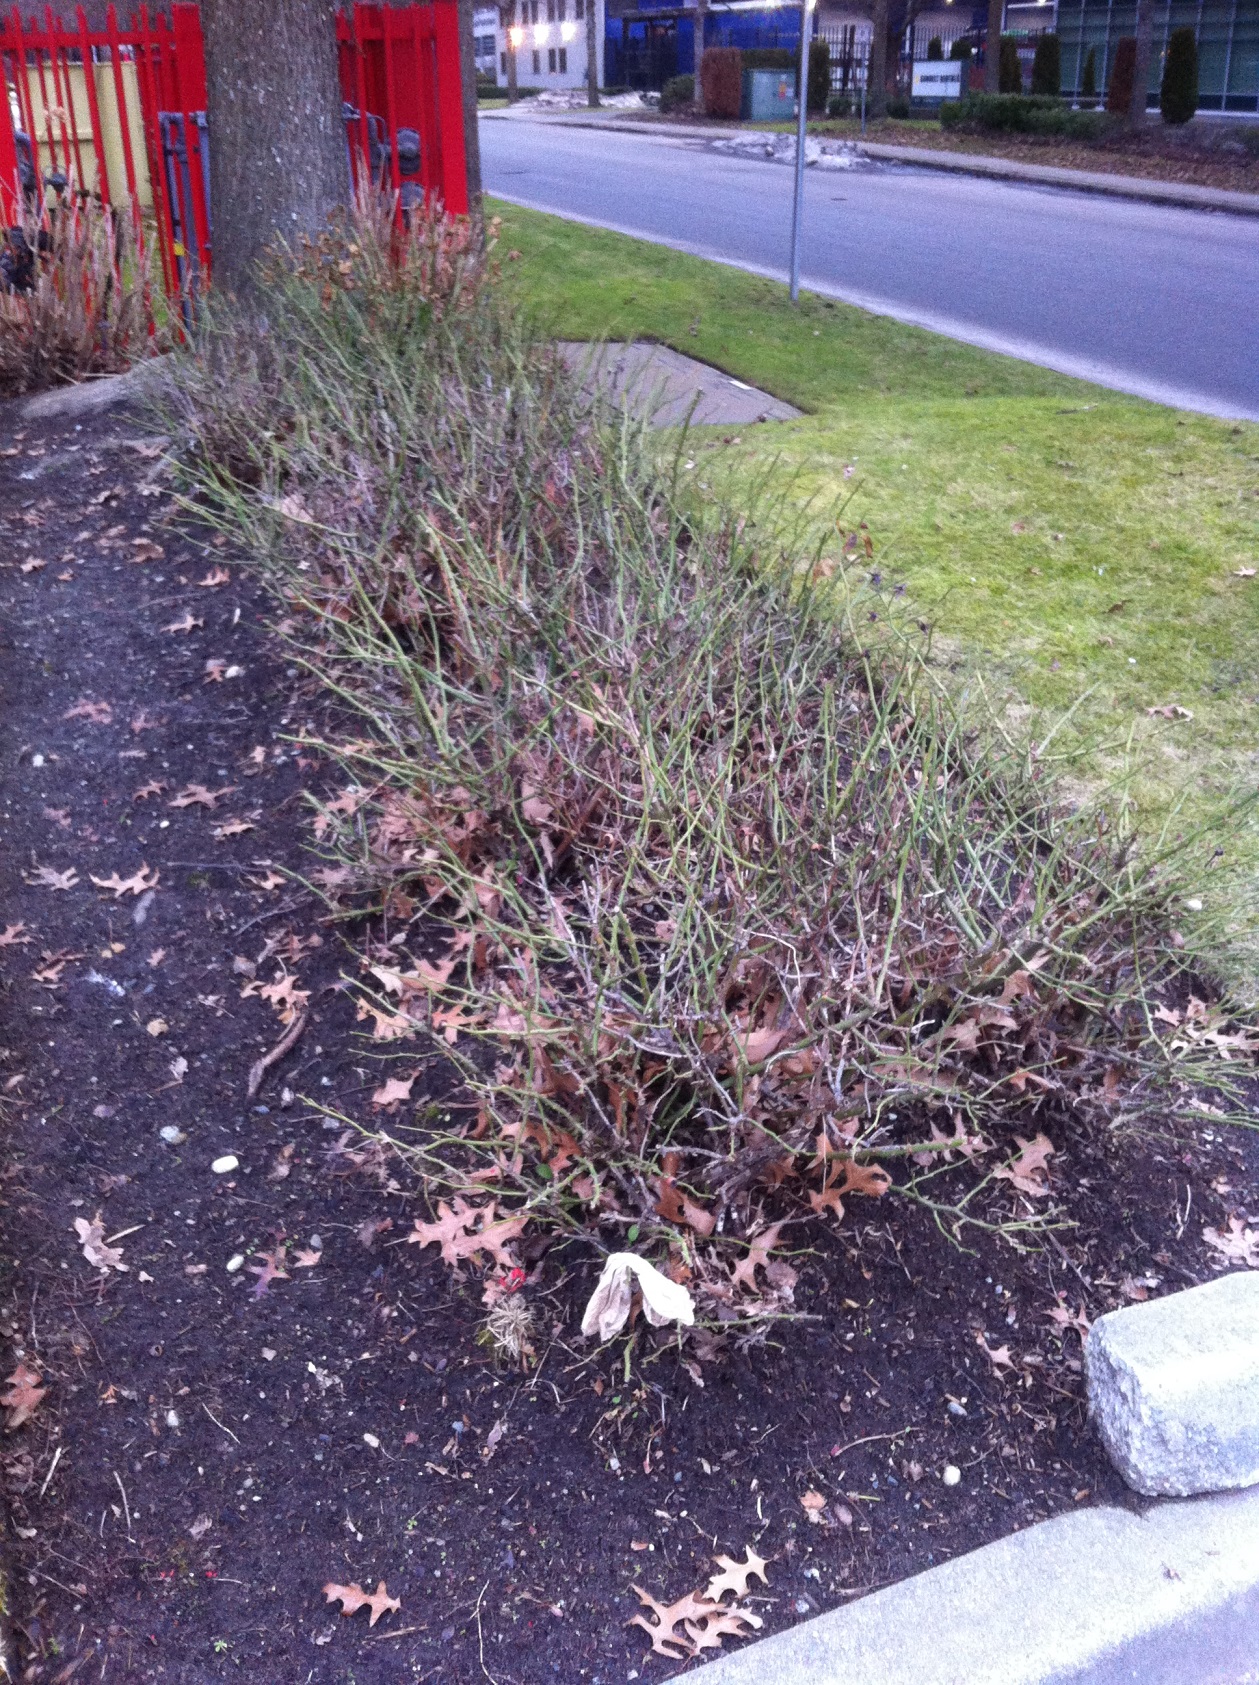
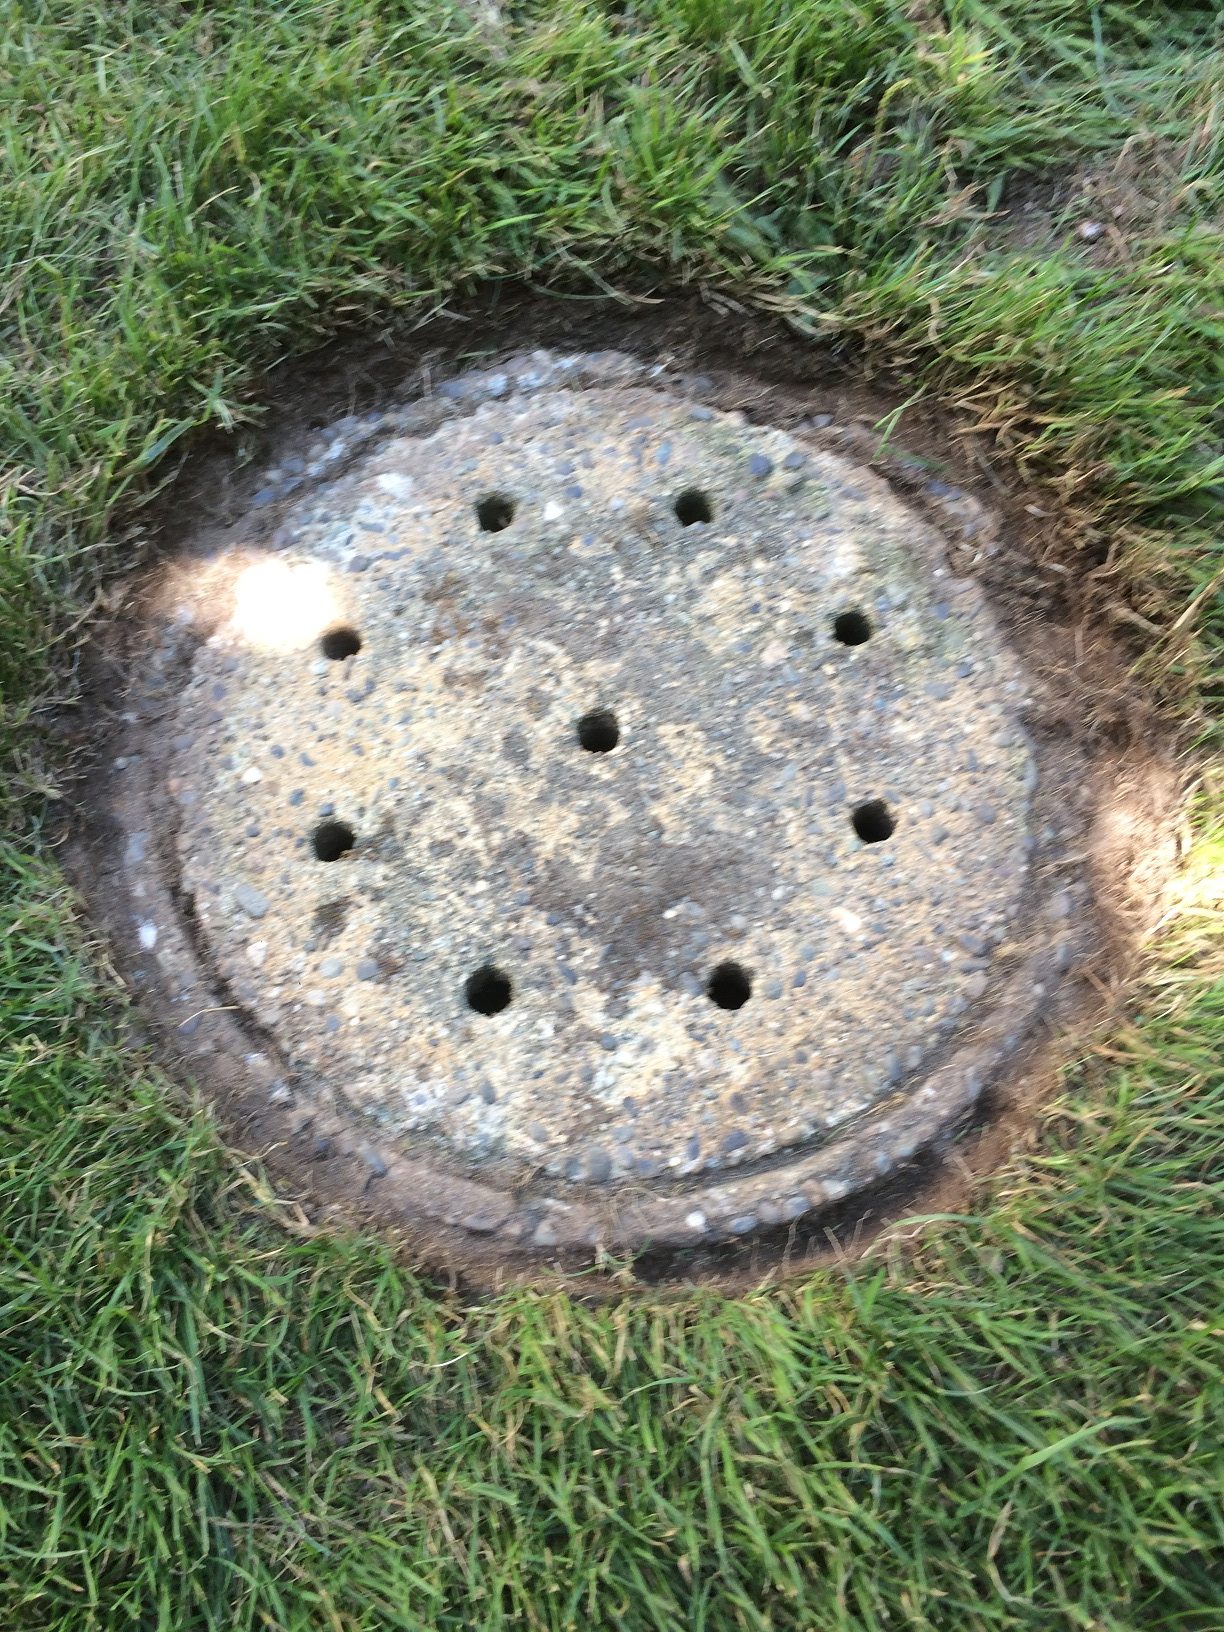
Before long this cover will disappear.


IMG_6608ed2


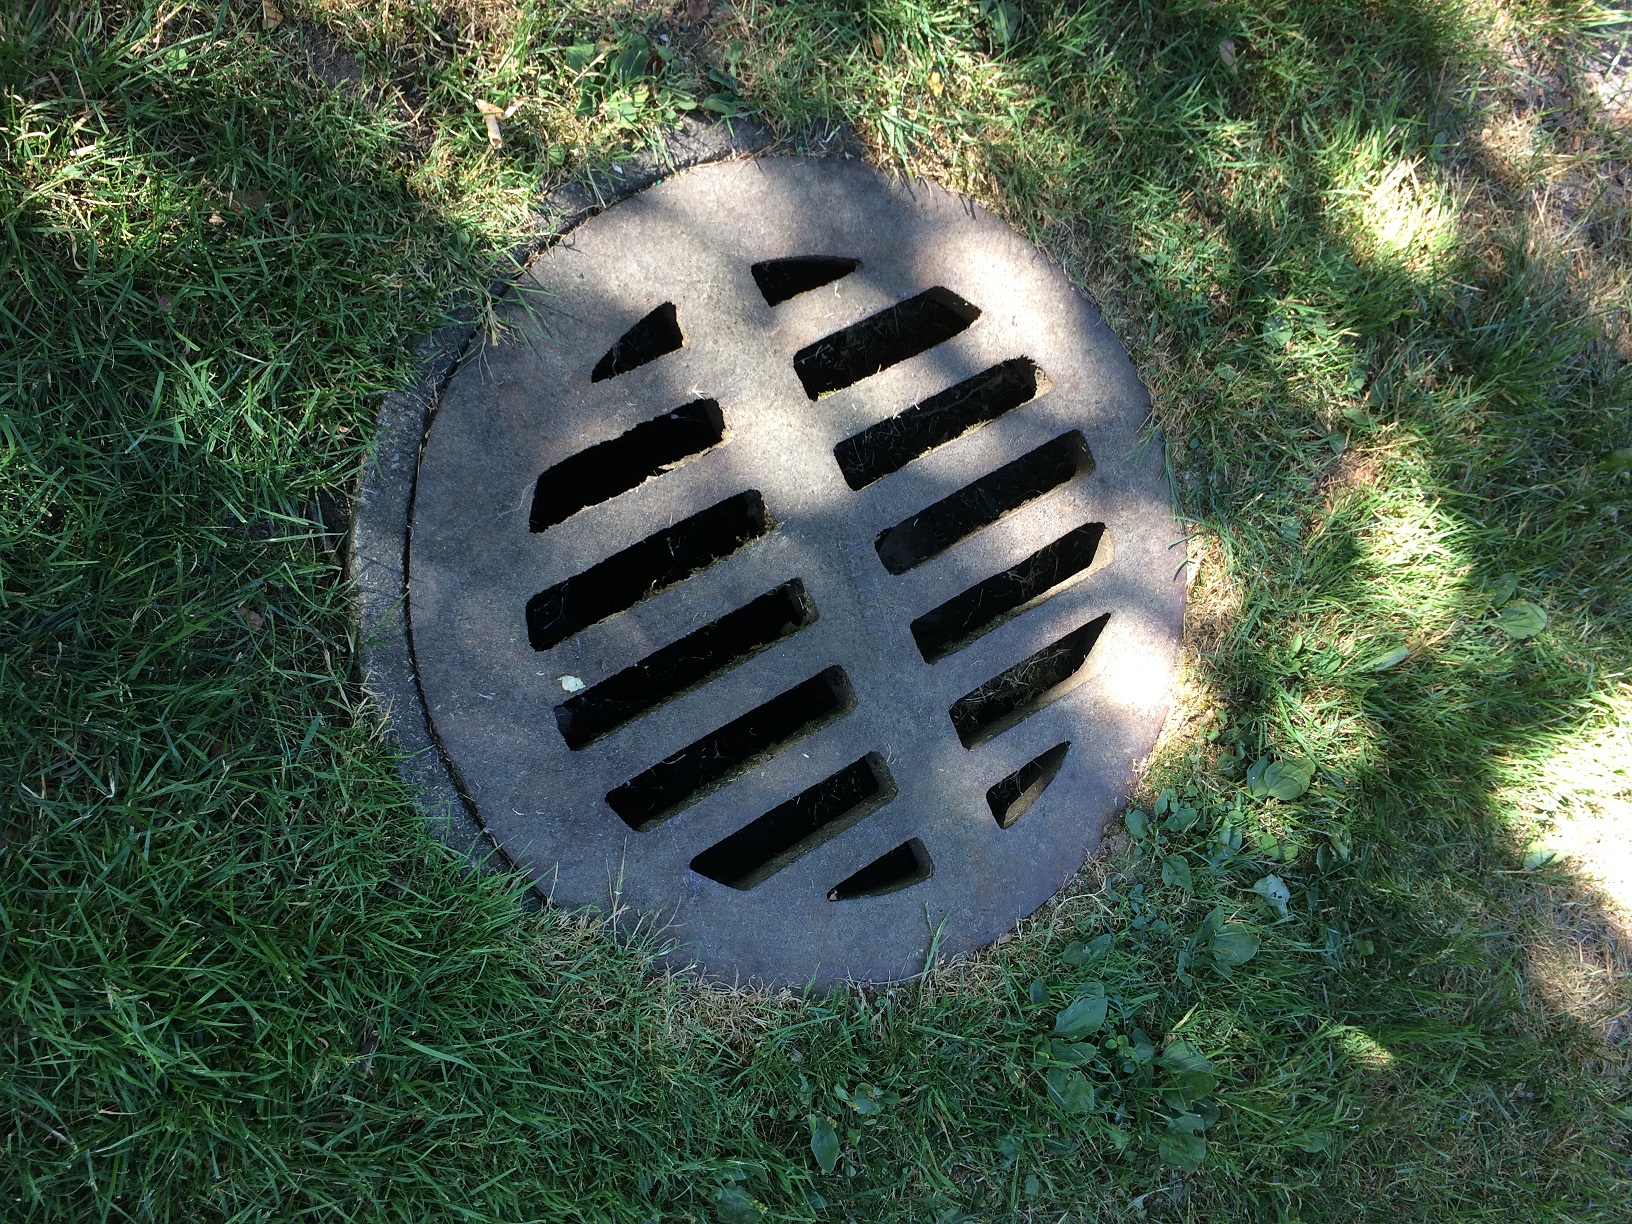
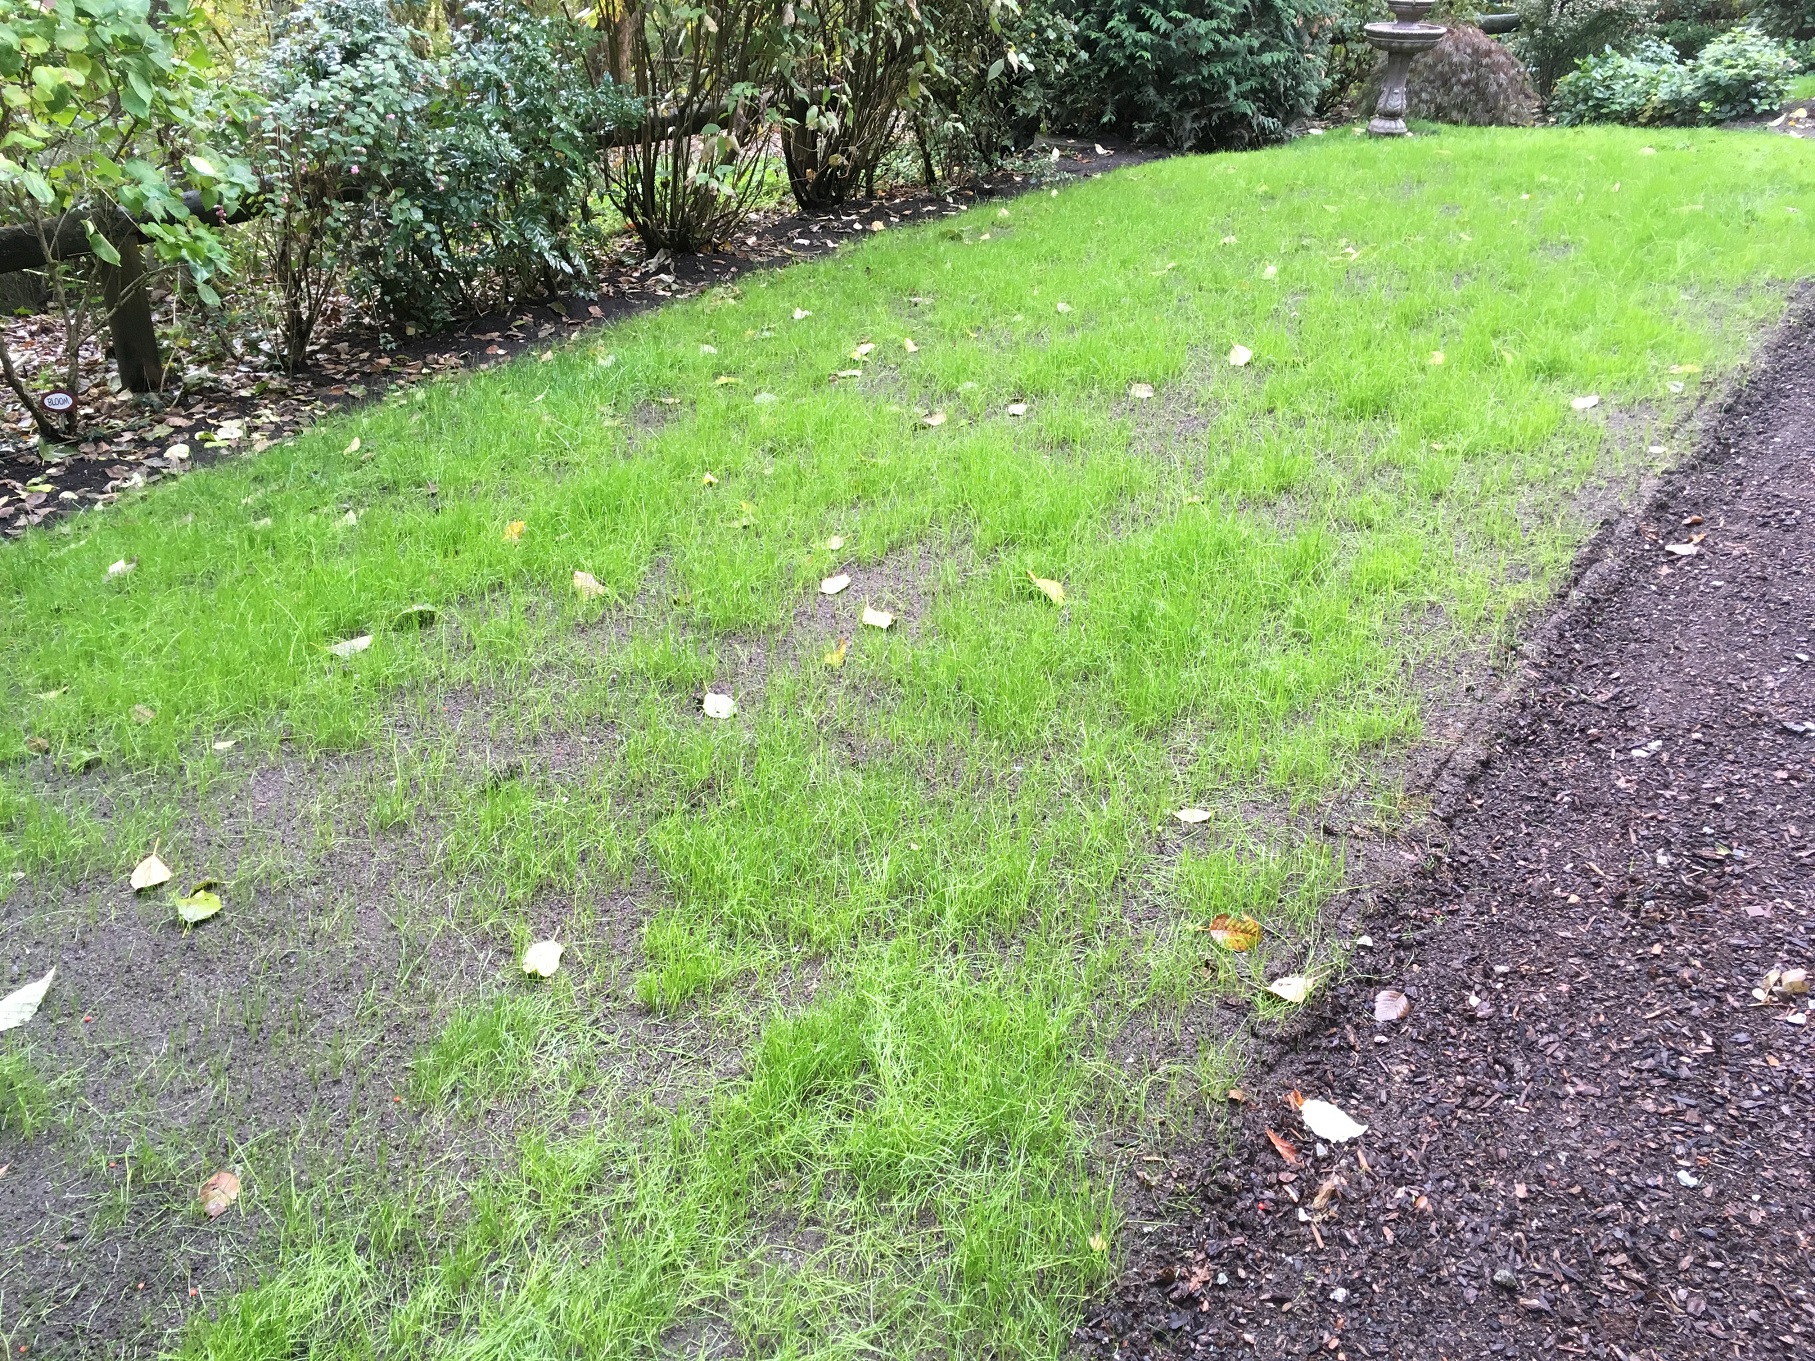
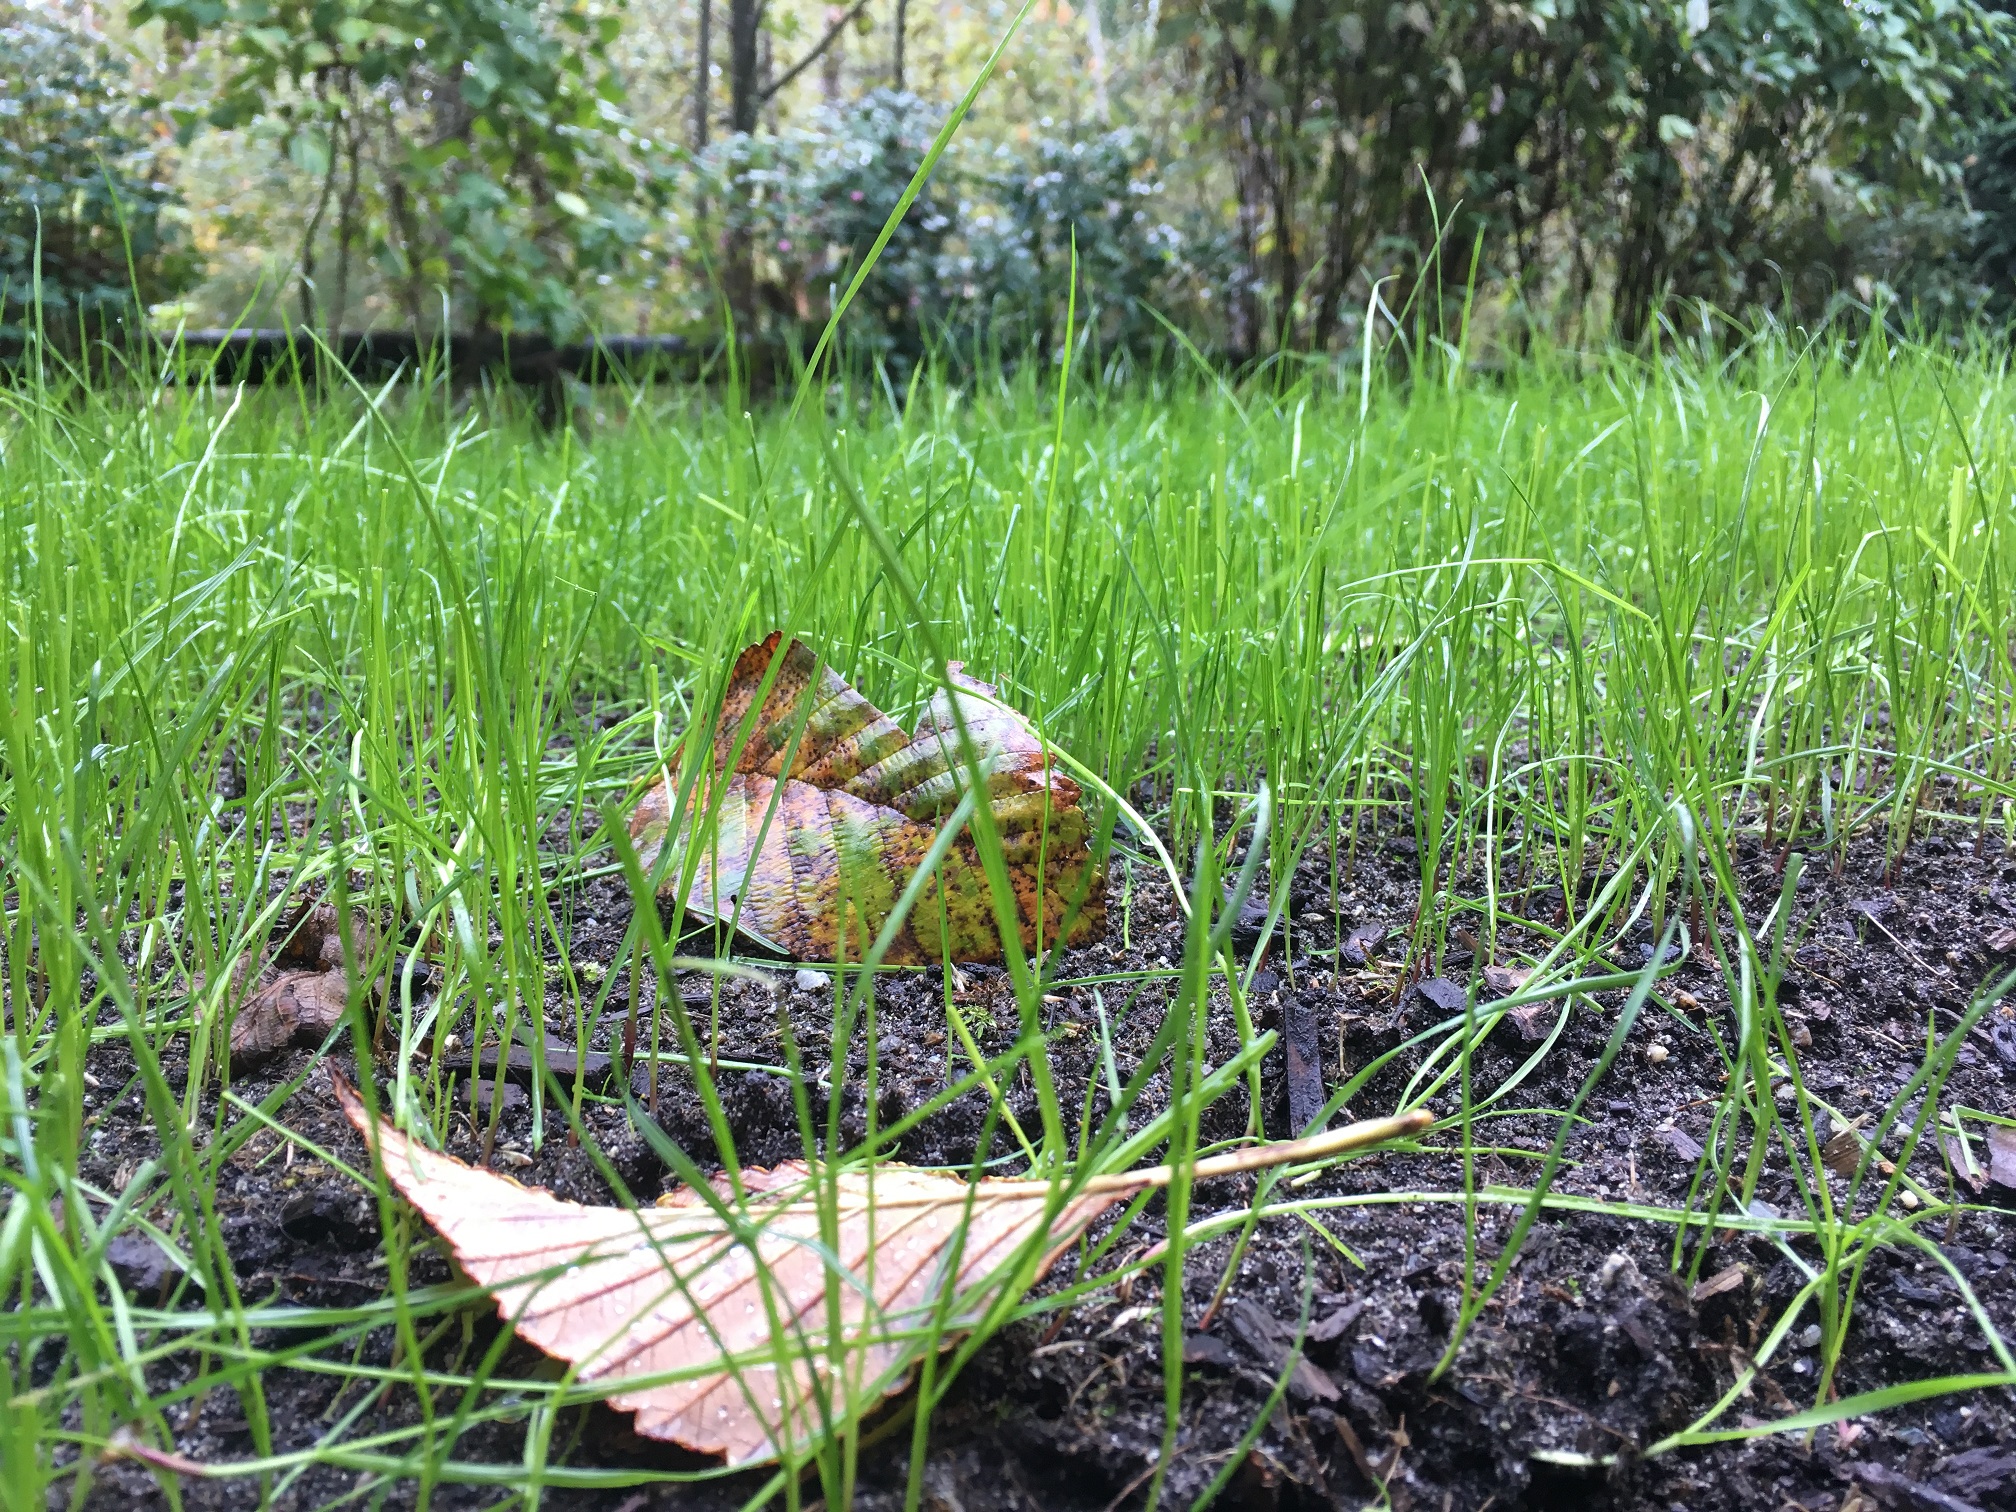
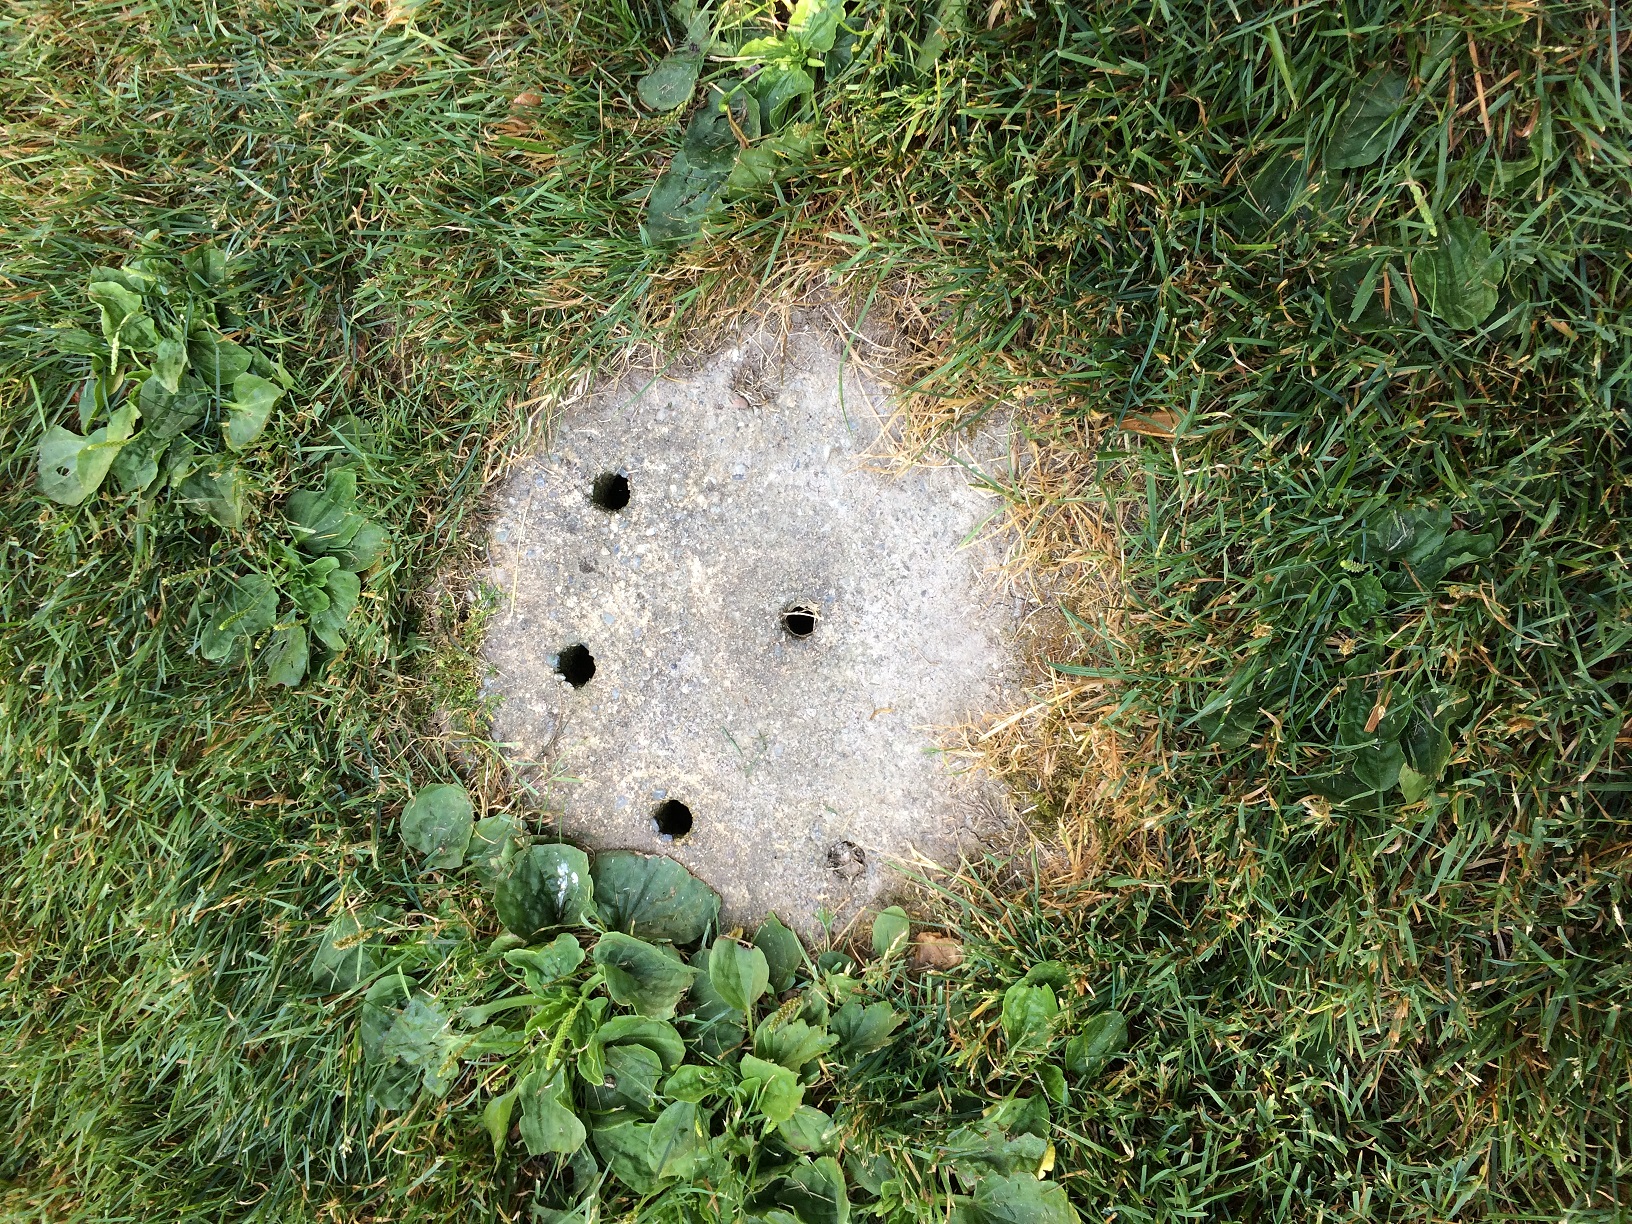
This problem can be easily fixed with a blade edger.

IMG_6621ed2

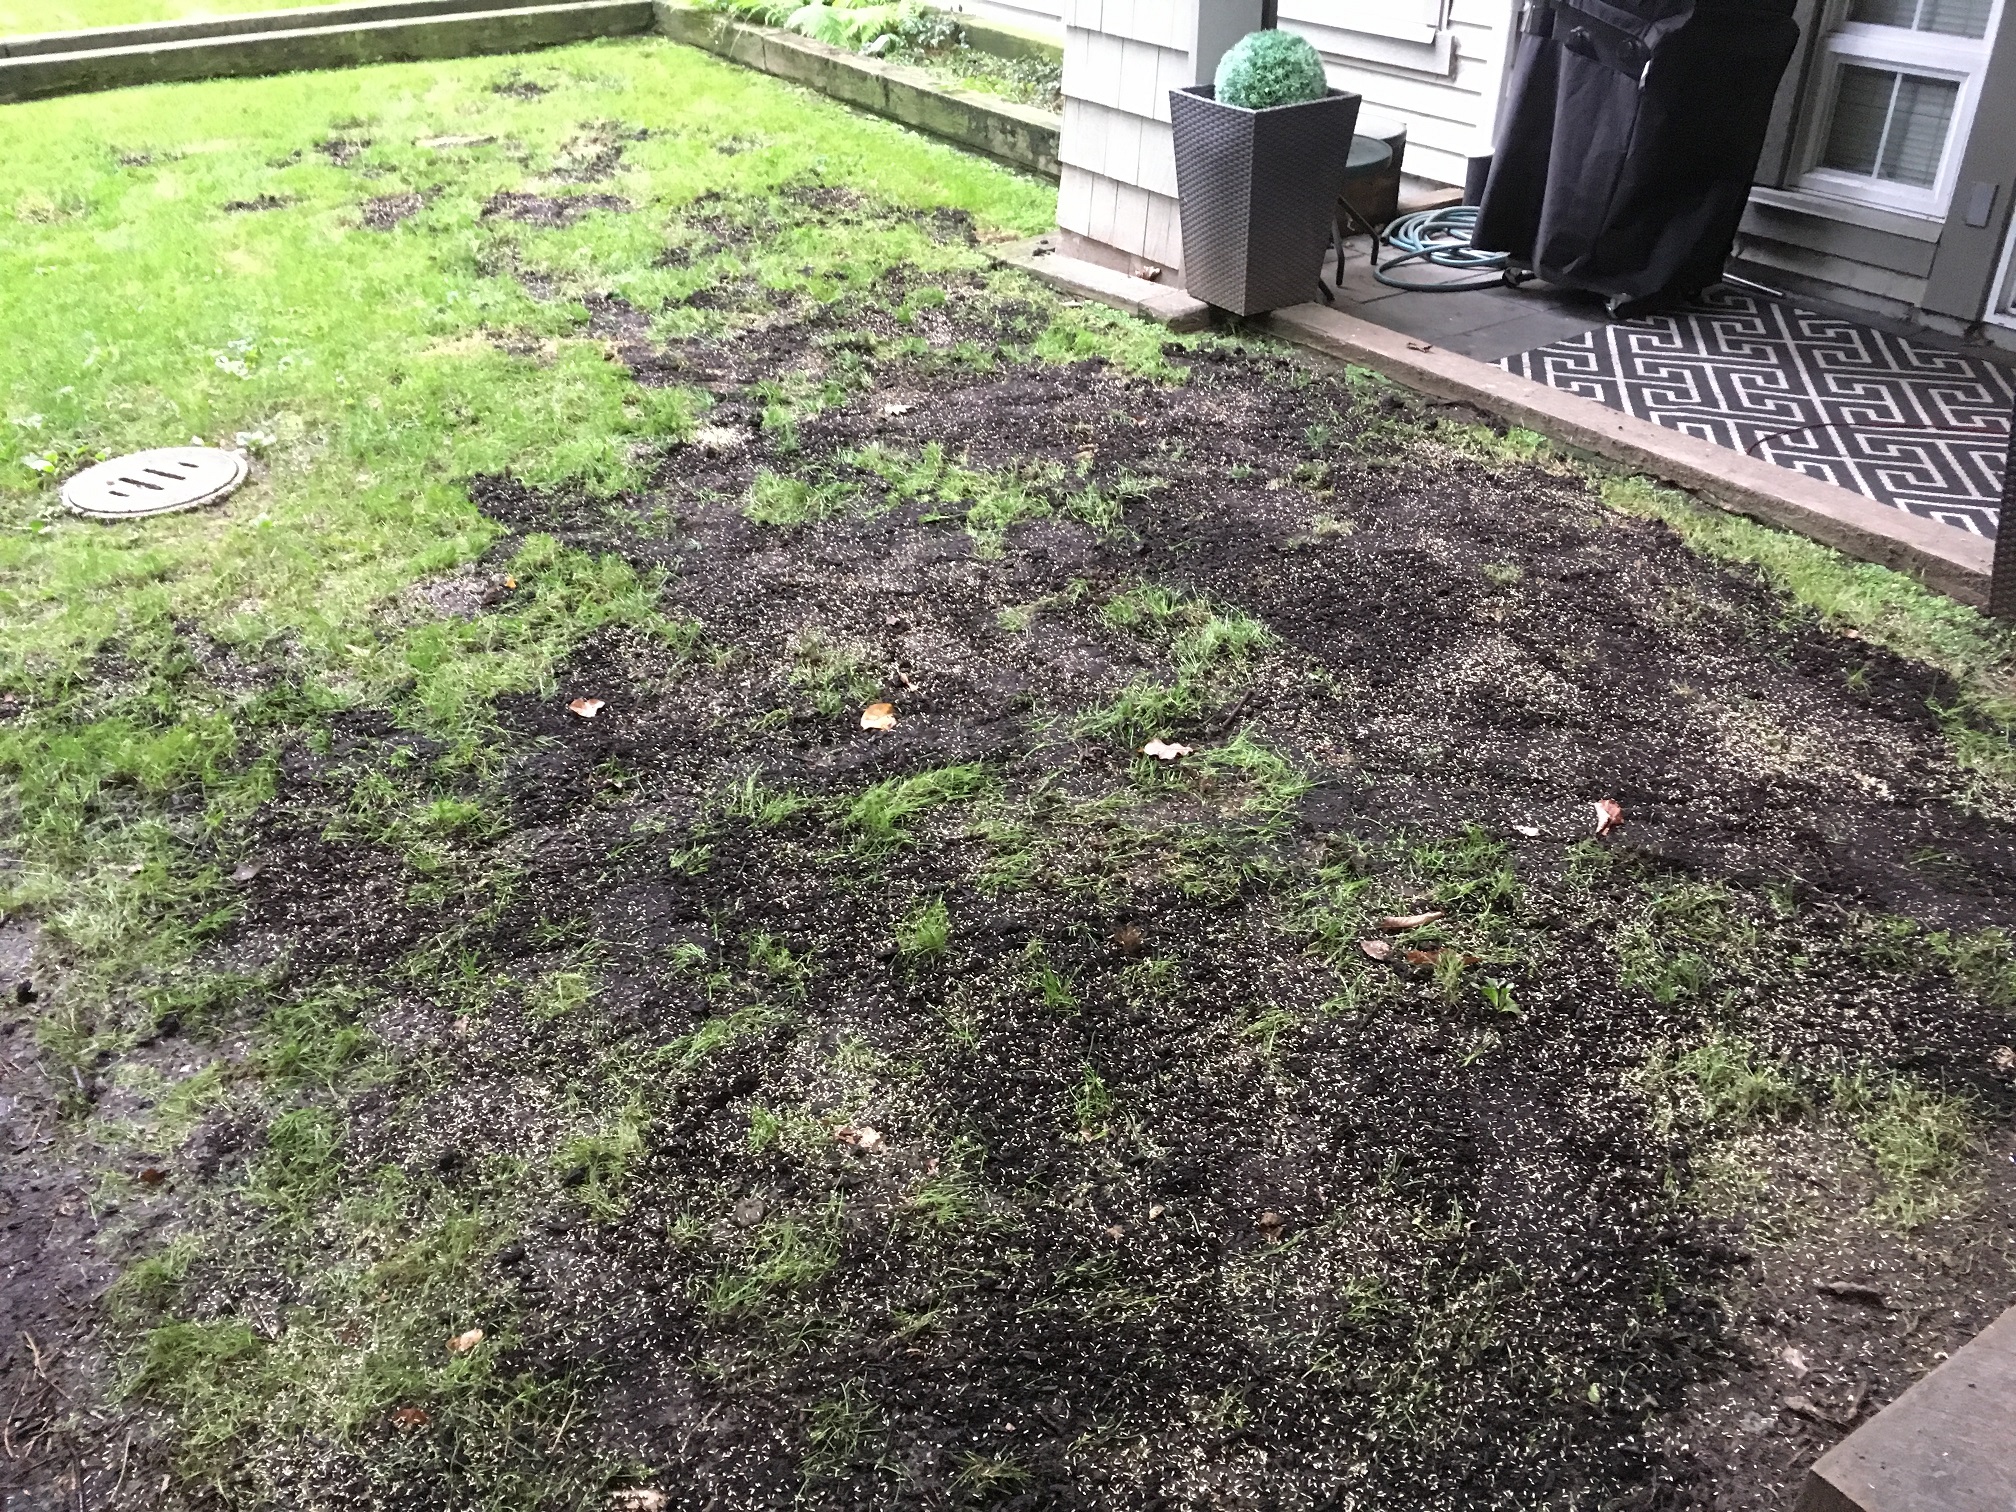
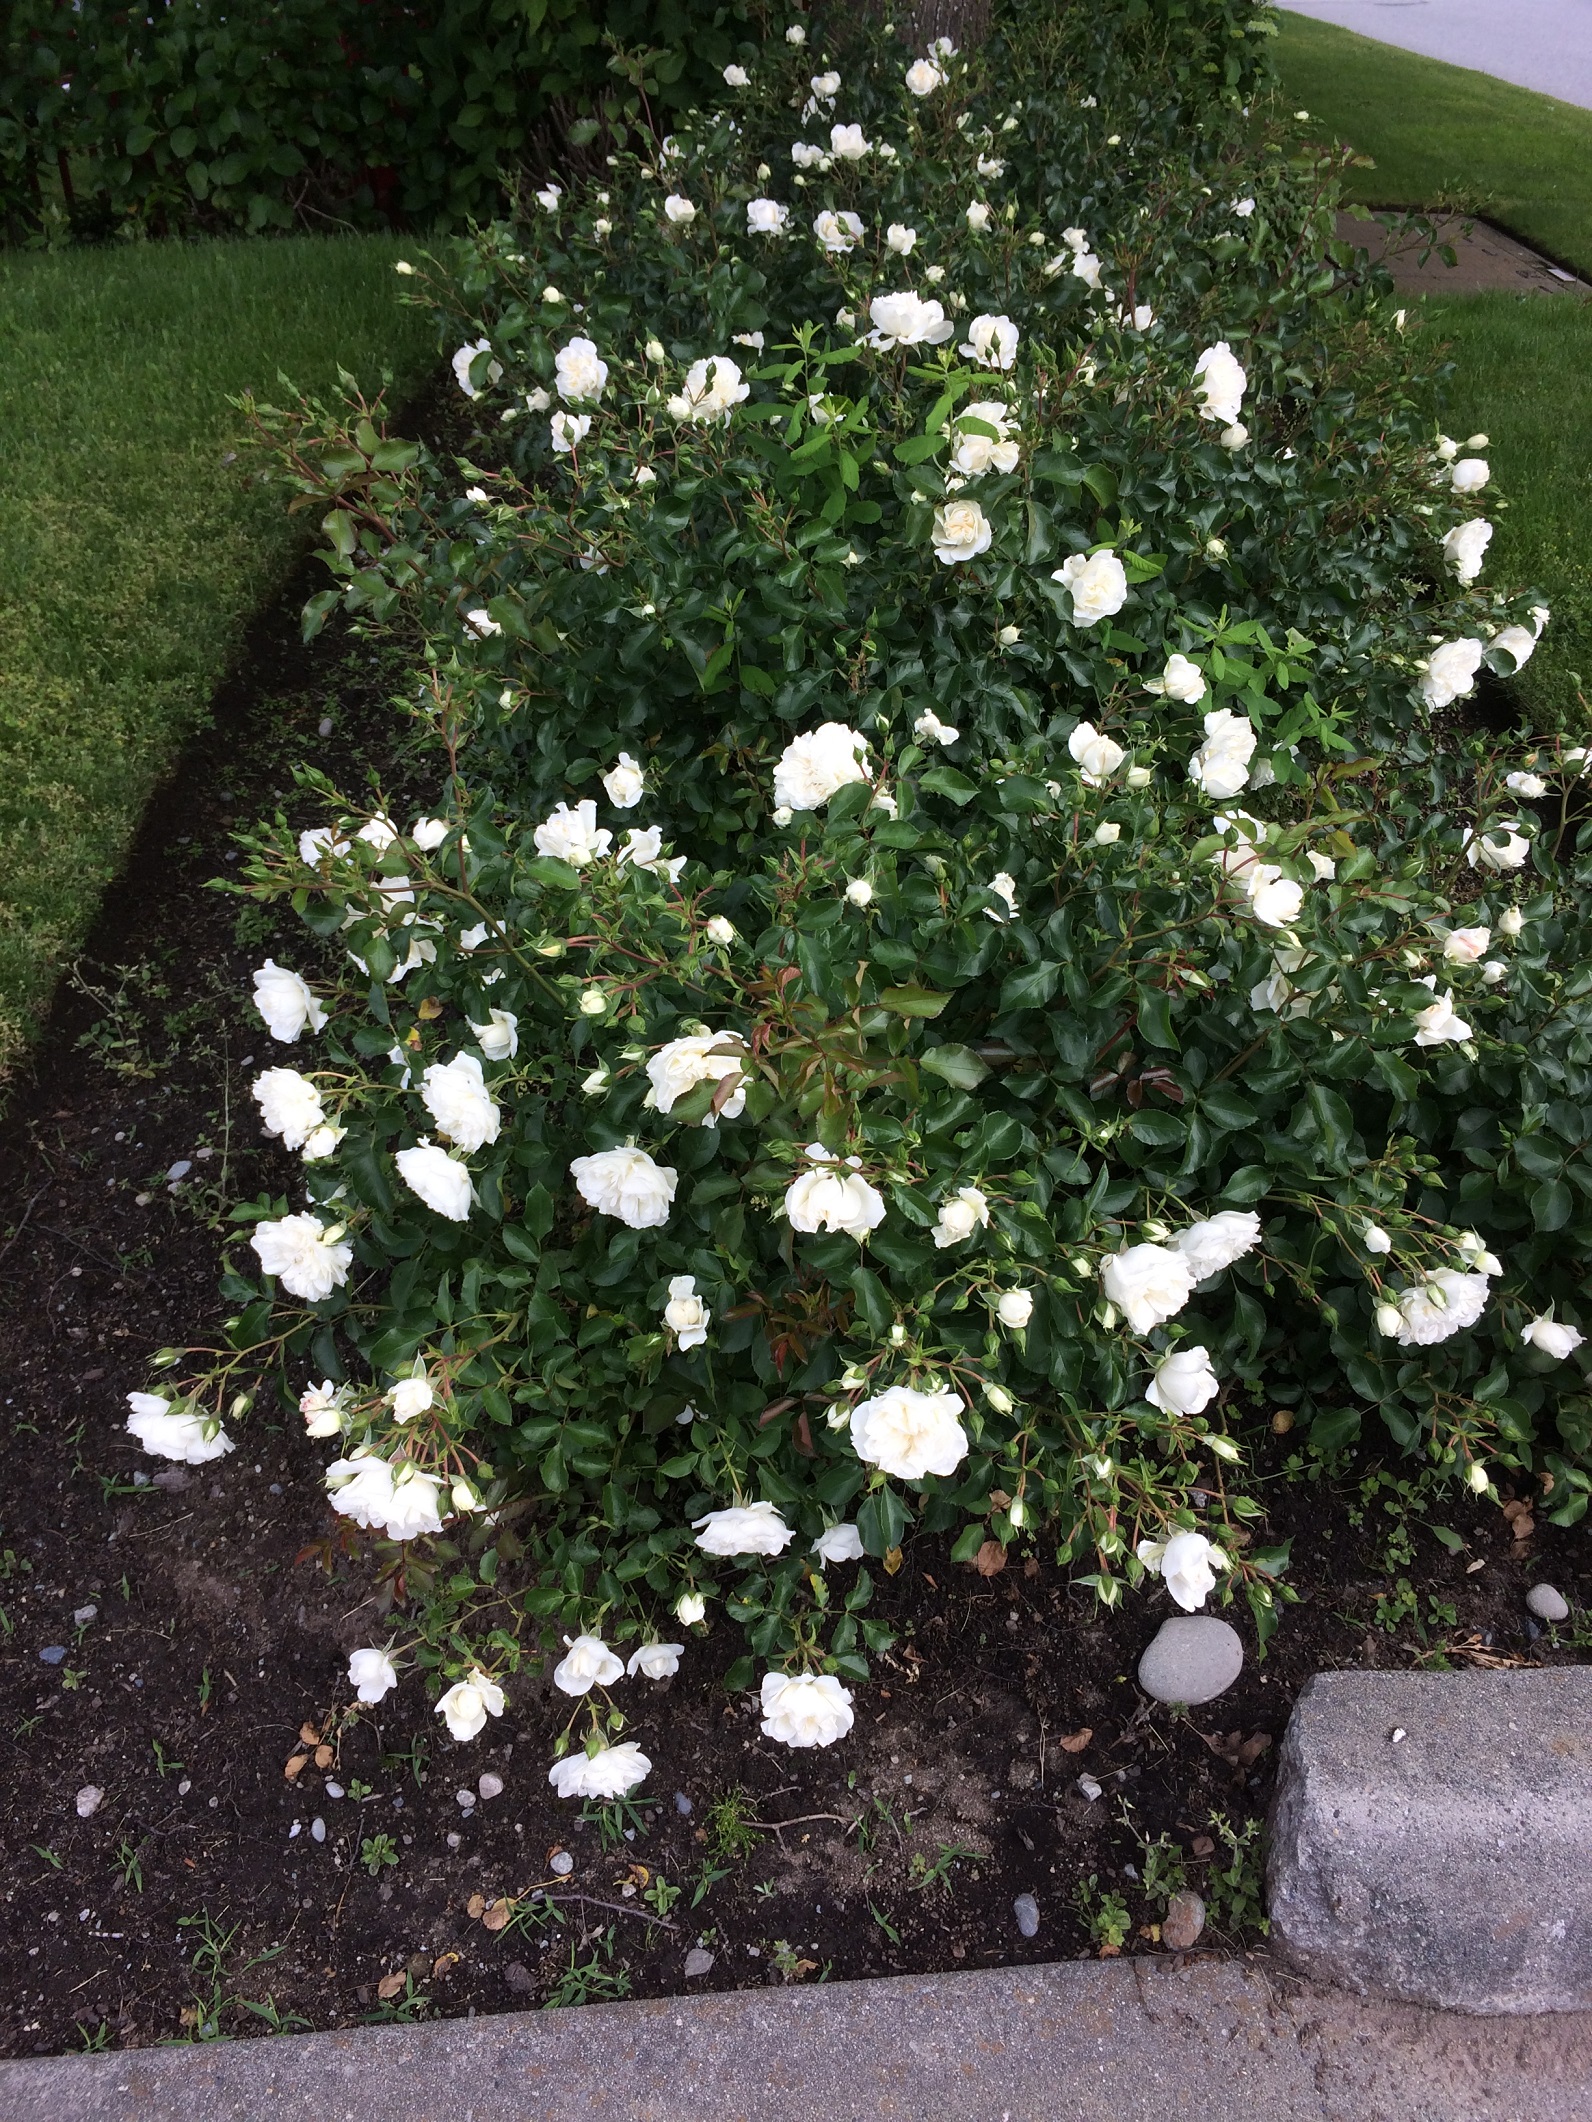
This is much better.


IMG_6620ed2


Plant separation


IMG_0093ed


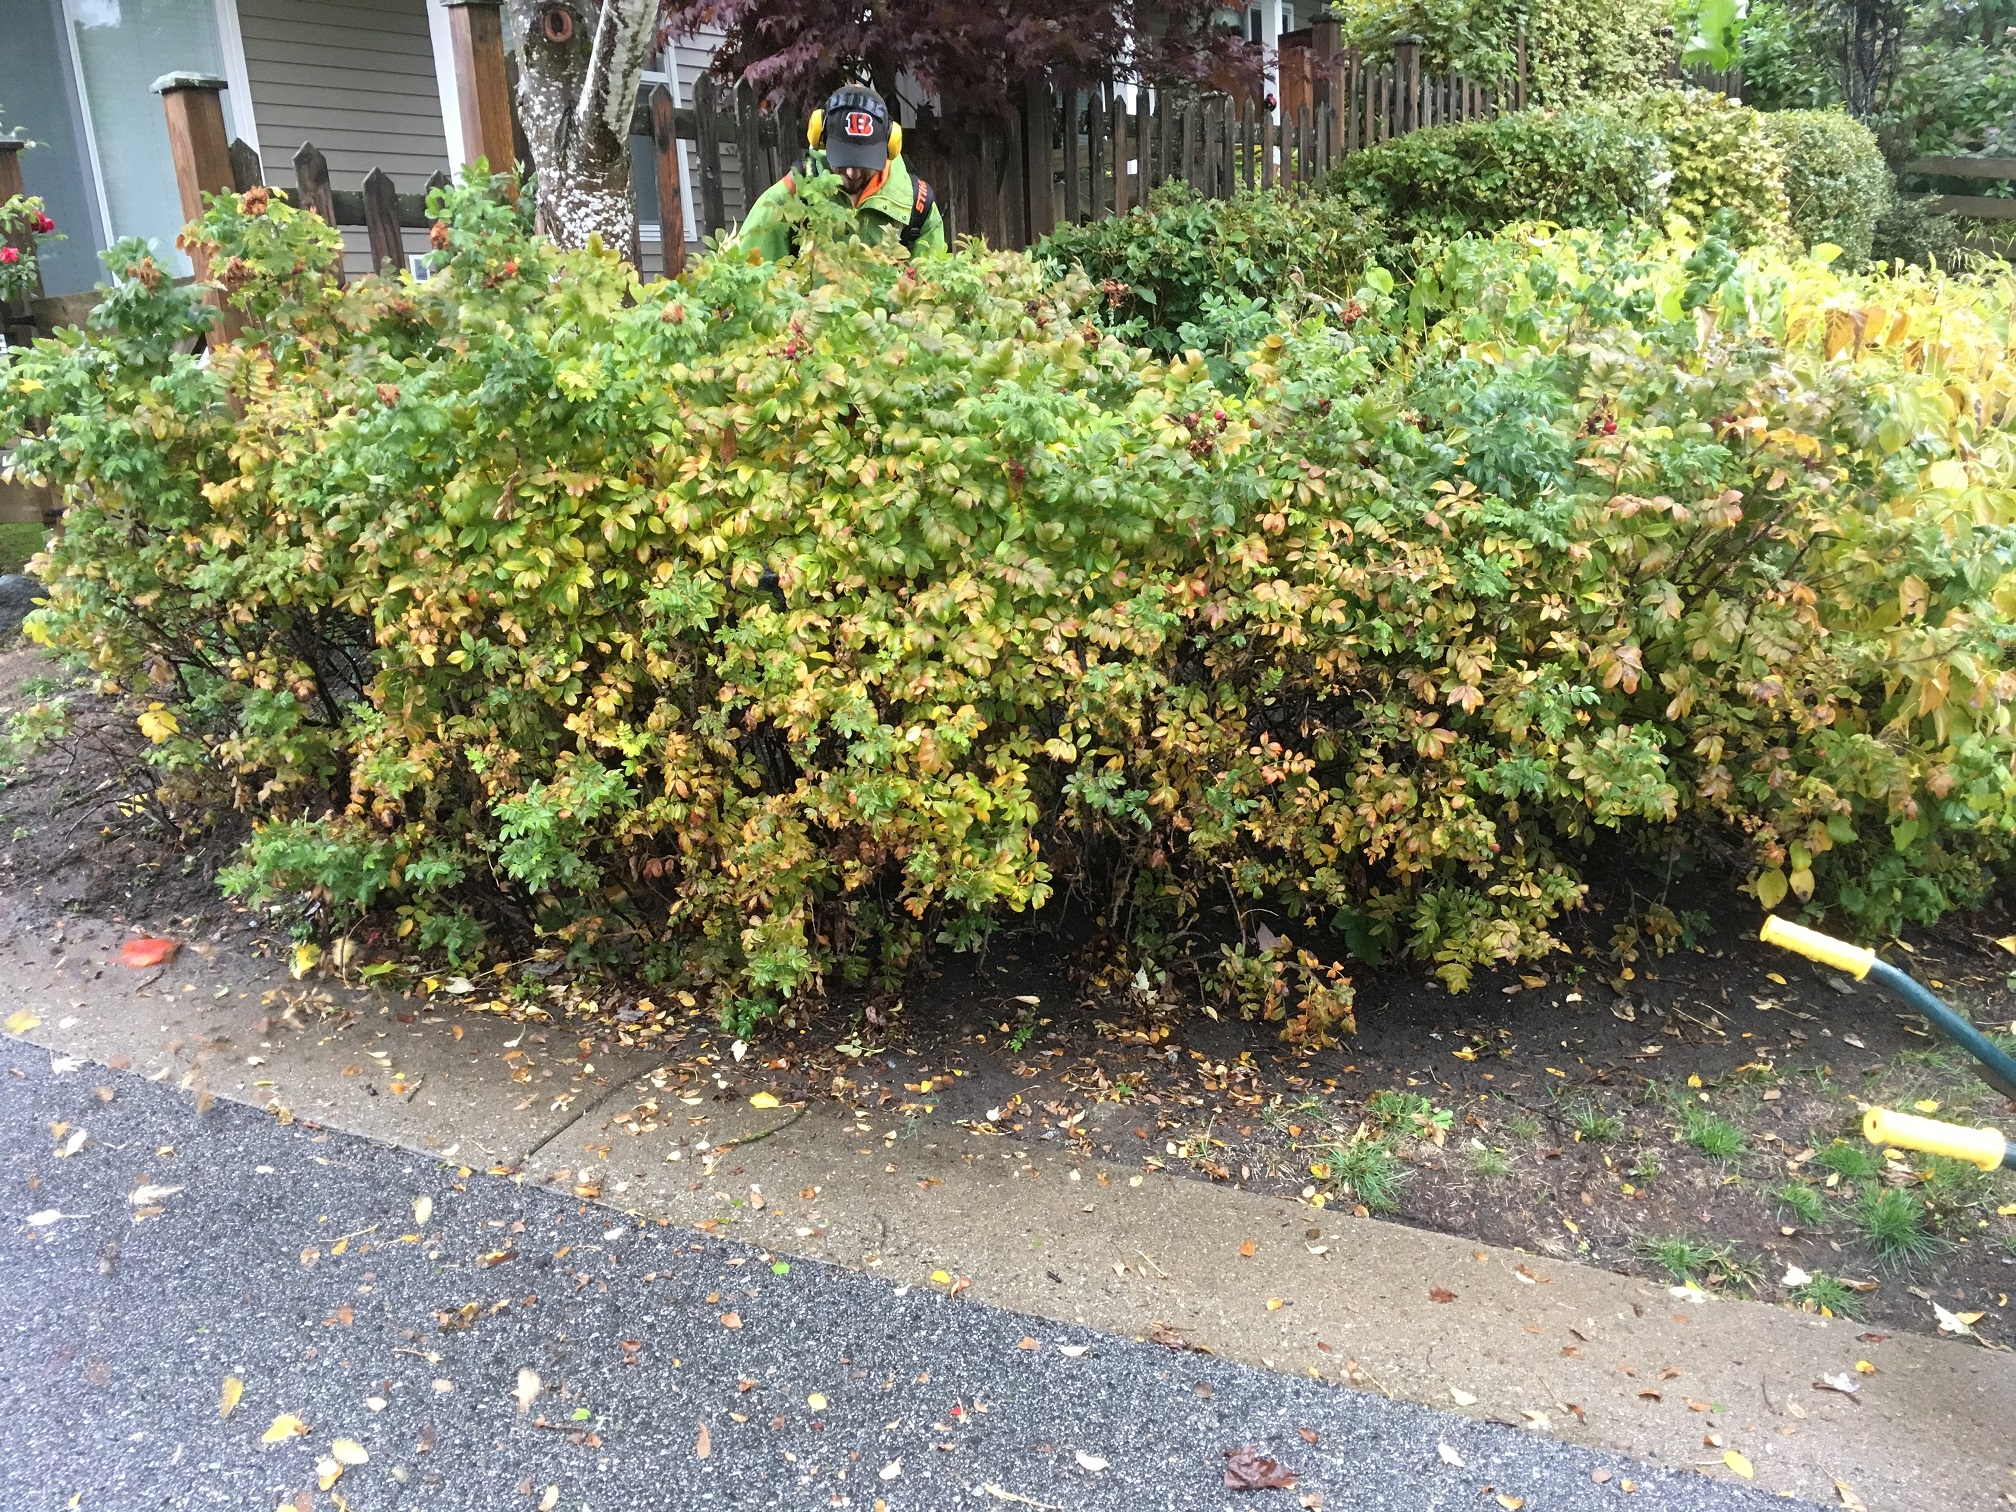
This another overdue procedure. Note how the rhododendron and the sourwood tree (Oxydendrum arboreum) co-exist without any separation. This will only get more pronounced as time goes on. And how do we enjoy the rhododendron flowers?

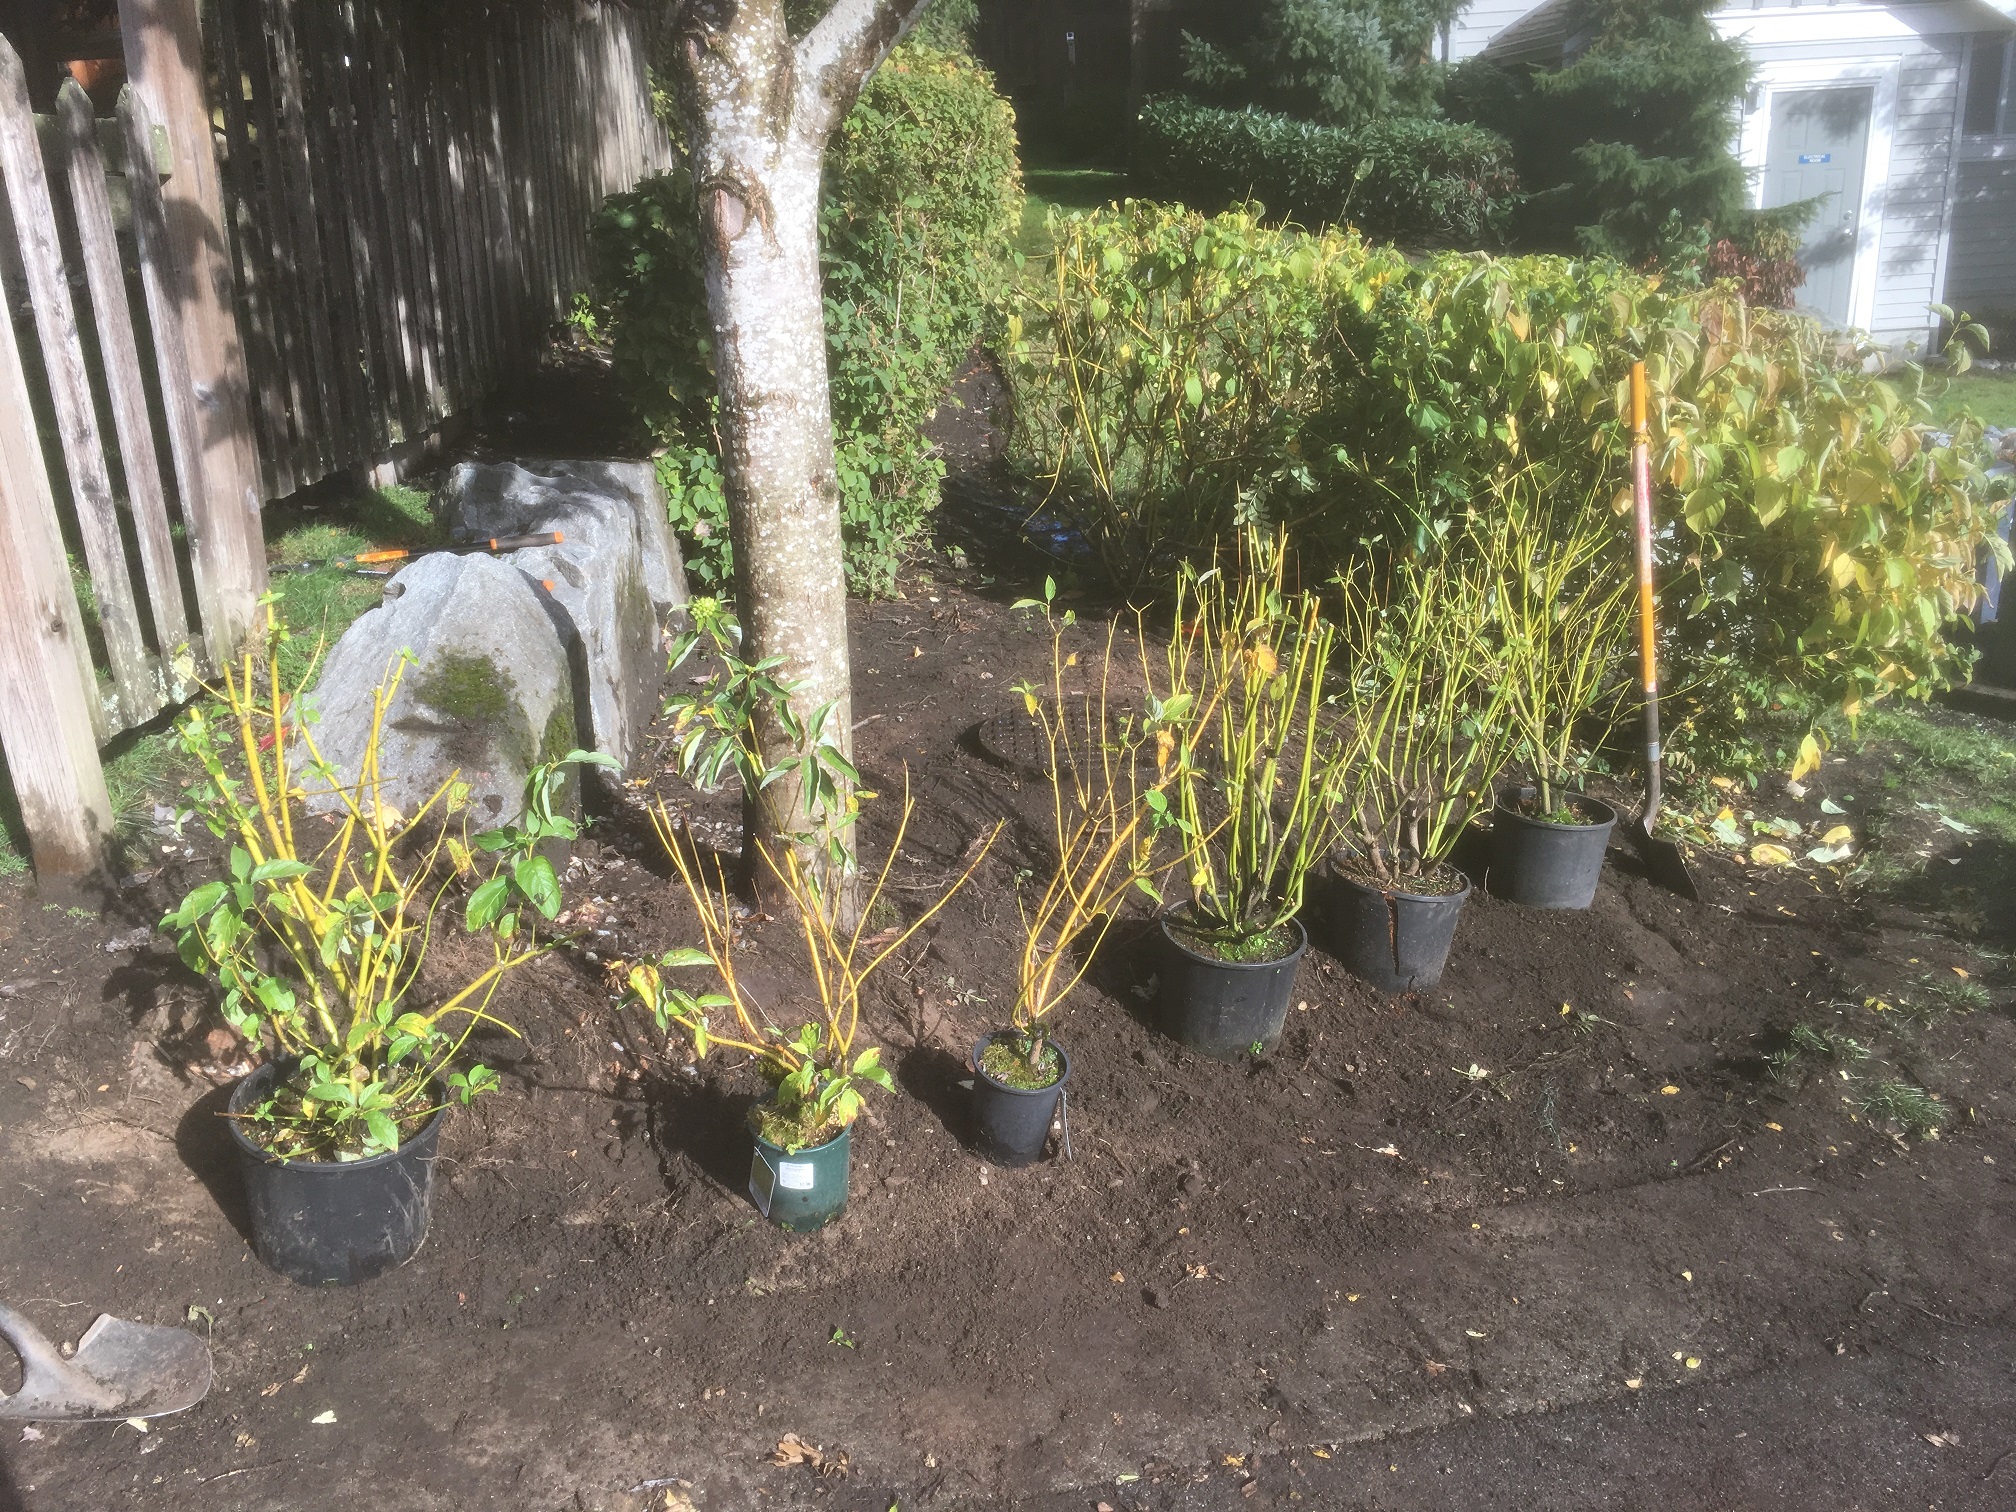
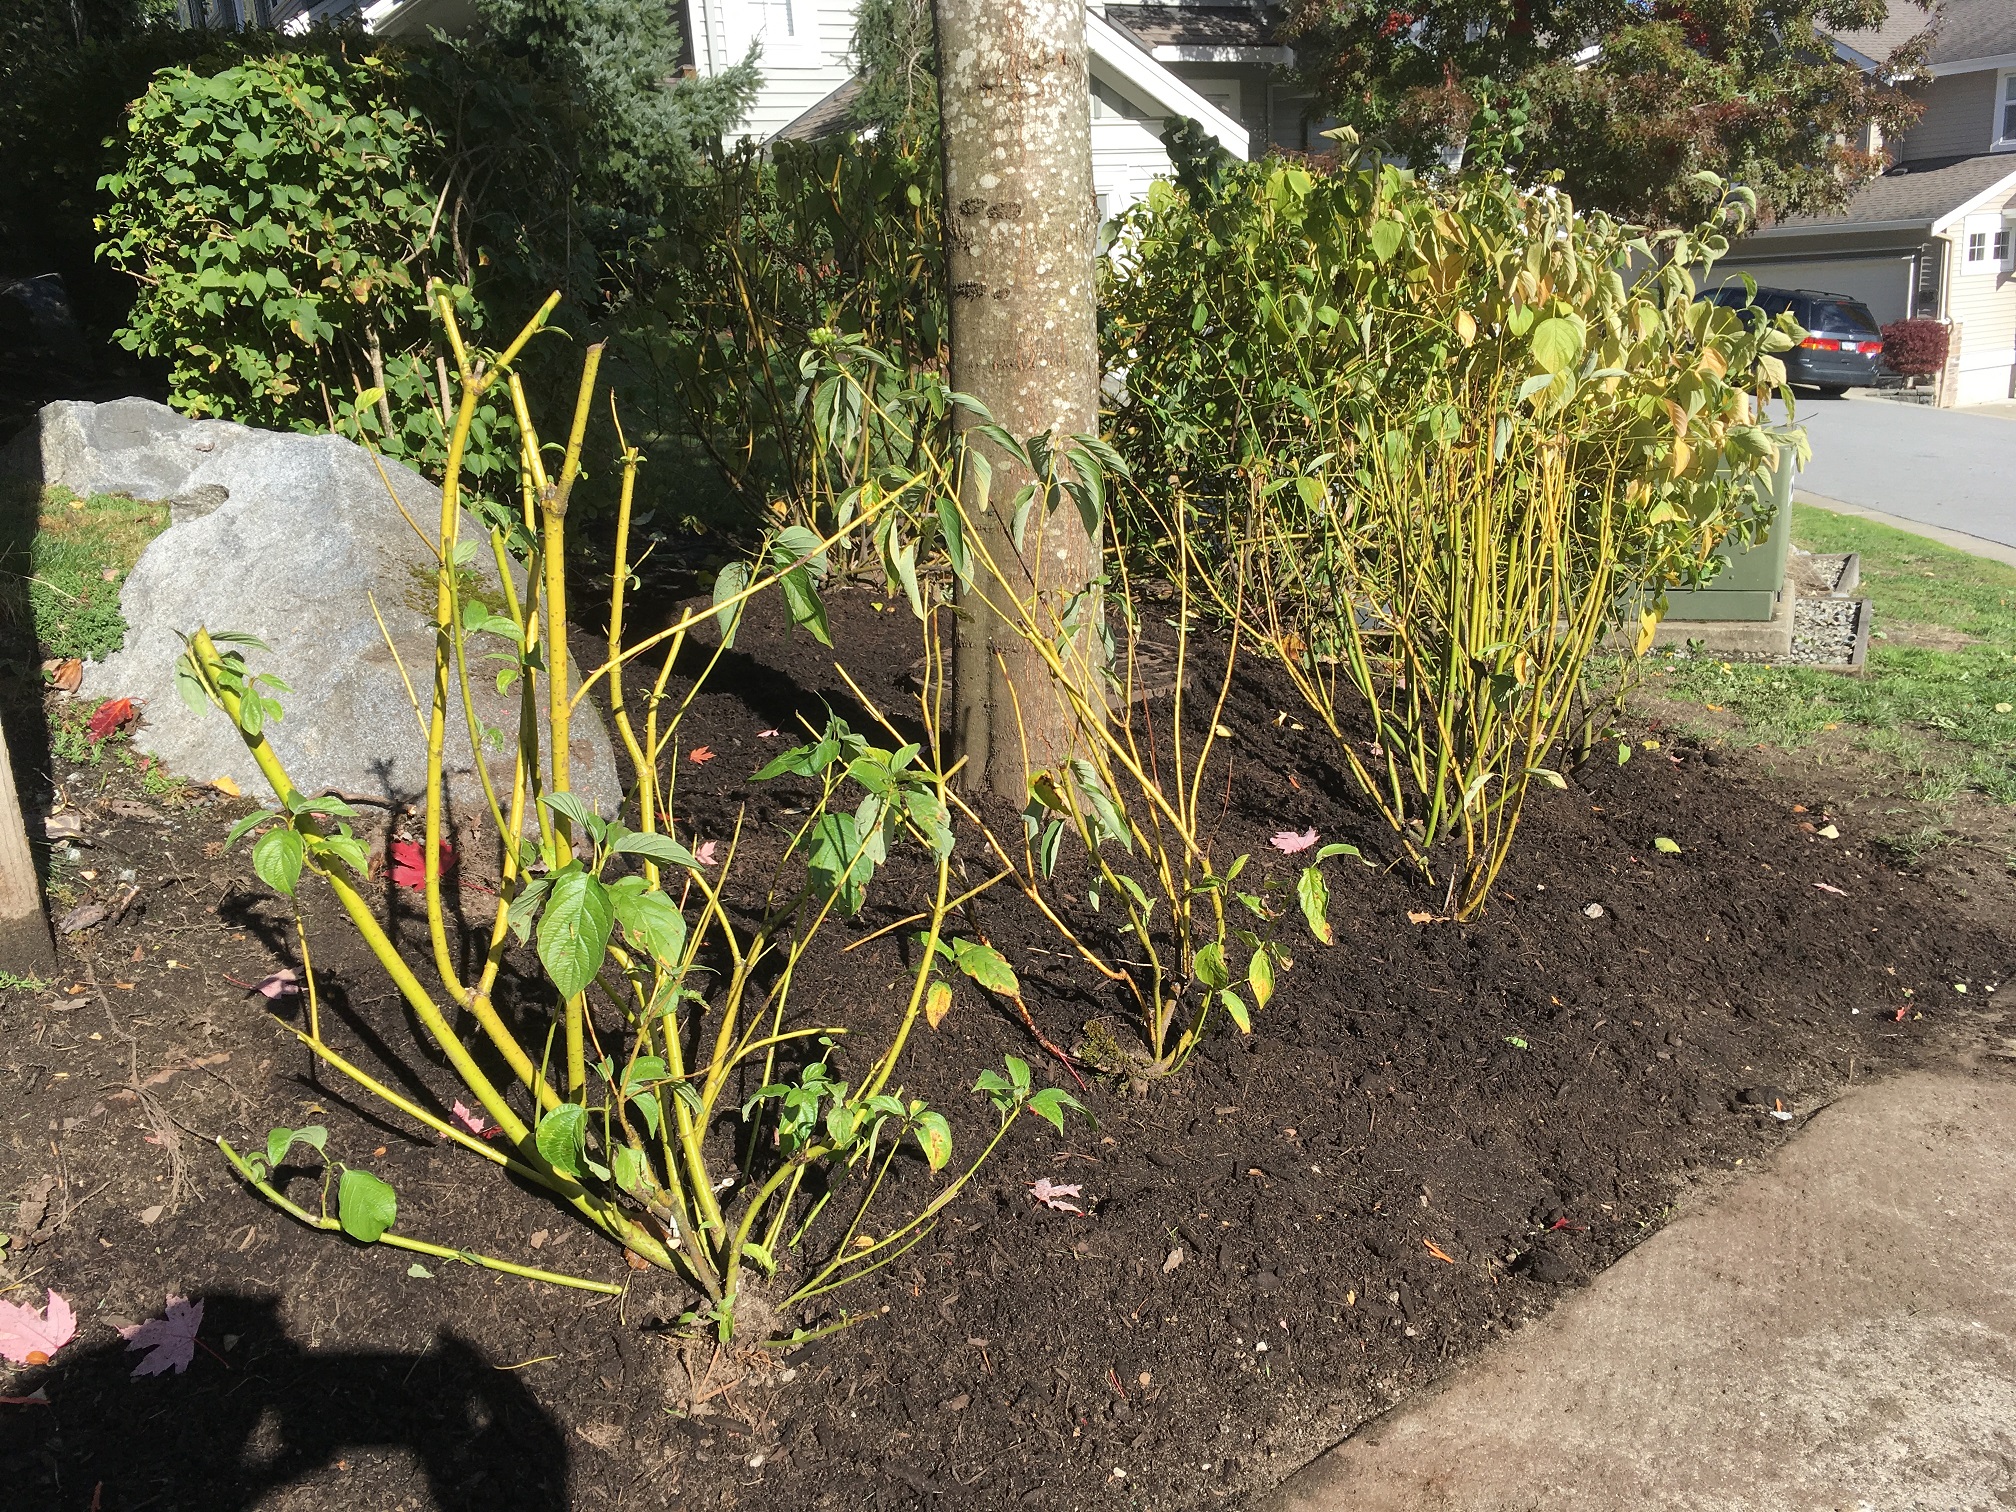
I had a meeting at this site in spring and the strata council didn’t want anything pruned (correctly) before flowering. But when I showed up in August, I couldn’t help myself. I removed branches from the sourwood tree and also some of the height from the rhododendron. See the picture below. What do you think?


IMG_0101ed

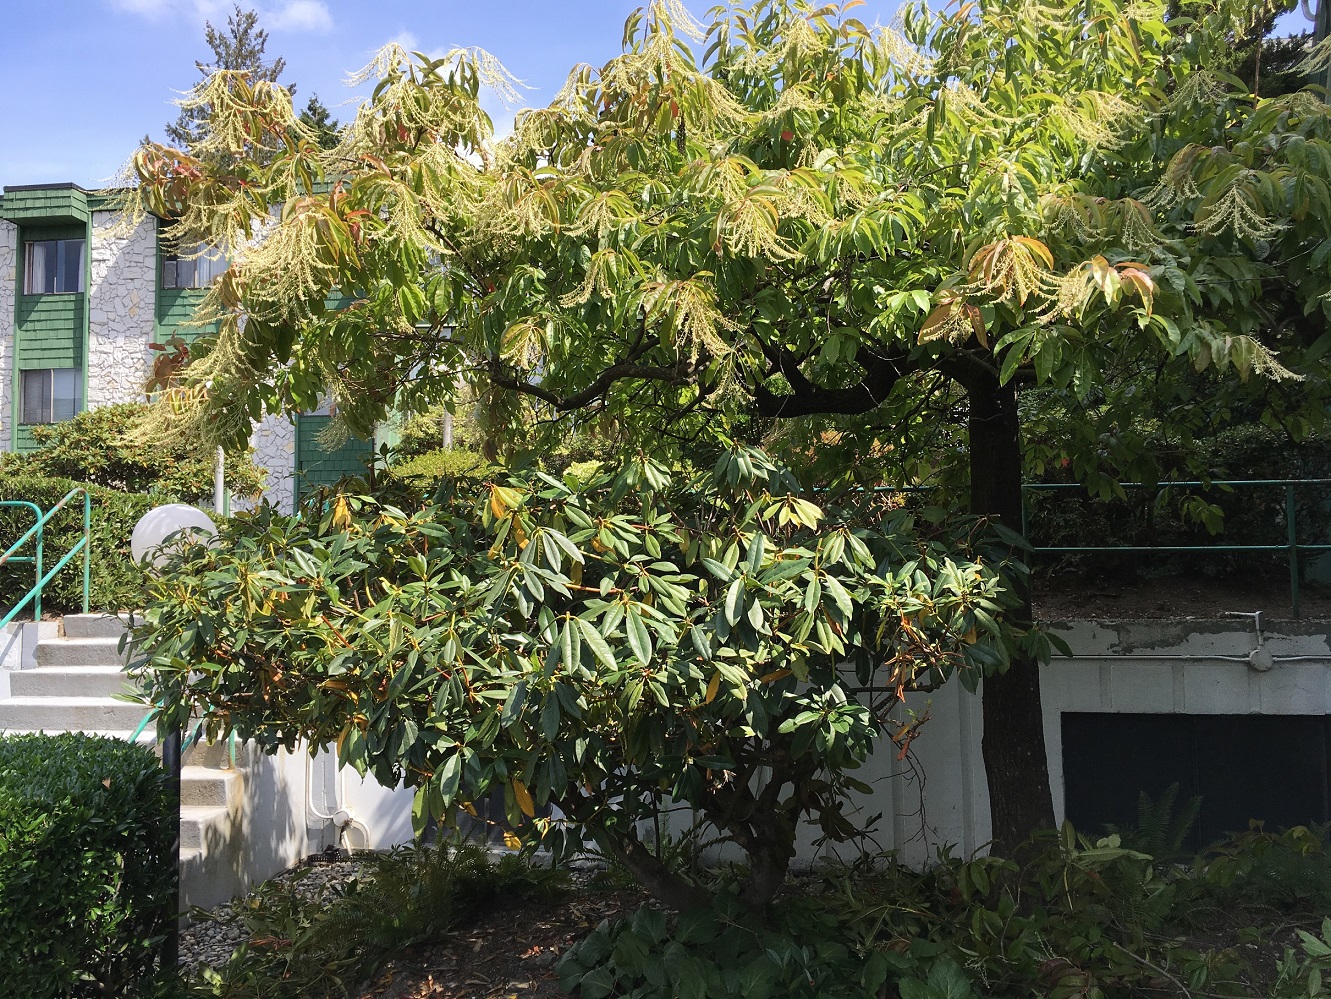
This wasn’t anything serious. I removed some tree branches and some high stuff from the rhododendron.


I suspect we’ll be able to nicely enjoy the rhododendron flowers next year. This was another simple landscape maintenance procedure. It just has to be squeezed into your regular weekly scheduled tasks. But like the blade edging above, it won’t have to be done again for months.

What simple improvements can you make to your garden and landscape?

Fall landscape projects part 3: switching plants

By | Landscaping, Mulch, Plant Species Information | No Comments

Sometimes owners get tired of the plants around their strata units and demand changes. With strata approval, of course. This blog post covers one such case. The owner was upset with Rosa rugosa spreading into his lawn. OK, no problem. We can do some editing. I love plant editing in the landscape. And as luck would have it, the morning storm passed and the sun came out just as I got to this project.

Rosa rugosa

I don’t love it and I don’t hate it. It sports decent enough rose flowers. It’s a rose so it’s prickly and it does spread. Since the planted area was situated under a red maple (Acer rubrum) the digging was awful.  I had to cut away some of the maple roots just so I could extricate the rose.


IMG_2065ed

Rosa rugose, unwanted and despised for spreading.


Cornus stolonifera

Since there was a patch of yellow twig dogwood already, it made sense to plant more of it. So we brought in six new specimens of Cornus stolonifera. I normally prefer the red twig dogwoods but here we had no choice. Yellow twig it was.

The plants don’t require any pruning but the potted plants had to be cleaned-up a bit. I removed some of the dead and anything low at the base.


IMG_2059ed

The dogwood on the right has been cleaned-up.


Once the plants were laid out, the planting was fairly easy. Just remember to rough up the roots before you stick the plant in the ground. Since the roots are circling in the pots, I make north to south cuts with my Felco2 snips. Don’t worry, the roots can handle it.


IMG_2068ed

The two smallest specimens were planted closest to the maple where the digging was the worst.


Plant details

Cornus stolonifera is a densely branched shrub with creamy white flowers; and creamy white fruit. It’s best mass planted. In this case we already had the same yellow twig dogwood on the right.

The yellow twig dogwood grows 6-8′ tall and likes full sun or partial shade. It will get plenty of sun in this location. No pruning is necessary but since this is a busy strata unit corner, I know it will get sheared, eventually.

All done


IMG_2080ed

All done!


It’s always a good idea to top dress new installs with soil. Here we installed half a yard of mulch for an instant sharp look. And lastly, a courtesy blow finishes the install. Always leave your work area clean.

Improve your site appeal with fall planted bed changeover

By | gardening, landscape maintenance, Species | No Comments

Fall is here and chances are if your planted beds are still full of annuals, they don’t look their best. And if they still do, think about changing them over soon. At one site, a strata council lady wanted us to plant winter annuals in amongst the old summer annuals; AND move some of the summer annuals around the complex. No way is that a good idea. Give it one cold day and summer annuals like begonias will turn to mush.

Time to switch

The simplest switch involves pulling your old summer annuals. And do it well. Dig up every single plant and rake out all broken flowers parts. Try not to remove too much soil as you do this.

If you have access to a rototiller, this is a good time to use it. Yes, tilling destroys soil structure but it’s Ok. Remember we’re not growing crops. The idea is to prepare your beds for easy planting. The softer the soil is for planting, the better it is for your wrists. When I worked at the City of Coquitlam our beds were so fluffy we didn’t need trowels!

If you don’t have a rototiller then just cultivate your bed nicely. That’s what I had to do last week and it was fine because I only had to work with six flats.


IMG_1928ed

Pulled summer annuals and cleaned up beds.


IMG_1935ed

Lay it out nicely to make sure the bed looks decent.


IMG_2002ed

Before you plant, remove the weak leaves at the base. Ornamental kale.


IMG_1938ed

Winter pansy.


IMG_1936ed

All done!


Don’t forget the critical last step: a courtesy blow. I had to remind my crew members to blow along the curb gently. Otherwise you risk getting debris blown in thereby ruining the show.

One extra twist

If you were planting spring bulbs, they would go in first. Obviously. Then the annuals would go on top. In spring, when the bulbs pop up, you remove the winter annuals. Then you sit back and enjoy your spring display. That’s called delayed gratification and after months of waiting, you deserve it.


IMG_1973ed

Final shot. Notice the courtesy blow. Always leave your work area as clean as possible. After all, this is a high-profile main entrance.

Making the case for lighter pruning

By | landscape maintenance, Landscaping | No Comments

Pruning on strata properties sometimes feels too harsh. Because of space and time constraints many shrubs get pruned into balls and boxes. Plants must be kept away from buildings and walkways; and from each other.

Additionally, power shearing shrubs is much faster than hand pruning them. And that makes every landscape maintenance boss very happy. This is why maple trees get sheared into balls because it would take much longer for someone to hand snip all of the shoots. And so it goes every season.

Home gardeners have the luxury of space and time. Normally. I recall the late Cass Turnbull giving a lecture and saying how Abelias should only be lightly hand snipped. Yes, maybe in someone’s garden but not on a strata property. As soon as the shrub sends out spikes, strata people freak and power shears come out.

Osmanthus case

There are exceptions, of course. On one strata site we have an Osmanthus shrub which got balled regularly until new owners moved in. Now they want it more natural looking. And why not? The backyard will look just fine with an Osmanthus shrub that isn’t forced into looking like a ball. It will just require some careful pruning and it might take a bit longer.


IMG_1763ed

The owners don’t want their Osmanthus pruned into a harsh ball again this fall.


Commercial fun

Another exception is my commercial property. Since I’m in charge of my time and (usually) work, I elected to hand snip my plants. It may seem slow but consider this: since I hand snip the spikes, they stay in my hand. This then eliminates the need for clean-up raking. Additionally, it gives the plants a more natural look. You can still see the shape but it’s not as harsh as it would be after power shearing.

And one extra bonus is the lack of noise and air pollution. I totally enjoyed myself in the Sunday afternoon sun. However, considering leafiness and the mess I made while weeding, I did blow the site because commercial properties should look good on Monday morning. As I blew the site I also made mental notes about tree pruning, chafer beetle damage on the lawns and finesse work.


IMG_2015ed

The idea is to remove the spikes. Normally these plants get power sheared.


IMG_2018ed

After hand pruning which was slower but it eliminated clean-ups. You can still see the original shape but it’s much softer compared to power shearing.


So remember, not every plant has to be sheared into a harsh shape. There is a solid case to be made for softer hand pruning. Please share your pruning pictures in the comments below. I would love to see how you handle your garden plants.

Fall landscape projects, part 2

By | Lawn Care, Mulch | No Comments

In an earlier post about fall landscape projects we looked at river rock and aged mulch installs. In this post we continue with more examples of landscape projects that are perfect for the fall. The weather is still decent so take advantage of it by improving your landscapes.

Blowing bark mulch

If you have a larger property or strata site, it can make more sense to have bark mulch blown in. There are several local companies that do this. They can transform the look of your site almost instantly. Paying for lots of labour hours by moving lots of yards of mulch by hand with wheelbarrows might not make sense.

Sure, if you have 4 yards to move, that’s fine. But how about 80 yards?

One key is to be present when bark mulch is being blown in. Walk the crew and show them precisely what should get covered. There may be some exceptions or no-go zones so explain it to them.


IMG_1297ed

Bark blowing saves you a lot of time.


Lawn repairs

Weak lawns can be top-dressed and over-seeded right now because we still have decent temperatures for grass seed germination. I observed three lawn repair projects recently. One was for a weak lawn where shade is an issue. The home owner did everything himself without involving his strata council. The other two projects involved lawn repair after dog damage. And as we know, unless you keep the dogs away, the lawn will get damaged again. Very few people take the time to hose off their lawns after their dogs finish their business.

In step 1 you install new turf blend soil and then you rake it so it’s even.

In step 2 we over-seed the lawn with good quality seed.

In step 3 we roll the lawn nicely with a roller. Just fill it up with water and run it over your lawn. This flattens the soil and ensures seed-soil contact.

In step 4 lightly sprinkle water over your new lawn. Fast germinating seed can germinate in seven days. Some seed mixes take longer. Temperatures can vary from place to place so don’t panic.


IMG_1446ed


IMG_1447ed

We have germination but the dog inside is waiting.


IMG_1305ed

This photo is from the day of completion. It will take 7-14 days to get germination.


IMG_1939edd

Germination!


IMG_1940ed


What can you do to improve your landscape this fall?


One tired story: dogs and lawns

By | Lawn Care | No Comments

It’s October and people are trying to take advantage of decent temperatures to fix their lawns. And today my orders were to address a patchy lawn. Sure.

As soon as we finished mowing, I first confirmed that I had the correct unit number and then I went in to see it. I identified two classic problems. Shade and dog damage. And both problems are difficult to correct unless drastic action is taken. For example, you could prune the trees to allow for more light penetration; and you could give away your dog (unlikely, I know).


IMG_1801ed

problems: dog damage, compaction and shade.


Strata orders

The owner of this unit sits on strata council and she insisted that we address her lawn. So I did it today with what I was given. Two bags of landscape soil, good quality fast-germinating grass seed and a hard rake.


IMG_1804ed

Basic materials: landscape soil, fast-germinating seed mix and a hard rake.


Of course, on this particular site there are many “damaged” units because the previous maintenance company took some liberties. Now it’s a big project to bring the landscape back up to a decent standard.

Basic fix

Why do dogs burn lawns? Because their urine contains nitrogen and the concentration is too much for the lawn to handle. It’s just like fertilizer burn after heavy applications or say, after and accidental spill. The lawn can’t handle this much nitrogen at one time and burns.

Step 1

You can scarify the lawn with a hard rake to help the seed take hold.

Step 2

Dump out both bags of landscape soil.


IMG_1805ed


Step 3

Use a hard rake to spread out the soil.


IMG_1806ed


Step 4

Over seed with good quality grass seed. We used a fast-germinating seed mix. Clients like to see quick results and this seed mix delivers. We’ve tested it in summer with good results.


IMG_1808ed

Basic fix.


Step 5

It rained briefly which should help with germination; assuming day time temperatures stay the same.

Solution?

Is this fix a permanent solution? Not likely. The dog will keep on urinating here. I expect to see more burns in the future. Unless, of course, the owners start to hose off the lawn after their dog does his business.

Some of my previously published blogs show clients switching to fake turf and river rock. Those solutions will not work here. Having a beautiful lawn is always a struggle when a dog uses it. Let’s just accept it.


What happens when you join lawn care Facebook groups

By | Edging, Landscaping, Lawn Care | No Comments

To be honest my free time for Facebook is limited but joining lawn care groups has been the best experience ever. It gives you a nice look into issues facing lawn care and landscape operators. And most of the members reside in the United States.

If you can get past the bad spelling, bad language and the occasional gun and ammo picture, you can get rewarded with some gems.

Blowing in the streets

This is one horrible habit where the landscaper blows debris into the street so he doesn’t have to pick it up. Some municipalities have bylaws against it but that doesn’t matter. It’s a bad habit. Don’t do it. It’s best to blow any debris into piles, rake it up and put into your truck. Don’t mess up the roadways or neighbouring properties.

But there is one exception. Windy days. When the winds are howling and you can’t control the blowing then I can look the other way. As long as my workers don’t step into roadways which is extremely unsafe. Of course, the workers remember this exception and then it’s windy every day…..


Line edger vs. trees conflicts

This was from a very frustrated company owner who had received phone calls from angry clients. Why were the young trees slashed up and missing bark? Again. See picture below.

I’ve experienced this with young co-workers at a municipality. We were at a public park and my co-worker started line edging around the closest tree. And he was very aggressive. So aggressive I almost got hit with bits of bark.

So what do you do? I have already published a blog post on this epidemic and you can read it here. But let’s just recap, shall we?

The recommendations are to remove grass from tree stem areas, workers are to be held accountable and trained until they understand it. For there are implications when you slash up live trees with line edgers.

As we know, trees are resilient but repeated slashing of the bark stresses the tree. The poor plant now has to expend precious energy into repairs and will likely not grow as vigorously. Repeated hits can kill the tree. So please don’t do this to your trees. Read my blog and never slash up trees with landscape machines ever again.


IMG_0635

You can see why the owner of this young tree wasn’t happy. The line trimmer string probably wrapped around the trunk and stripped the protective bark layer. Install a plastic guard, build a tree well around the tree or just remove any grass from the base of the tree. Train all workers well and hold them accountable.


Garden grinding

This term came with a disturbing video in which the operator of a line edger buzzed weedy beds down to dirt patches. It looks ridiculous and unsafe. Your line edger should be used for edging only. Bedwork is a completely different task.

I worry about rocks flying into windows or the worker “eating” rocks. The weeds will probably come back anyway. It’s best to use garden tools for bedwork. Period.


Are you in?

Spending some free time (NOT work time!) in Facebook groups can be rewarding. Sometimes there are decent discussions about estimating, machines and worker attendance. Not every group is fantastic so look around and enjoy. Maybe we’ll see you there.

Leave group recommendations in the comment below.


Don’t be shy with Roses

By | Pruning, Species | No Comments

Let me start this blog post by saying that I’m not an expert on roses. I know how to snip them and I know it’s usually done in February. Of course, there many rose varieties and lots of exceptions but on my commercial site I didn’t worry.

When I took the site over there was a lot of work to catch up on before lawn care started in the spring. Weeds were overdue and I also gave the lawns a nice, sharp blade edge.

By far the ugliest aspect of this commercial landscape were the roses. Since it was still technically winter it was easy to see the tangled mess inside the individual rose bushes. This is what happens when you quickly power shear the roses, season after season. Eventually, without good hand-pruning, the dead brown canes accumulate. Obviously, power shearing is quick and convenient. But I had time…..I was in charge now.

Dead canes


IMG_1083ed

This is a tangled mess full of dead canes oak leaves.


You will note the many brown dead canes. The dead is pruned out first. Then we move on to ugly twisted canes that rub or touch the ground. This pruning requires faith. Trust in your own work. By spring you will be rewarded.


IMG_1088ed

That’s much better.


This is the look we should aim for with nice canes pointing outward without crossing or rubbing each other. It looks too harsh at first. Just wait for summer. The rose plants push their available resources into the remaining canes. So for now we wait for the buds to swell and pop.


Growth and buds


IMG_4229ed

It’s all green and we have lots of buds. It’s just a matter of time.


See, everything is cool. We have new growth and flower buds. Correctly missing is the useless dead wood.

Summer success


IMG_4524ed

Summer success! It almost makes you forget the harsh look from winter.


Take a look at the second picture again. The one that made you cringe because it looked too harsh. Except it wasn’t. I would call this summer success. I knew it would work out because I have done it before. So don’t be shy, have some fun with your roses next February 2018 and watch them go.

The roses require some summer maintenance as the flowers fade. You can clip off the spent rose buds but be careful. Always look for upcoming rose flowers. Keep those on unless you’re pruning for shape. It’s OK to lose some flowers when a long cane reaches into the road for example.