Category

Tips

Are you still stressing over fallen leaves?

By | gardening, Mulch, Tips | No Comments

David Hobson’s opinion

This past October I travelled to Waterloo, Ontario to cheer on my son’s soccer team. They played in the youth U15 nationals, representing British Columbia.

Now, since they only played one match a day and the team didn’t hang out with parents, I had plenty of time to hang out.

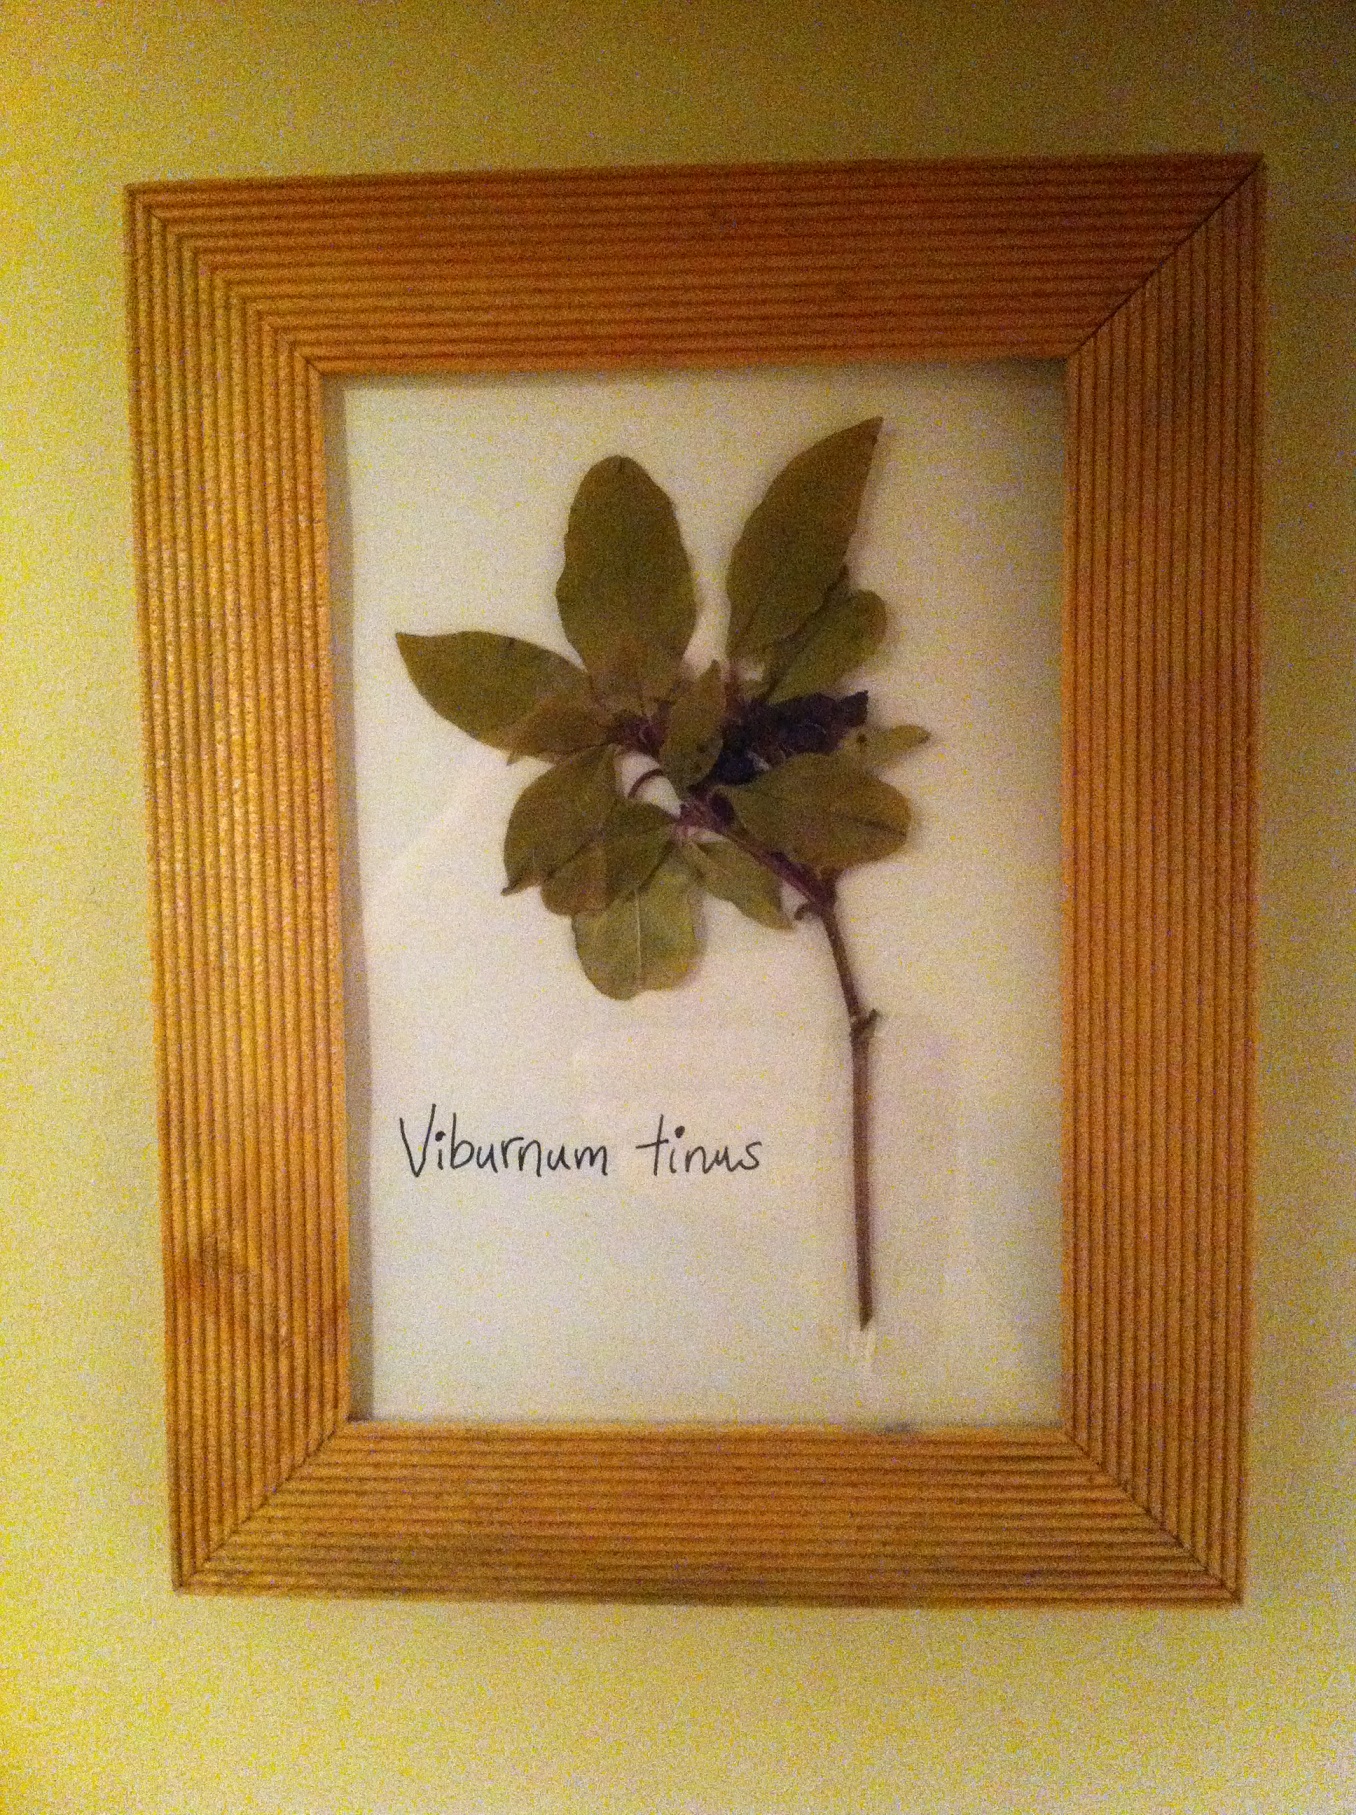
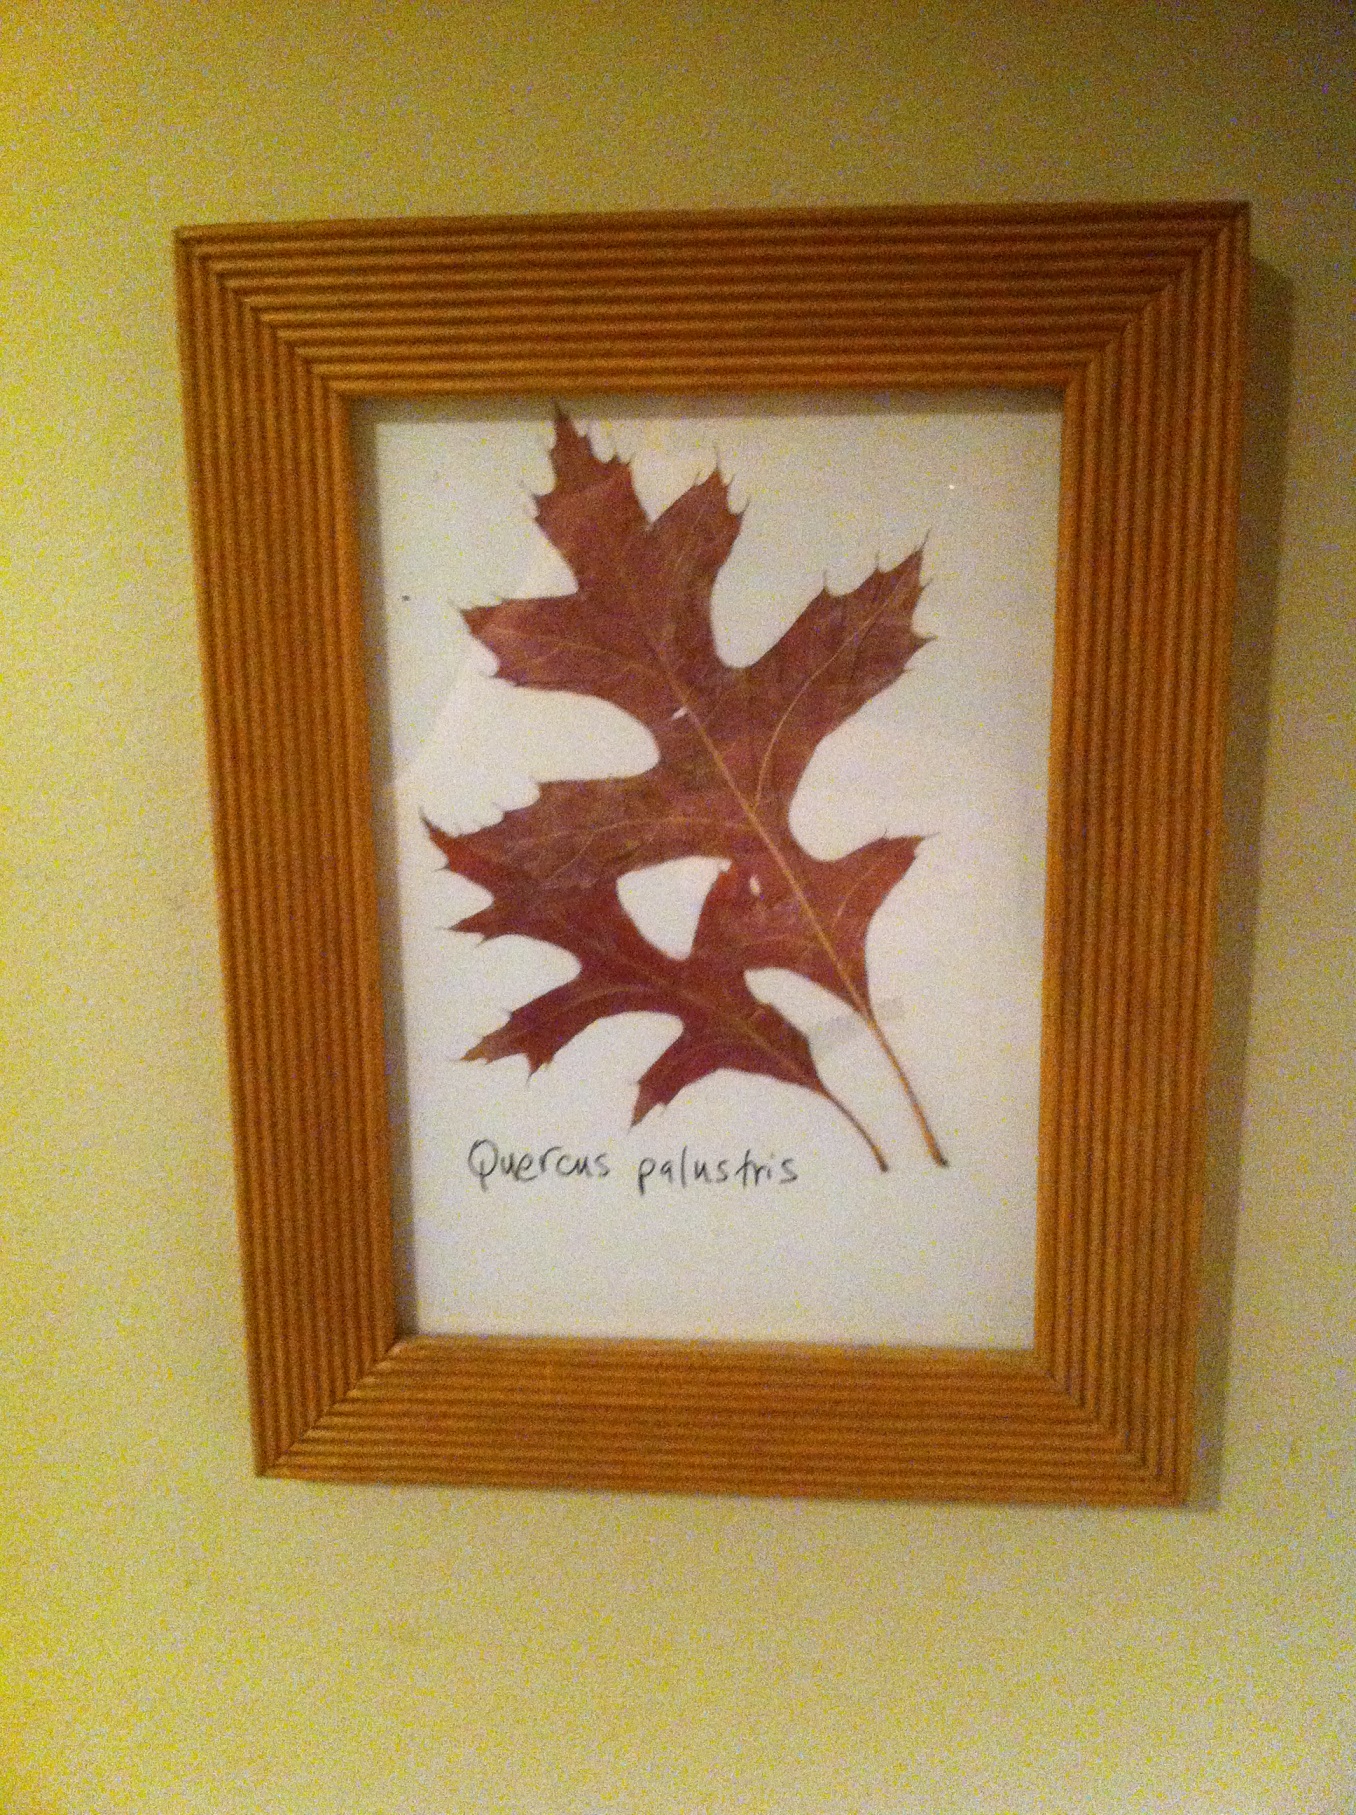
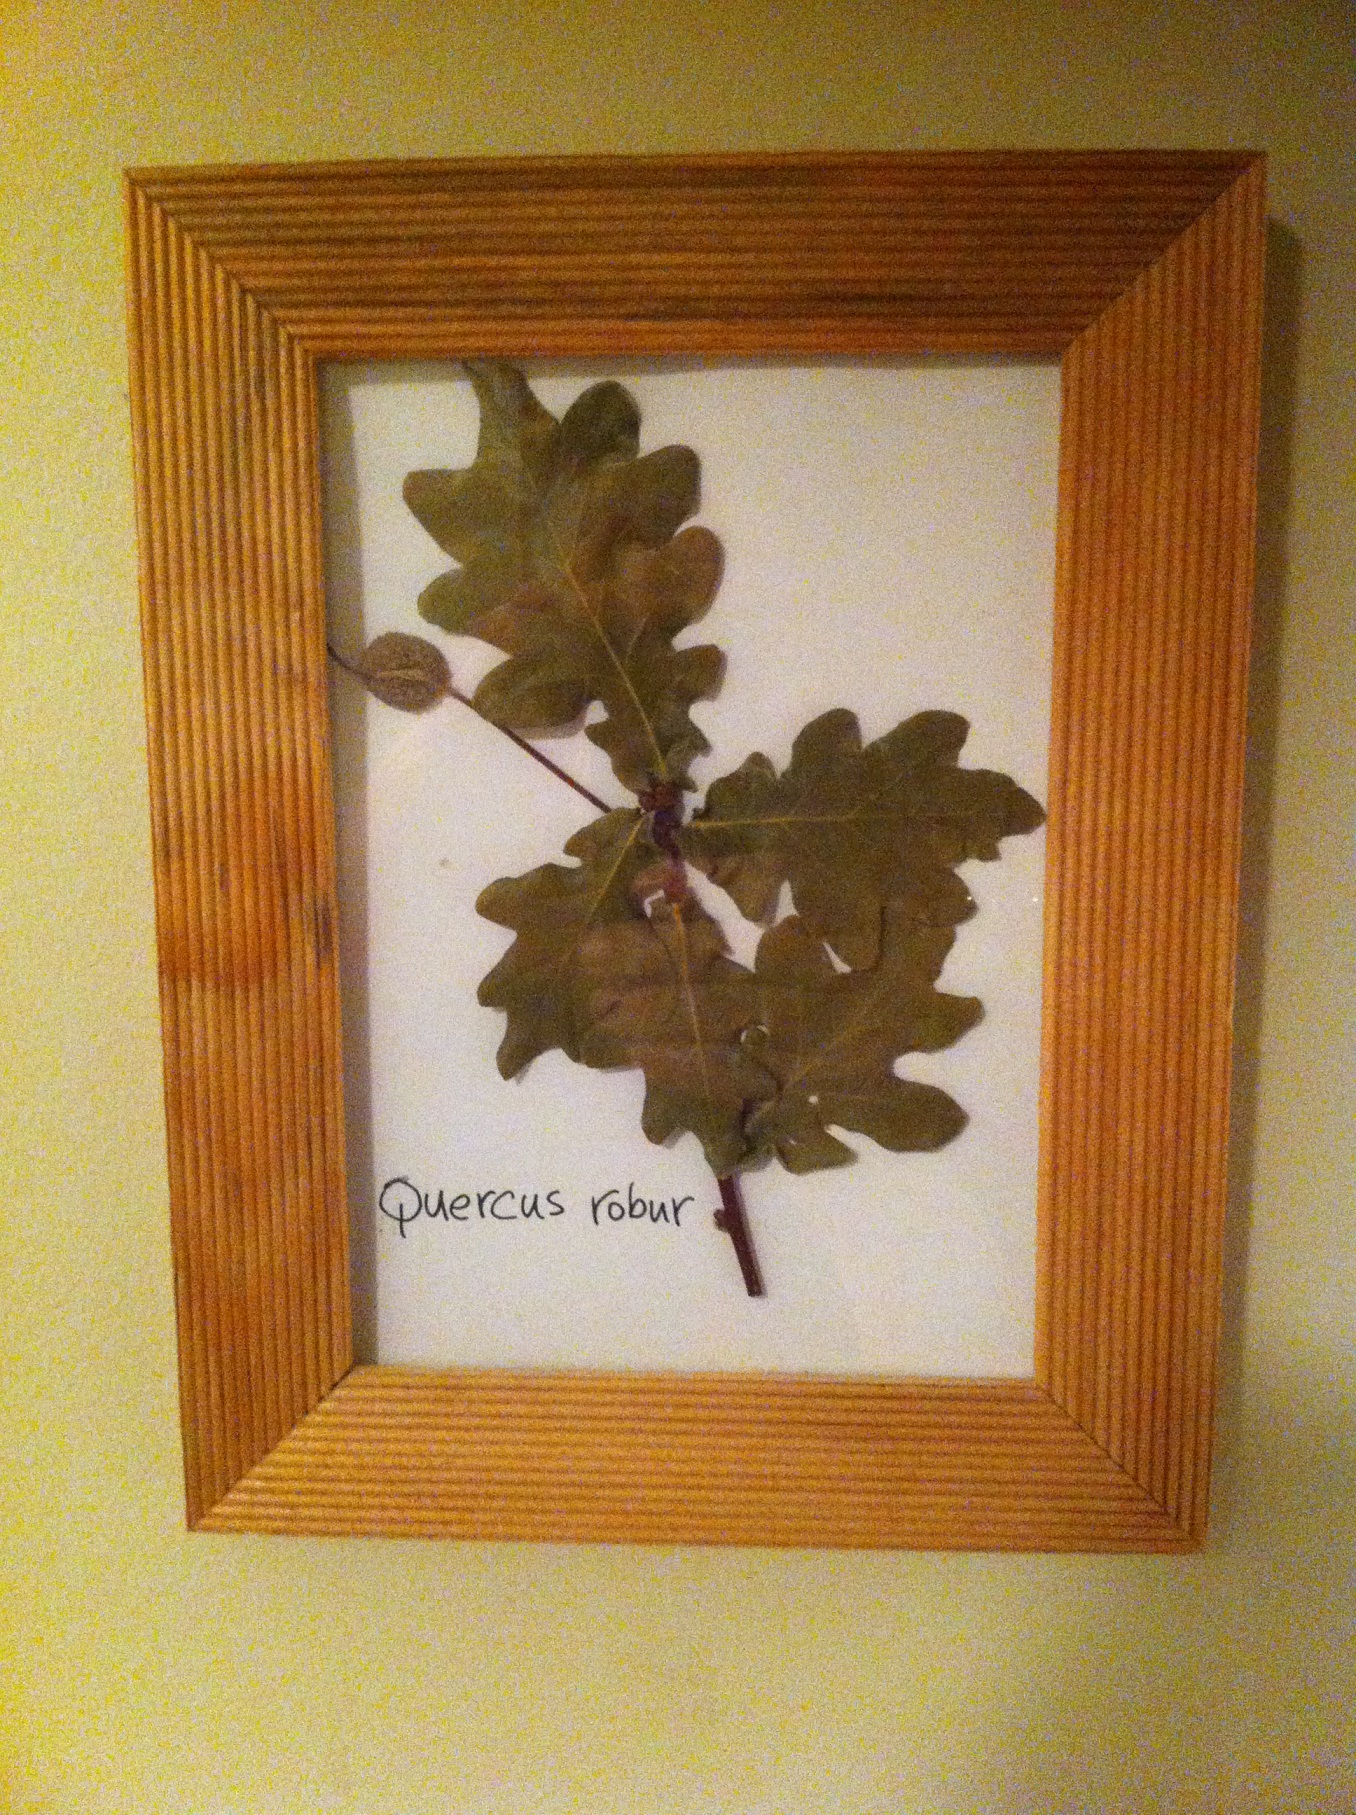
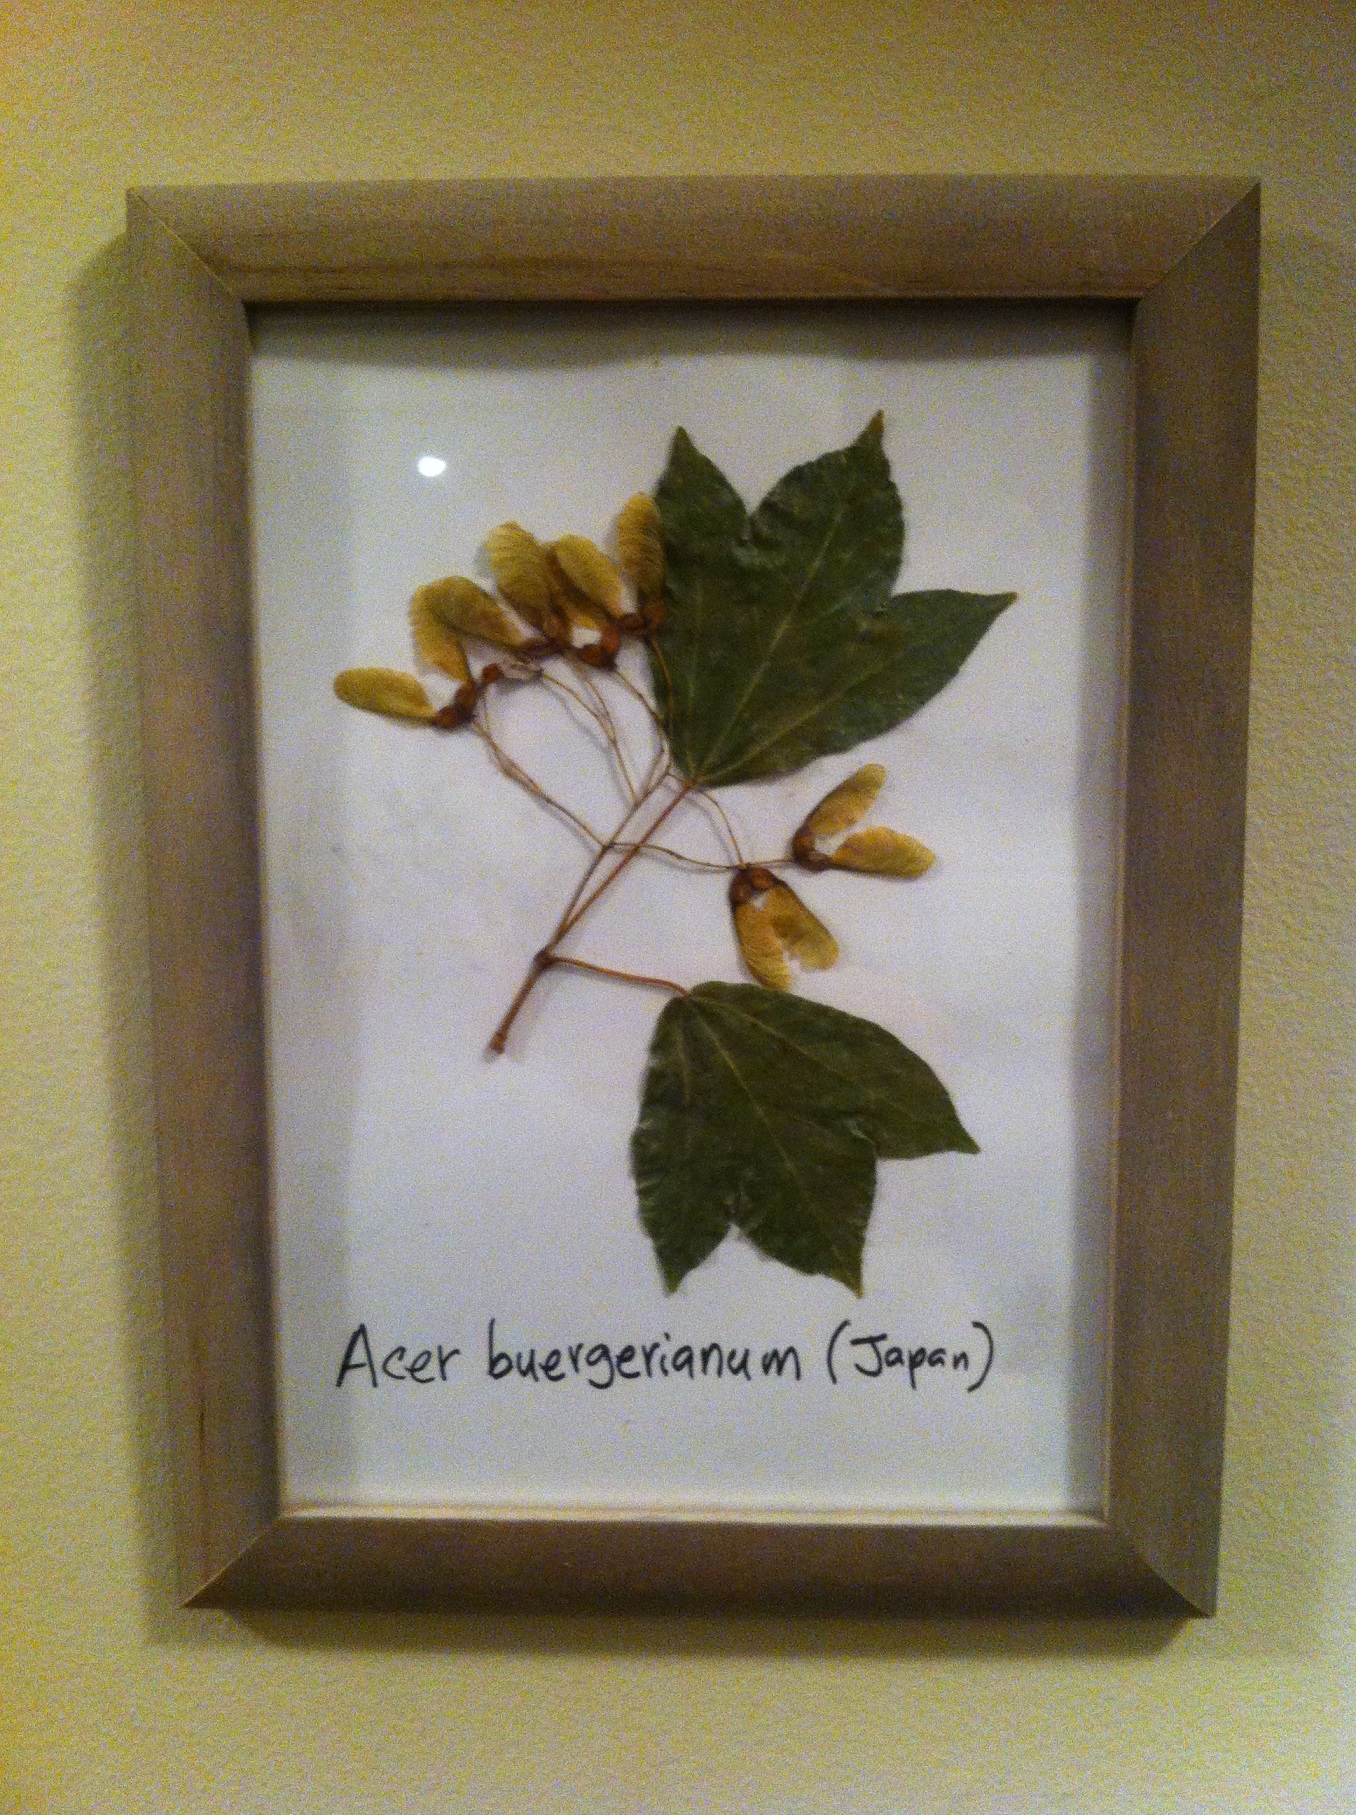
I visited the St. Jacob’s farmer’s market, Canada’s largest outdoor farmer’s market. Safely absorbed by the market crowds, I bought a copy of the Waterloo Region Record newspaper. In it David Hobson wrote about fall leaves and how he deals with them “How about those leafs?” (Waterloo Region Record, October 7, 2023, section C8). Inevitably, this topic comes up every year so let’s see what David does in his own garden.

Easy does it!

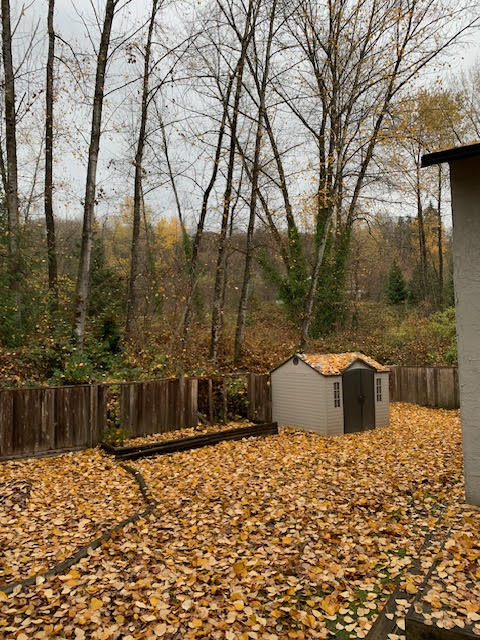
David recommends bagging your leaves and leaving them outside exposed to the elements. By spring you should have layers of soggy, decomposing leaves you can add to your garden beds. He has done it for years and suggests you do the same. Start small. Even one bag of leaves is fine.

David doesn’t spread the leaves around in his own garden, except around shrubs where they get trapped and don’t blow away. Normally he makes a large pile of leaves, sometimes two metres across and just as high. The leaves should be wet for best results.

As the leaves begin to decompose, the pile shrinks by half. By early June he peels of compacted layers and adds them to his garden and vegetable beds. They stay there all summer and by fall those leaves are almost gone. They were used to build up soil just the way it happens in nature.

This is one reason I enjoy blowing leaves off multi-family complexes into woodland buffer zones. It’s good ecology and I cut down on green waste dumping charges.

If you like David Hobson’s ideas, try them out; and follow David online.

Stop stressing: blow it into one big pile and let it decompose!

Sweat the details like a pro

By | gardening, Tips | No Comments

Details

Yes, it’s OK to sweat the details in your garden. I’m writing this blog post in late January, 2022, and the snow is gone so we can do finesse work in the garden. And by finesse I mean clean-ups and pruning.

Since we don’t do lawn care in January, there is time to look for blemishes and eliminate them. Here’s how a professional sweats the details. Perhaps it will give you a little hint, if you’re not sure what to look for.

Cherry suckers

Cherry

We don’t really want these three shoots to get any bigger so eliminate them as soon as you can. This leaves the main cherry and whatever plants are growing around it. Grasses and hostas, I think.

Security signs

This is another quick job for your hand snips. Remove the rhododendron branches to expose the security sign. There are plenty of flowers up top so don’t worry about losing a few flowers; worry about burglars breaking in. It’s easy to miss details like this when you’re busy mowing.

Forgotten corners

Check every corner of your garden and look for neglected spaces. Here we removed the leafiness carefully, so as not to remove all of the bark mulch. In strata maintenance, it’s always good to cover the entire property, not just the high-profile “beauty strip”.

Easy clean-up

I sheared the side of this hedge; the tops were done by the neighbor who employs a retiree gardener. Do you see how nice and clean the stones are? That’s because I put down tarps before shearing. That made the clean-up a breeze.

If you let the cedar clippings rain down on the stones, you’re looking at horrific clean-up. Instead, put down tarps and save yourself the headache.

Slow down

Galanthus

Winter is a bit slower so enjoy the season. Look around, take care of details and take some pictures. Like I did last week when I saw my first bunch of snowdrops (Galanthus). To see them properly, I had to remove spent Hosta foliage first. And I must say, it was a nice hint of spring on a warm January Friday.

January is a slow month in the landscape. Every year I suffer from January blahs but you can still take care of some details in your gardens. Go take a look.

Proper herbaceous perennial cutback

By | gardening, Tips | No Comments

Rudbeckia stubs

Rudbeckia


Every fall I shake my head at landscapers rushing perennial cutback by using power shears. To avoid shredding all of the green foliage, they cut the flower stems high, leaving a nasty stub. And because they use power shears, they have to go in and clean up, which means they didn’t save any time at all. (Don’t even get me started on air and noise pollution.)

Instead, I wish they would slow down and enjoy the cutback with hand snips; this allows you to grab a hold of the stems, cut them back close to the ground, leave the green foliage unmolested, and there is no further clean up. Just dispose of the stems you’re holding in your hand.

I find this quite relaxing, even when I have to cutback a large mass of Black eyed Susans (Rudbeckias). Just make sure you can see your fingers at all times as you do the cutback.

Long stubs I detest.

Cutback low.

Enter Christopher Lloyd

There is more to add to my rant. Early into Christopher Lloyd‘s book “The well tempered garden“, he writes about herbaceous perennials and how gardeners cut them back by leaving nasty stubs. They do this so they can remember the plant locations later when not much of the plants remains.

And Lloyd, the late famous English gardener, abhors this practice. That was a nice surprise because I do, too. Too bad I will never meet Mr. Lloyd. I suspect he could be my friend.

Lloyd argues that herbaceous perennials should either be cut right down level with the ground or left standing. Even dead perennials can look awesome covered in frost. See my blog post from December 4.

The problem with stubs

What’s wrong with leaving stubs? Lloyd gives us a nice list. Stubs look awful, they become hard and hollow; and they become a refuge for earwigs and woodlice. They also obstruct new growth in spring. But by far the worst is when people collecting cut flowers hit the hard stubs and stab themselves. (p.16, The well tempered garden by Christopher Lloyd)

Now you know. Start cutting back your herbaceous perennials right down without leaving nasty stubs. Use hand snips and enjoy your time in the garden. Leave your power shears in the shed.

Don’t neglect preventive tool maintenance

By | Tips | No Comments

Worst offender

It’s extremely important to have properly maintained tools. And yet, I rarely remember to do preventive tool maintenance.

Take one example from last week. I was on site doing tree work with pole pruners and after lunch I noticed that the nut and bolt were completely gone. My pole pruner attachment was useless, until I found the missing parts and tightened them back into place.

Now, in my defense, it wasn’t my tool. I had just borrowed it. But still, I rarely check to make sure everything is tight and functioning properly. Don’t be like me. Do some preventive maintenance.

This nut and bolt fell out!

Felco

Swiss-made Felco snips are expensive because the handles are designed to last forever. You can get new springs and blades when they’re all worn out. But in my twenty seasons as a landscape professional, I’ve changed my Felco blade twice, I think.

Usually the bolts are so filthy I give up and buy a new pair of Felcos. I also fail to sharpen the blades which is a problem because we have to make clean, sharp cuts on our shrubs and trees.

Don’t be like me, clean your Felcos often and replace the blades and springs.

Trimmer heads

Now, I don’t recommend polishing trimmer heads often because they get dirty right away. But there is one funny twist here.

When your auto-feed trimmer head stops feeding when you tap it, it means the plastic is worn out. Every season I get one worker holding a new replacement trimmer head and he has no idea how to change it over. That’s because the one access point for his tool is obscured by dirt.

1: stop the head from spinning
2: remove the head
3: install a new trimmer head

Hand saws

When it comes to hand saws, I get very picky because it’s hard to make good cuts with rusty, dull hand saws. I never sharpen my hand saws. I simply check on their condition and get new ones.

I have one from Japan in a plastic sheath; and one folding Stihl hand saw for back up.

Don’t use dull hand saws when you work on your trees. You’ll make terrible cuts. Buy a new sharp hand saw and keep it dry.

I love sharp saws but they can go missing so I put my name on them.

Conclusion

Take care of your tools. Use your winter down time to tighten nuts and replace dull blades on your snips and hand saws. I’m terrible at maintaining tools. Don’t be like me.

How to change your lawn mower oil in the field

By | Lawn Care, Tips | No Comments

Spring is here and weekly lawn care is part of our routine. Our commercial machines see daily use and work extremely hard for us as we deliver great looking lawn care.  On some days the mowers will run all day. Five days a week all the way to November.

Key changes

To keep the machines running well all year there are a few key things we can do them. We have to change oil, air filter, blades and pull cords. Luckily most of these tasks can be done in the field on the fly. Some landscape companies employ small engine mechanics, some take the machines back to their shops for maintenance. But to save time, it makes sense to make easy adjustments in the field.


IMG_4156ed

I love this light, simple commercial Honda mower.


I openly confess to struggling with machines. I prefer handling plant material. But again, my advice to all landscapers is to become total professionals by knowing everything. That includes machines. So I took notes today when our guys were changing oil in the field.

Oil change in the field

Let’s take a look at a simple commercial Honda push mower.

  1. Locate the oil tank.


IMG_4155ed


2. Now we need to extract the used oil. It might help to run the mower briefly so the oil flows better. We used a fluid evacuator. Simply stick the hose into your oil tank and start pumping until the oil is out.  Never pollute. Put the used oil into your empty oil container and recycle it at a proper facility.


IMG_4162


3. Replenish your oil with the proper formulation. Check the owner’s manual. We used 10W-30 Lucas oil. The Honda push mower requires 250mL of new oil. The exact amount will depend on the model of your lawn mower.

Frequency of oil changes will depend on actual use. Our machines work hard all season so we change the oil every two weeks. One oil change for every twenty to fifty hours of use is a general guide.

My old Honda mower sees limited action so I change the oil once a year. However, that might be a mistake. I think seasonal oil changes would be better: spring, summer and fall.


IMG_4160


IMG_4157ed

A funnel and measuring cup


In conclusion, it’s obvious that your mower will run better and last longer with regular oil changes. It definitely pays to stop during your busy week to do this quick change. Schedule it into your week and do it.


When landscapers decorate their house walls

By | Species, Tips | No Comments

You can easily decorate your house walls on a budget. I like to decorate my apartment walls with pressed plants put into cheap wooden frames. I started this when I collected samples of my favorite tree, Albizia julibrissin (silk tree). I wanted to keep it but I didn’t have the money for nice picture frames. It was the same with pressed tree leaves I collected in Western Japan.

Pressing plants

It is unlikely that you have proper plant presses at home. Not to worry. You can use older, heavier books. Put your collected leaf and flower parts into the pages of your book. Do it gently. Also make sure they aren’t wet. Do your collecting on sunny days. Once it’s all in, stack other books on top and leave it for a few days.

While you wait, visit your nearest Dollarama store and pick up cheap wooden frames. Mine cost $2-3 each.

After a few days, check on your pressed samples. Install them in your wooden frames. I like to label mine but it’s optional. I also find it useful to tape the samples into place so they don’t move when I put the glass on top. That’s it. You’re done. You can decorate your study, your hallway or your garage. All on a budget.

Past collections

This project reminds me of my undergraduate years at the University of Saskatchewan. My plant systematics professor issued proper plant presses to all of his students. He gave us the task of collecting plants and bringing them to class in September. Great! Now what? I had visions of Charles Darwin hopping on a ship expedition and disappearing for years. My story is much, much humbler.

Since I also needed cash, I took a low-paying motel job in a southern Saskatchewan town called Eastend. Town is a flattering description. I remember the people as friendly if slightly freaked out by my East European accent. Years later, someone would discover dinosaur bones in the area and tourism would improve. I have no desire to ever return there.

The collecting didn’t go well at first. The landscape was dry, sporting only grasses and cactuses. Pressing succulent cactuses is a bad idea. I was so inexperienced, I actually tried it.

Then I got a lucky break when I met a local teacher. He was very happy to take me to a nearby coulee. The place was predictably nice and green and my presses filled up fast. Thanks to this kind teacher, several of my samples were accepted into the university’s herbarium collection. They bear my name for future plant students to see.

Cruising

While my samples were drying I hung out with my employer’s kids. That’s when I experienced small town cruising where young people drive up and down the main street in town. This is what happens when you travel properly. Not like a tourist but like an embedded person. It was a bizarre way to spend an evening. But it was authentic. Sadly that was my first and last cruising experience.

Results


IMG_1365bIMG_1364b


IMG_1366bIMG_1369b


IMG_1368bIMG_1367b


IMG_1363bIMG_1362b


untitled

Allright ladder fun

By | gardening, Landscaping Equipment, Strata Maintenance, Tips | No Comments

Tripod ladders rule

Japanese-style tripod ladders are excellent landscape and garden tools! Out in the field helping one of our strata maintenance crews with pruning, I took my lunch and opened up the Vancouver Sun. There, on page B3 was an article on ladders by Steve Whysall. Happy coincidence!

Let’s get to the best part right away. The single peg on the ladder is brilliant because you can position it almost anywhere. It will fit through hedges and you can punch it into your soil for stability. The most common size is ten feet. Since I was pruning small hedges in tight entrances, the small six foot ladder was perfect. It’s light to carry and maneuver and it got me just high enough to perform my cedar shearing. Lifting the extendable shears above my shoulders is tiring and leads to needless exhaust sucking. Why do that? Always position yourself for maximum output and comfort.


IMG_9389

6 ft ladder is easy to maneuver in tight entrances and gets you just high enough to shear the cedars nicely


Safety

Obviously, the bigger the ladder and the higher you are, the bigger the dangers. Always think about safety. Don’t rush. My only serious injury in seventeen seasons of landscaping happened while I was descending one of the bigger ladders. It was a 12 or 14 foot “widow-maker”. I started descending before my power shears were completely stopped. Yeah, I know, this was early in my career. Then my thumb met the steel blades. If it hadn’t been for my nail, the top of my thumb would have been missing. I still recall my helper down below, horrified by my blood dripping on her.

Incidentally, this was also the first- and I hope only- time when I jumped the line at a walk-in medical clinic. I remember an older gentleman probably waiting for his cough syrup, objecting to my line jump. I couldn’t care less.

The Allright Ladder Company is based in Vancouver and it is the oldest ladder company in Canada. They’ve been making them since 1921. Visit their website for safety information or read the Vancouver Sun article sidebar.

As the fall and winter pruning seasons come, I will use these Japanese-style tripod pruning ladders often. Consider getting one for your garden. Most landscape companies have them on their trucks.


IMG_9390

6 ft is the smallest available ladder from Allright

Sales and 10x life: Meet Grant Cardone

By | Landscaping, Tips | No Comments

Like most landscape professionals, I have a few private clients. Just as I finished my lawn care duties on my bi-weekly run on the Westwood Plateau, I noticed the house next door was for sale. Open house scheduled for Saturday and Sunday. The landscaping looked awful. The owners had clearly moved out.

This is where Grant Cardone comes in. He is a millionaire sales professional, speaker, author and real estate investor in the USA. I have several of his books on audio. I took away two key ideas from his writings.

A) We are all selling

You may not be in sales but it’s guaranteed you are selling daily. If not goods, then ideas and projects to your partner, family, friends, co-workers, etc. I had always considered sales people to be high-pressure hustlers. A bit sleazy. Some are. But I’ve changed. I’m selling my services and ideas all the time.

B) 10x your life

The second powerful idea is to 10x your life. Whatever you are doing, do it ten times better. For example, my side-hustle landscaping income. My study of the landscaping industry.

Back to Westwood Plateau. The home for sale clearly needed some attention. List price: $1.12 million. So I called the selling realtor. A rare cold call for me! She agreed that the landscaping could use attention. Could I cut it on Friday? Of course. She cut me a cheque and left it on the front porch. Done deal. Double what the lady next door pays me!

I cut and edged the front lawns. Blade edging clearly had not been done for months so I re-established all hard edges. Courtesy blow closed out the session. Then the buying agent showed up. His Porsche driving clients wondered if I came with the house. Very funny.


photo

Grass cut, edges re-established, crack weeds buzzed down.


Action steps

Get to know Grant Cardone and improve your sales. Take your life and 10x everything. See what happens.

If you see me hustling on the Westwood Plateau, say Hi.


Abiotic tree injuries: girdling

By | Arborist Insights, Landscaping, Strata Maintenance, Tips | No Comments

Tree girdling

As landscape supervisor and arborist I reported for duty one fine spring day in White Rock. The request was to check on a dead Acer palmatum tree. Great, let’s see. What I found was a classic example of abiotic tree injury: girdling. In this case it was caused by an overzealous bird lover. The bird feeder string was left in place too long. Once the tree grows and “swallows” the string, there is nothing we can do. Nothing.

Tree girdling leads to two huge problems:

a) It restricts the flow of water and nutrients up the tree. The branch above the constriction eventually starves and dies. See the pictures below.

b) Trees fail at the point of constriction.


IMG_3119

This tree owner is a bird feeder fanatic. Top area is clearly dead.


IMG_3122edit

The only life is below the girdling zone where water and nutrients can reach.


Forgotten pines


Sadly, it got worse. An adjacent property has a long wild zone fence line. Hidden in the vegetation are staked pines. Staked and forgotten. The result is the same as above or worse, where the whole pine expired. I presume the pines started leaning and someone staked them with ArborTie. This material replaces wire and hose, it’s cheaper, safe, soft and simple to use.

But in the case below the arbortie was incorrectly tied with knots and left. Since the pines were leaning, there was no “play” on the arbortie. It should be checked periodically. Remember this is a low-profile wild zone between homes and a city park.


IMG_4683edit

This pine was one of many; staked and forgotten.


Action steps

What can we do? Nothing against birds but tree owners should be discouraged from installing bird feeders on their trees. But if they must, then let’s at least use appropriate materials and check on the install periodically to prevent girdling. We can’t reverse girdling.


Facing your hardscape fears

By | Landscaping, Landscaping Equipment, Strata Maintenance, Tips | No Comments

Hardscape shock

2014, Kwantlen Polytechnic University. Sitting in my Red Seal challenge preparation course I was shocked to find out that landscape horticulture involved a lot of hardscape construction. One third of the exam, to be exact. And I wasn’t alone. Many of the other candidates also expected questions on plant families and specific plant species. Clearly, we were about to face our fears.

Fast forward to August, 2016. My boss needed help fixing a hazardous spot at the top of a walkway. Uh-uh. Here we go. No more textbooks. This was real life. Plus consider that I prefer working with live plants. I find hardscape materials too cold.

This is what I learned as I faced my fears.

Basics of paving stone repair

A) Taking notes and pictures as you dismantle everything is very important. It makes it easier later when the stones go back in. Stack everything intelligently.

B) Install mason sand (finely crushed sand) to build up the low spots. Park as close as you can to your work area. Our access was limited which meant bucket work. And lots of sweat.

C) Use tamper tool to flatten the sand and even it out.

D) Re-install bricks and use rubber mallets to beat them into place. Pray they all fit.

E) Cover the stones with mason sand and broom them into gaps.

Mission accomplished. Sort of. The big hole was gone but since there was still a small tripping hazard, we will have to go back and dismantle a larger area. Maybe I will call in sick. Or go and face my fears.


IMG_6374ed

A nasty wash-out at the top of a staircase


IMG_6636ed

Keep track of dismantled stones; install mason sand and use tamper tool


IMG_6639ed

Stones go back in, pray it all fits, use rubber mallets


IMG_6646ed

brush mason sand into gaps


IMG_6643ed

fine mason sand


IMG_6644ed

Tools you will need