This is a great day for posting a new blog because it’s sunny outside and it’s a great day to believe in spring on this rare February 29th. So, let’s do an easy one about hand-pruning.
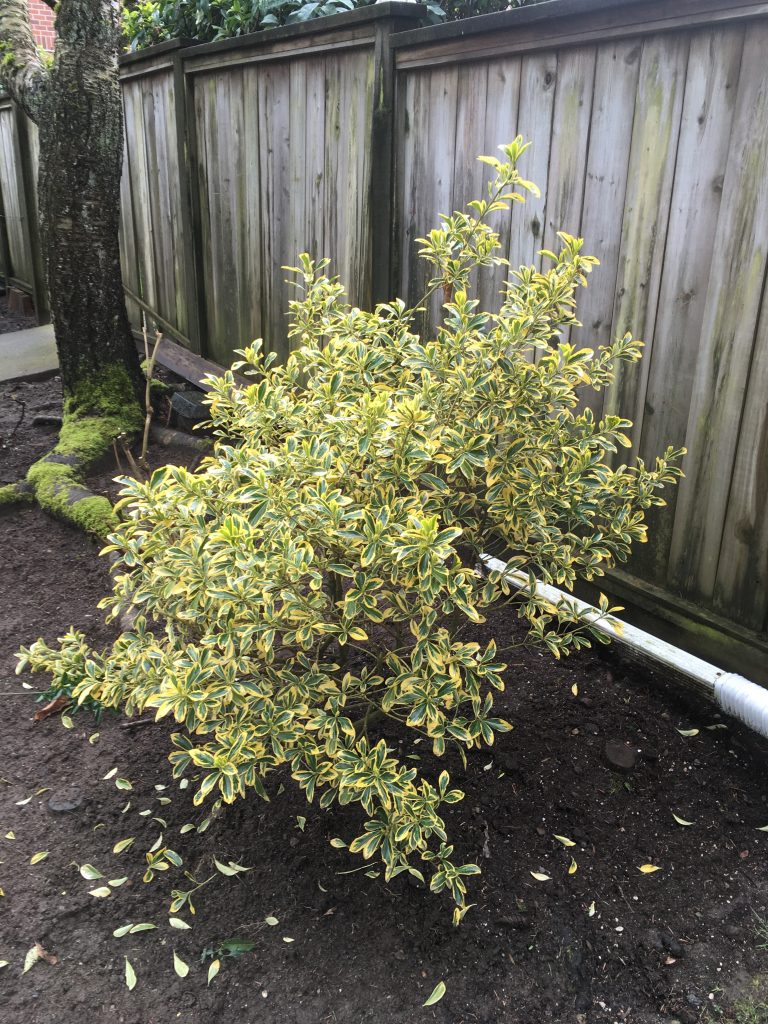
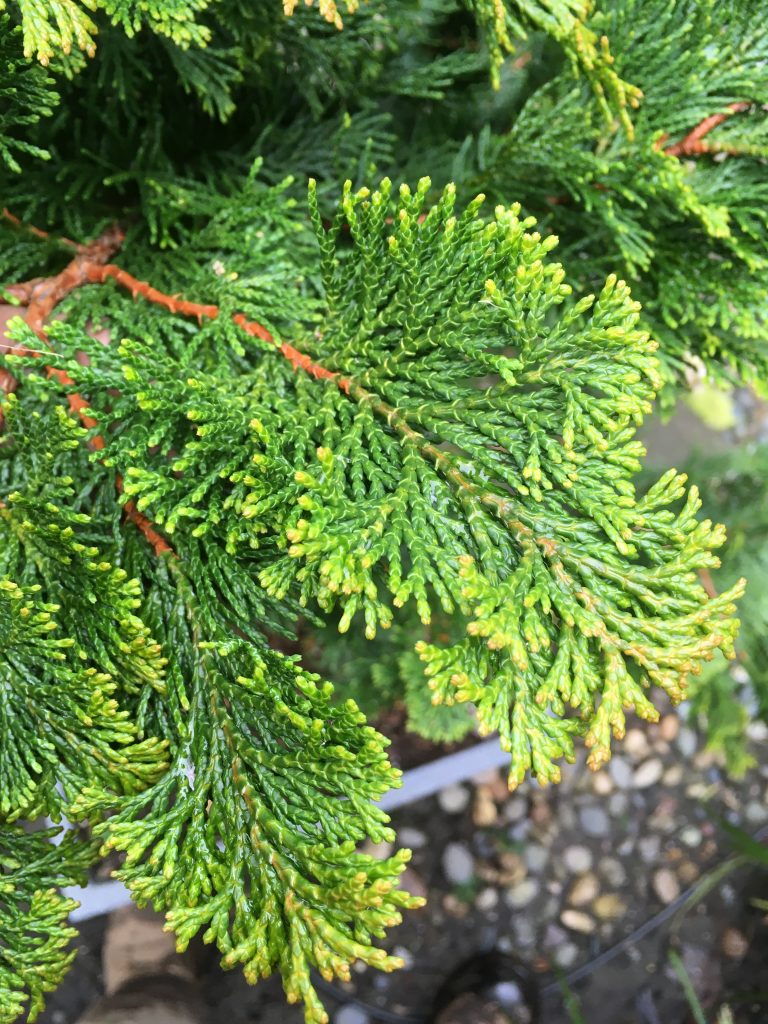
Euonymus
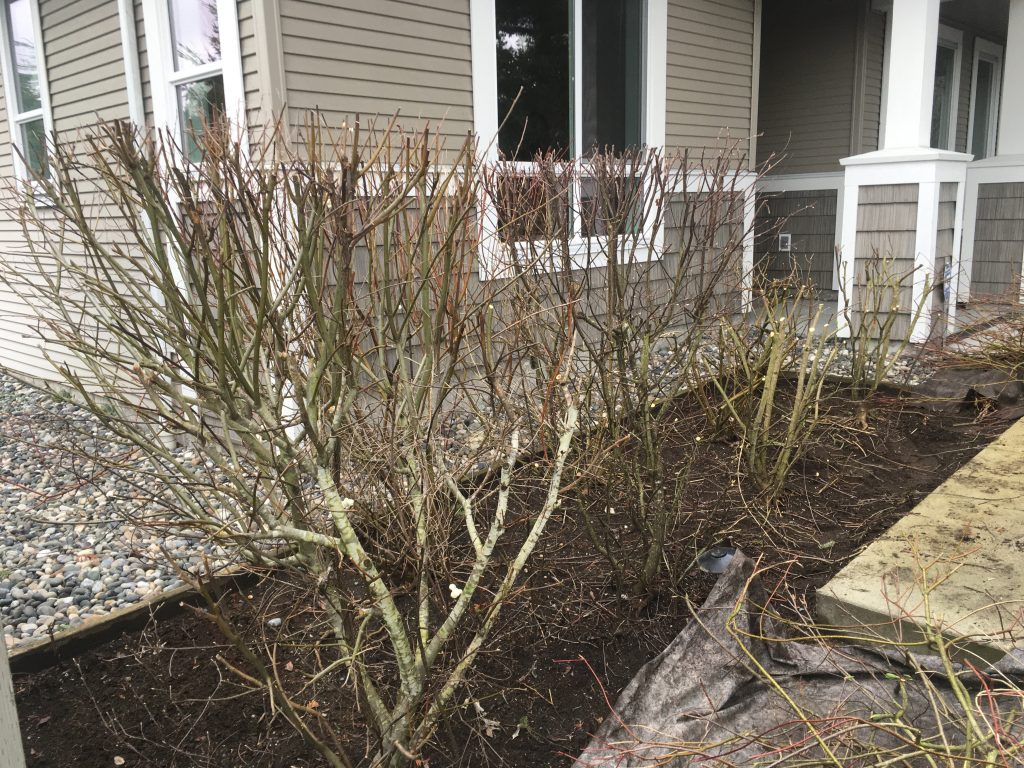
The request
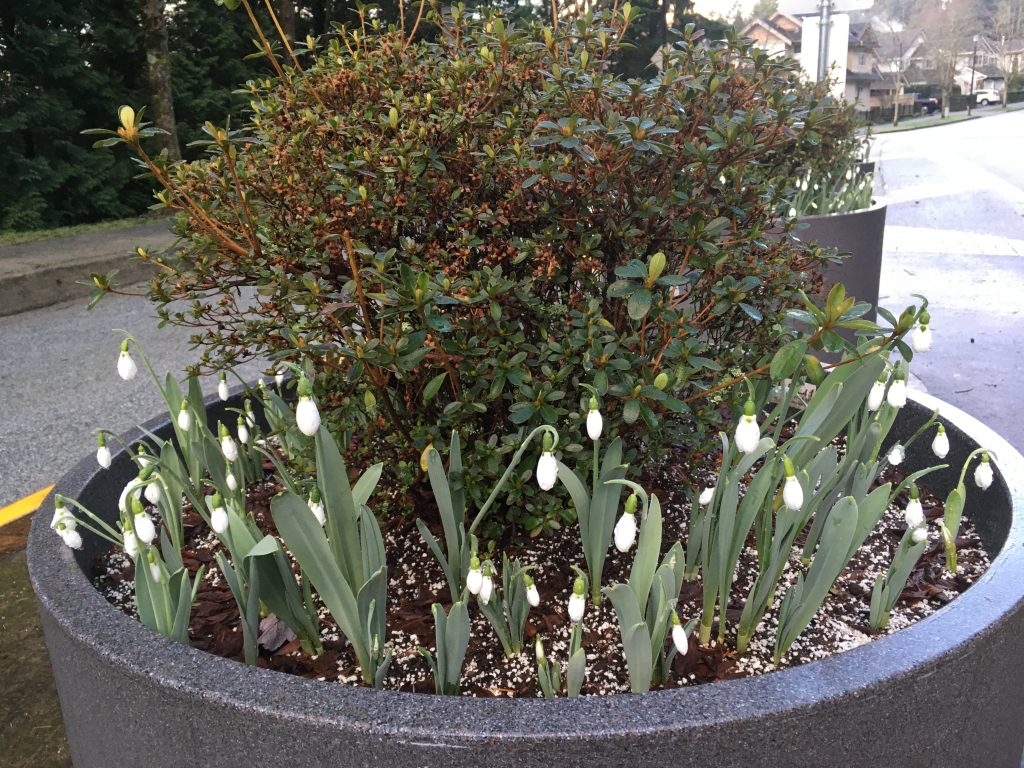
The shrub above looks perfectly fine but the strata garden representative wanted a more formal mounded shape. Of course she did! It’s a common thing on strata properties, where there isn’t always sufficient space for plants to grow, to control everything with super-tight pruning.
Time-stressed landscapers often rush in with power shears, fire them up and shred the shrub into a ball. But, there is no need, especially if you have time; and in this case I did. (The boss was safely tucked away at a meeting.)
So, instead of creating air and noise pollution, I reached for my new Felco 4s hand snips and went to work for a few minutes.
Pro tip: always carry hand snips with you on your hip safely in a sheath. There is always something to correct and improve in your garden.
First, a huge advantage of hand snipping is that your cuts are precise and the plant tissues don’t get shredded. Your sharp snips make clean, precise cuts. Power shear have a tendency to shear plant tissues.
Second, another huge advantage is that hand snipping allows you to gently stagger your cuts. This way you still achieve your mounded shrub objective but with a softer look. In addition, it’s a quiet, relaxing job. I had fun doing it and it didn’t take me very long.
Pro tip: take care of small requests right away to impress your clients.
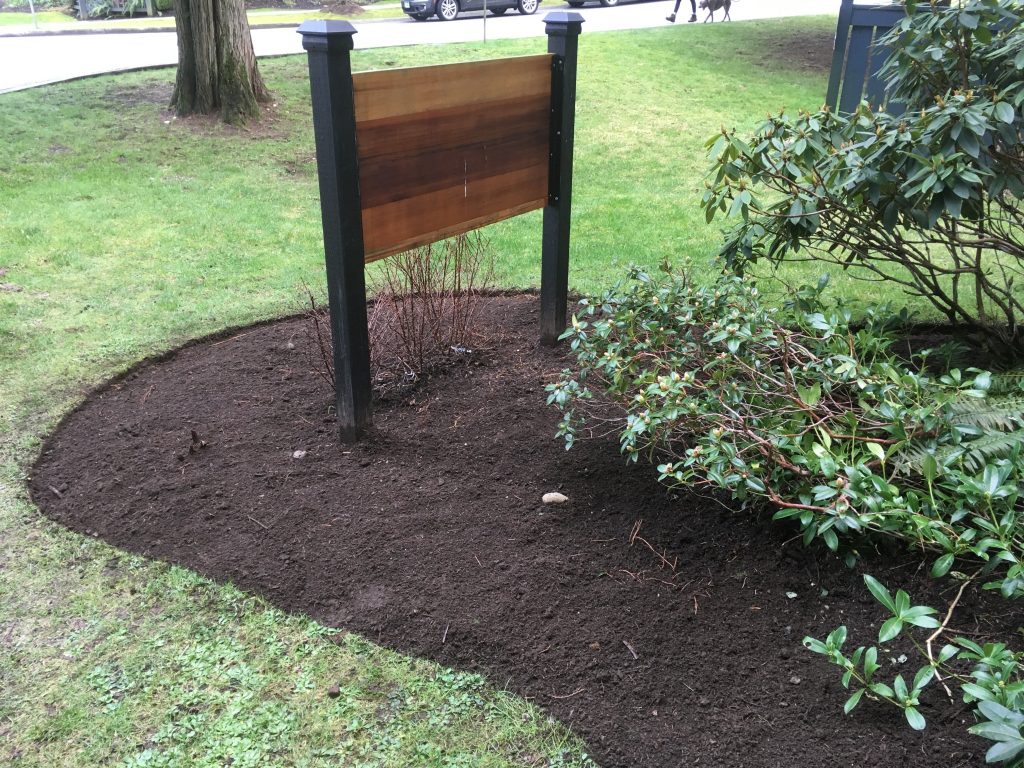
All done!
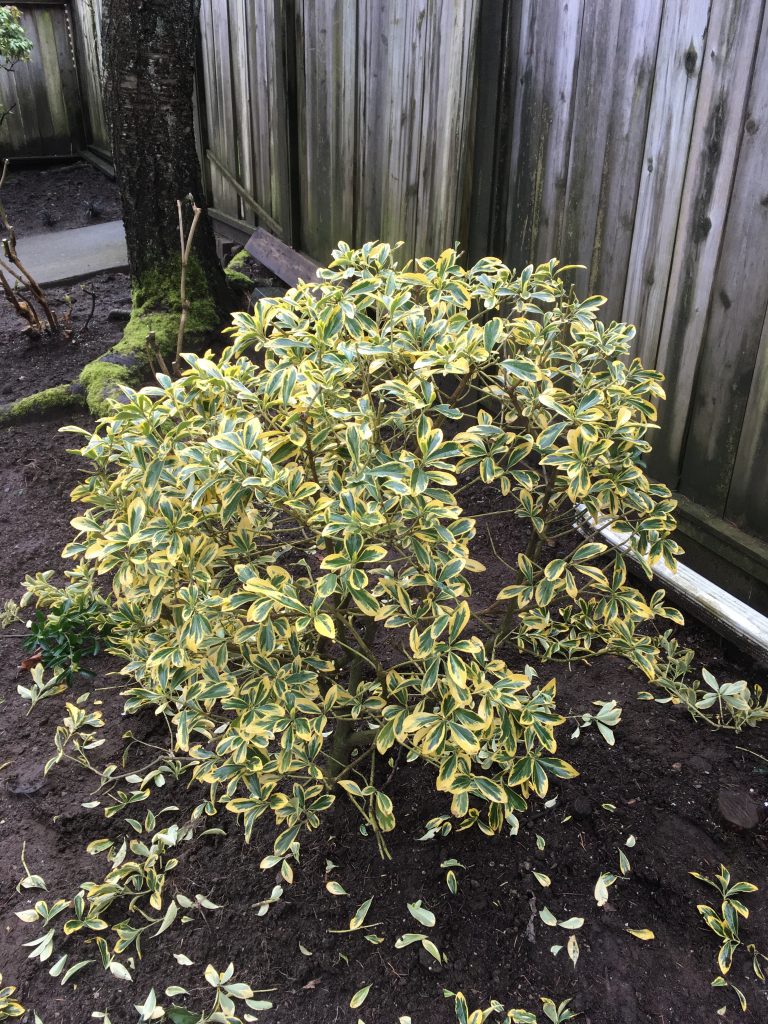
This is the after shot: we have a mounded shrub, as requested, made with precise hand snip cuts. It was a quick, relaxing task and it didn’t create any air or noise pollution. And the boss will never know!
Pro tip: always make sure your clean-up matches your pruning. Do it well.
I hope that this blog post will inspire you to fall in love with your hand snips. Not everything has to be power-sheared. Reach for your snips and enjoy!