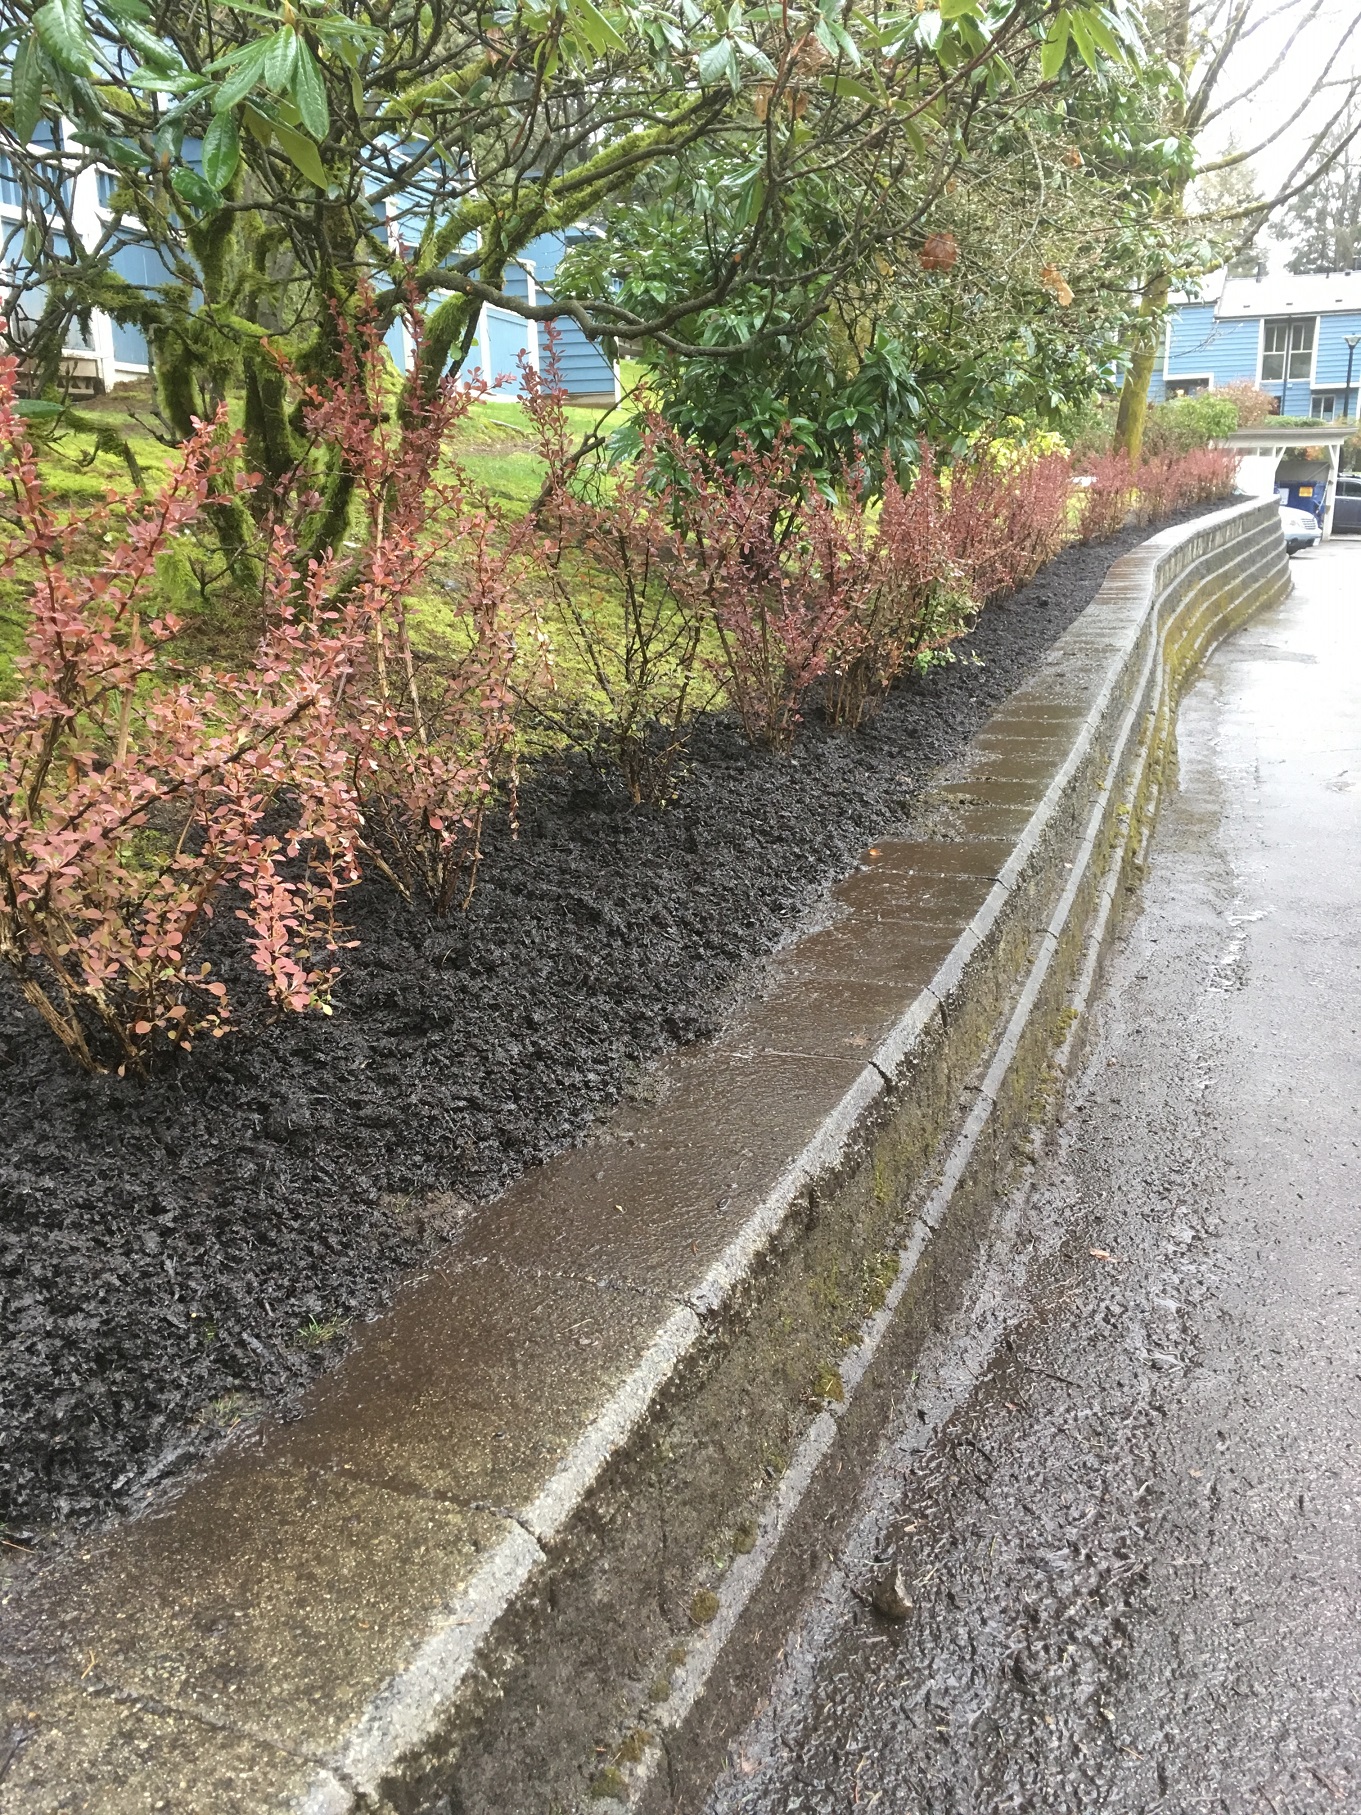
When you work on strata title properties all week you notice two things. One is the repetition of plant material on all sites. And two, you notice the addition of bright flower colours by individual owners.
Repetition
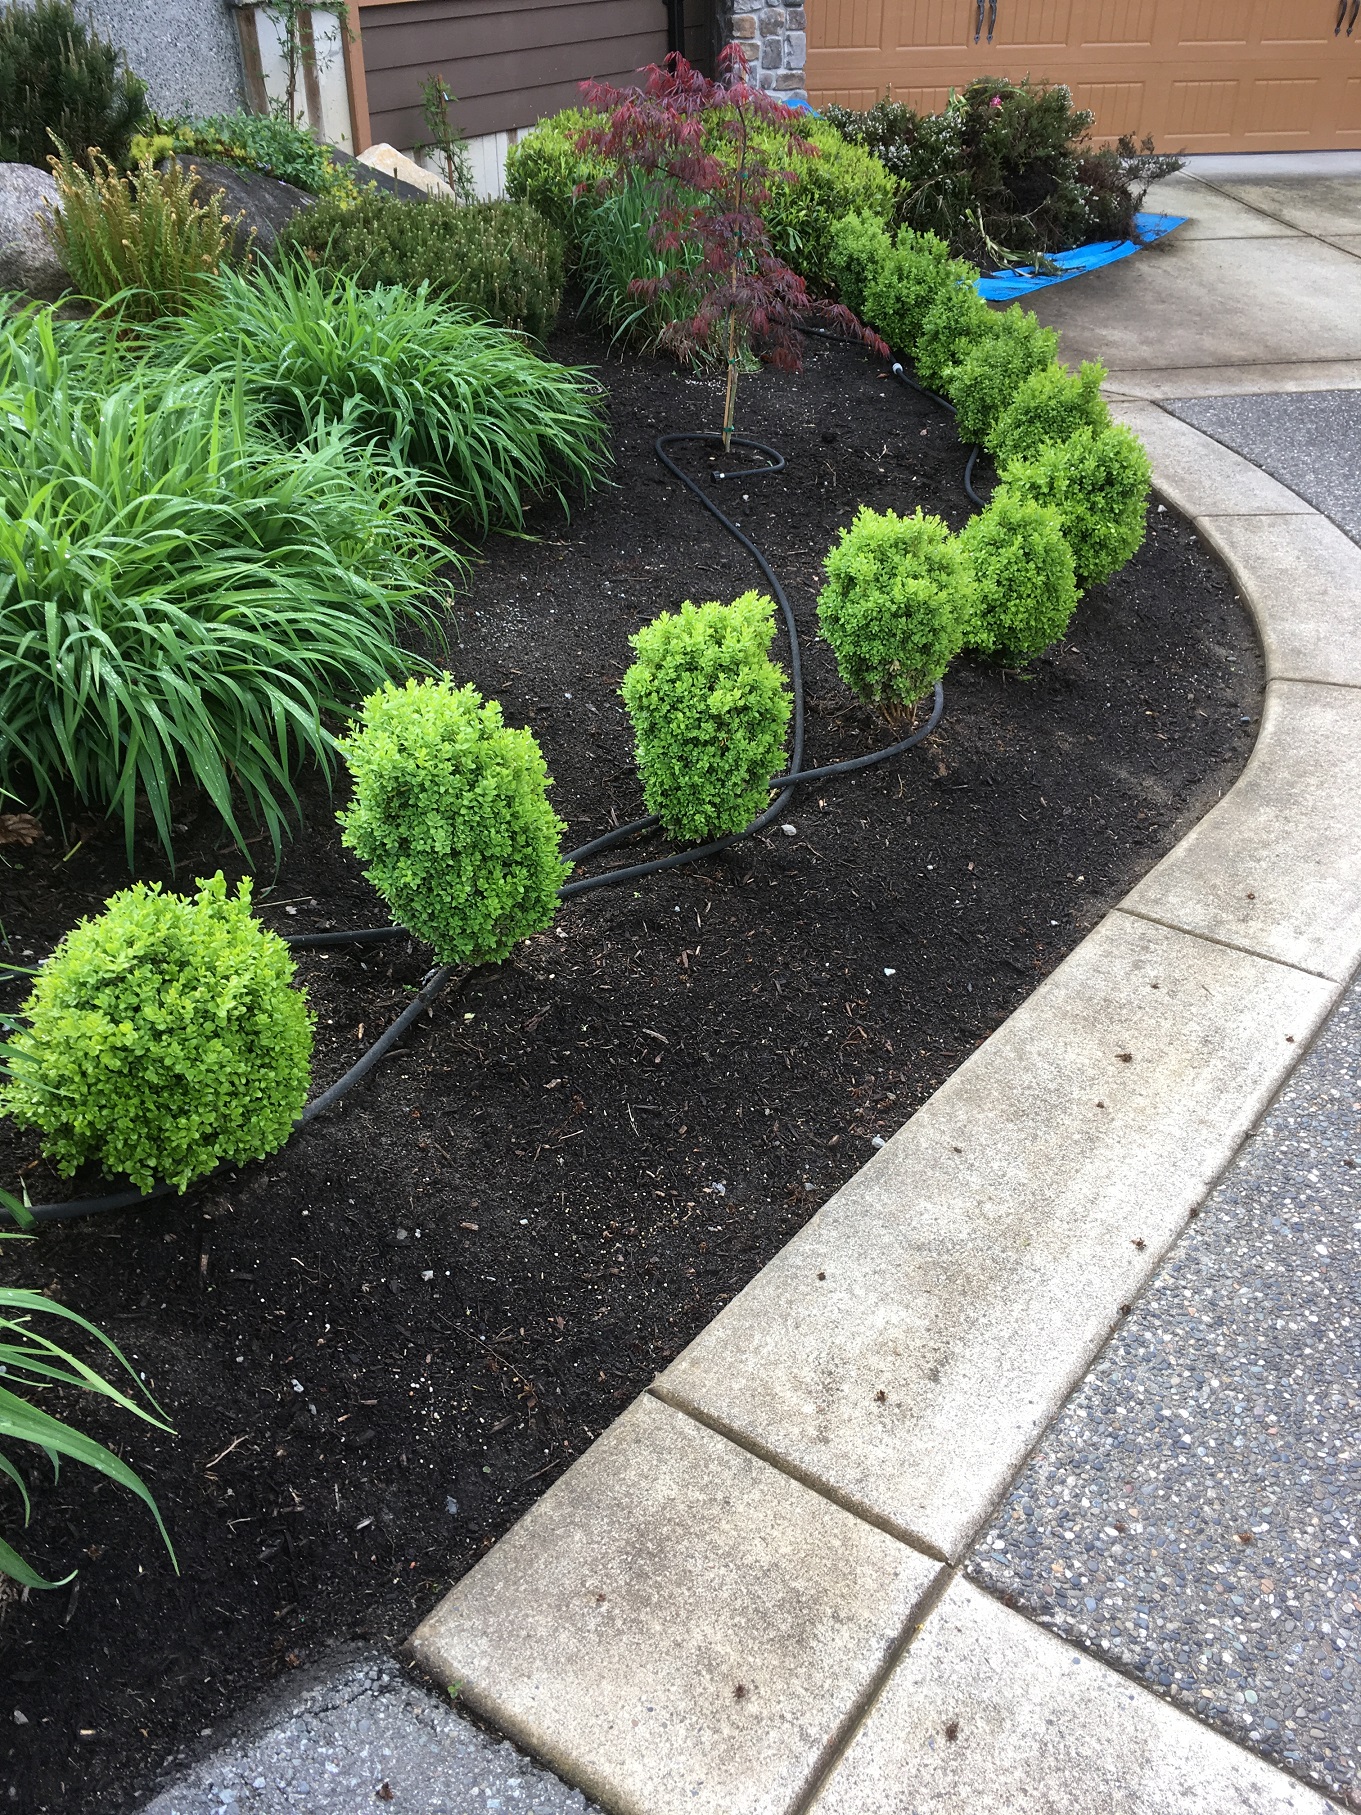
If you read my blogs often you will know that I bring this up a lot. Trees and shrubs on our strata (multi-family) sites tend to repeat because they fit in with our mostly clay, acidic soils. I keep telling my new workers that, while this repetition might seem boring, it helps them with their plant identification skills. Once you learn Prunus laurocerasus ‘Otto Luyken’ you will keep on seeing it elsewhere. Then you will see it bloom and discover its scent. And if your skills are decent, you will get to hand snip or power shear it. Then you move on to the next shrub or tree until your plant ID skills become first rate.

May 15, 2018, Prunus laurocerasus ‘Otto Luyken’. If you don’t notice the scent, get closer until you do. It’s not bad.
Power colours
As you work in various strata units you start noticing annuals and perennials with bright colours. That’s usually the work of female owners but I also confess to picking up cheap plants at RONA. Like Lithodora diffusa. I planted one on my patio and now when I see it in a garden I know what it is. No surprises. It barely cost a few bucks.

Lithodora diffusa
Examples
It’s mid May 2018 now so let’s take a look at what other specimens are favoured by home-owners. You might want to get some for your own place.
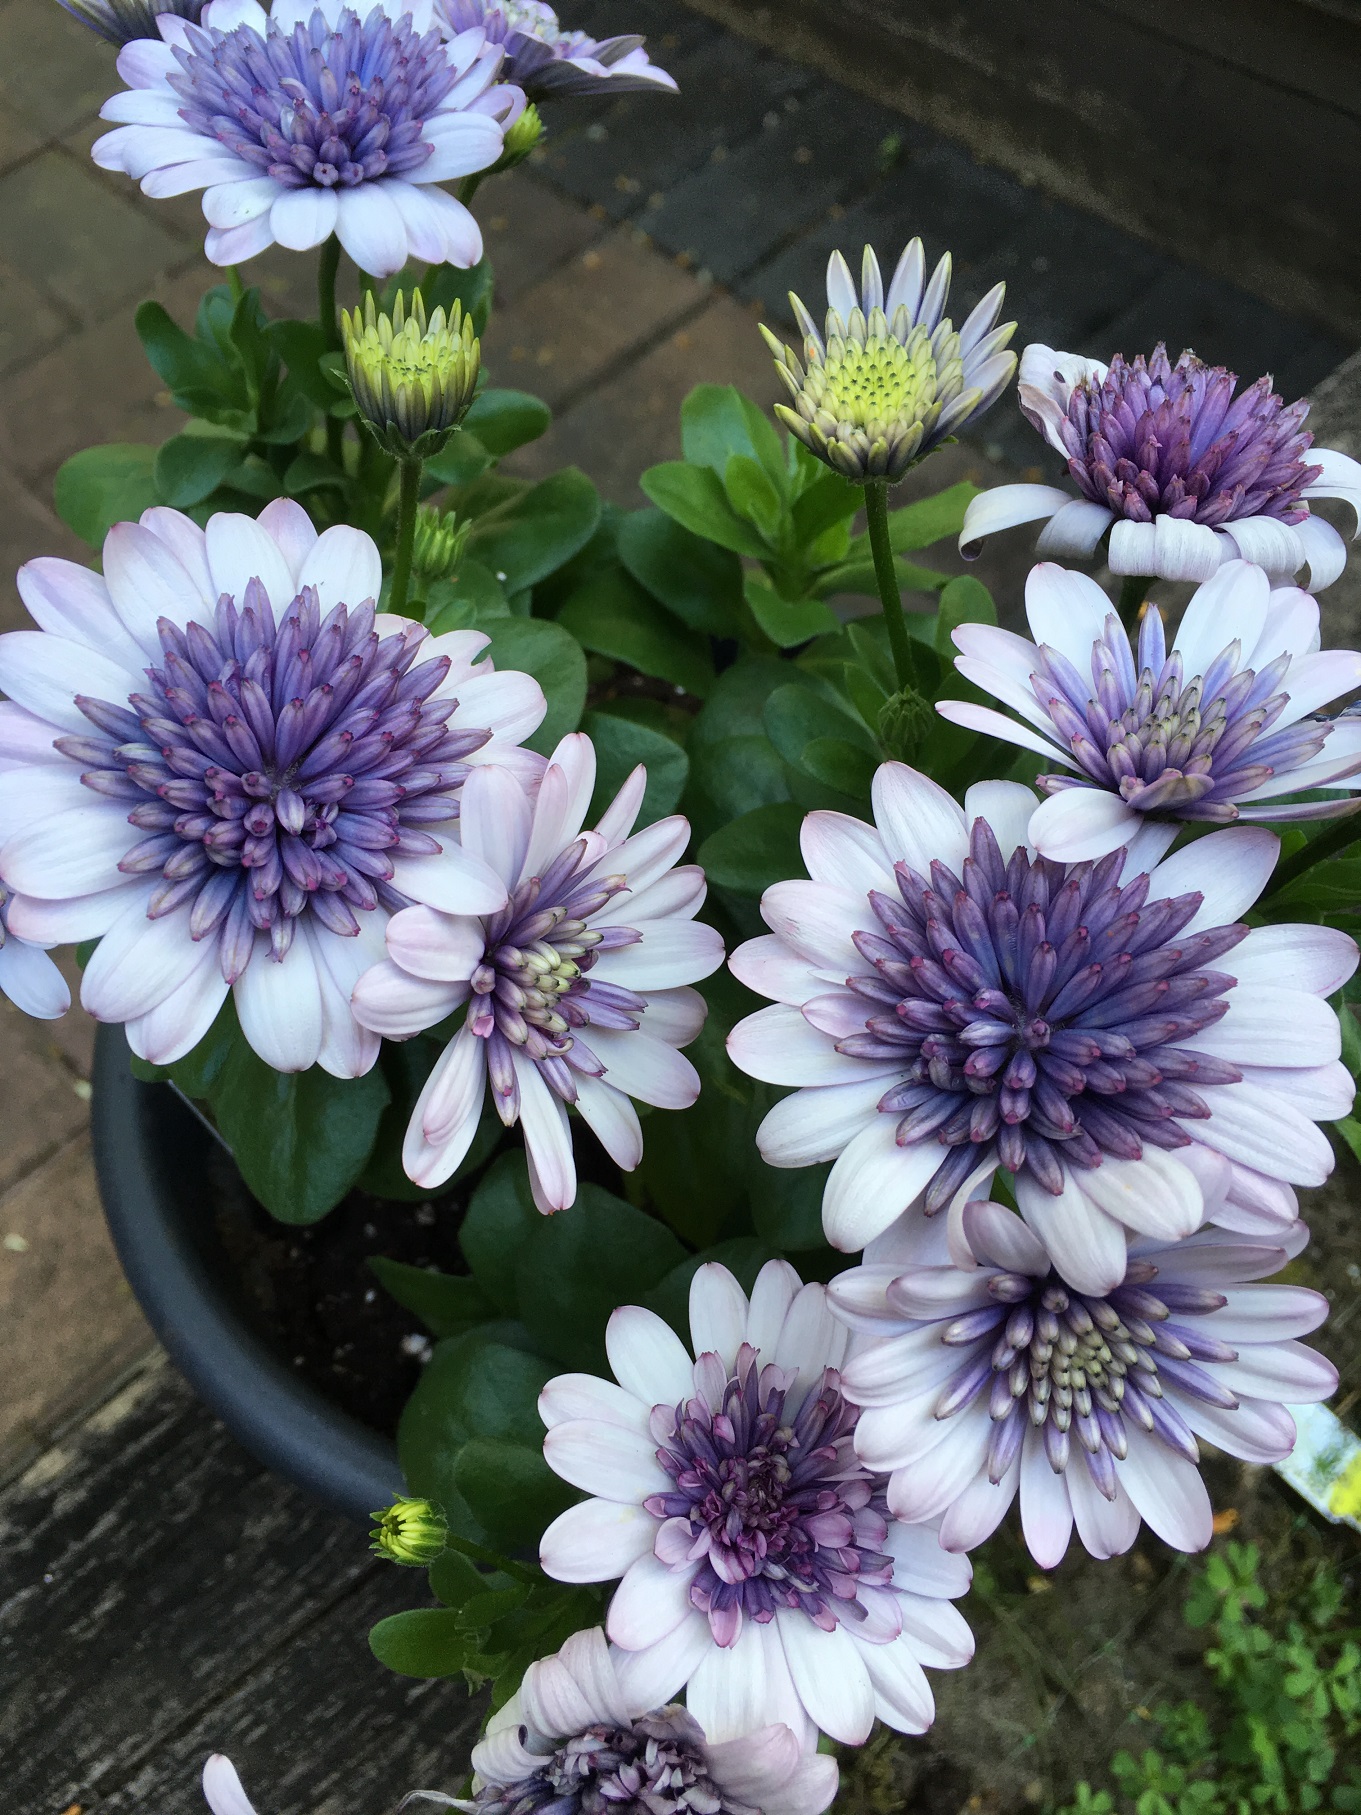
Osteospermum
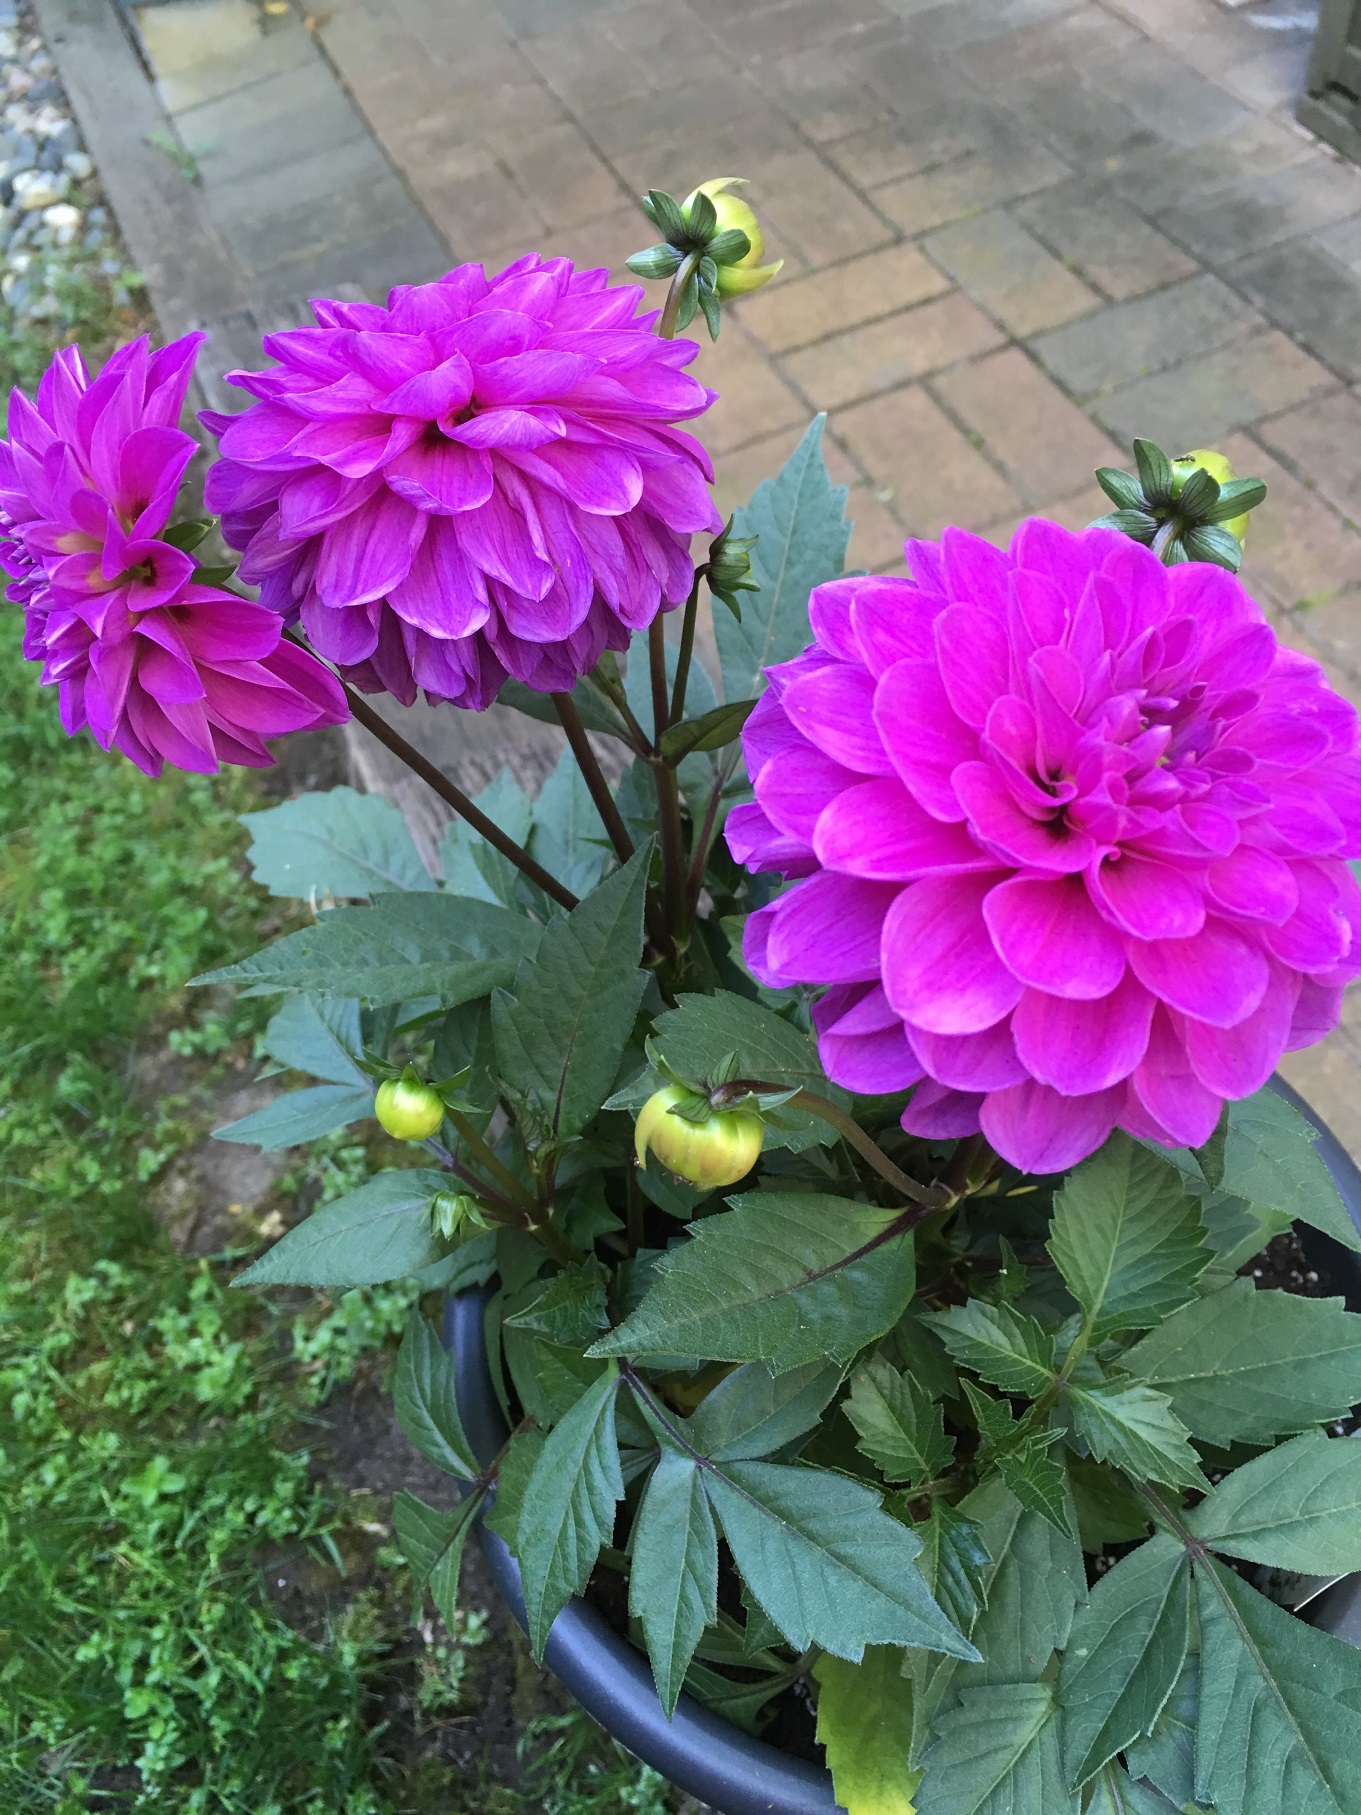
Dahlias are very popular!

Dianthus, another popular plant. I know of one yard where the owners planted various cultivars of this plant. That’s love or obsession.

Geranium, another quick and cheap way to add colour to your place.

Poppies tend to spread but they look fine in afternoon sun. I love yellow.
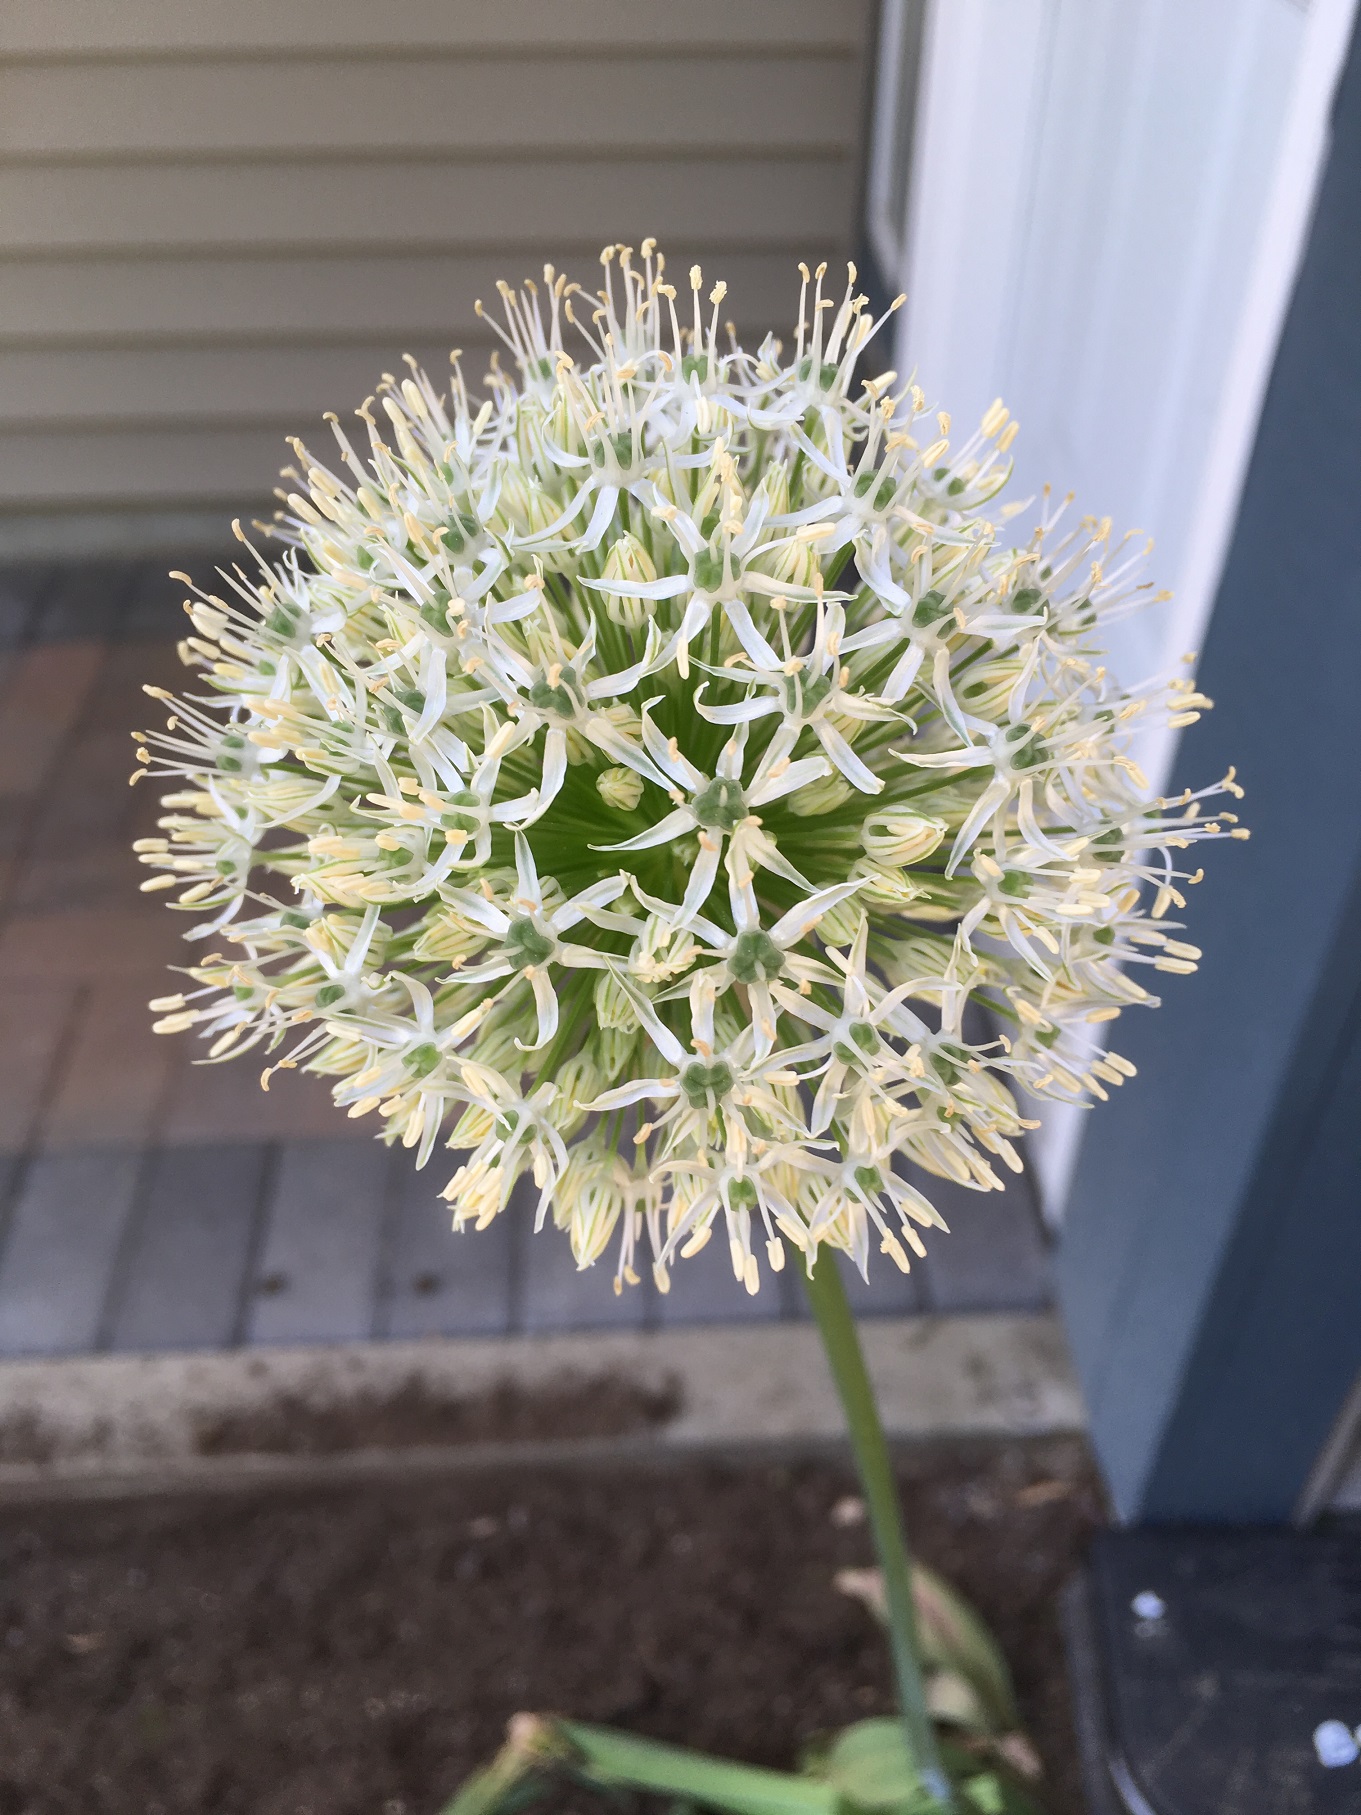
Alliums are also very popular but here it’s just one lonely specimen by the door.
Monardas are nice!

Clematis is a popular vine. Just keep the base of this climber cool.