Category

Strata Maintenance

New STIHL BR700 blower

By | Landscaping Equipment, Reviews, Strata Maintenance | No Comments

Fall is incredibly busy for landscape companies. Now there is extra help in the form of a new Stihl blower. Introducing BR700.

It helps to have a good relationship with your dealer. That’s how my employer recently got hooked up with a test unit of this brand new backpack blower from Stihl. Personally, I get more excited by plants than machines but product testing can be fun. Testing this bad boy was fun. So was writing a blog post about it.


IMG_1734


Big gun

Stihl’s brand new backpack blower BR700 is a big gun! It’s their biggest, most powerful blower. This is the kind machine residents in Vancouver’s West End, where blowers are banned, have nightmares about. Landscapers will be asking Santa for one unit under their trees.

You will notice the huge adjustable telescopic tube with an adjustable control handle. This allows workers of different heights to adjust the unit. It’s quick and easy. I love this feature.

The air volume at the nozzle is 30 percent more than for its older sister blower BR600. 1550 cubic meters per hour vs. 1150 cubic meters per hour. This is why the blower is ideal for large properties and tough landscaping tasks. Nozzle attachments are available for more directed flow.

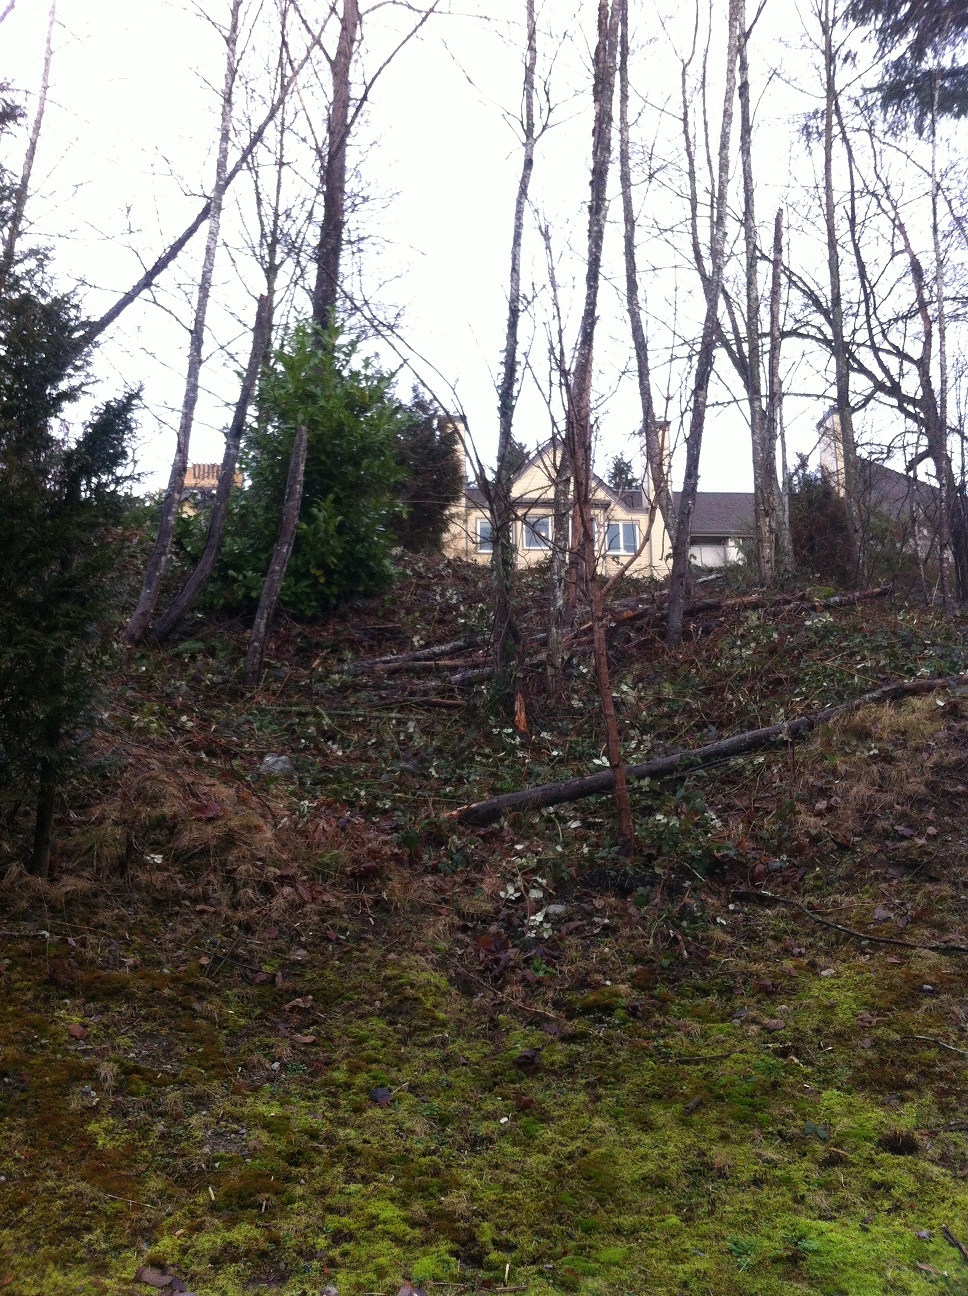
One word of caution. Blowing out leafy beds with this beast might lead to soil loss. The BR600 might be better suited for this. If you have to push leaves down a road the BR700 is great.

Other features

  • adjustable support harness
  • anti-vibration system helps reduce operator fatigue
  • semi-automatic choke for smooth and easy starts
  • fuel-efficient engine


IMG_9889 (1)

testing, testing…..Stihl’s new BR700


IMG_9893

Handle adjusts easily with a quick-release lever; the tube telescopes after a few twists


IMG_9890

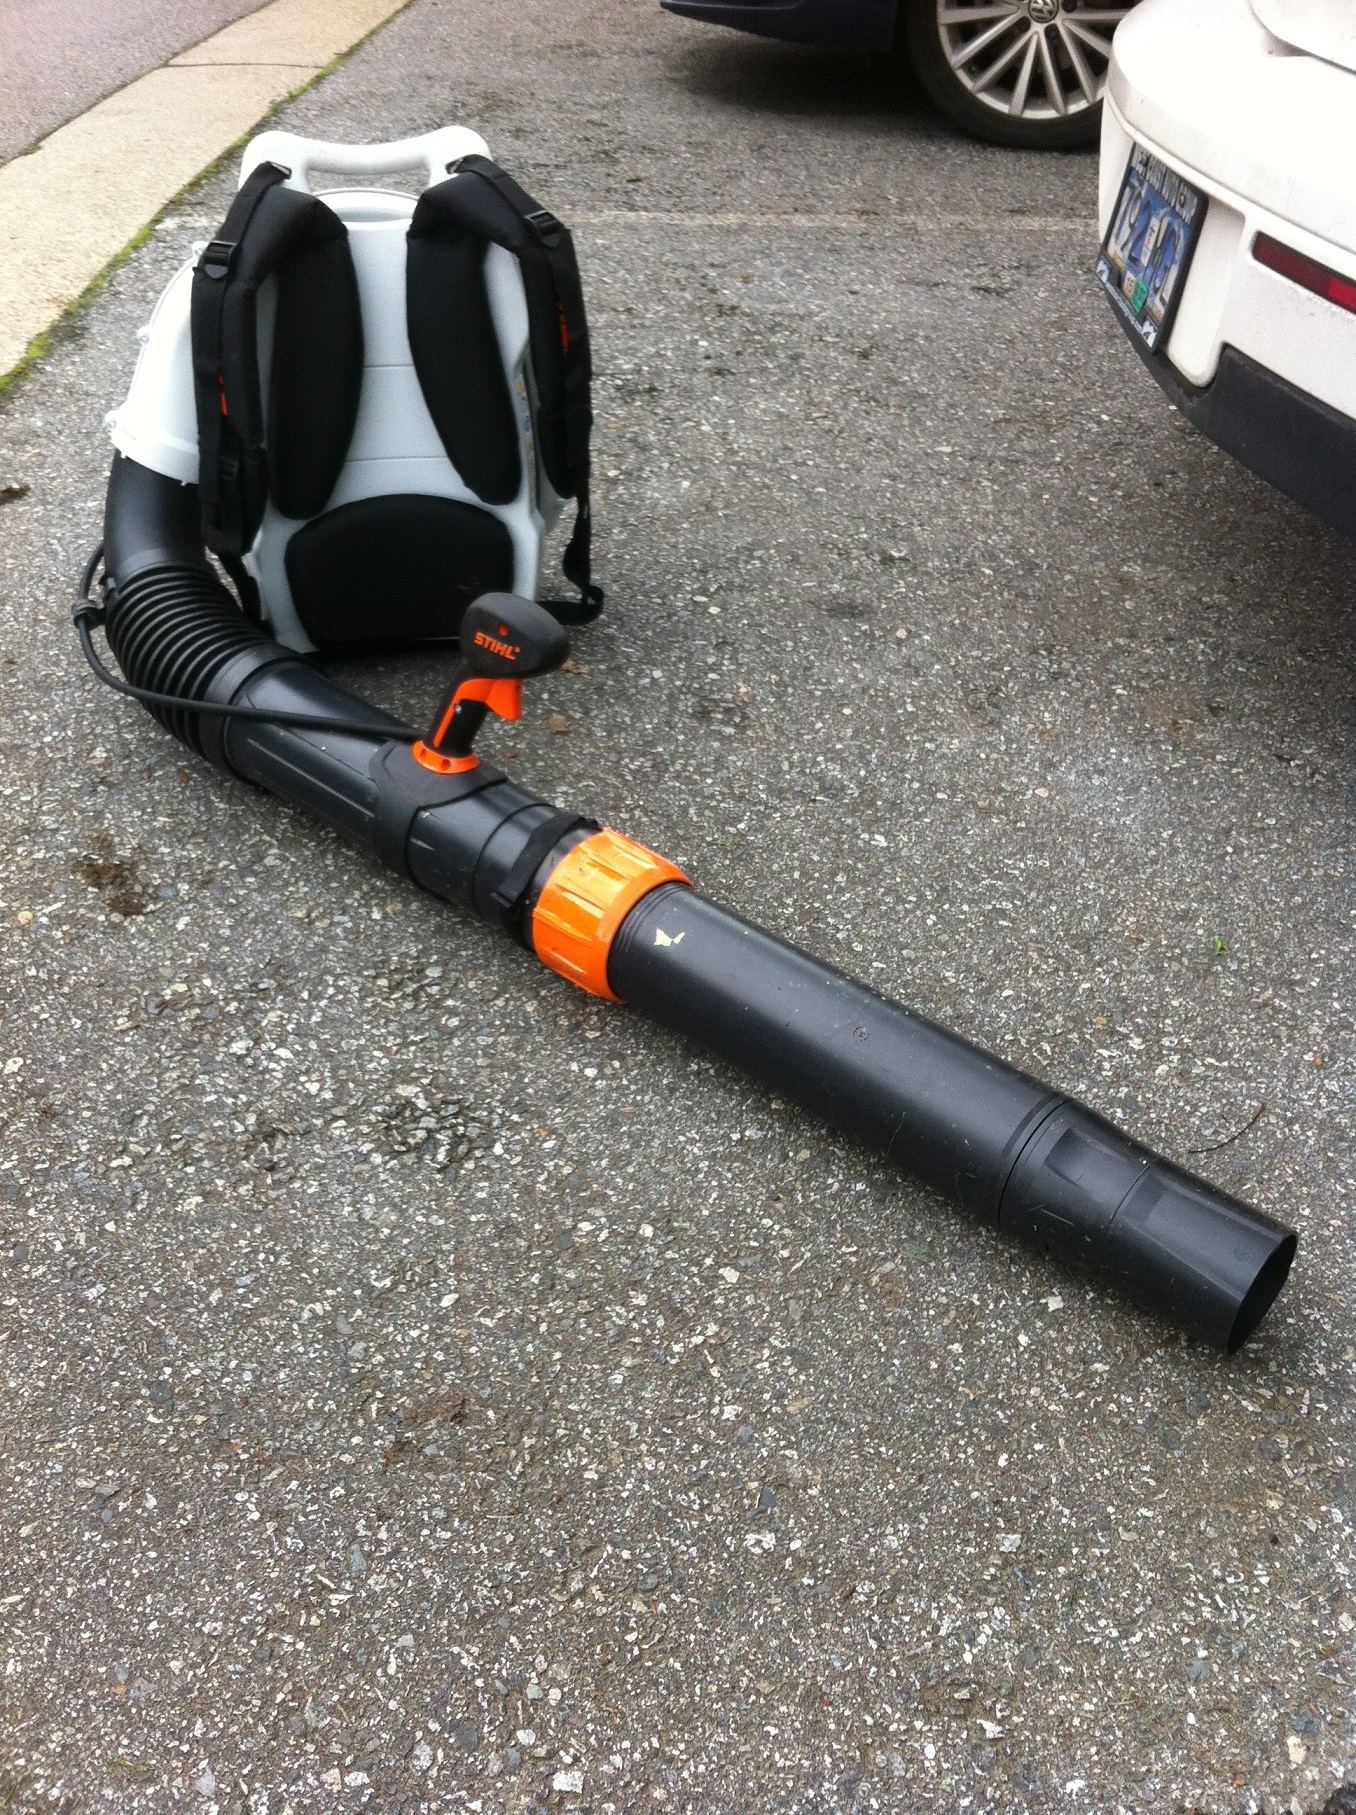
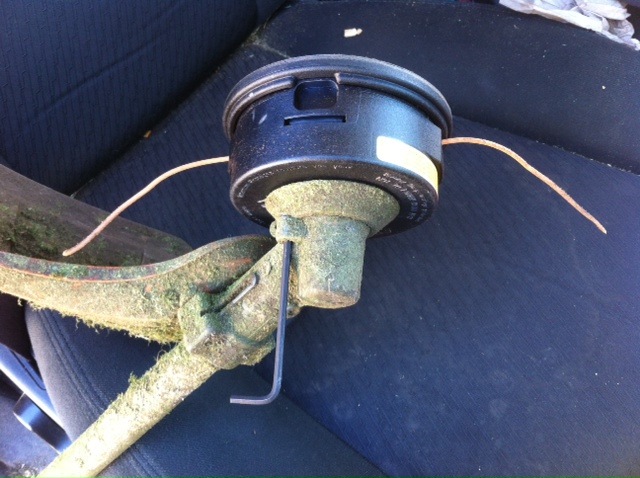
Nozzle attachments are available; there is less power at nozzle end compared to BR600


Conclusion

After testing, every crew got one of these big boys to help out with leaf clean up. The BR700 is powerful and a pleasure to use. I highly recommend it.


Viburnum tinus: problems and solutions

By | Landscaping, Species, Strata Maintenance | No Comments

We briefly considered Viburnum tinus in an earlier blog. Now is a good time to re-visit the shrub. I was asked recently to plant 15 Euonymus alatus compacta plants for a strata council member. When I arrived at her unit, I realized we had pulled 15 Viburnum tinus specimens because they were full of holes. Holes which resulted from Pyrrhalta viburni beetles feeding on their leaves. Normally it’s a nice looking shrub with flowers and berries. Once the beetles attack, it’s over fairly quickly.

I remember once shearing a weak hedge of Viburnum tinus and getting covered in annoyed beetles. The adults are difficult to control. They can fly away or drop to the ground. In organic Port Moody, British Columbia, there weren’t any chemical controls for the larvae or adult beetles.


IMG_5381edit

Healthy Viburnum tinus


IMG_4796

Attacked by….. (Note skeletonized look)


27150_3268785734047_1261240559_n

….Pyrrhalta viburni; Adults and larva feed on the plant


When this happens you have two choices:

  1. flush cut the Viburnum and let it grow back
  2. replace it with another shrub

The strata council member opted for option number two. Since the site already sports many healthy specimens of Euonymus alatus compacta, the decision was easy; and budget allowed for it. The whole operation took me about an hour. ( The boss was working directly across the street at another site.)


IMG_4532edit

Replacements ready to go; Space out the pots properly before planting


IMG_4534edit

watch the planting hole depth


IMG_4537edit

done, just add water


IMG_4538edit

All done! Plants are watered in and sidewalk is hosed off to avoid upsetting the owner


Instead of looking at stumps or worrying about chemical controls, consider replacement. It is a neater option. If your shrubs are suffering with skeletonized leaves, plant something new. Change is good! Edit your landscape and have some fun with it, if budget allows. It might be a minor blessing.

Common landscape maintenance mistakes, vol. 1

By | Landscaping, Lawn Care, Strata Maintenance, Tips | No Comments

There are many mistakes made in landscape maintenance. I’m hoping that by publishing the common ones, new landscapers can learn from other people’s mistakes. Not the hard way. Here we go.

A) Damage

Line trimmers, blade edgers and mowers have spinning parts and can cause a lot of damage. Get familiar with your work areas and identify any potential hazards. Companies have to pay for damages. Don’t be surprised if your boss has a go-to window guy on speed dial. It happens, so be careful.


IMG_1341edit

Don’t assume these covers are tightened when you mow


IMG_2495edit

line trimmer damage; one little corner full of pebbles, first time line edging here


B) Scalping

This is the biggest lawn care sin. Why? Because grass regenerates from meristems located about a third of the way up a blade of grass. Not from roots. When you scalp the lawn you get a bald spot. Even worse is scalping in November when the grass doesn’t grow much anymore. Don’t scalp. Remember to stay away from edges; the line trimmer is coming by to cover the edges. Your mow should be easy and stress-free. The same goes for line edging.


IMG_1340edit

the mower was too close to the edge and slipped off


IMG_9721edit

extremely harsh line edging


C) Line crossing

Yes, I know, speed is critical to your success in mowing. But when you finish putting in your laser lines don’t ruin your presentation. No line crossing. Take the long way if you have to or follow existing lines. Always. This is especially noticeable around towers where residents look down on their lawns.


IMG_4975edit

Don’t cross over your lines! Use existing lines or take the long way out.


D) Don’t mow through tree wells  

This is my favorite example because we get to review. 1) the space is too narrow for the mower deck, which leads to 2) scalping (brown spot), 3) soil compaction in the root zone (wheel marks) and 4) it crushes our deep edges. Let the line edger take care of the narrow spot. Mowers don’t belong in tree wells.


IMG_1980edit


Learn from other people’s landscape maintenance mistakes and work like a pro. Good luck!

Stihl power shears maintenance

By | Landscaping Equipment, Strata Maintenance | No Comments

Mid-season pruning can be extremely taxing on landscape companies. Shrubs and hedges need to be clipped back into shape. Things like walkway and window obstruction need to be addressed. Tree branches can hang too low, touch gutters and building envelopes, which gets insurance companies excited. Some residents don’t want any pruning because of concerns with privacy; some residents want their yards pruned ASAP.

All this on top of regular maintenance work.

Mid-season pruning is also very taxing on equipment. But with some love and attention your machines will run well. Last week I took the time to service my Stihl power shears.

A) blades should be lubricated after every use, especially on rainy days

B) gear cases should be greased periodically, depending on frequency of use

C) blades will require frequent sharpening for nice, clean cuts

D) check all nuts and bolts


Let us examine this Stihl model. It’s more homeowner than commercial which means it is light, it has a smaller gas tank and decent power. Commercial power shears have more power which means they are heavier and their gas tanks are bigger. They also cost more.


IMG_5379edit


Machines usually have grease nipples which require grease guns with grease cartridges. This model sports a black rubber button. Remove it gently.


IMG_5375edit

Look for grease nipples or openings


IMG_5374edit

Carefully pop the black rubber button


IMG_5373edit

Don’t be fooled, there was little grease under this opening


IMG_5372edit

Always use good quality grease

You don’t have to use Stihl grease but make sure it is good grease. The same goes for the blade lubricant.


IMG_5377edit

Lubricate your blades after every use before you pack up and go home. This is a crucial step on rainy days.


Having rusty, dull blades and seized gear cases on your power shears is not fun. Always take some time out of your busy pruning day for equipment maintenance. Your machines will run better and you will be more productive.

European chafer beetle battles: busy June

By | Education, gardening, Lawn Care, Strata Maintenance | No Comments

June is a busy month for the European chafer beetles. I was thinking about it this past weekend as I finessed beds for a client. Instead of grubs, I was uncovering adult beetles. Some were spent and some just played dead, then made a run for it.


IMG_5049edit

European chafer beetles on a Hydrangea leaf. Only the top beetle is dead, the other three played dead and then made a run for it!


The beetles mature and emerge out of the ground; most likely out of your damaged lawn. Then they fly into nearby  trees to mate and back down to lay eggs. If you’re lucky, they invade your neighbour’s lawn. If you plan to defend your lawn with nematodes, pay attention to the timing.

Nematodes

In late June the beetles lay eggs and by mid-July nematodes should be available. They must be applied to your well-watered lawn, preferably on a rainy day. The recommended nematode species is the “seeker” Nemasys G. Nematodes work but they are not selective. They hunt down beneficial grubs as well. The other problem is that you might have to re-apply the nematodes again next year. Cut your lawn higher and baby it with proper watering and fertilizing.


Fabric alternative

But what if you don’t feel like applying nematodes to your lawn? One alternative I have seen is breathable fabric used in agriculture. It makes it difficult for the beetles to stick their bottoms into your lawn and lay eggs. Pin the fabric to your lawn at this critical June stage, store it and re-use it next year. In the example below the fabric cost was around $250.


IMG_5002edit


IMG_4996edit


Seed alternative

Another alternative is using a different seed mix that will make your grass less appetizing. One test I am involved with involves “Chafer-resistant” seed mix with tall fescue grasses and 2% micro-clover. Warning: the micro-clover will produce white flowers and attract insects to your lawn. At $110+ for a big bag, it will also cost you.


IMG_4566edit

We are testing this seed mix on one site


IMG_4572edit

Spot the micro-clover

The European chafer beetle battles aren’t going away anytime soon but we can fight back with alternatives.


How to design pots without stress

By | gardening, Landscaping, Seasonal, Strata Maintenance, Tips | No Comments

First, a quick flashback to 2014. Late in the day we pulled up at a seniors center and my municipal gardener boss asked us to quickly use up the flowers on the back of the truck. By planting four large pots. No guide, no plan. Go, go, go! I admit I panicked. How do you quickly arrange everything? Which plants go where? Colors? Oh my, I was sweating. Luckily it all turned out fine. I took a picture kneeling by “my” pot but the smile hid a ton of stress.

This event popped up in my head when I opened a recent issue of Landscape Management magazine (February 2016, page 16) and saw an article on pot design. The how to article conveniently divided the planting task into three categories.

  1. The pot should have a thriller in the middle to attract attention.
  2. Spiller plants spill out over the pot edges.
  3. Filler plants are placed in between the thriller and spiller plants.

Clearly this article was published a few years too late. I love the simplicity. Thriller, spiller, filler. Done.

Now for some examples before YOU start to panic.

Thriller plants could be: yuccas, cannas, fountain grasses, Angelonias, and dracaenas. For shade pots you can use ferns, hostas or heucheras.

Spiller plants could be: creeping jennies, vincas, bacopas, calibrachoas, lotuses and scaevolas

Filler plants could be most annuals.

Of course, proper design considers more than plants. Don’t forget other factors like wind, sun, fertilizers, water, upkeep, deadheading and yes, theft.

Now let’s practice:


IMG_1762

City of Coquitlam iGarden

Thriller: Cornus sericea

Filler and spiller: Skimmia

Spiller: Hyacinth


IMG_2456edit

Maple Ridge home owner

Extreme thriller: Ginkgo biloba tree

Spiller: Becopa

Filler: Pansies


IMG_8932

City of Coquitlam park event- my kids helped plant this pot.

Thriller: Dracaena

Spiller: Calibrachoa and potato vines

Fillers: many

Don’t stress like me. Design your pots with confidence. Have some fun. Change things up.

Remember the three key elements: Thriller, Spiller, and Filler. Good luck.

Redneck tree removal

By | Arborist Insights, Landscaping, Strata Maintenance | No Comments

It’s always sad to see trees die on site. Any site. In this case we had three birches (Betula papyrifera) killed off by the bronze birch borer. Birches are shallow rooted and can suffer in heavy heat of late spring and summer. At this site the birches had little room and suffered from reflected heat as well. Drought can lead to dieback at the top of the tree and the bronze birch borer is an expert at detecting  weakened trees. Weakened trees are very attractive to this urban pest. Once the tree is attacked, there is very little hope of saving it.

I was on site to install cedars (Thuja occidentalis ‘Smaragd’), Cotoneaster dammeri and Hemerocallis ‘Stella d’Oro’. The heavier tree work was left for last.

Since birches are shallow rooted and the ones on our site were not extremely mature, we decided not to bother with stump grinding. So here I introduce redneck tree removal. Don’t try this at home. Hire certified landscapers or arborists. Please.


Step 1

Remove most of the crown with chainsaws or handsaws. Safety is important here! This strata complex corner was used by cars, residents were washing their cars and kids were playing outside. Wear proper protection if you choose to use chainsaws. Always.


IMG_2260edit

Step 2

Cut notches into the tree so the chains have some place to bite, otherwise they will just slip off under pressure

IMG_2261edit

Step 3

Attach chains to the tree and to the back of your truck, then drive very slowly until the stump is completely out. Use good chain link fasteners. Common locks could blow out.


IMG_2269edit


Step 4

Remove all stumps and fix the lawn area. We used lawn and garden mix soil from a landscape center. Good quality seed also helps.


IMG_2271edit


Mission accomplished. The site will miss the many ecosystem services the birches used to provide, especially summer shade for the adjacent unit.

Surviving annual winter landscape tasks

By | Landscaping, Strata Maintenance | No Comments

Landscape maintenance work is normally a lot of fun. You get plenty of sunshine and color, plant installs break up any monotony, and the lawns are green and beautiful. But sometimes we face the dark side; annual tasks that are not very pretty and are attempted during the slow winter months. (Or in summer: see my 8/21/2015 blog on summer annual cuts). One just has to stay safe and survive them. Consider the site pictures below. The wild buffer zone has to be kept in check. It’s overrun with Himalayan Blackberry (Rubus armeniacus) and other weedy species.

Complicating this annual landscape task is the unknown amount of garbage, rocks, metal and small animals hiding in the weeds. Staying safe and looking out for the safety of all passersby is of utmost importance.

For the worker, steel-toe boots, good work pants, gloves, goggles and face shield are all mandatory. The idea is to aggressively cut as low to the ground as possible without getting injured or destroying the metal disc by getting stuck on a piece of rebar hiding in the weedy mess. Properly mixed gas should be kept close by in a jerry can; along with small tools. The rotating disc works very hard and can come loose if it is not checked periodically. This was the case with this particular Shindaiwa machine model.

This annual task can also be a good training exercise for new workers not yet proficient on small machines. Proper demonstration and safety talk are mandatory before proceeding.


cut

check the disc to make sure it is tight; on this machine it would come loose after a while


cut2

head protection and gas close by for quick re-fuelling


cut4

face your fears!

We need proper balance here: aggression towards weeds and safety for the worker!


cut3

after picture

This area will not be touched again until winter 2016.


Why you should fall in love with blade edging

By | Edging, Landscaping, Lawn Care, Strata Maintenance, Tips | No Comments

Blade edging is a great landscape maintenance tool. It gives our sites definition, it’s relatively easy to learn, and it can be done bi-weekly on standard BC strata sites. The only downside is the cost of replacement blades. (Always recycle your used blades.)

Incredibly, not all landscape maintenance companies use blade edgers to maintain nice, sharp edges on their work sites. That’s too bad. I personally love the sharp, clean look.

Let’s consider my work from mid-March 2016 on a Maple Ridge site.

Tired looking strip


blade1


This boulevard strip lacks definition. Grass is growing over the curb and it obviously gets line trimmed which does not do anything for definition; it simply rounds off the edges which is not our goal.

Key idea: the mower, line trimmer and blade edger should work together by meeting to create a nice, sharp edge.

Show time

Let’s take a blade edger with a fresh blade and see what happens. Pants, safety goggles and ear protection are mandatory. No discussions. Always let passersby go. Try not to do this work as kids walk to school!


blade2

Neglected boulevard strips like this will require some “drilling”. Keep your blade edger at ninety degrees and stay stubborn like me. You might have to run over the entire line twice. It depends. Once the edge is re-established, regular maintenance will be a breeze. Bi-weekly blade edging will suffice. Some high-profile areas like club houses can be bladed weekly.

Clean up

blade3

Obviously, this will require some cleaning. Remove all grass and dirt chunks before your clean up blow. The lawn area must be clean. Don’t go cheap here. The machine can generate black earth balls. Even one left on the lawn will detract from your presentation.

Final result

blade4

Carefully, run your blower along the entire edge. You can also blow the street assuming it can be done safely. Put on a safety high-visibility vest and do it quickly. Avoid rush hour traffic times.

No contest!

I know which picture I prefer. What about you? And your clients?


blade1 blade4

Don’t stop at boulevards. Edge your tree circles, grates and metal covers and soft bed edges. You will be glad you did.


Quick Trimmer Head Change

By | Arborist Insights, Company News, Education, Landscaping, Strata Maintenance | No Comments

This week I found myself on a narrow median up in the Westwood Plateau buzzing down crack weeds when my trimmer head died of old age. No problem.
With tools in the truck and a spare head, this was a quick job.

1) use a screw driver or Allen key and look for two openings, one on the edger and one on the head

2) spin the head until the holes align to immobilize the head

3) unscrew the old head

4) screw on the new one, tight but not super tight!

My new head was already full of string so I was back in action very quickly.
Put your safety equipment back on and line edge carefully.

photo 3 (1)

Dead trimmer head, save the line and discard

photo 4 (2)

Allen key immobilizes the head