Category

Strata Maintenance

Tips for fall leaf clean-up: how to avoid pyramids and skeletons

By | landscape maintenance, Strata Maintenance | No Comments

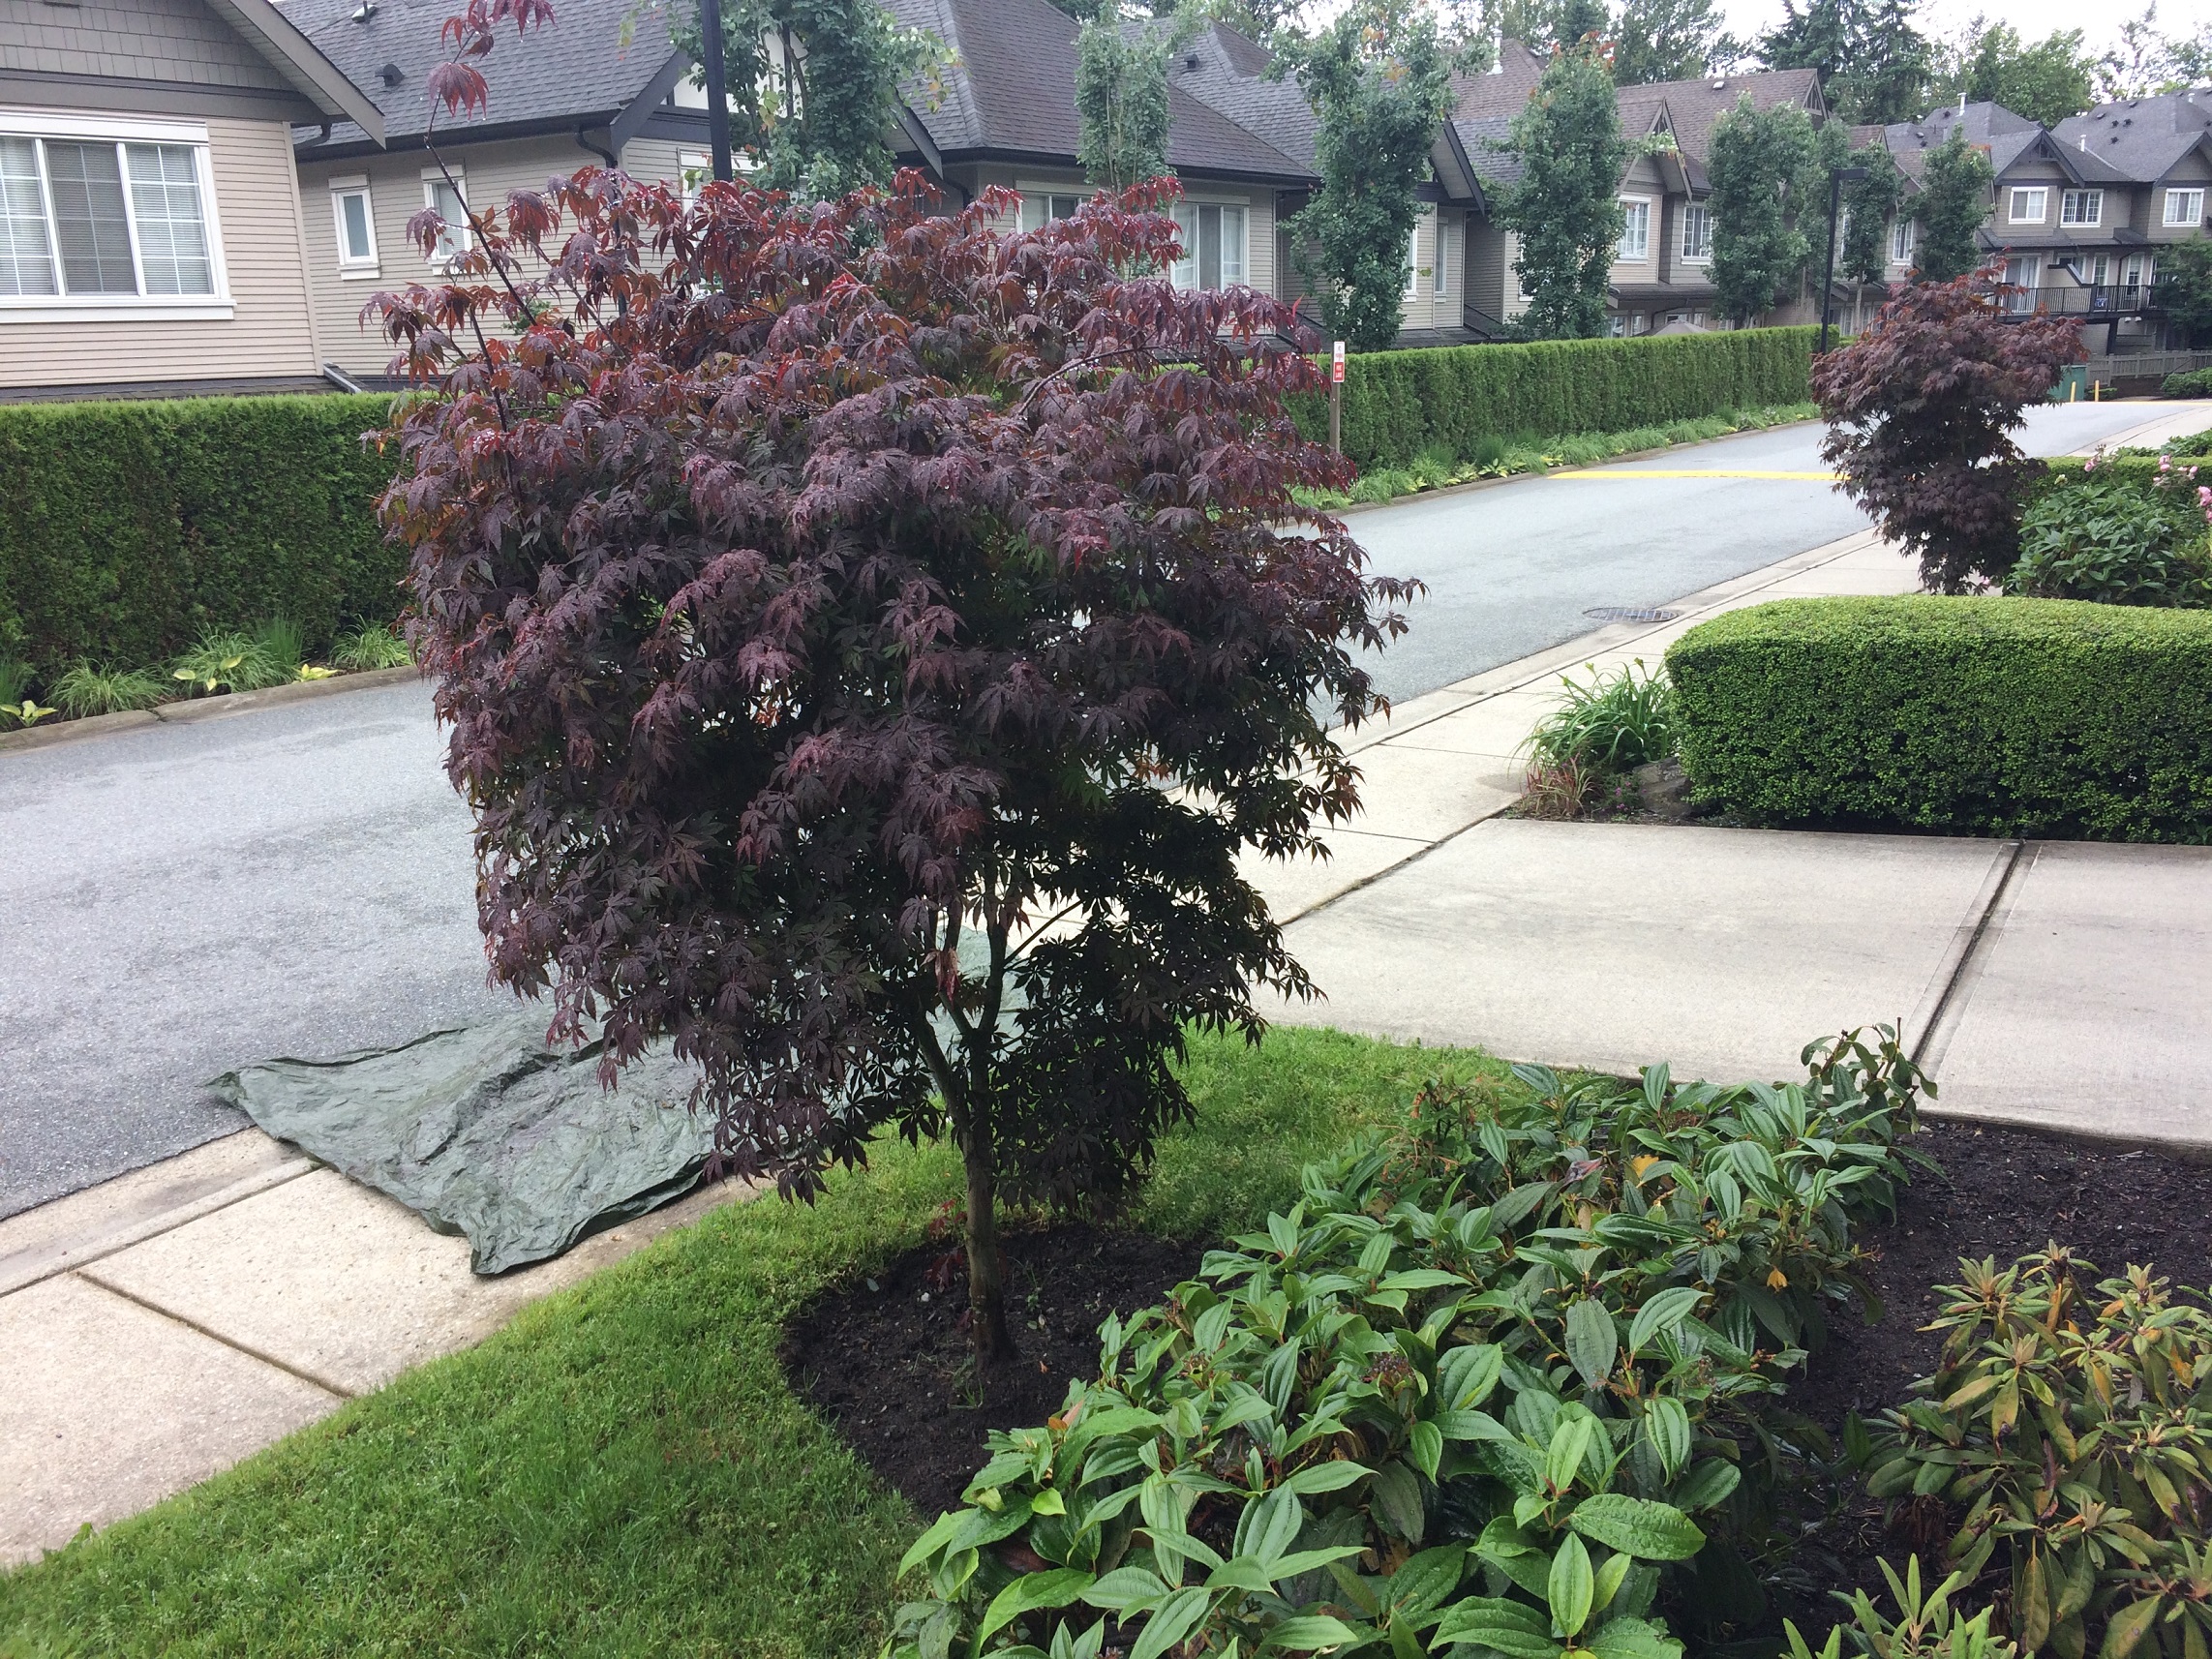
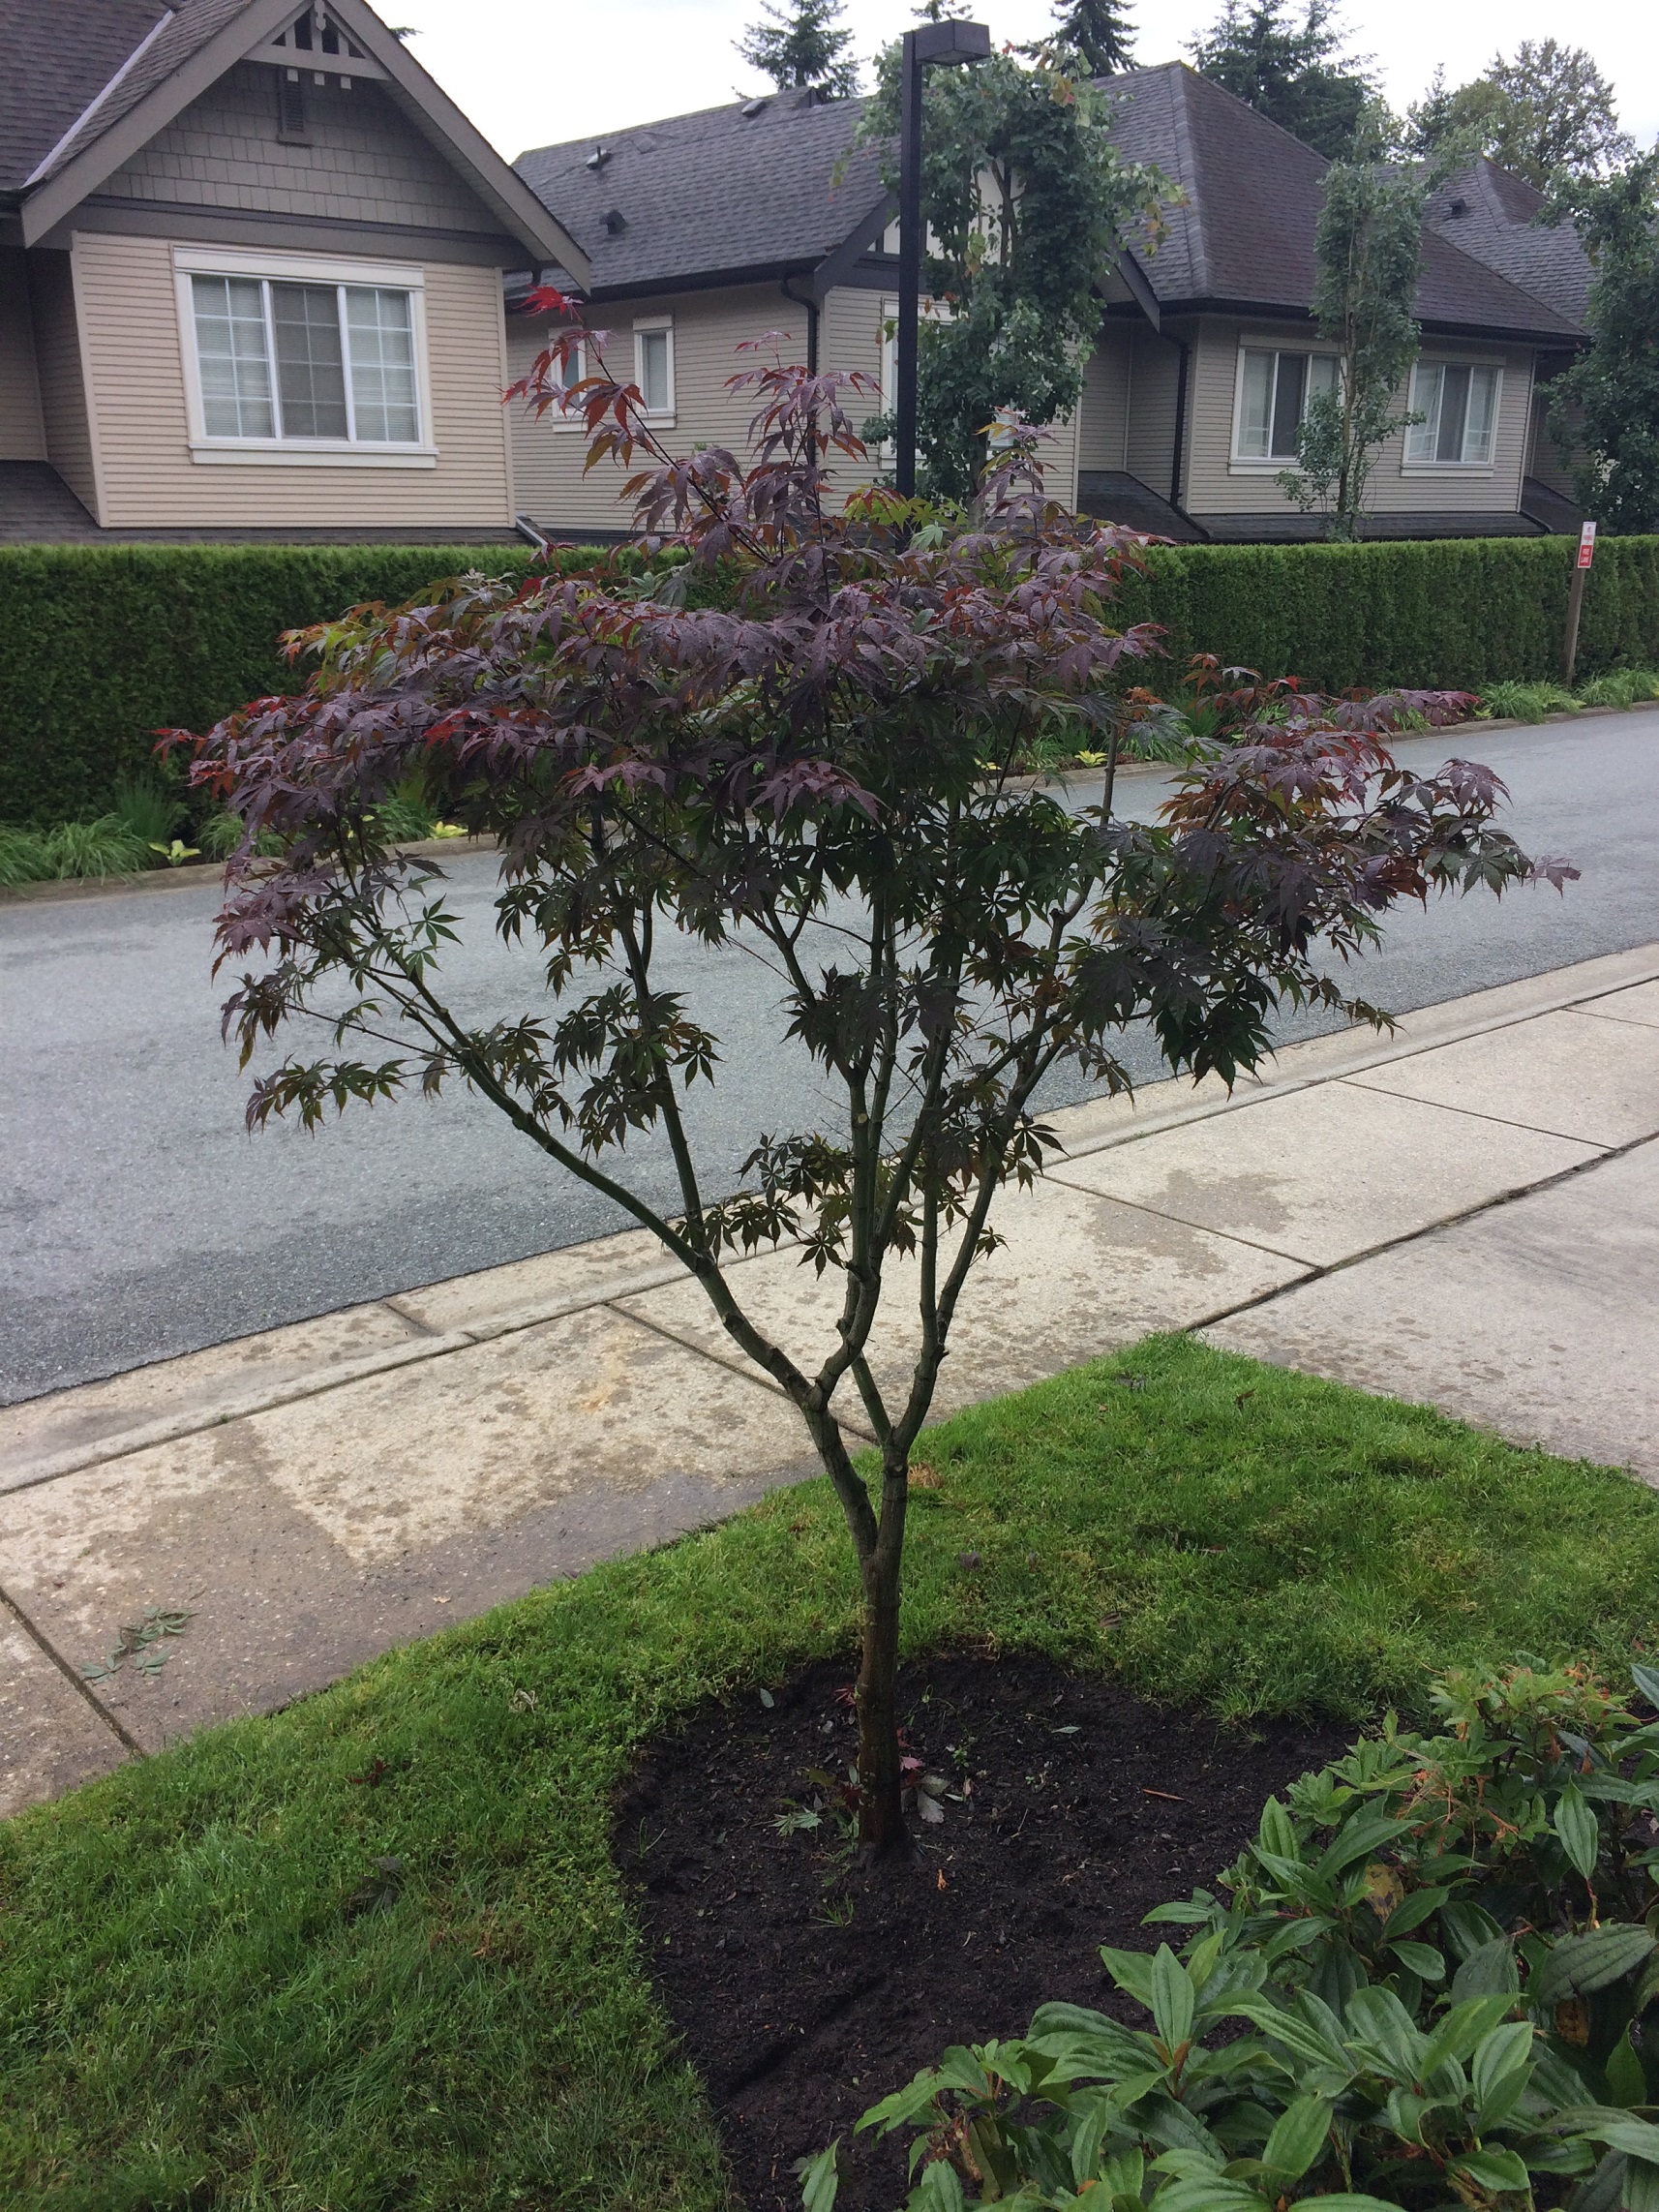
Fall is here and the colours in the landscape are amazing. But it’s also busy time for landscape maintenance companies because all sites are getting leafy. So let’s go over some important tips before panic sets in. You can have a smooth fall season if you do things right.


IMG_2494ed

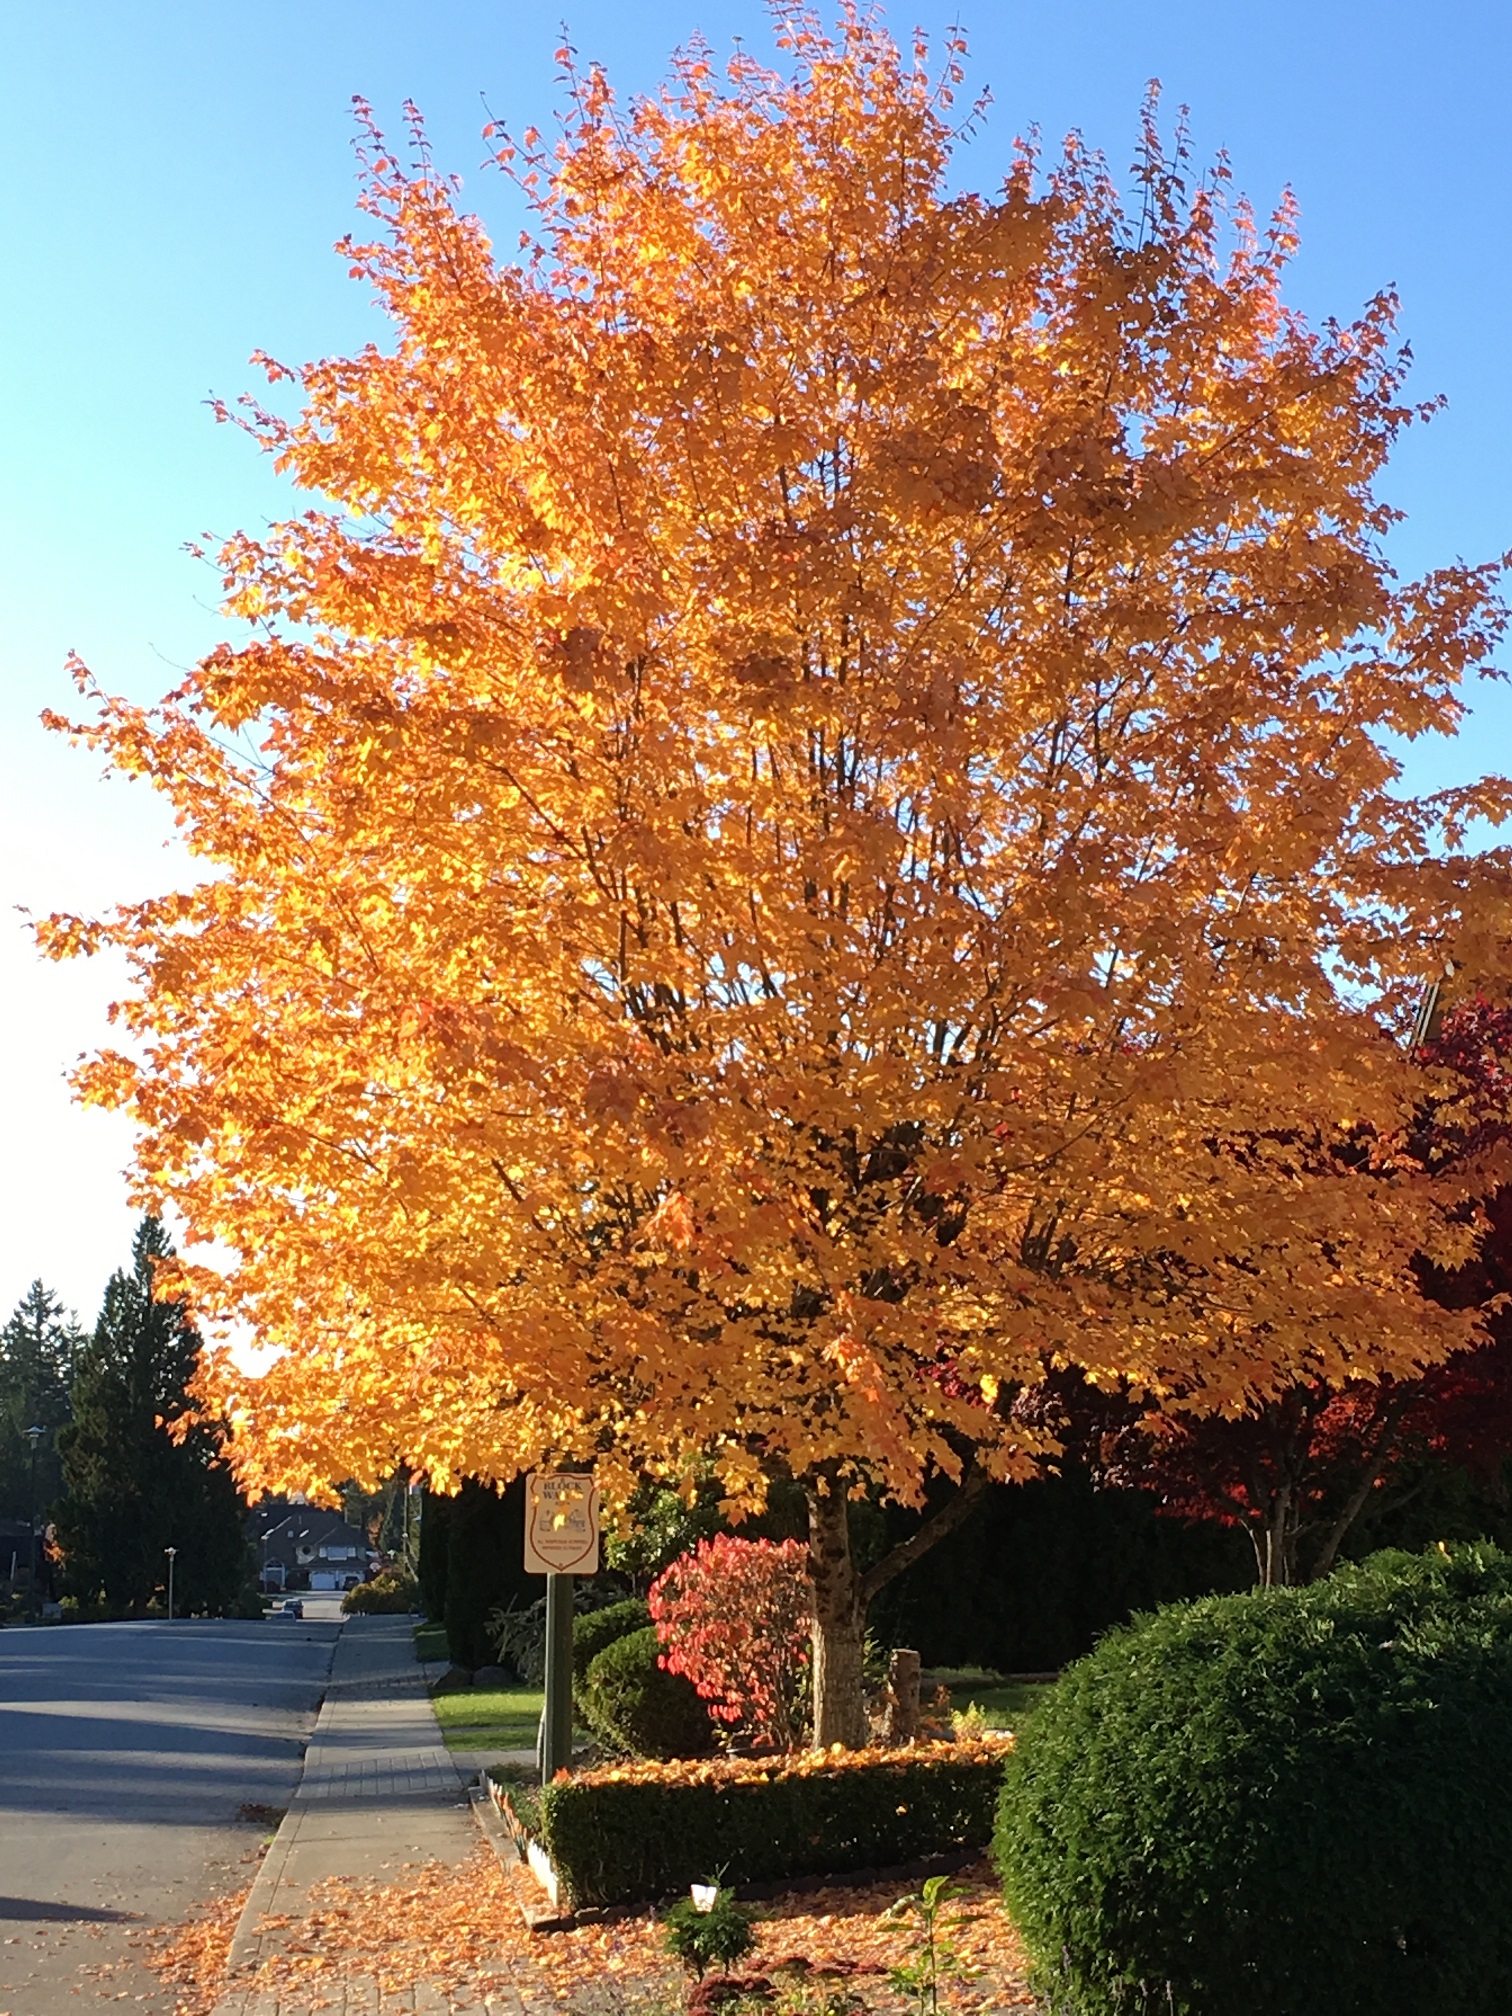
Don’t forget to enjoy the fall colours


Avoid pyramids

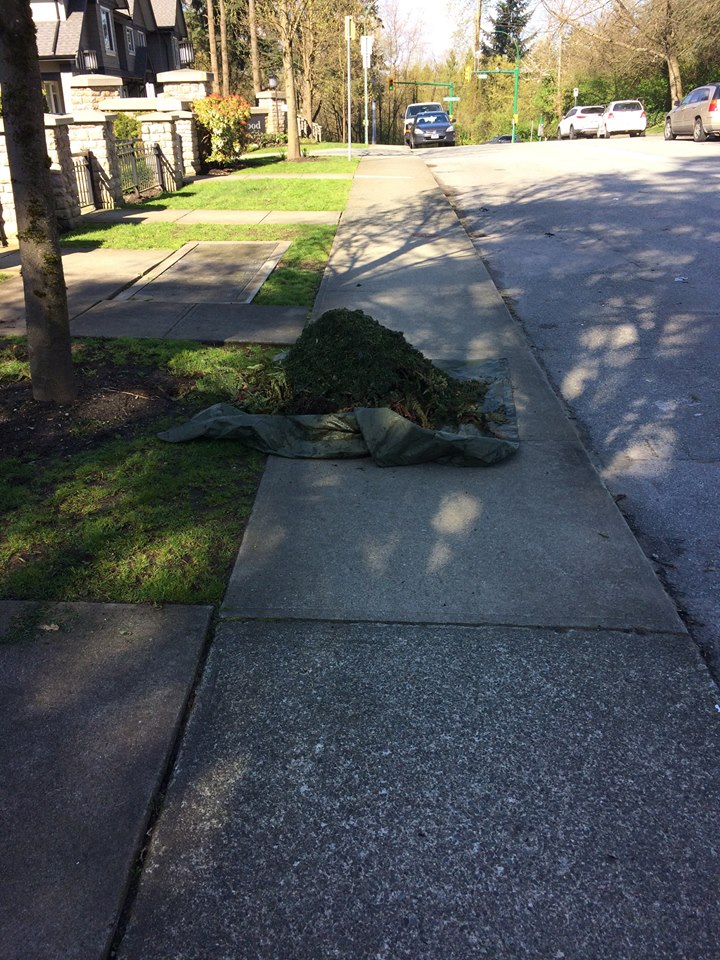
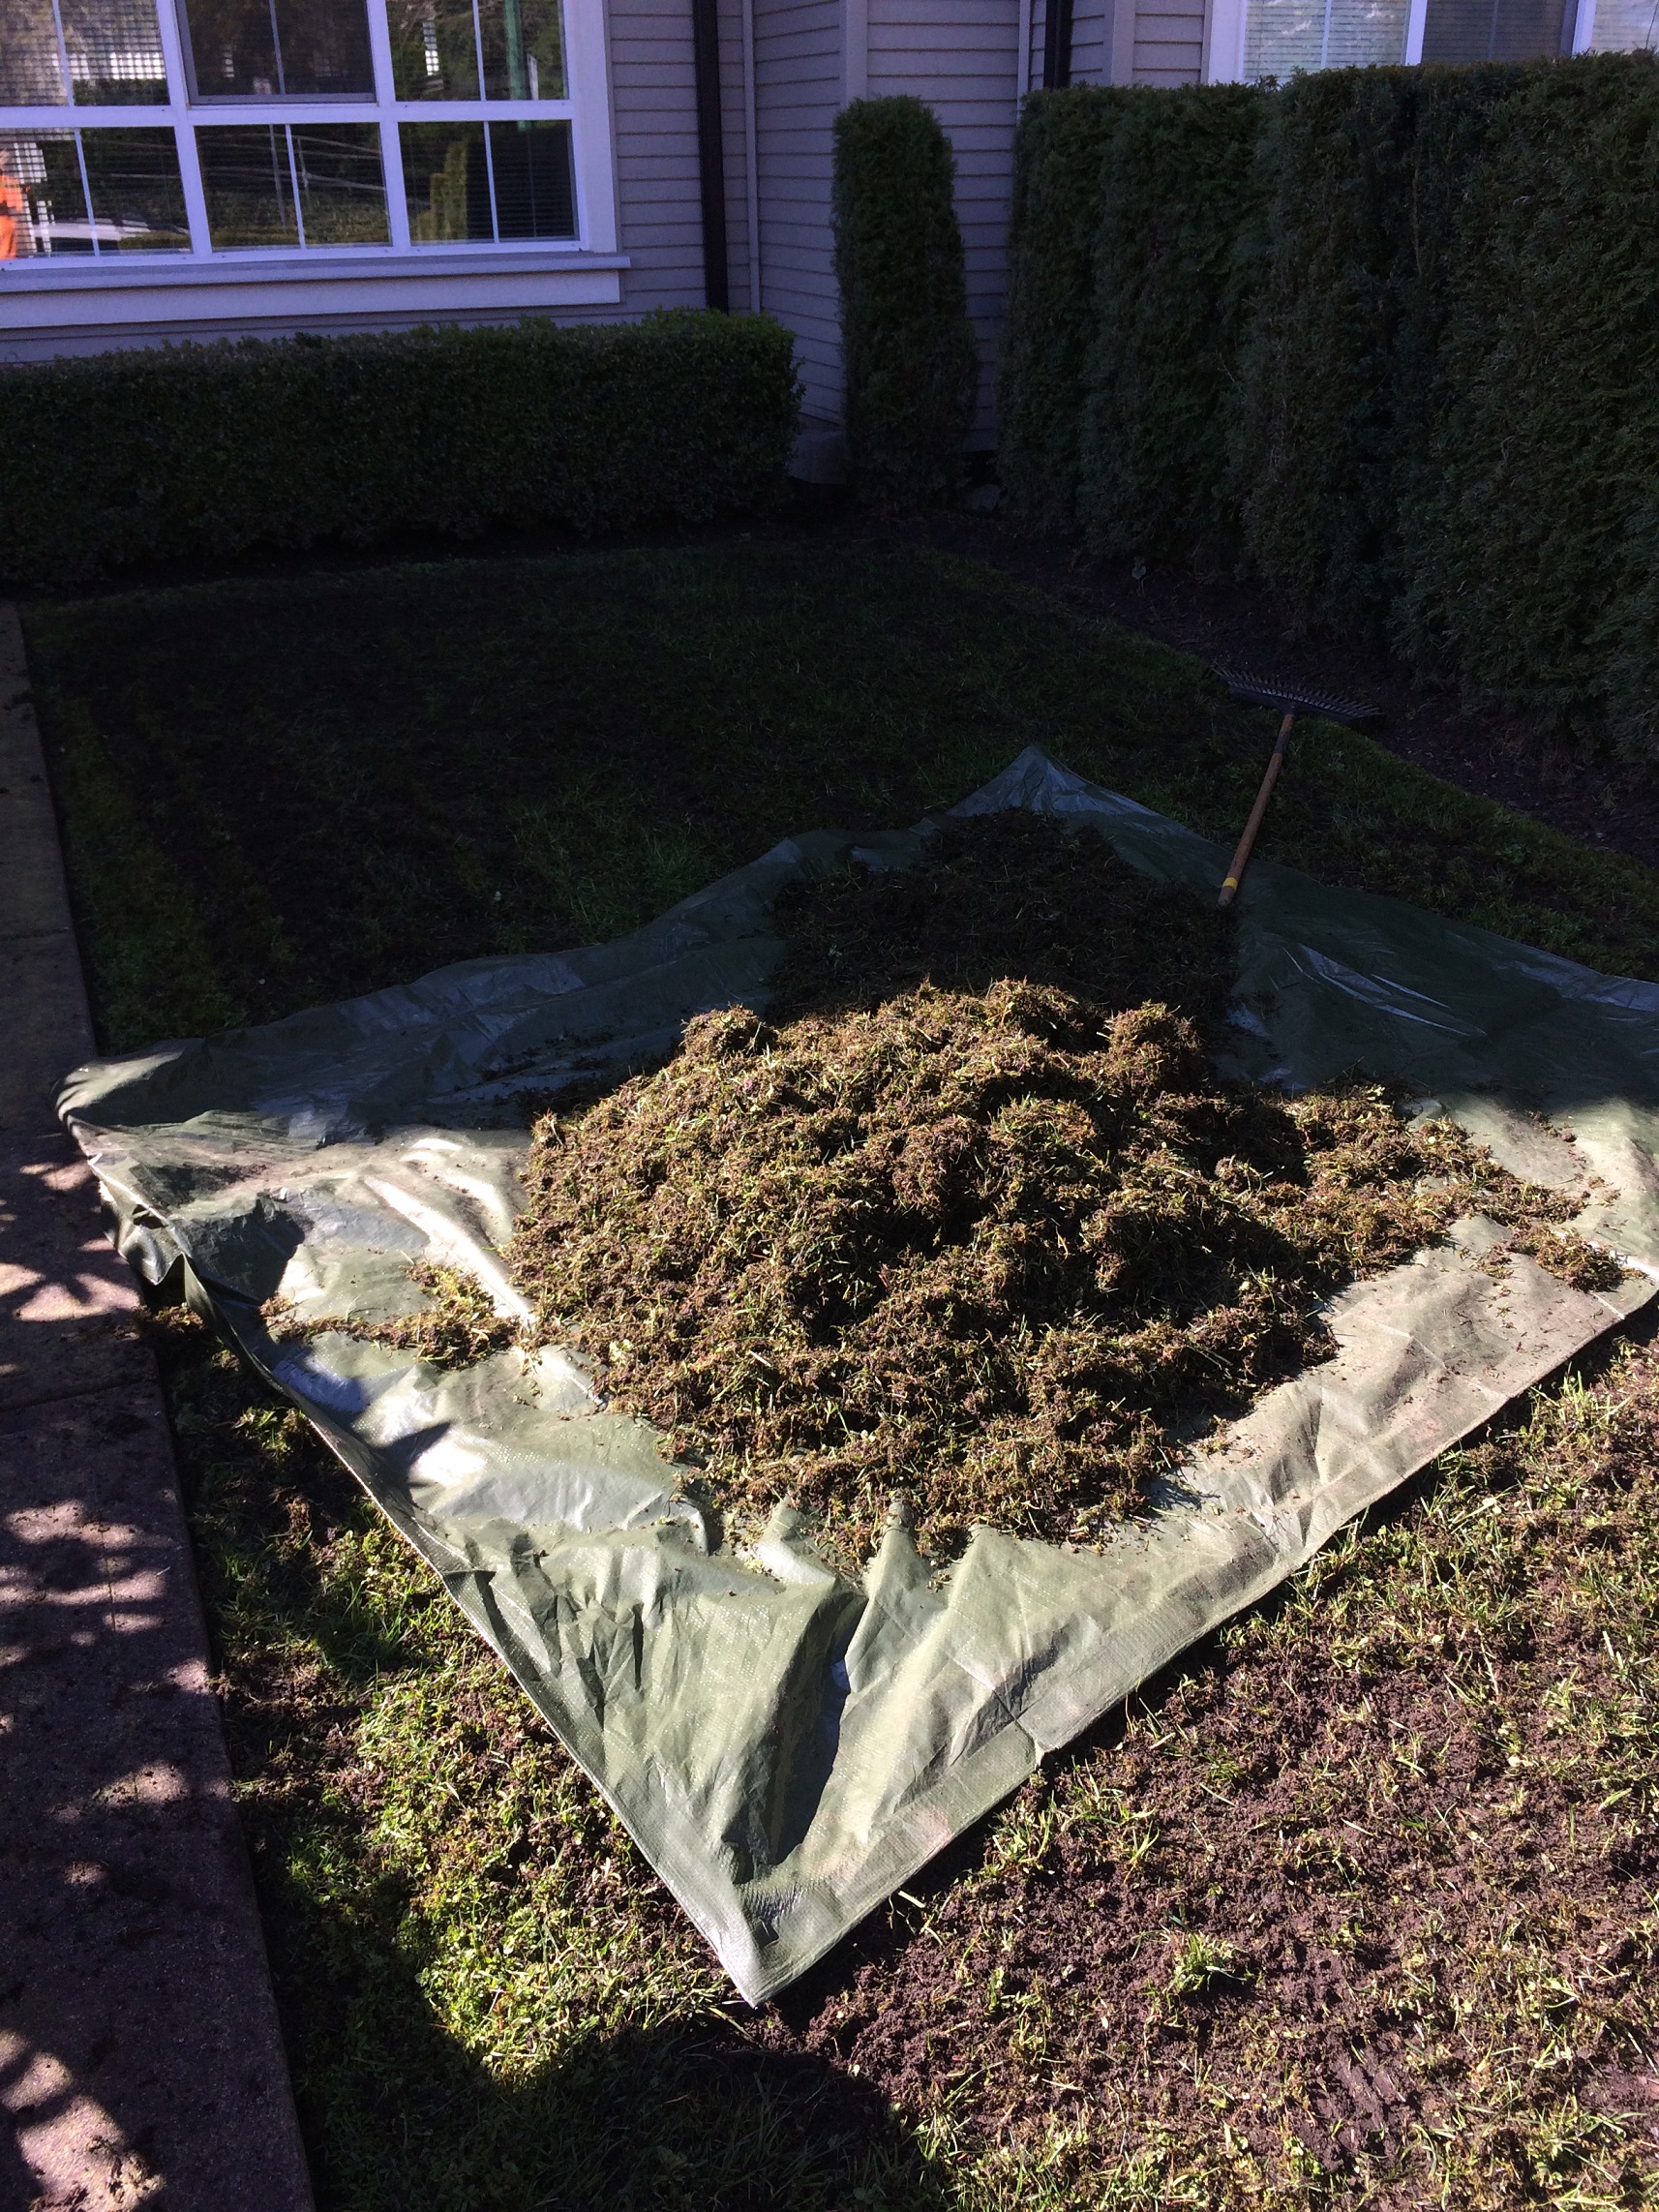
Pyramids belong in Egypt. I see this every year: eager and some not so eager new landscapers rake leaves into beautiful leaf pyramids as if it was a contest. But it isn’t. Remember our objective: we need the leaves loaded on our truck and quickly. And how do we accomplish it? By raking onto tarps from the get-go. All raking movement should be pushing leaves onto tarps.

When I handle large leaf piles I frequently put my first tarp right onto the pile. Try it.


IMG_2526ed

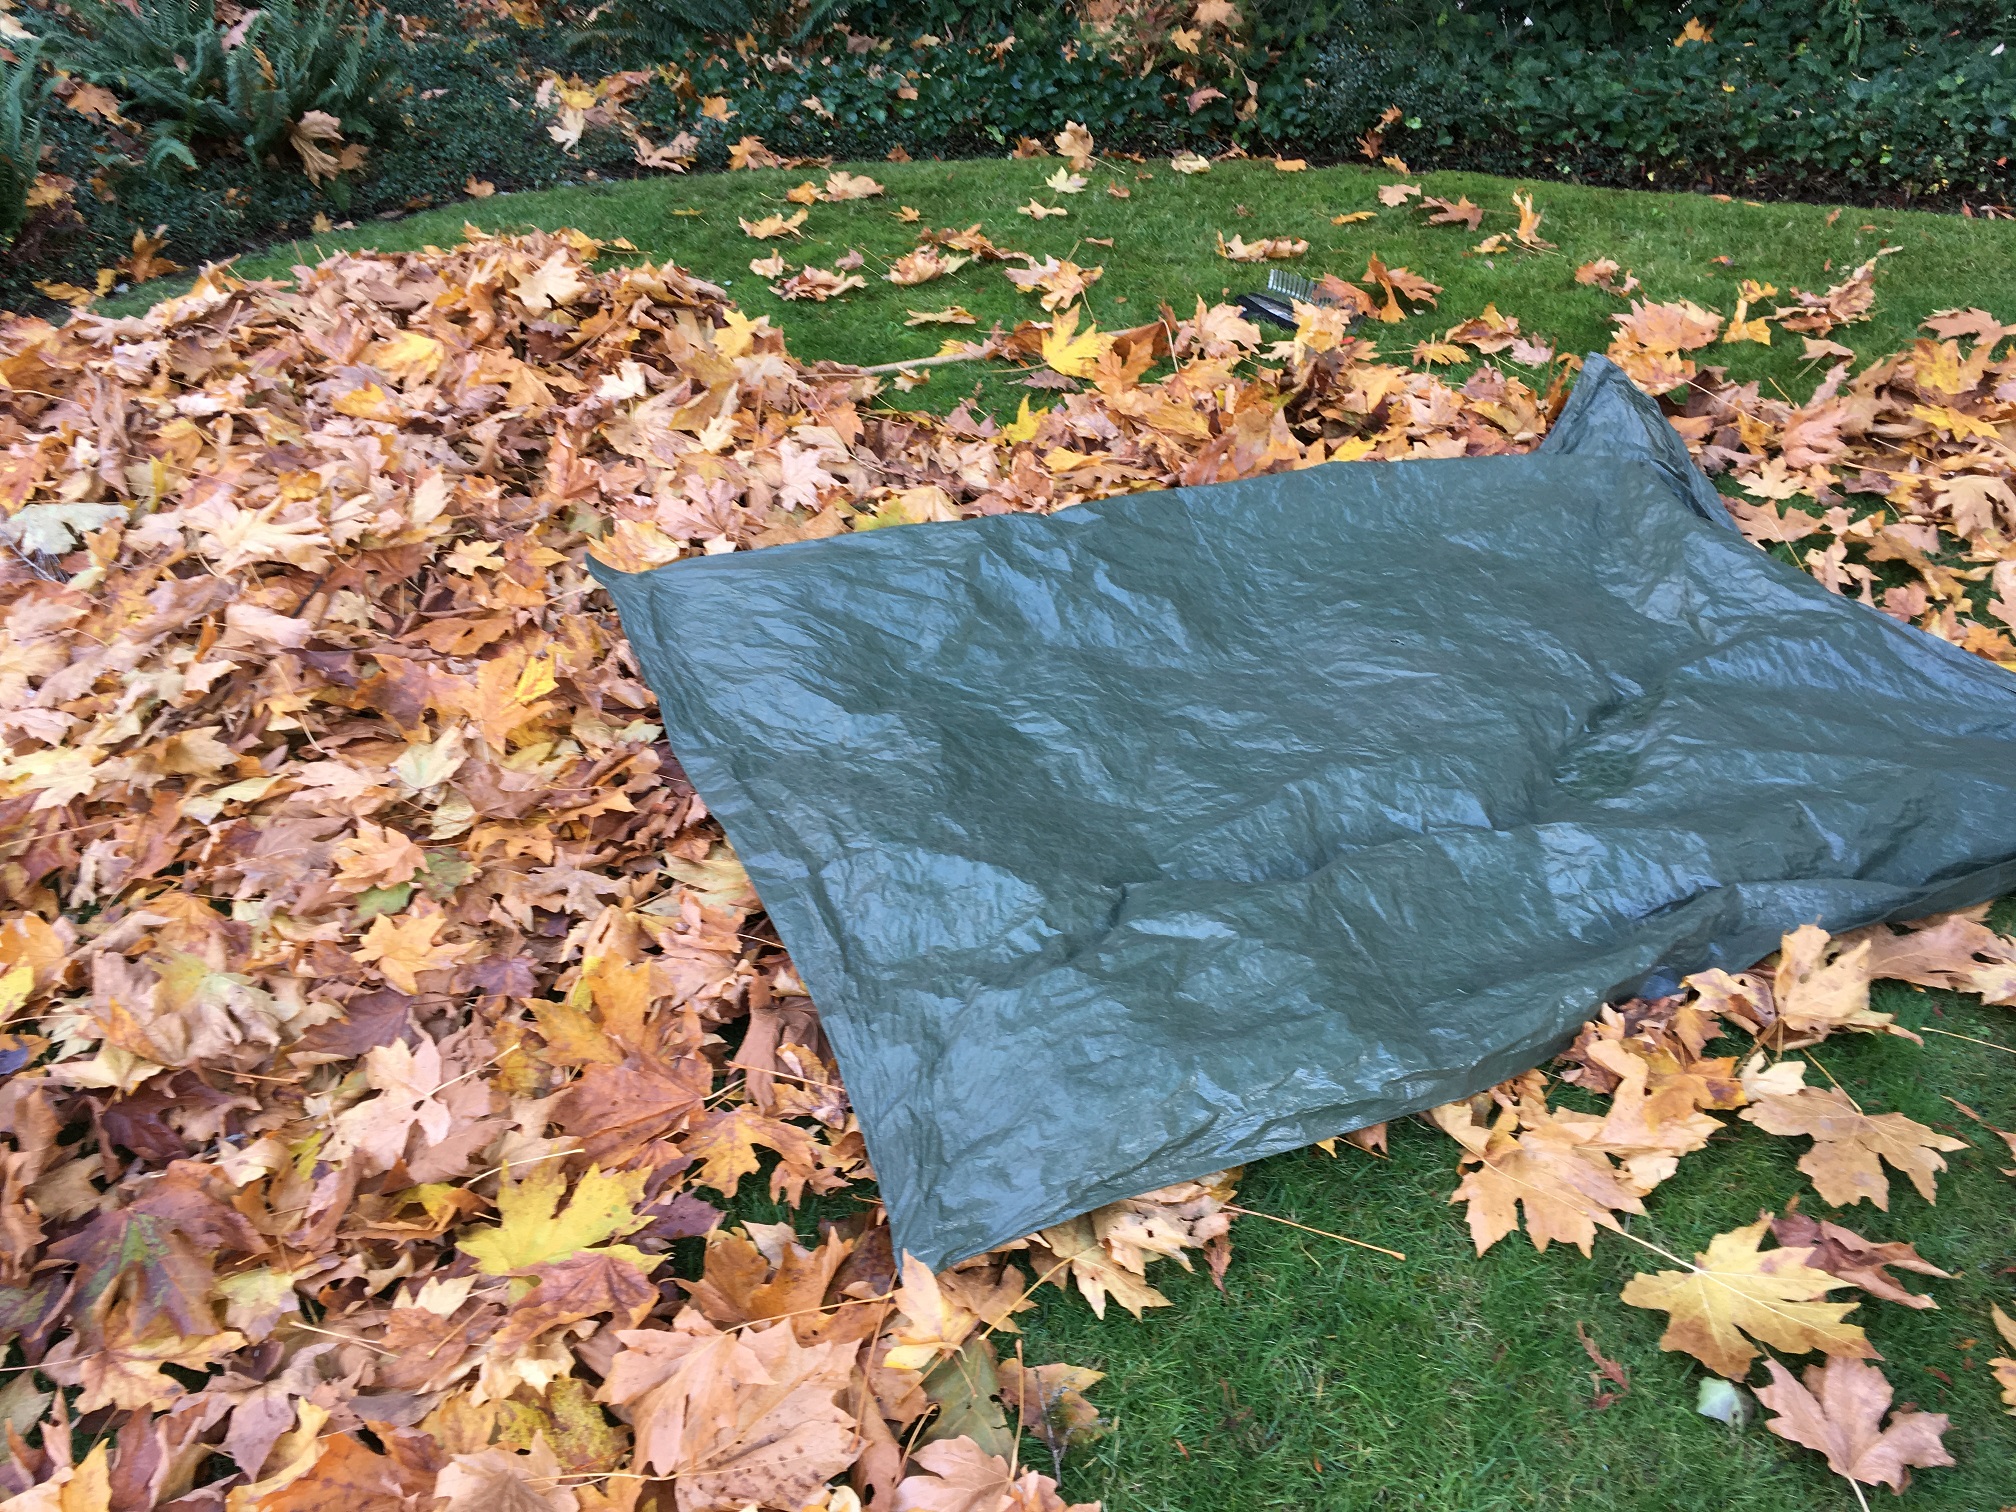
Don’t be shy. Place your tarp in the pile and stuff it in there.


Big boy for maximum drop

All trees will reach their maximum leaf drop at some point so push through it. The new Stihl 700 backpack blower is super powerful and perfect for big leafy accumulations. If you can get one, use it. It made a huge difference for us this week.

And remember, when you blow avoid pyramids. Create decent looking piles and move on. There are no extra points for beautiful symmetrical leaf piles. It’s a waste of time.


IMG_2521ed

The Stihl 700 blower is a beast. I love it!


Safety

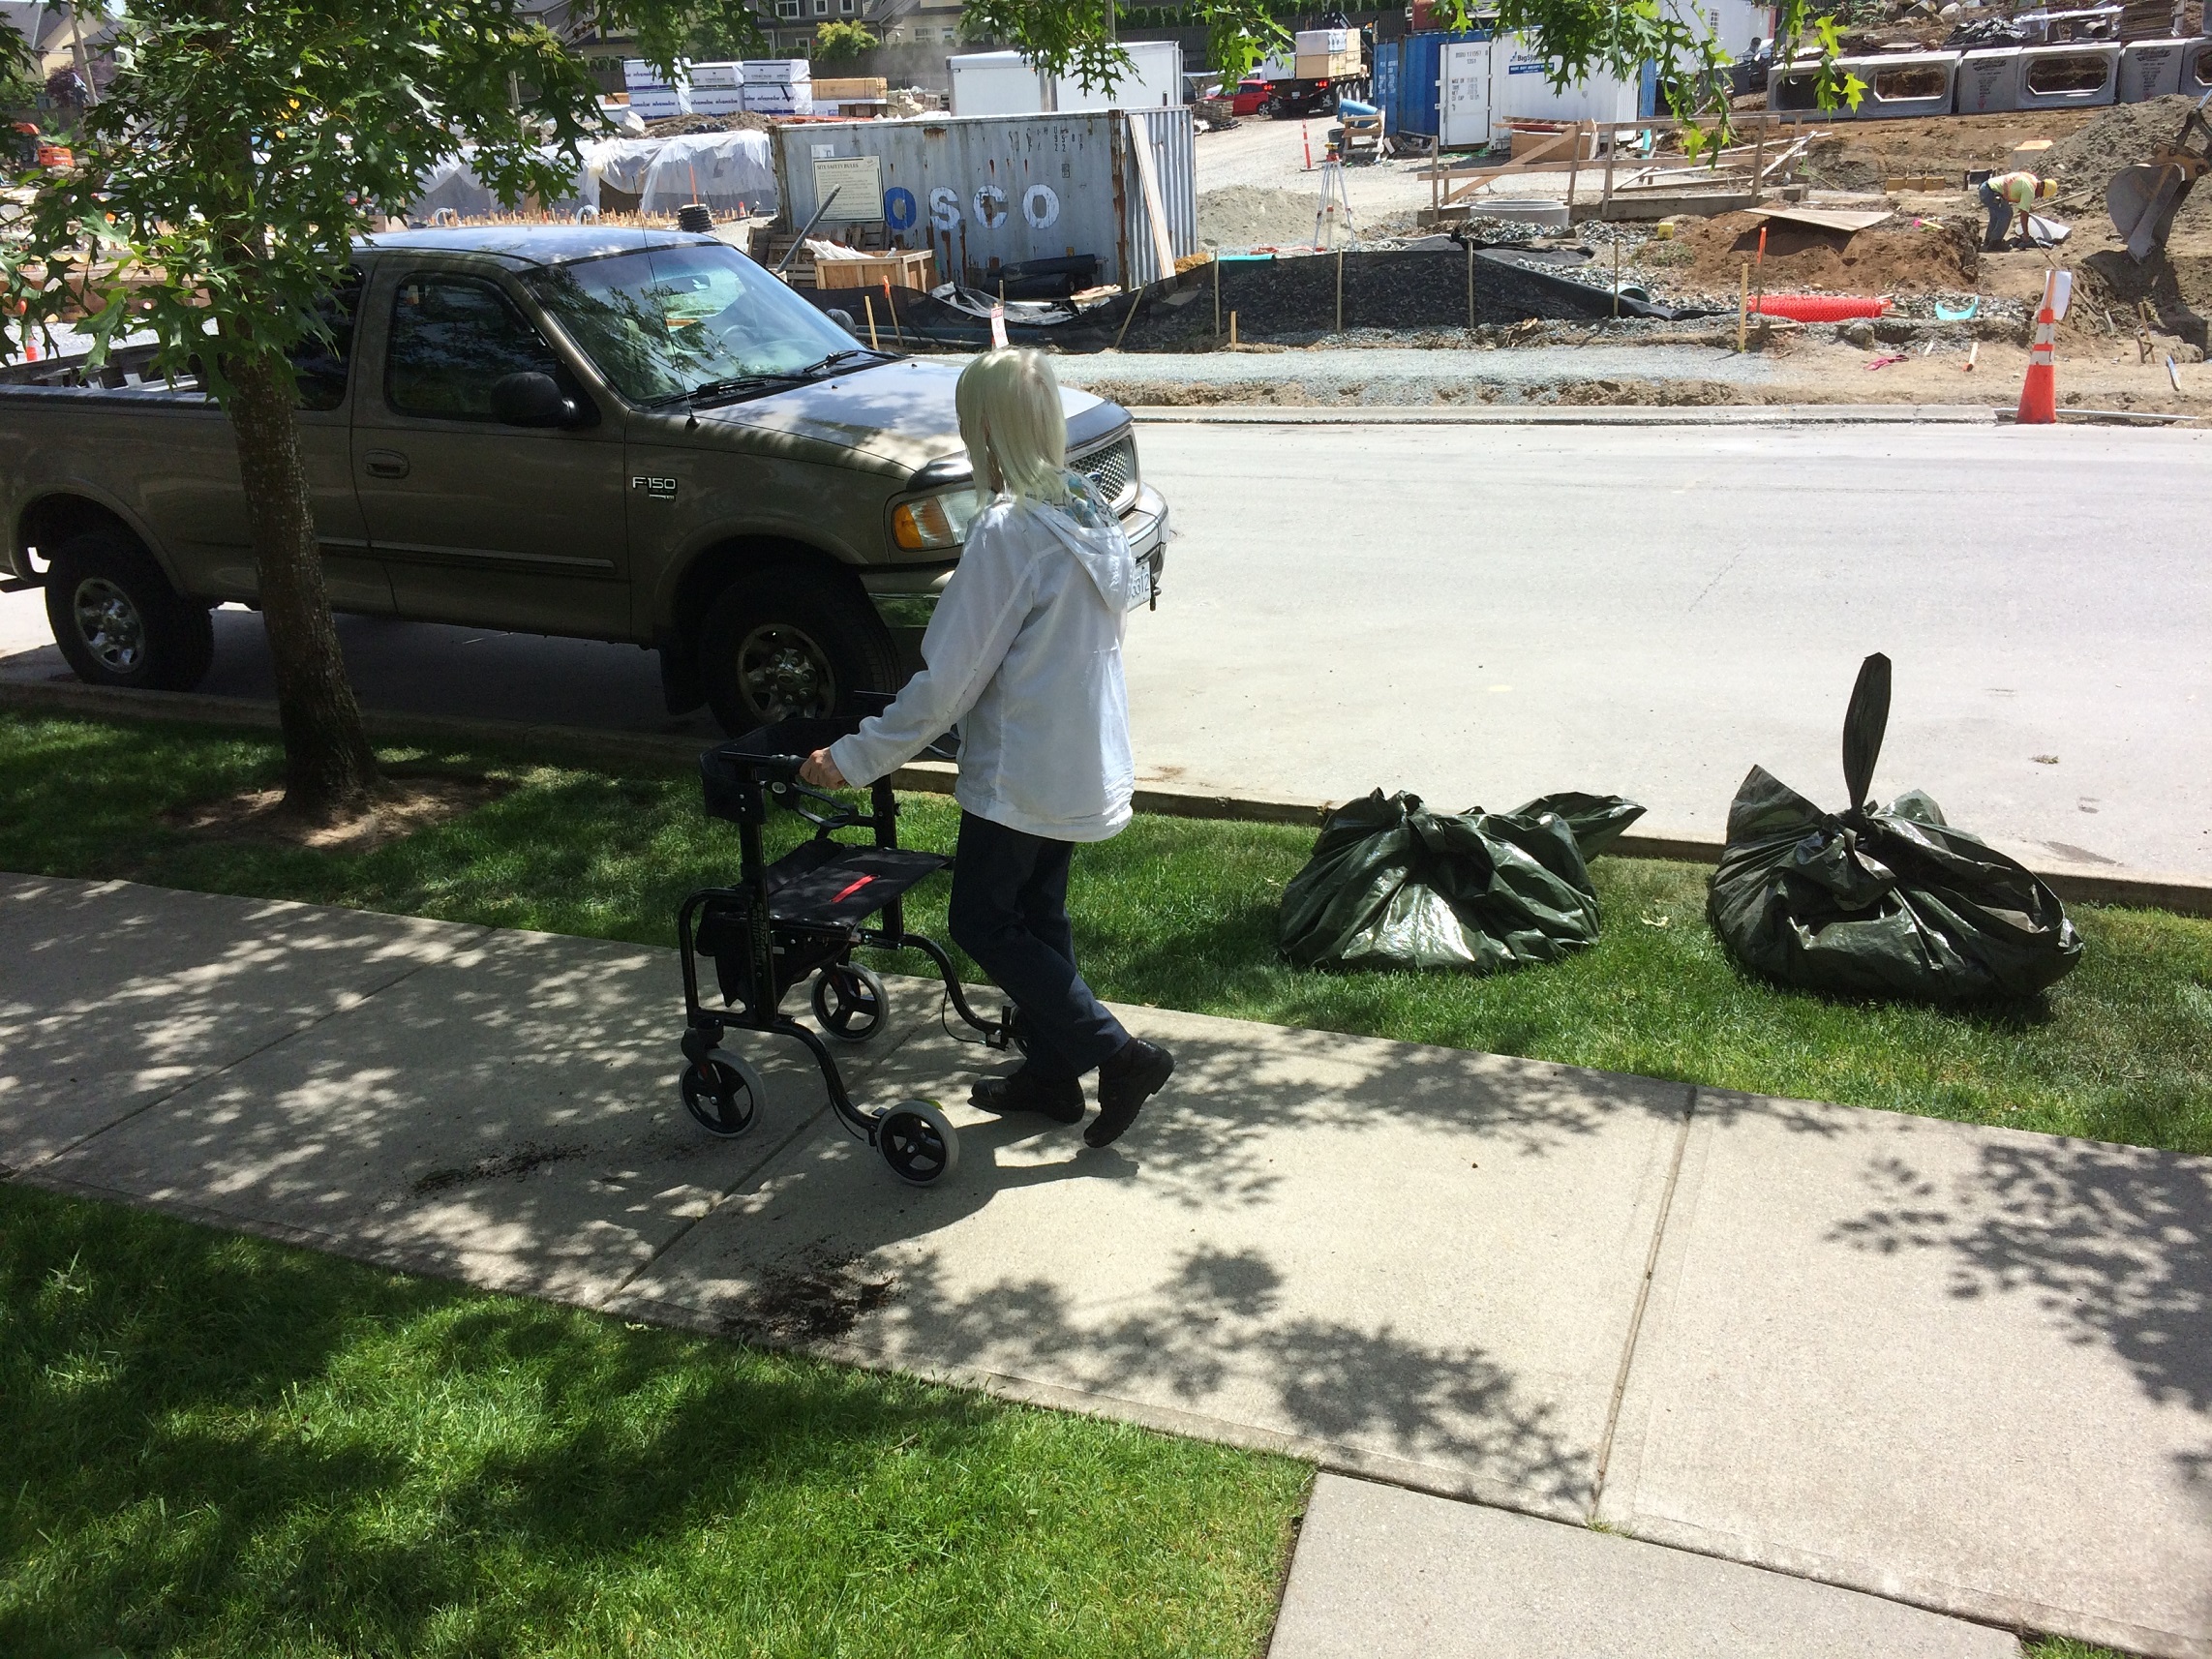
The side panel on most backpack blowers shows warning signs so get to know them well. One of them warns us about long hair getting sucked into the back of the blower. Now, I never really worried about this because I never had long hair. I listened to my parents. And now that I am of a certain advanced age, growing long hair is not really an option. But still, you might have girls on your crew and young men who ignored their parents.

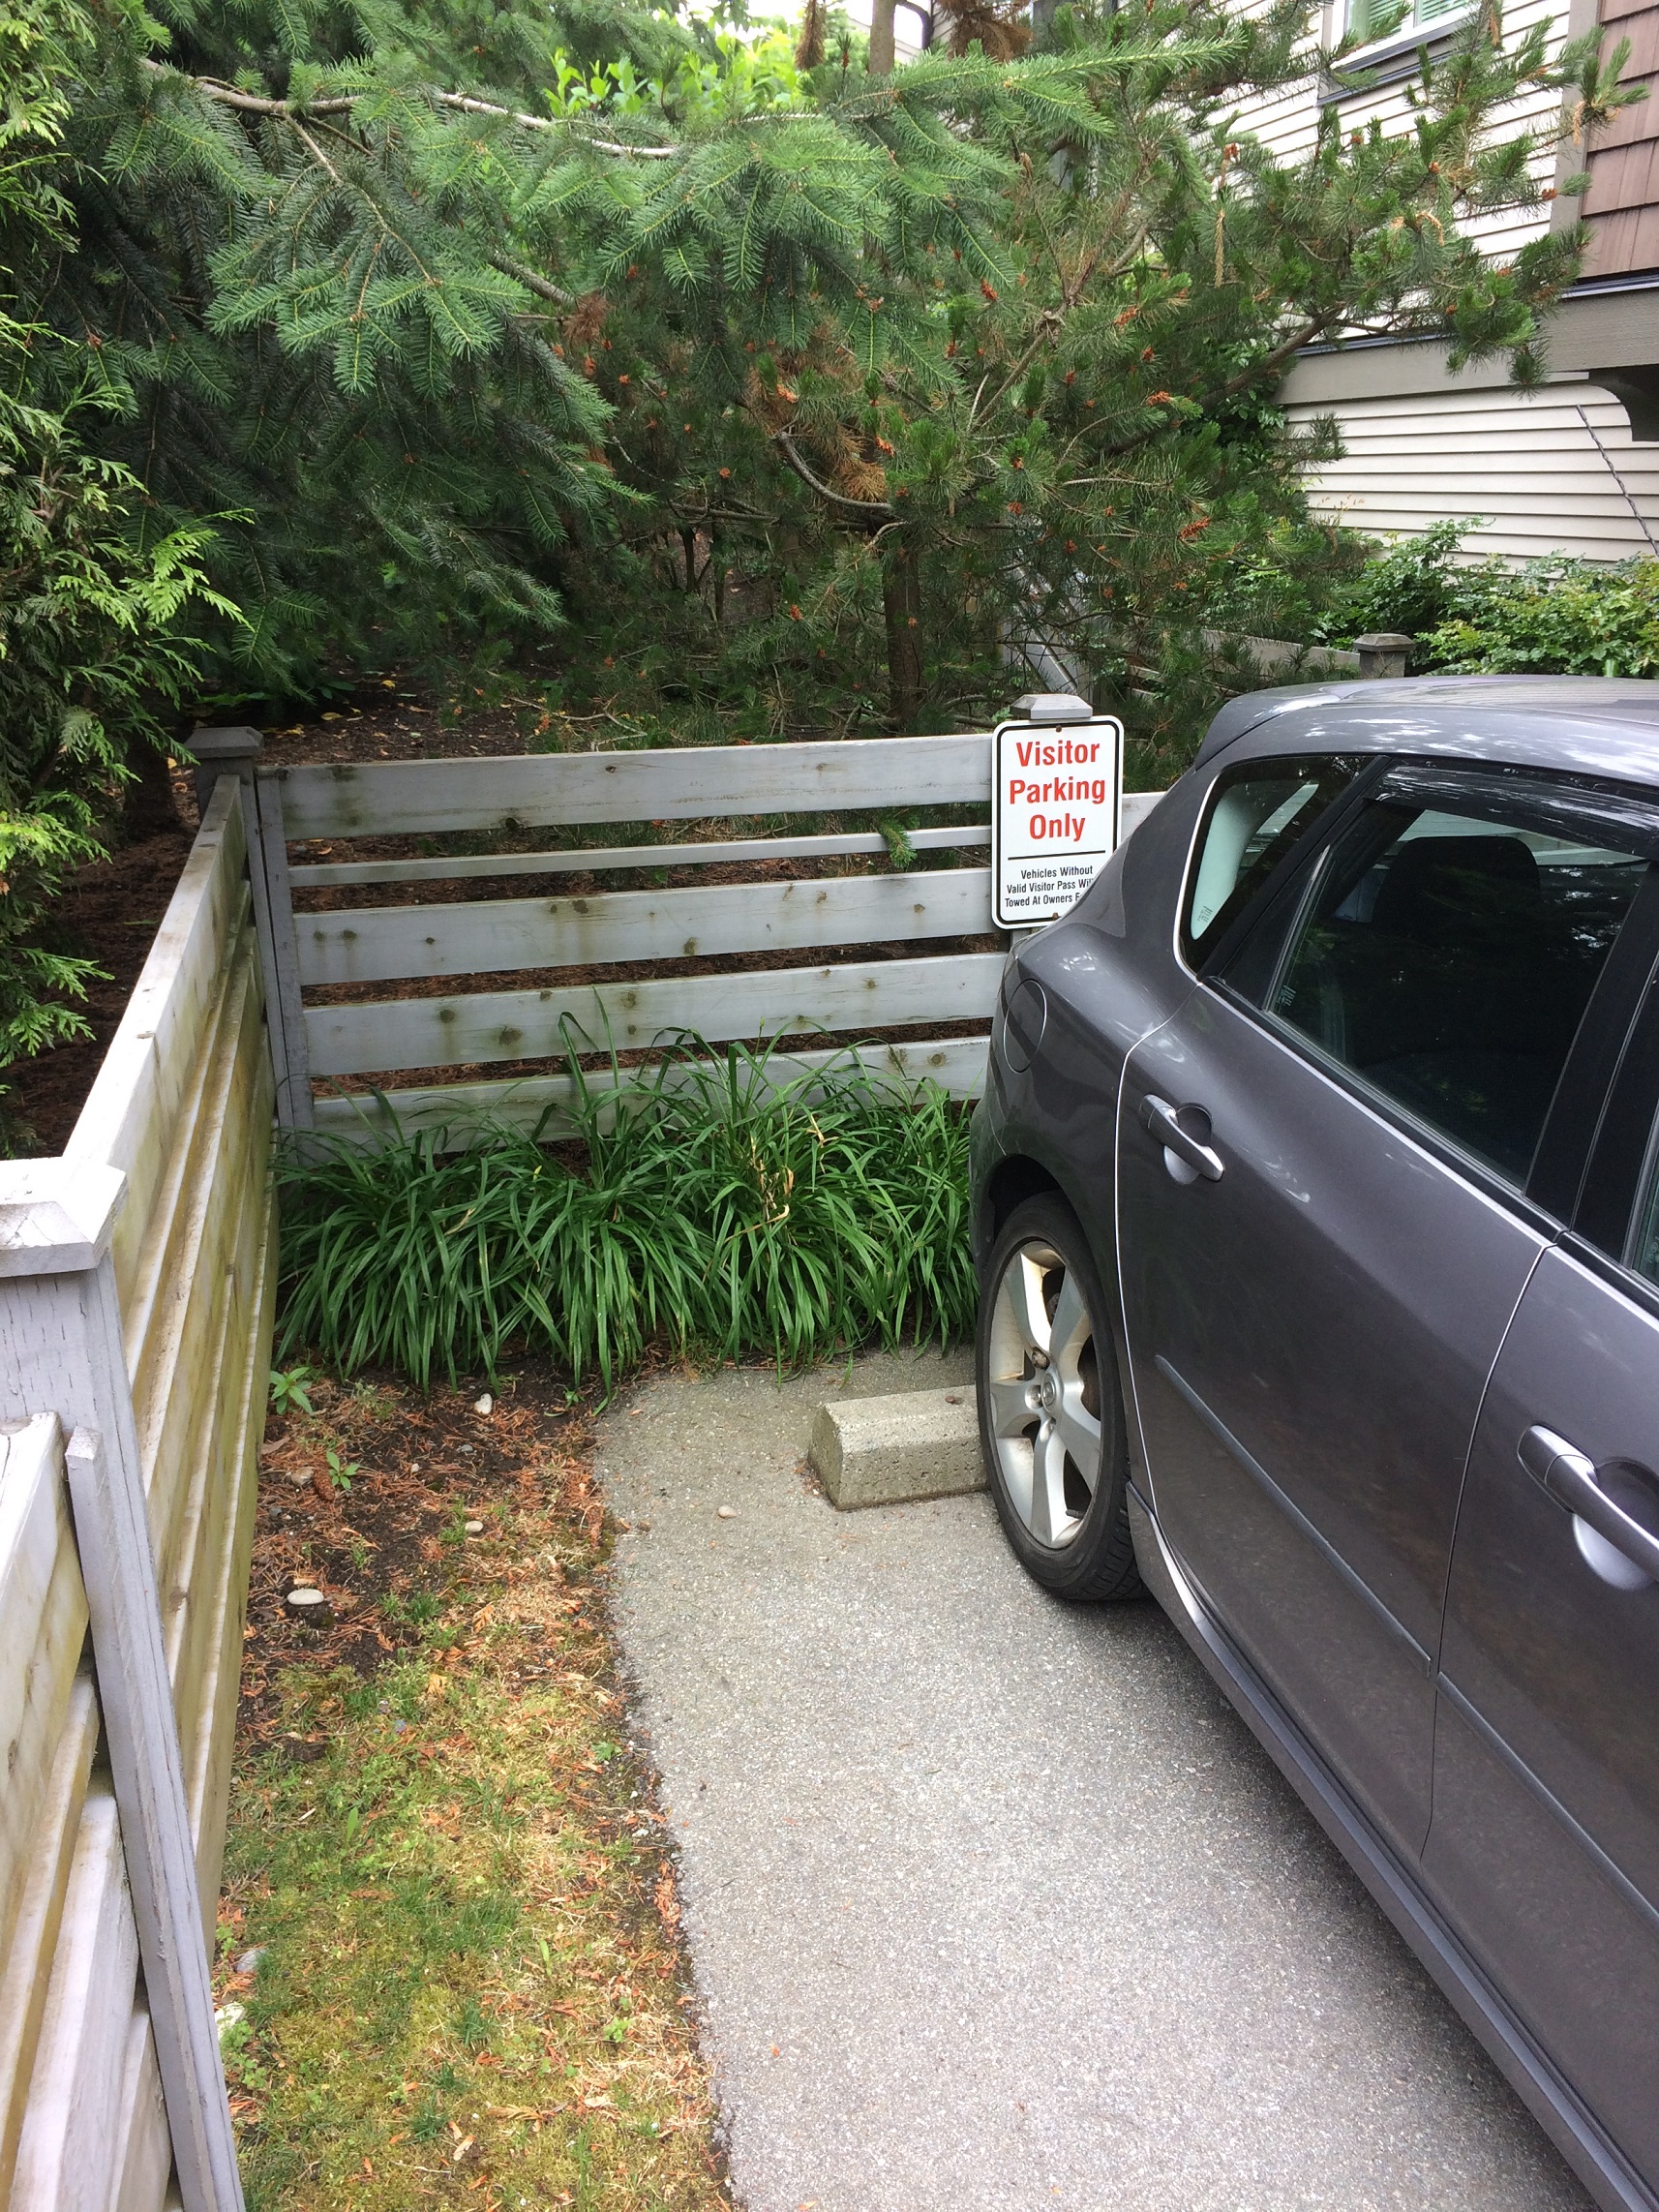
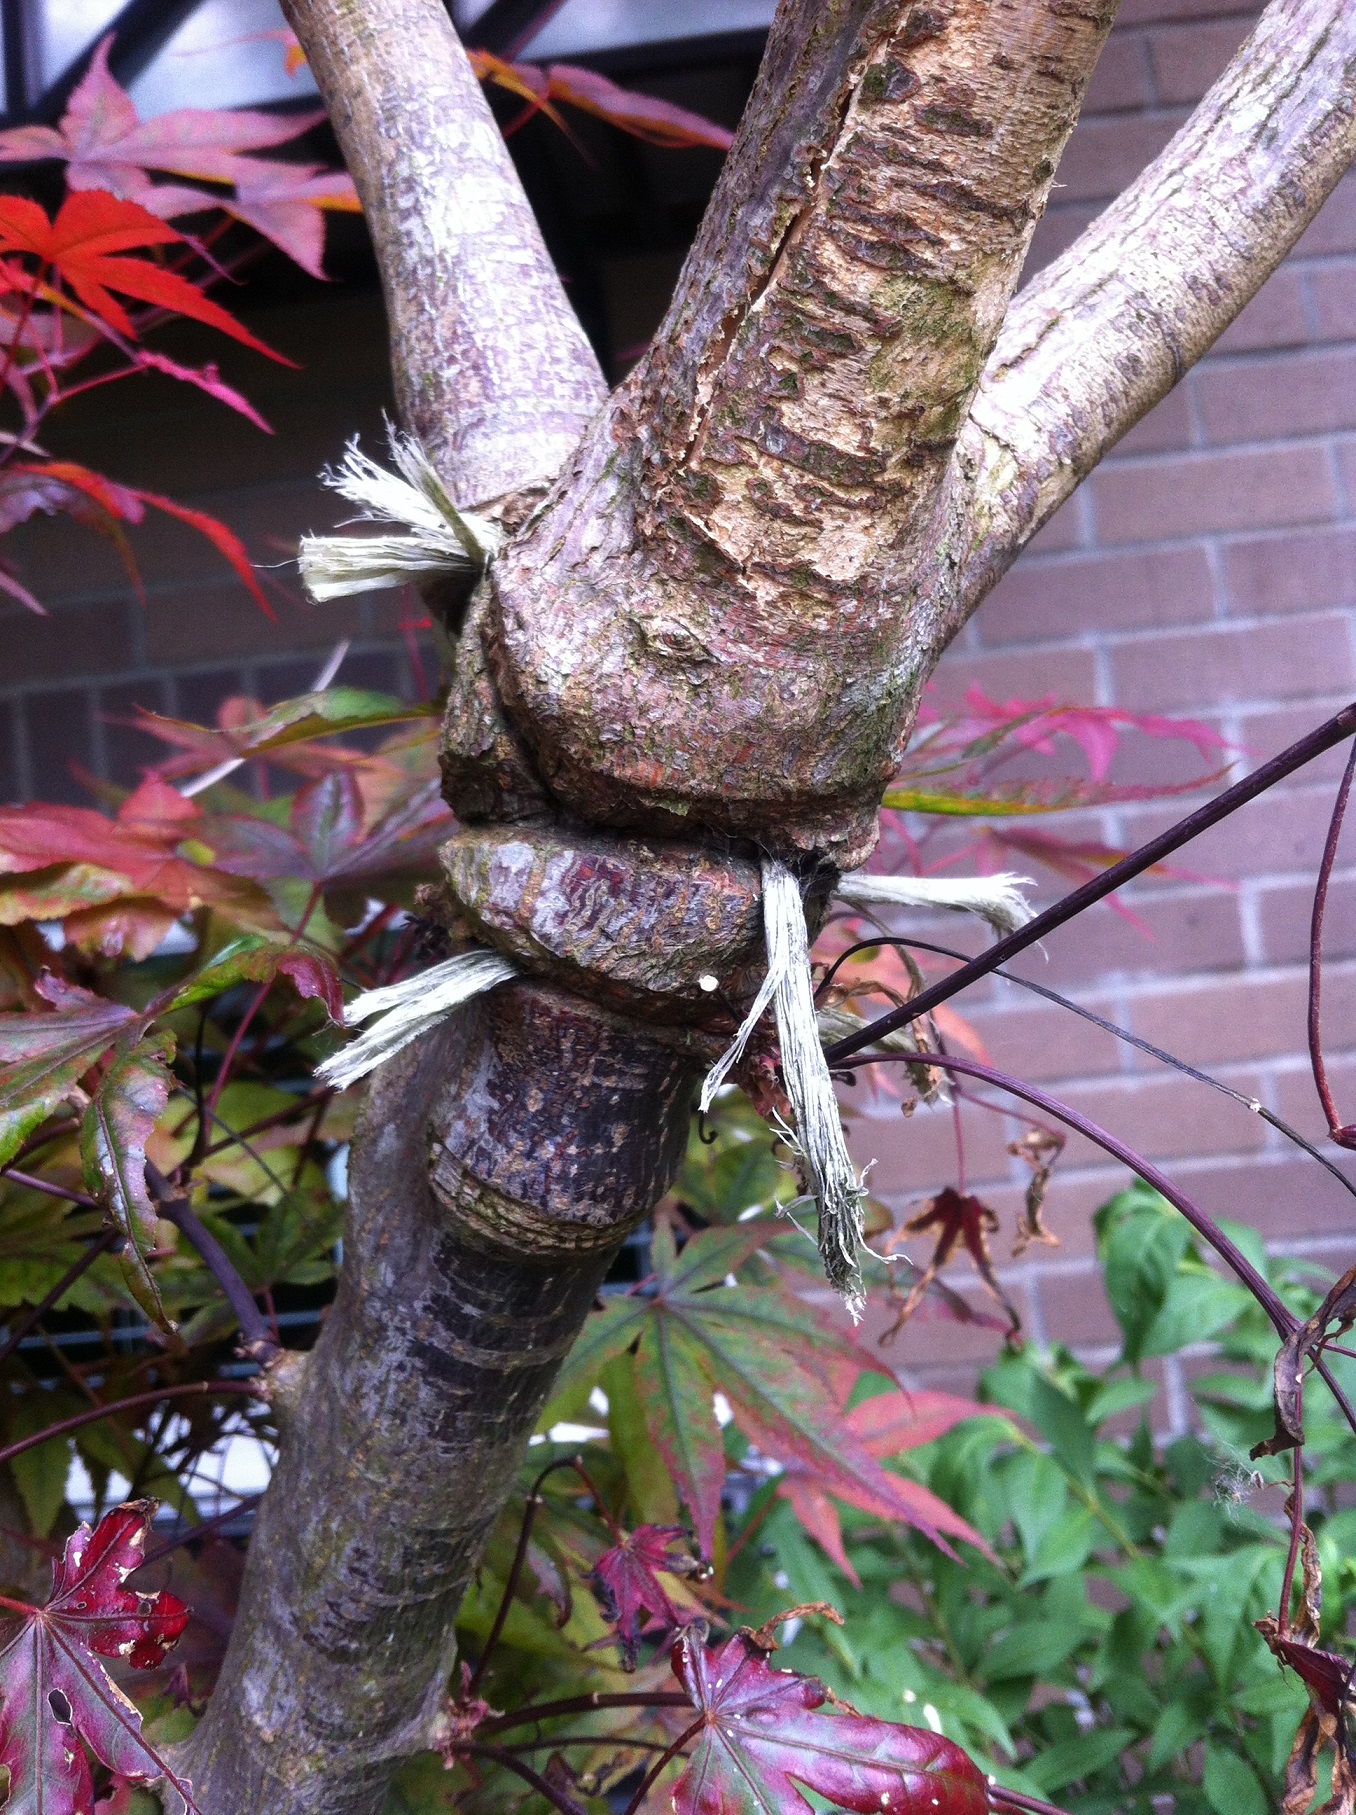
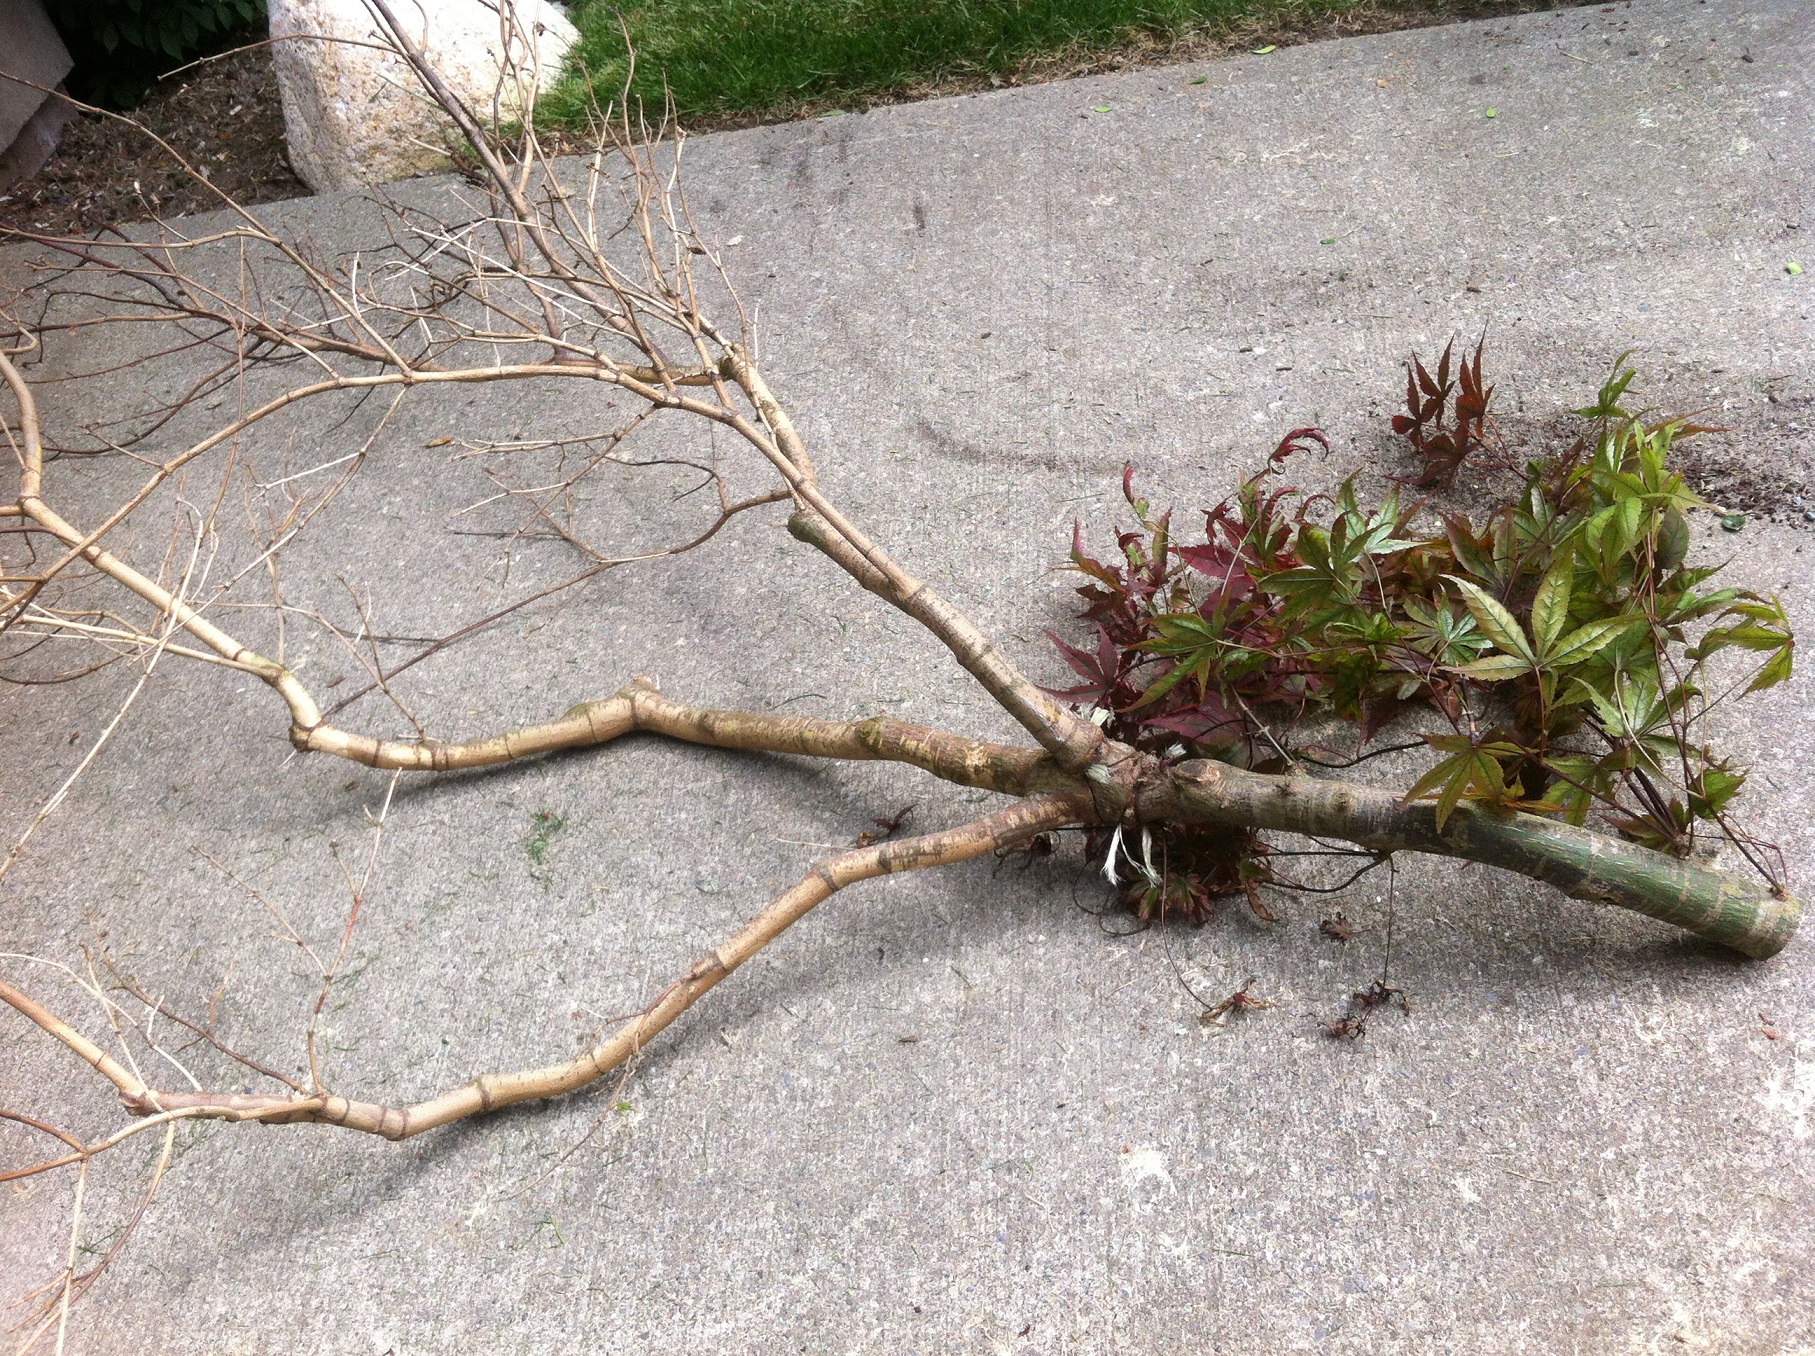
While blowing a large strata site on Halloween one of our blowers got jammed when a skeleton got sucked into the back of the blower. It was abrupt and loud. God help you if your ponytail gets sucked in. You’ve been warned.


IMG_2510ed

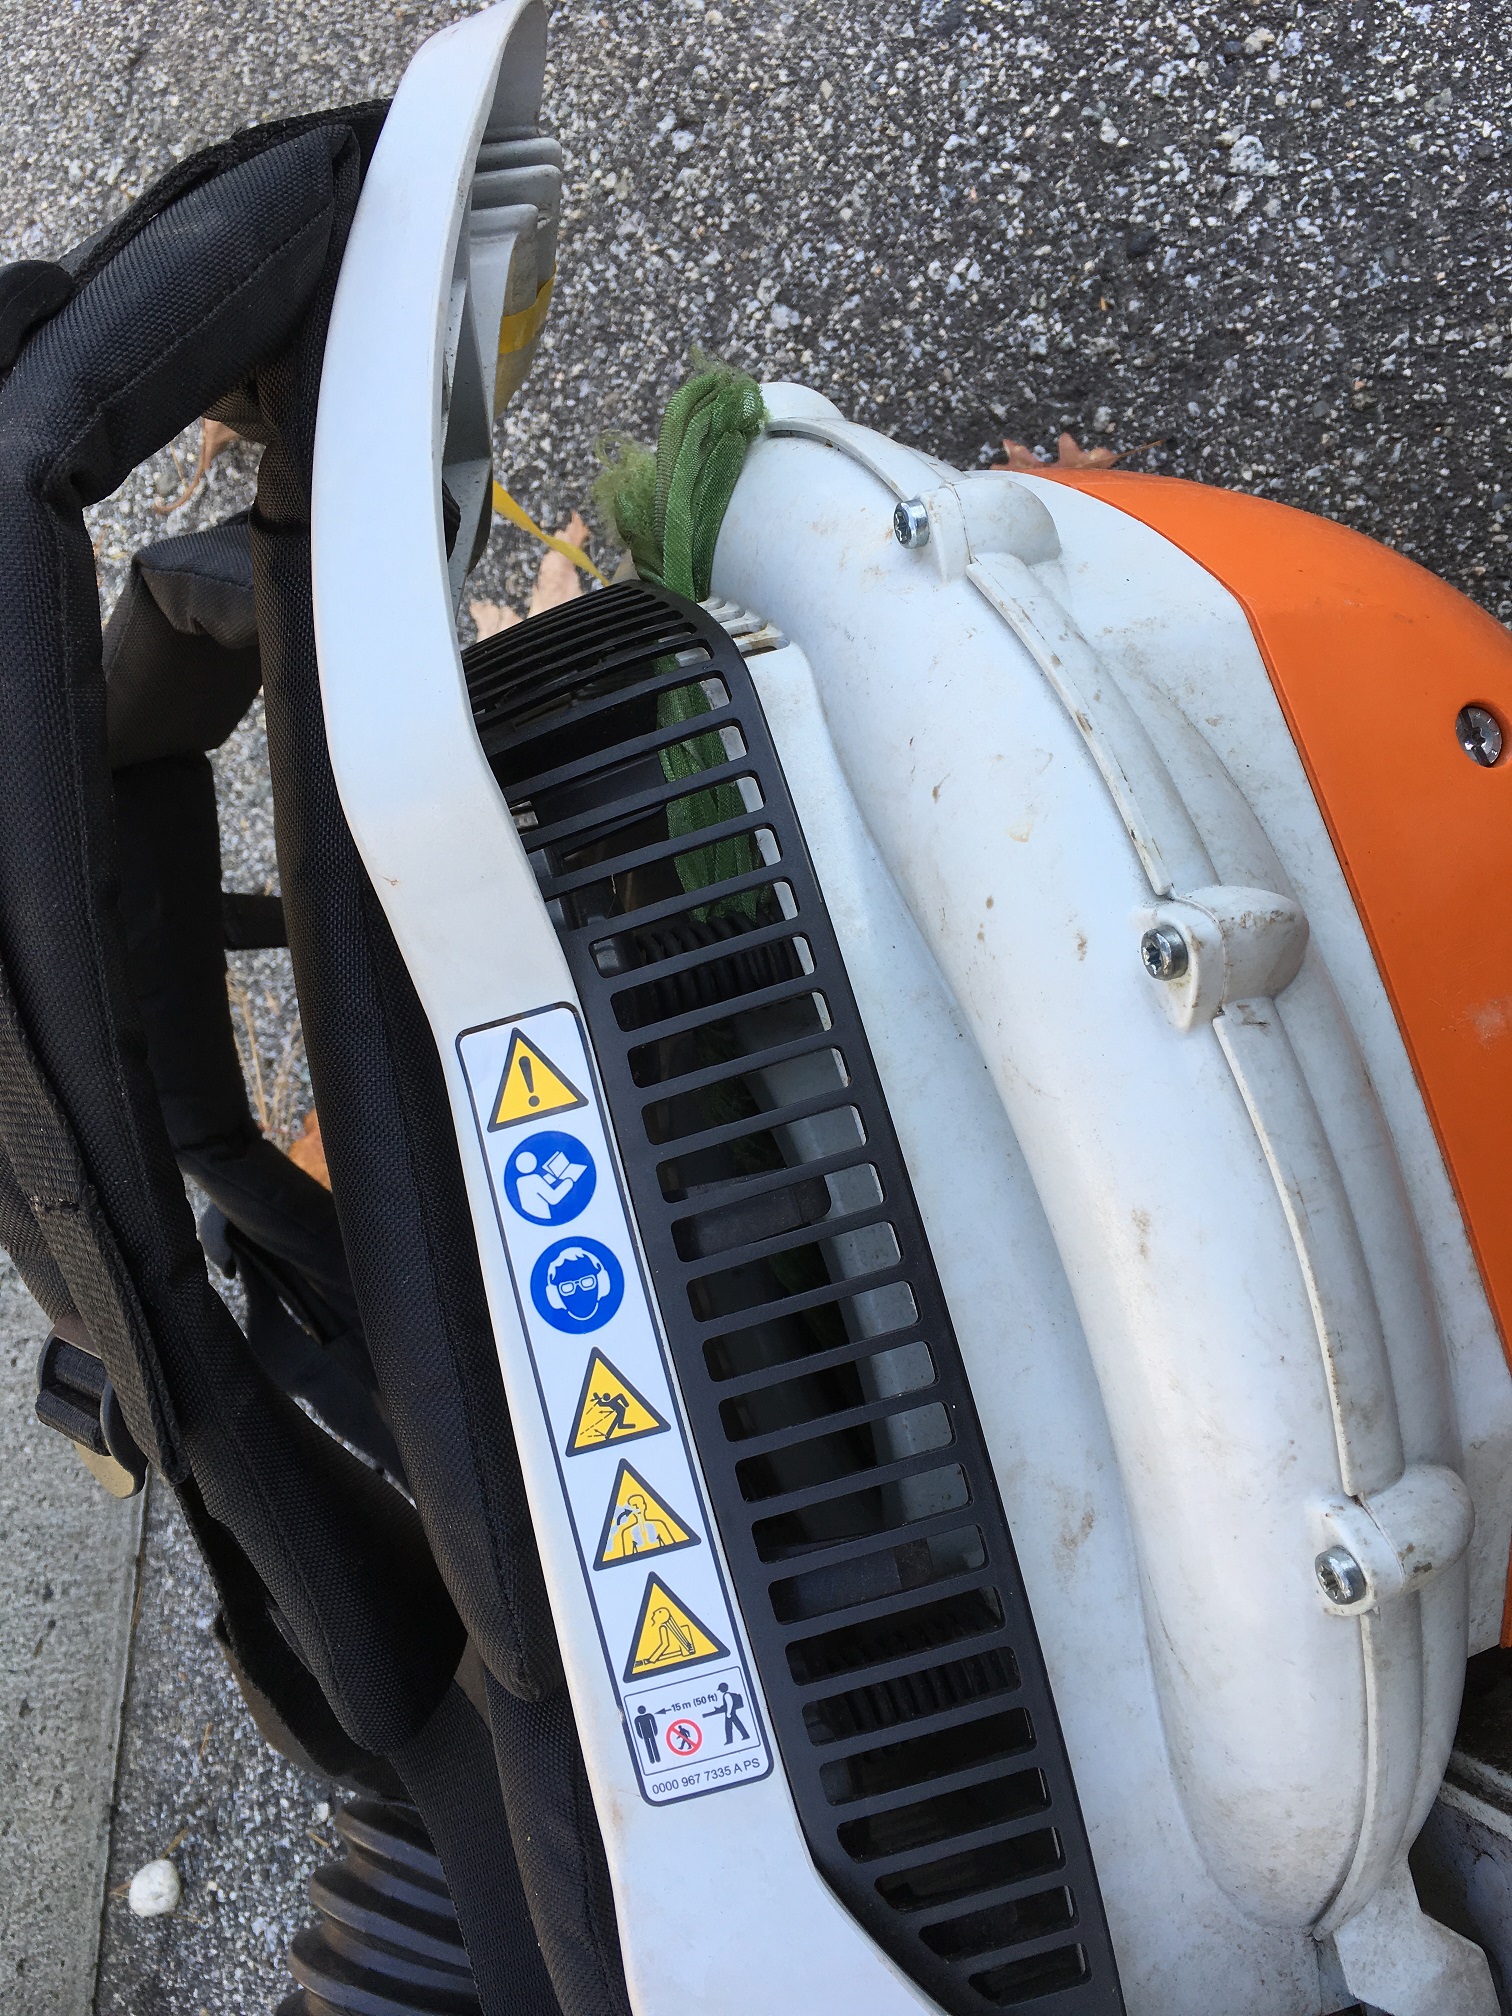
Read the warning signs on your blower before you use it. The green fabric used to belong to a skeleton. Once it got sucked in, it jammed the machine.


Personally, I love the fall. Once I clean up a leafy site, anything fresh on the ground is fine. It’s fresh so enjoy it. The fall is beautiful.


Helpers landscapers love to see

By | Landscaping, Lawn Care, Strata Maintenance | No Comments

While working yesterday, I ran into a worker every landscaper loves to see. Hired by the strata council he was on dog drop duty. Great. That really helps. I wish these dog waste companies were hired more often.


IMG_6925ed


Yes, most of the dogs you see on site are adorable and many of their female owners are, too. But let’s be honest, some backyards are totally disgusting. So disgusting I actually have to include warnings in my training.

I’ve seen new lawn care dudes totally paralyzed when the next yard they have to cut is completely covered in dog waste. So, if you can, mow around the piles. As the grass gets tall around the pile there is a chance the owner will get the hint.

Angry owner

Several years ago I was confronted by the strata owner of a small patch of what used to be a lawn. He was angry because now he had a meadow. Obviously, as the strata landscaper I had to stay polite so I gently pointed out the massive piles of dog waste by now hidden in the tall grass. Nobody on the crew wanted to mow that yard.

Incidentally, when grasses are allowed to mature, they can reproduce sexually. I doubt this even entered the owner’s mind.

Now, he was really angry telling me there wasn’t anything buried in his lawn. And as he was saying this to me, he side-stepped along the wall, never actually stepping in his own meadow. Aha, case closed.

Doggy bags

If you have a weak stomach, skip this paragraph. Mower decks covered in dog waste are bad but nothing beats line trimming accidents. I openly admit to once slicing through an old improperly disposed of doggy bag. I have no idea how to describe the contents of an old doggy bag in language I can print. It’s a sick accident. No wonder I get excited when I see dog waste removal dudes.

Procedures

We mow around dog waste piles if possible. We skip totally covered yards. Some owners get notices; some get letters from strata council. All new workers are trained to line trim with goggles and their mouths closed. All workers have the right to refuse maintenance work in disgusting yards.

If you have a problem on site, definitely call a dog waste removal company. Your landscapers will love you for it.


IMG_6926ed


IMG_6927ed

Obstruction in the landscape

By | landscape maintenance, Pruning, Strata Maintenance | No Comments

Obstruction in the landscape is a well-known theme but it’s often missed or ignored. Especially by newer crew leaders and workers. So let’s examine some cases of obstruction and learn from them.


Spring rains

This is what happens after spring rains and early season growth. All of a sudden we have obstruction everywhere. Immediate corrective action is required by people’s front doors.


IMG_3201ed


Walkways

It happens all the time. Your new worker concentrates on his lawns and in his rush to complete the work places his tarps on walkways. Then a senior citizen pulls up in a motorized scooter and we have a problem. If you think senior citizens aren’t capable to angry outbursts and middle finger salutes, think again. Never block walkways.


18119349_10203111679748423_6949587408846556966_n

This isn’t the best place for a tarp.


IMG_4381ed

Much better and stress-free!


Signs

Signs exist because they have a message to convey. It’s easy for vegetation to obscure them so check your sites and take action. This is especially true for sites you have recently taken over.


IMG_4202ed


IMG_4203ed

Much better.


Exits

All exits should be clear. This example is from a neglected strata site. I pruned off the offending maple tree (Acer circinatum) branches in a few minutes. The residents must have been ducking here for months.


IMG_4472ed


IMG_4676ed

Another walkway example with Indian plum going wild.


IMG_4677ed

Problem solved!


Peonies

Peonies usually require staking and more space. I used a bit of string and two minutes.


IMG_4689ed


IMG_4704ed


Parking stalls

Parking stalls should always be clear of any obstructions. This took one cut with my snips.


IMG_4889ed


IMG_4890ed

Done!


Vehicle site lines

This one is much harder to spot. Residents driving out couldn’t clearly see other approaching vehicles so I had to prune the maples. Note that you should be able to see through Japanese maples (Acer palmatum) anyway.


IMG_4758ed


IMG_4760ed


Dog waste

This is a most disagreeable topic but let’s not be shy. This is what it looks like on the ground for landscape maintenance workers. The ignored long grass indicates the presence of large dog waste piles. So in this case the obstruction is created by the owners.


IMG_4691ed

Dog waste in the open, urine soaked lawn and hidden inside shaggy islands.


Future obstruction

This is an interesting small yard. I once took the liberty of pruning a few branches off this Magnolia so we could get through the gate. The owner had a fit, calling us nasty names. Unjustly, I believe. She planted two Magnolias in her small yard never bothering to read the tree tags still attached to the trees. Considering the future size of these trees I fully expect this owner to beg me to prune her trees in the future. Always consider the mature size of your new trees before planting them.


IMG_4947ed


Obstruction in the landscape is a well-known theme. Train your workers to spot it and correct it.

How to give your lawn a facelift with power rake and soil

By | Lawn Care, Strata Maintenance | 3 Comments

Yes, it’s finally spring on the West Coast, so why not give your lawn a facelift? Perhaps you have bare spots showing in your lawns. Let’s add a light layer of top soil and over seed it. Or there is too much thatch and moss in your lawn. In that case, we can bring out a power rake and comb out the offenders from your lawn.

With moisture and higher temperatures your lawn should perk up very soon.

I did some of this work last week so let’s recap the steps so you can do it for your own lawn. Or you can hire a good landscape company that will do it for you Properly.


Power raking 101

The power rake doesn’t look like much but it packs a punch, if you let it punch. The key issue is the height level of your tines. If you drop them low, the machine will rip up your lawn. So be ready for some bare brown spots that will need an application of good, weed-free top soil and over seeding.

If you set the machine high, you will just tickle your lawn. So experiment and adjust the height depending on the condition of your lawn.

The key number two is clean up time. Don’t underestimate your clean up times. If you hit your lawn hard, expect to rake up a lot of debris. Budget your time accordingly.

If your lawn is fine

If your lawn only suffers from some bare spots, then skip the power raking step and move on to top dressing. We need good quality top soil, most likely turf blend. Turf blend contains a higher percentage of sand. It should also come from a good source and be weed-free. There is nothing worse than saving a few dollars per yard only to introduce weeds into your landscape.


IMG_2840


The rule for top-dressing is to rake the soil in nicely so that your bare spots are covered but the rest of your grass isn’t smothered. Rake the soil nicely into your existing grass. It should still be visible.

Over seeding is also very easy. Just beware of wind. Apply seed carefully around bed edges so you don’t create a headache for later. Monitor your lawn for seed germination and re-apply as required. With some moisture and higher temperatures everything should be fine.


step 1 power rake

IMG_2829 (1)


step 2 rake up

IMG_2834


step 3 top dress with soil

IMG_2831 (1)


step 4 rake in the soil

IMG_2830 (1)


step 5 over seed

IMG_2843 (1)


Your lawn will thank you for your hard work!

How to achieve privacy with yew hedging

By | landscape maintenance, Strata Maintenance | No Comments

Privacy is a huge issue at some multi-family strata complexes. One way of achieving privacy is through hedging. This then was my task late in March. I’m not sure why the previous landscape maintenance company didn’t complete this project. It was clearly near the top of the strata list. It took me one day to complete it. I hope the residents appreciate their new privacy.

Step 1 Supplies

The first step obviously involved shopping for supplies. I picked up pre-ordered yews (Taxus x media ‘Hicksii’) at Specimen Trees in Pitt Meadows, a wholesale tree and shrub supplier. I love this place because it’s full of labelled trees and one of friends works there. Since it rained heavily, off-roading in my company truck was a huge bonus.

I also picked up a yard of soil amender. KEY: always top-dress your new installs for instant great look and to give the new plants a nice ‘kick’ with fresh soil.


IMG_2541

Pre-ordered yews at a wholesale nursery


Step 2 Bed preparation

This step was fairly easy because there used to be a row of cedars providing privacy; until they died. This meant that the new grass wasn’t as established and the soil underneath was good. KEY: Considering the recent summer heat wave and winter snow load damage done to our landscape cedars (Thuja occidentalis ‘Smaragd’), companies are switching to sturdier yews (Taxus x media ‘Hicksii’).

First, establish a deep edge line with a ninety degree edge. Then, dig up the turf and remove it. Warning: not all facilities consider grass chunks as green waste so ask first. It’s still fairly cheap to dump it but make sure it’s on the correct pile, especially if there are rocks attached.

Complete your bed preparation by levelling off the soil.


IMG_2543

Establish deep edge.


IMG_2545

Remove all grass chunks.


IMG_2548

There used to be a cedar hedge here so the soil is fairly good.


Step 3 Yew install

I set out all twenty yews in the bed to make sure the spacing was correct. Then I installed the yews one by one. Each yew was treated the same exact way. Each plant was set in the hole and positioned so its best side faced the walkway. Who wants to look at stems? Make sure the plant is nice and green and full on the high-profile side.

Next, cut the string and remove it. Also remove the top third of the burlap. Then plant the yew slightly higher in the hole because the root flare is slightly hidden in the clay root ball; and remember, we will be top dressing everything at the end.

KEY: Backfill your planting holes with the original soil. It might be tempting to use the nice new amender from the truck. Don’t do it. Water will find it easier to enter the planting hole, it will waterlog and your yews will fall down like joysticks. Always use the original soil for back filing.


IMG_2549

Set it out and check for correct spacing


Step 4 Double-check and top-dress

Almost done! Double-check every single yew for positioning and then top-dress with soil amender. KEY: Make sure the plant root flares aren’t covered in inches of soil. Install the soil so it doesn’t cover the root flare. Then, touch up your deep edge, collect any debris or garbage and do a courtesy blow.


IMG_2553

All done!


Conclusion

Projects like this can be very satisfying. The residents get some privacy back and your helpers get to break their landscape maintenance monotony. The yews should perform better than the original cedars.


Grinding through winter landscapes

By | Landscaping, Seasonal, Strata Maintenance | No Comments

Last year came to a close with unusually cold temperatures and lots of snow in the Lower Mainland. As I write this blog post in early February, 2017, the cold weather continues. While working in cold weather with frosty landscapes can get very old and annoying, there is work. If you look closely. Some of it is obvious; some of it requires imagination. Consider yourself lucky if your employer let’s you work. In winter seasons past I used to get my work hours cut just because it happened to be foggy outside. Foggy!


The obvious

Snow clearing from walks and roads. The obvious and back-breaking task. Dress well and have some spare snow shovels ready. Just in case. Hydrate properly. Clear off high-profile walkways and car ramps.

IMG_0326IMG_0324

Brushing snow of plants. Gently take the load off. This will prevent damage. The Nandina domestica below must feel better.

IMG_0347IMG_0346


Surveying for damage. There will be branches to prune off and shrubs to stake or tie back.

Tree pruning. Assuming it’s not extremely cold outside, tree pruning is a perfect winter activity. The crown structure is clearly visible. Identify broken, crossing and rubbing branches; and anything dead or diseased. Identify every single tree species on your site using scientific names.

Cedars. Unless it’s extremely cold outside and positioning your ladder looks sketchy, cedar hedges can be sheared. Don’t forget you can warm up your hands on the gear case of your power shears. Just make sure the shear blades are stopped! No, it’s not very safe but what do you do with frost bitten hands?

Perennial and grass cutback. Some perennials get missed in fall or they are left to provide some winter interest. For example, Sedums and ornamental grasses. If you see snow damage it’s OK to cut them back.


The less obvious

River rock install. This was unexpected but it made perfect sense. Imagine a deserted landscape supply store on a cold morning. Loading my truck was quick and easy. No waiting. The client needed to cover up plastic that was protruding from her patio rocks. So we buried it with 2-6″ rover rock. As she came out to inspect the work and point out the protruding plastic, we enjoyed the heat escaping from her unit!

Drains. It’s critical to expose all snow covered drains. Before the surrounding areas flood. This step often gets skipped because it’s assumed municipalities are responsible for it. They are but they’re also busy. Be glad you have some work to do.

Exploring new sites. As new sites come on, this is a good time to familiarize yourself with your new work areas. Walk every inch, make notes, written and mental. Take pictures. Survey. You’ll be glad you did when the weather improves. This includes site clubhouses with washrooms and heat. Consider a brief safety meeting as you defrost. Just don’t make a mess.

Tree stake removal. Check to see how long the tree stakes have been on the trees. Anything over one year should be removed. Unless it’s a special case like downhill leaning pines that would collapse instantly. Staked trees fail to form reaction wood which is formed when wind events run though. It makes trees stronger.

IMG_0460


Tree training. Now is a good time to take a new arboriculture apprentice and point out weak, crossing and damaged branches.

Blowing snow. I hate blowers and the noise they make but there are cases when blowing snow makes a lot of sense. We exposed the light top layer and shovelled the remainder, thus saving ourselves a lot of time and back-breaking labour. Ice can also be blown away if you’re patient enough to let air build up under the ice. This can actually be a fun activity.


Conclusion

There is winter work to be done even when the weather does not cooperate. Just do it safely. Dress properly. I spent money today on a new, warmer toque, $1.99 on a neck warmer, and new, what I hope will be much warmer gloves. Test day tomorrow. There will be food on the table for my kids. That thought always warms me up!

It’s also a good idea to enjoy the frosty landscape views. Kids make cute snowmen; the mountains look great covered in white. Make the best of it.


IMG_0245


untitled

Allright ladder fun

By | gardening, Landscaping Equipment, Strata Maintenance, Tips | No Comments

Tripod ladders rule

Japanese-style tripod ladders are excellent landscape and garden tools! Out in the field helping one of our strata maintenance crews with pruning, I took my lunch and opened up the Vancouver Sun. There, on page B3 was an article on ladders by Steve Whysall. Happy coincidence!

Let’s get to the best part right away. The single peg on the ladder is brilliant because you can position it almost anywhere. It will fit through hedges and you can punch it into your soil for stability. The most common size is ten feet. Since I was pruning small hedges in tight entrances, the small six foot ladder was perfect. It’s light to carry and maneuver and it got me just high enough to perform my cedar shearing. Lifting the extendable shears above my shoulders is tiring and leads to needless exhaust sucking. Why do that? Always position yourself for maximum output and comfort.


IMG_9389

6 ft ladder is easy to maneuver in tight entrances and gets you just high enough to shear the cedars nicely


Safety

Obviously, the bigger the ladder and the higher you are, the bigger the dangers. Always think about safety. Don’t rush. My only serious injury in seventeen seasons of landscaping happened while I was descending one of the bigger ladders. It was a 12 or 14 foot “widow-maker”. I started descending before my power shears were completely stopped. Yeah, I know, this was early in my career. Then my thumb met the steel blades. If it hadn’t been for my nail, the top of my thumb would have been missing. I still recall my helper down below, horrified by my blood dripping on her.

Incidentally, this was also the first- and I hope only- time when I jumped the line at a walk-in medical clinic. I remember an older gentleman probably waiting for his cough syrup, objecting to my line jump. I couldn’t care less.

The Allright Ladder Company is based in Vancouver and it is the oldest ladder company in Canada. They’ve been making them since 1921. Visit their website for safety information or read the Vancouver Sun article sidebar.

As the fall and winter pruning seasons come, I will use these Japanese-style tripod pruning ladders often. Consider getting one for your garden. Most landscape companies have them on their trucks.


IMG_9390

6 ft is the smallest available ladder from Allright

Crushing frosty lawns!

By | Landscaping, Lawn Care, Strata Maintenance | No Comments

In November 2015, as I arrived at a small Burnaby commercial site on a cool Saturday morning, my task was very simple. All I had to do was collect leaves from the base of a cherry tree. But, the lawn was very frosty and I had to be at another site in a few hours.

As I took my first step onto the frosty lawn, I recalled an article from the New York Times I had read several years ago. Let us see what is happening under my big foot.


photo

Big frosty steps


During the growing season as we walk on our properly maintained lush green lawns the individual grass plants are in active growth. The cells that make up their leaves are full of water, food and gases that help them hold their shape and bounce back when stepped on.

When the grass is dormant, the intricate  biological processes that happen in the leaf slow to a near stand still. As temperatures dip in winter, the nights are cold enough to begin to freeze the soil below. Now as you walk over the frosty lawn the ground below has little give because it is frozen and the cells in the dormant leaves can not rebound. This is the key point: The grass plant can get crushed under your foot. It is best to limit traffic until a blanket of snow provides cushioning. Aside from cushioning, plants also use snow as insulation, moderating temperatures around their buds and shoots when the temperatures drop.

Hoping that any damage to the lawn was minimal or better yet, imagined, I quickly collected my leaves from the site into a tarp and left. Still feeling a bit guilty. The winter rains would come soon enough. Snow, as good as it is for plant insulation, is bad for business.


photo 1

It is best to stay off frosty lawns


photo 3

Guilty steps!


Abiotic tree injuries: girdling

By | Arborist Insights, Landscaping, Strata Maintenance, Tips | No Comments

Tree girdling

As landscape supervisor and arborist I reported for duty one fine spring day in White Rock. The request was to check on a dead Acer palmatum tree. Great, let’s see. What I found was a classic example of abiotic tree injury: girdling. In this case it was caused by an overzealous bird lover. The bird feeder string was left in place too long. Once the tree grows and “swallows” the string, there is nothing we can do. Nothing.

Tree girdling leads to two huge problems:

a) It restricts the flow of water and nutrients up the tree. The branch above the constriction eventually starves and dies. See the pictures below.

b) Trees fail at the point of constriction.


IMG_3119

This tree owner is a bird feeder fanatic. Top area is clearly dead.


IMG_3122edit

The only life is below the girdling zone where water and nutrients can reach.


Forgotten pines


Sadly, it got worse. An adjacent property has a long wild zone fence line. Hidden in the vegetation are staked pines. Staked and forgotten. The result is the same as above or worse, where the whole pine expired. I presume the pines started leaning and someone staked them with ArborTie. This material replaces wire and hose, it’s cheaper, safe, soft and simple to use.

But in the case below the arbortie was incorrectly tied with knots and left. Since the pines were leaning, there was no “play” on the arbortie. It should be checked periodically. Remember this is a low-profile wild zone between homes and a city park.


IMG_4683edit

This pine was one of many; staked and forgotten.


Action steps

What can we do? Nothing against birds but tree owners should be discouraged from installing bird feeders on their trees. But if they must, then let’s at least use appropriate materials and check on the install periodically to prevent girdling. We can’t reverse girdling.


Facing your hardscape fears

By | Landscaping, Landscaping Equipment, Strata Maintenance, Tips | No Comments

Hardscape shock

2014, Kwantlen Polytechnic University. Sitting in my Red Seal challenge preparation course I was shocked to find out that landscape horticulture involved a lot of hardscape construction. One third of the exam, to be exact. And I wasn’t alone. Many of the other candidates also expected questions on plant families and specific plant species. Clearly, we were about to face our fears.

Fast forward to August, 2016. My boss needed help fixing a hazardous spot at the top of a walkway. Uh-uh. Here we go. No more textbooks. This was real life. Plus consider that I prefer working with live plants. I find hardscape materials too cold.

This is what I learned as I faced my fears.

Basics of paving stone repair

A) Taking notes and pictures as you dismantle everything is very important. It makes it easier later when the stones go back in. Stack everything intelligently.

B) Install mason sand (finely crushed sand) to build up the low spots. Park as close as you can to your work area. Our access was limited which meant bucket work. And lots of sweat.

C) Use tamper tool to flatten the sand and even it out.

D) Re-install bricks and use rubber mallets to beat them into place. Pray they all fit.

E) Cover the stones with mason sand and broom them into gaps.

Mission accomplished. Sort of. The big hole was gone but since there was still a small tripping hazard, we will have to go back and dismantle a larger area. Maybe I will call in sick. Or go and face my fears.


IMG_6374ed

A nasty wash-out at the top of a staircase


IMG_6636ed

Keep track of dismantled stones; install mason sand and use tamper tool


IMG_6639ed

Stones go back in, pray it all fits, use rubber mallets


IMG_6646ed

brush mason sand into gaps


IMG_6643ed

fine mason sand


IMG_6644ed

Tools you will need