Category

Lawn Care

European chafer beetle battles: more lawn, really?

By | Education, gardening, Landscaping, Lawn Care | No Comments

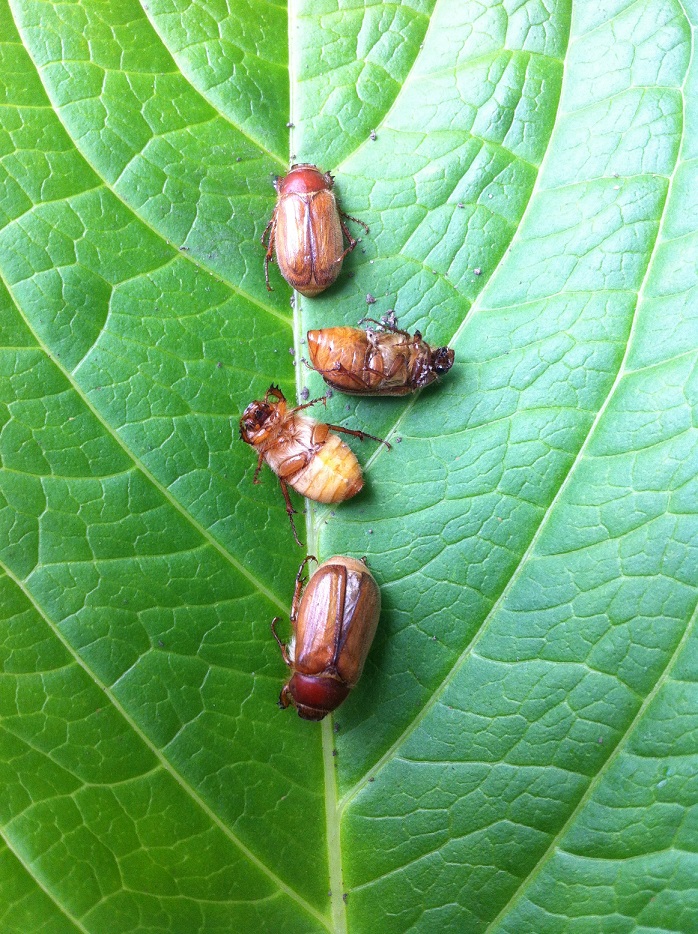
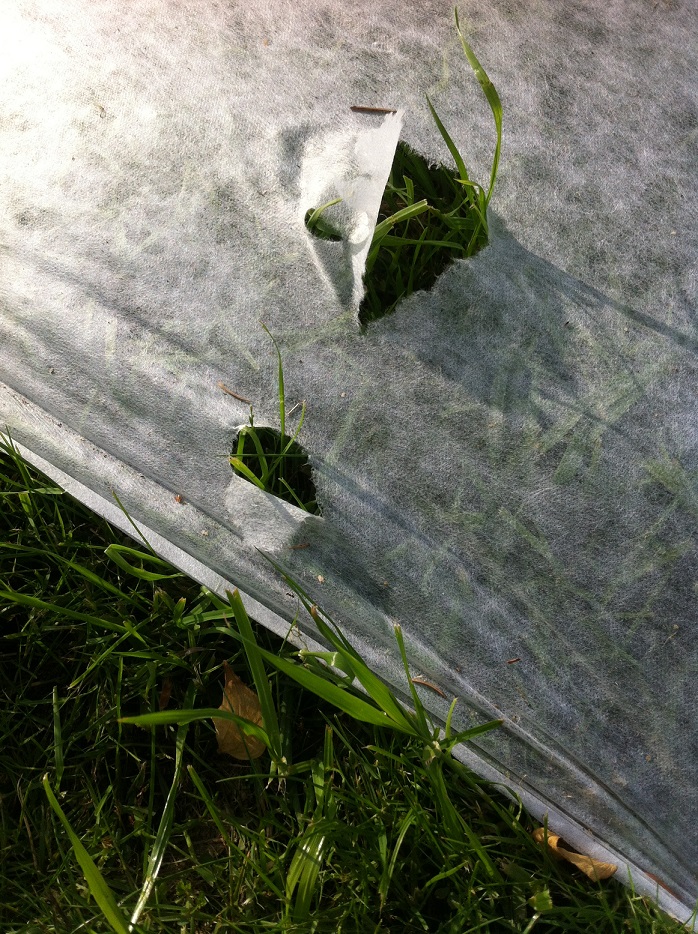
So your lawn has been damaged by animals looking for European chafer beetle grubs. Now what? Do nothing and look at the mess? Get more grass? Or give up and go for alternatives?

I have clients on the Westwood Plateau who last year witnessed black bears digging through their back yard lawn looking for chafer grubs. Their lawn was weak: areas covered by trampoline were mossy, there was no regular irrigation or fertilization. Chafer beetles laid eggs in it the previous June.


shiva

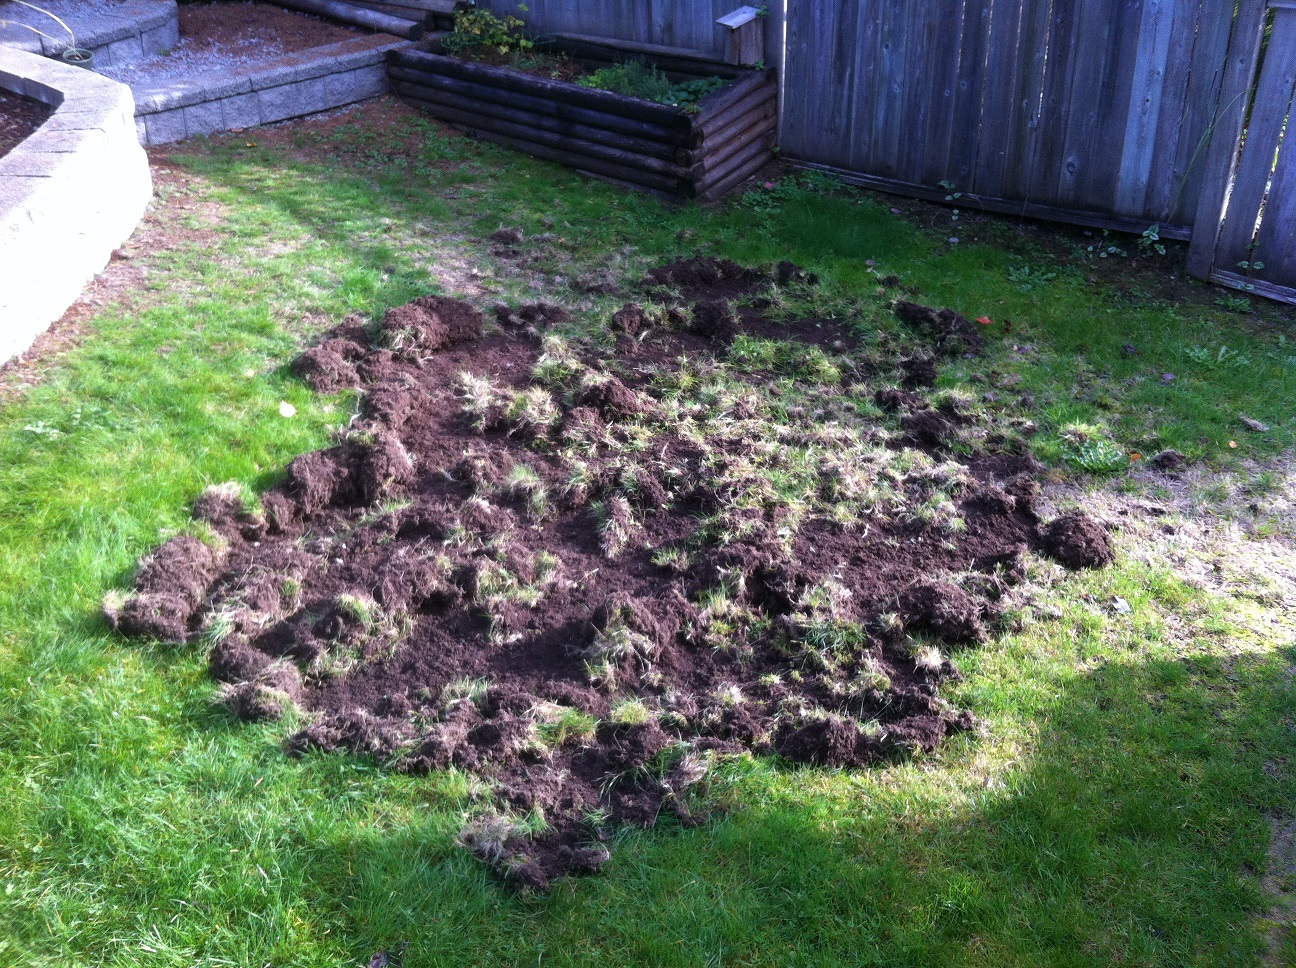
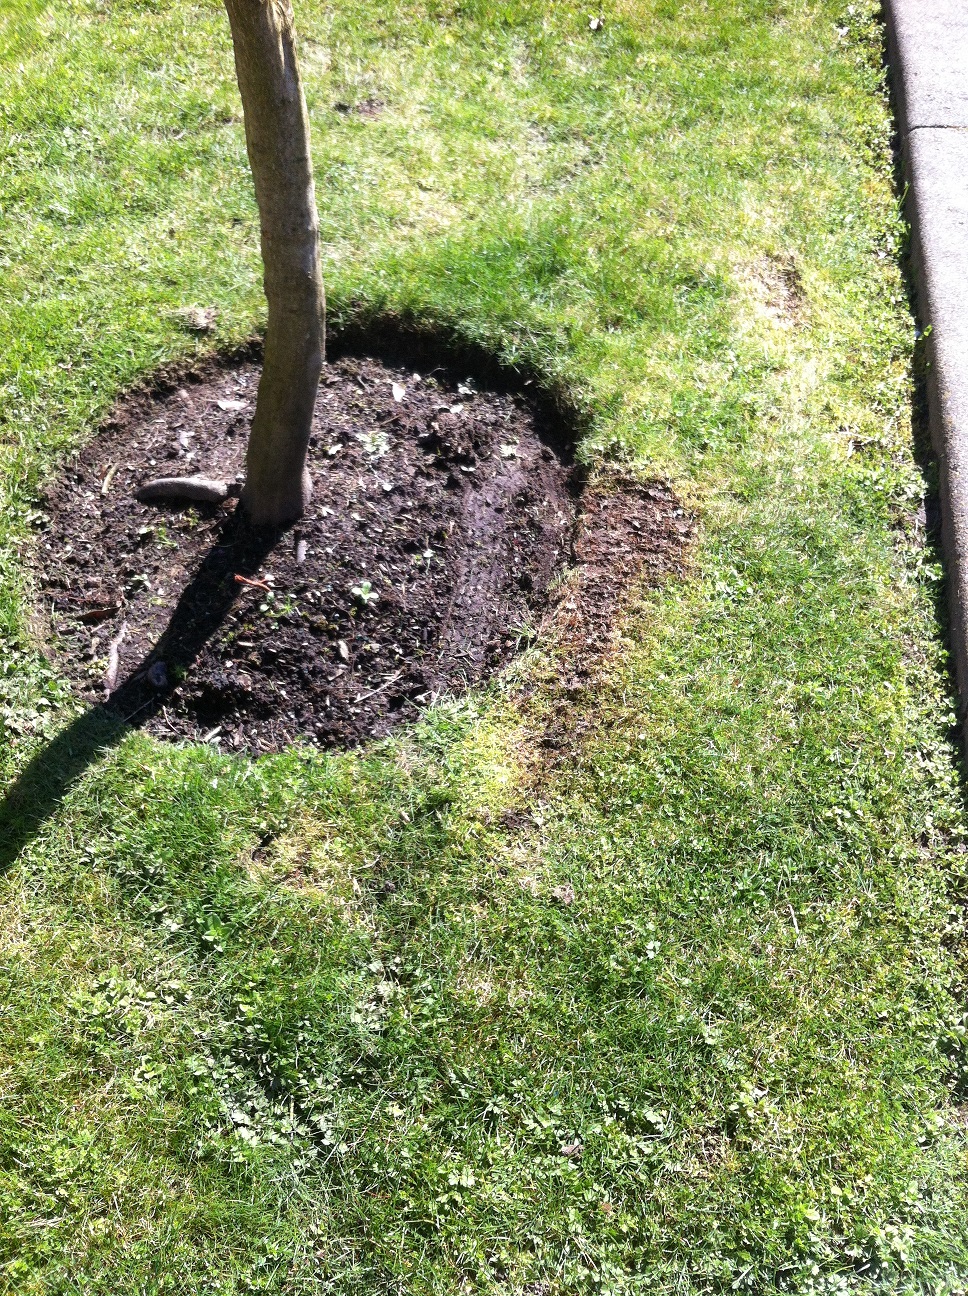
Heavy animal damage as they look for tasty grubs


I came to install mulch and prune their evergreens. Could I fix the damage? Yes, of course. Do regular lawn maintenance? With pleasure.

Client wants more grass

There are home owners who love, LOVE, their green grass. This particular home owner wanted more grass. He installed a new irrigation system, paid for my fix and ordered nematodes. The lawn will be cut bi-weekly and higher than in previous seasons.

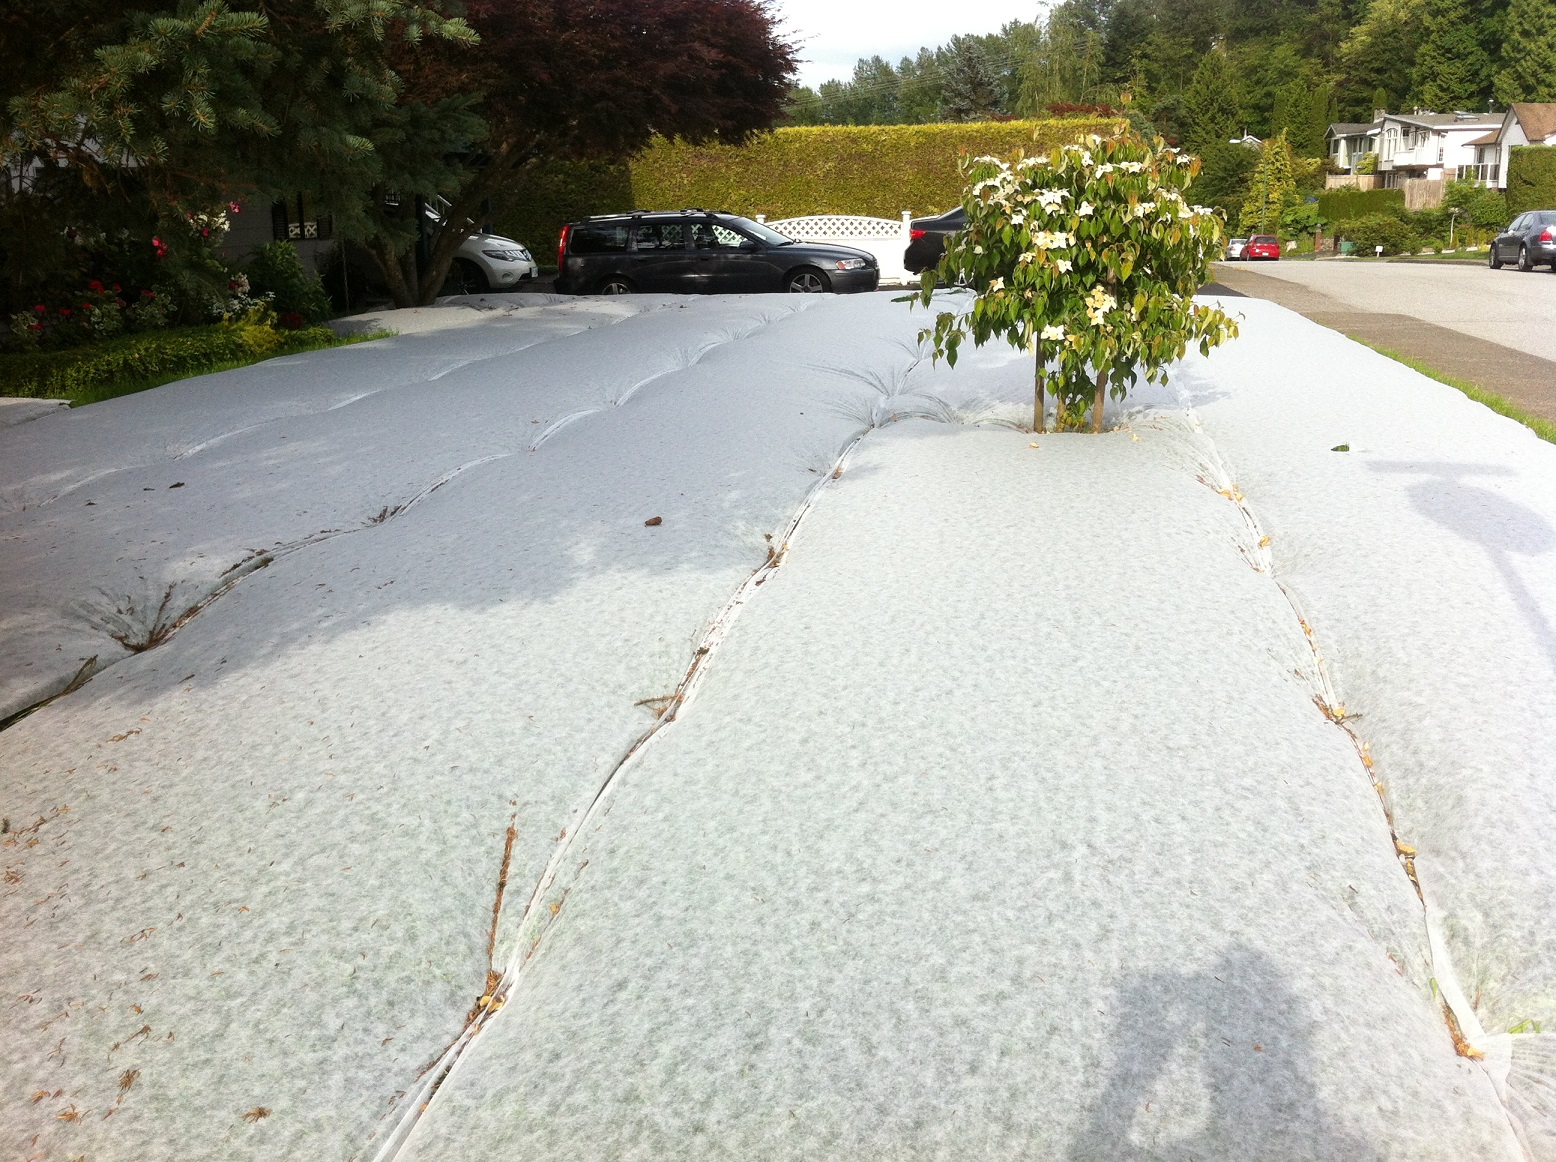
Step 1: cut the lawn short and remove lawn chunks


IMG_5664edit


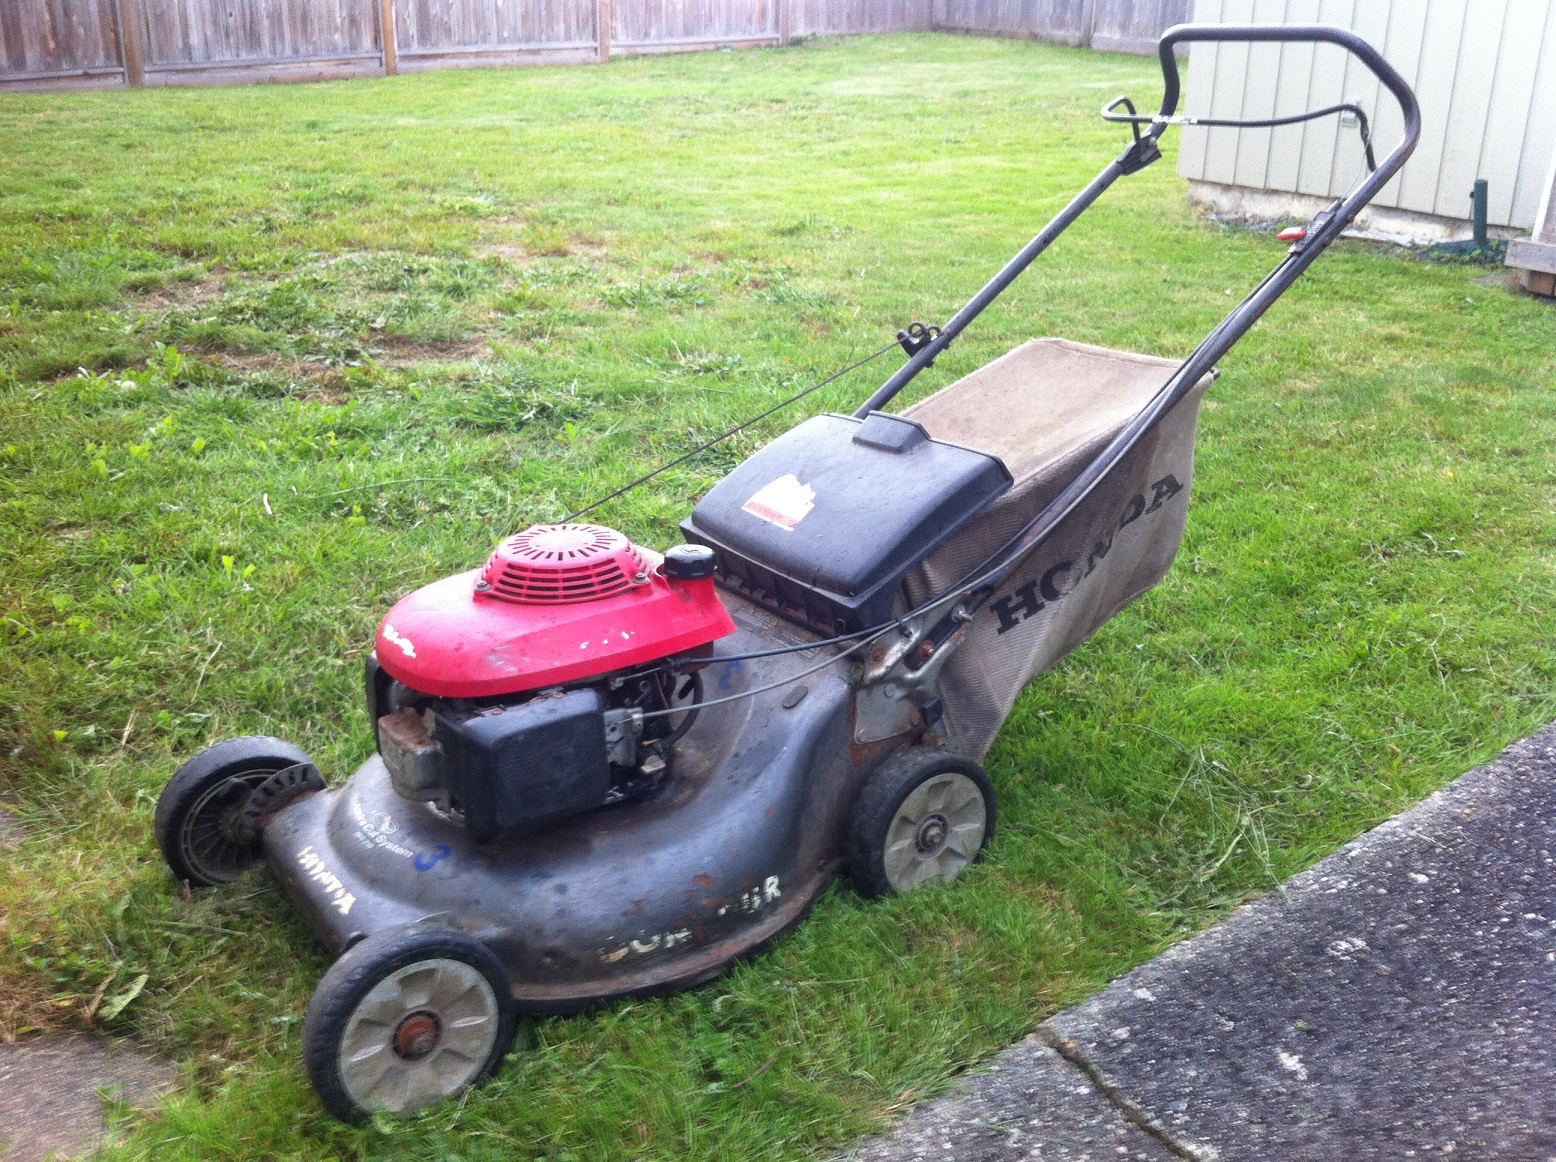
Step 2: power rake the lawn, rake up the debris and mow it again

Step 3: install good lawn and garden soil and rake it in

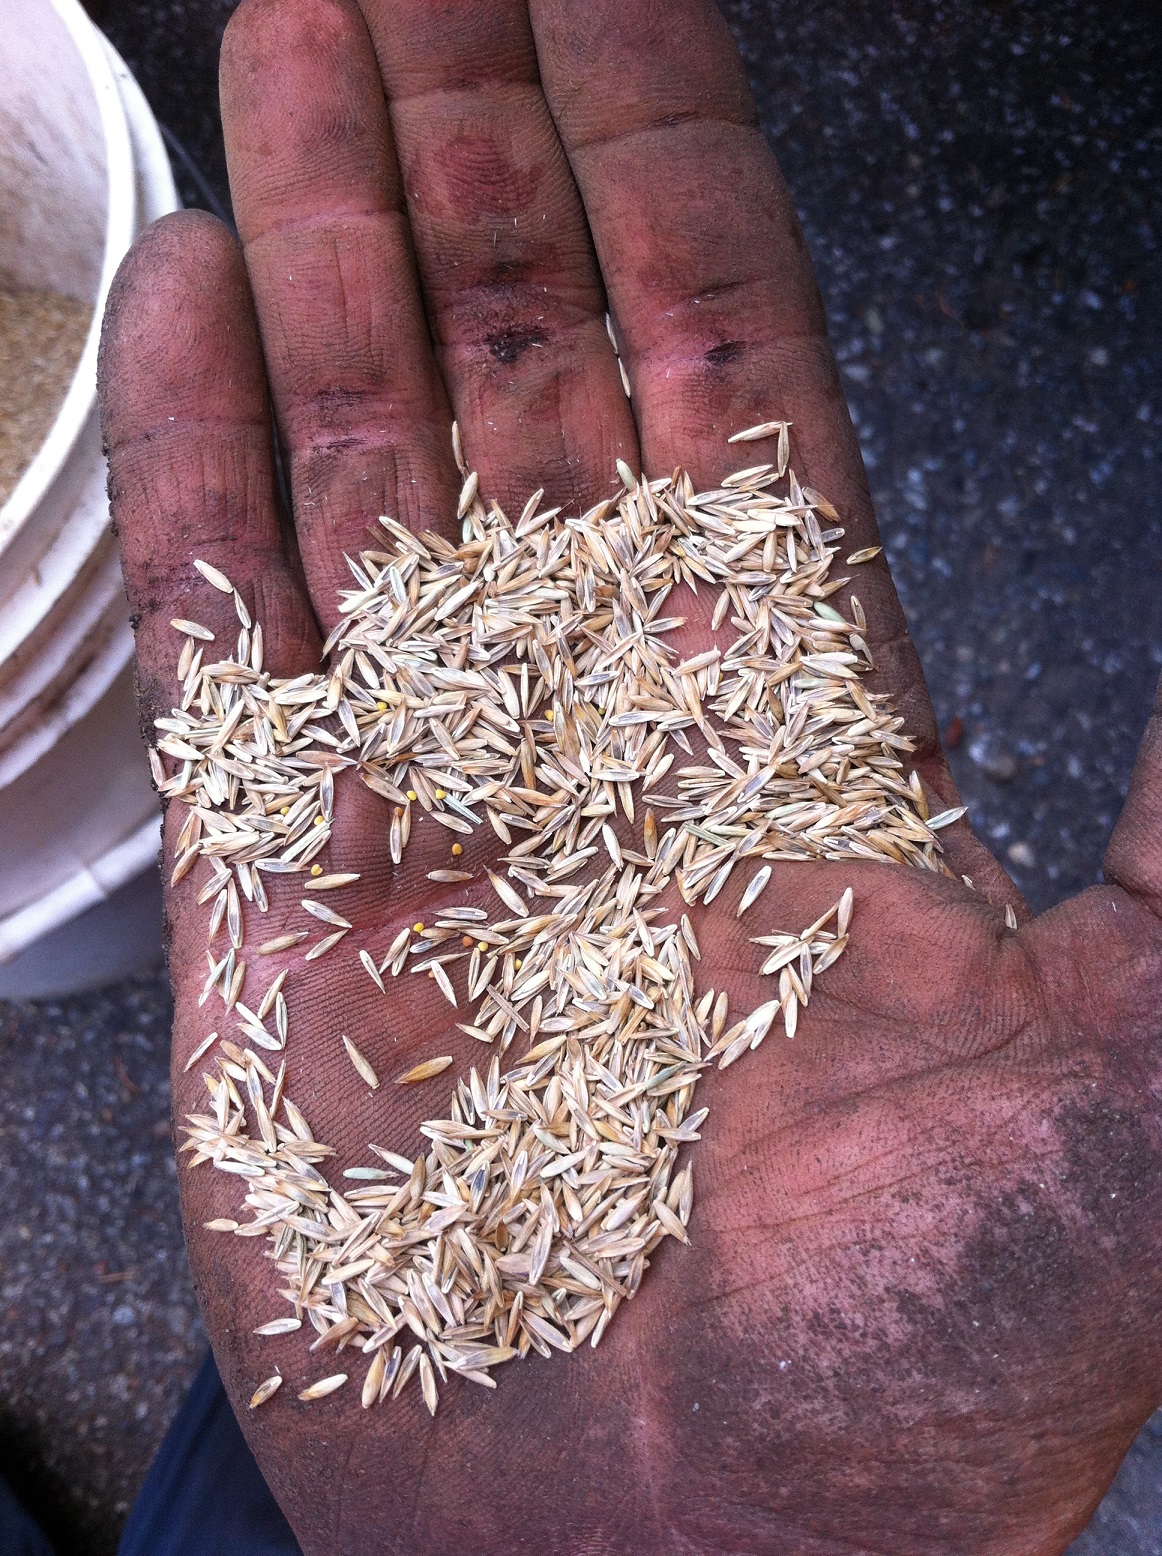
Step 4: overseed, gently rake in seeds, add starter fertilizer, roll it with a pin to level any bumps and to ensure soil-seed contact; and water

Step 5: check for germination after 7+ days and overseed any obvious open spots

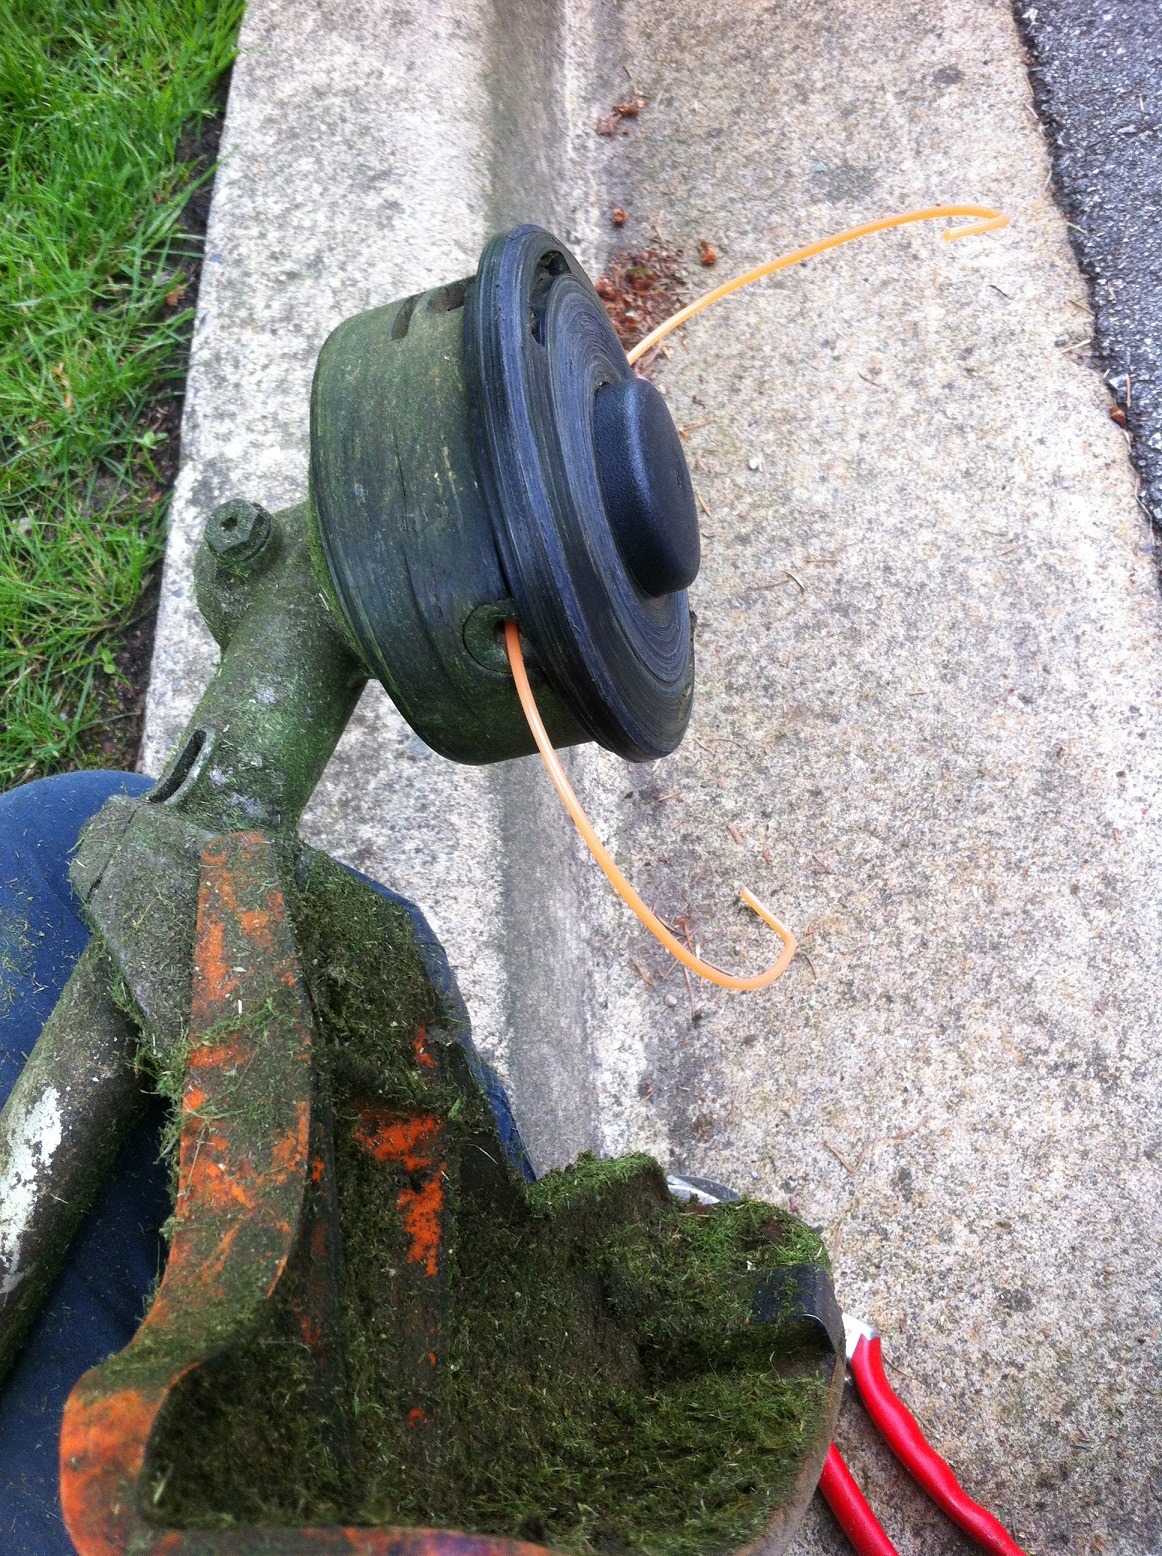
Step 6: order nematodes in June and apply them to the lawn in late summer/fall

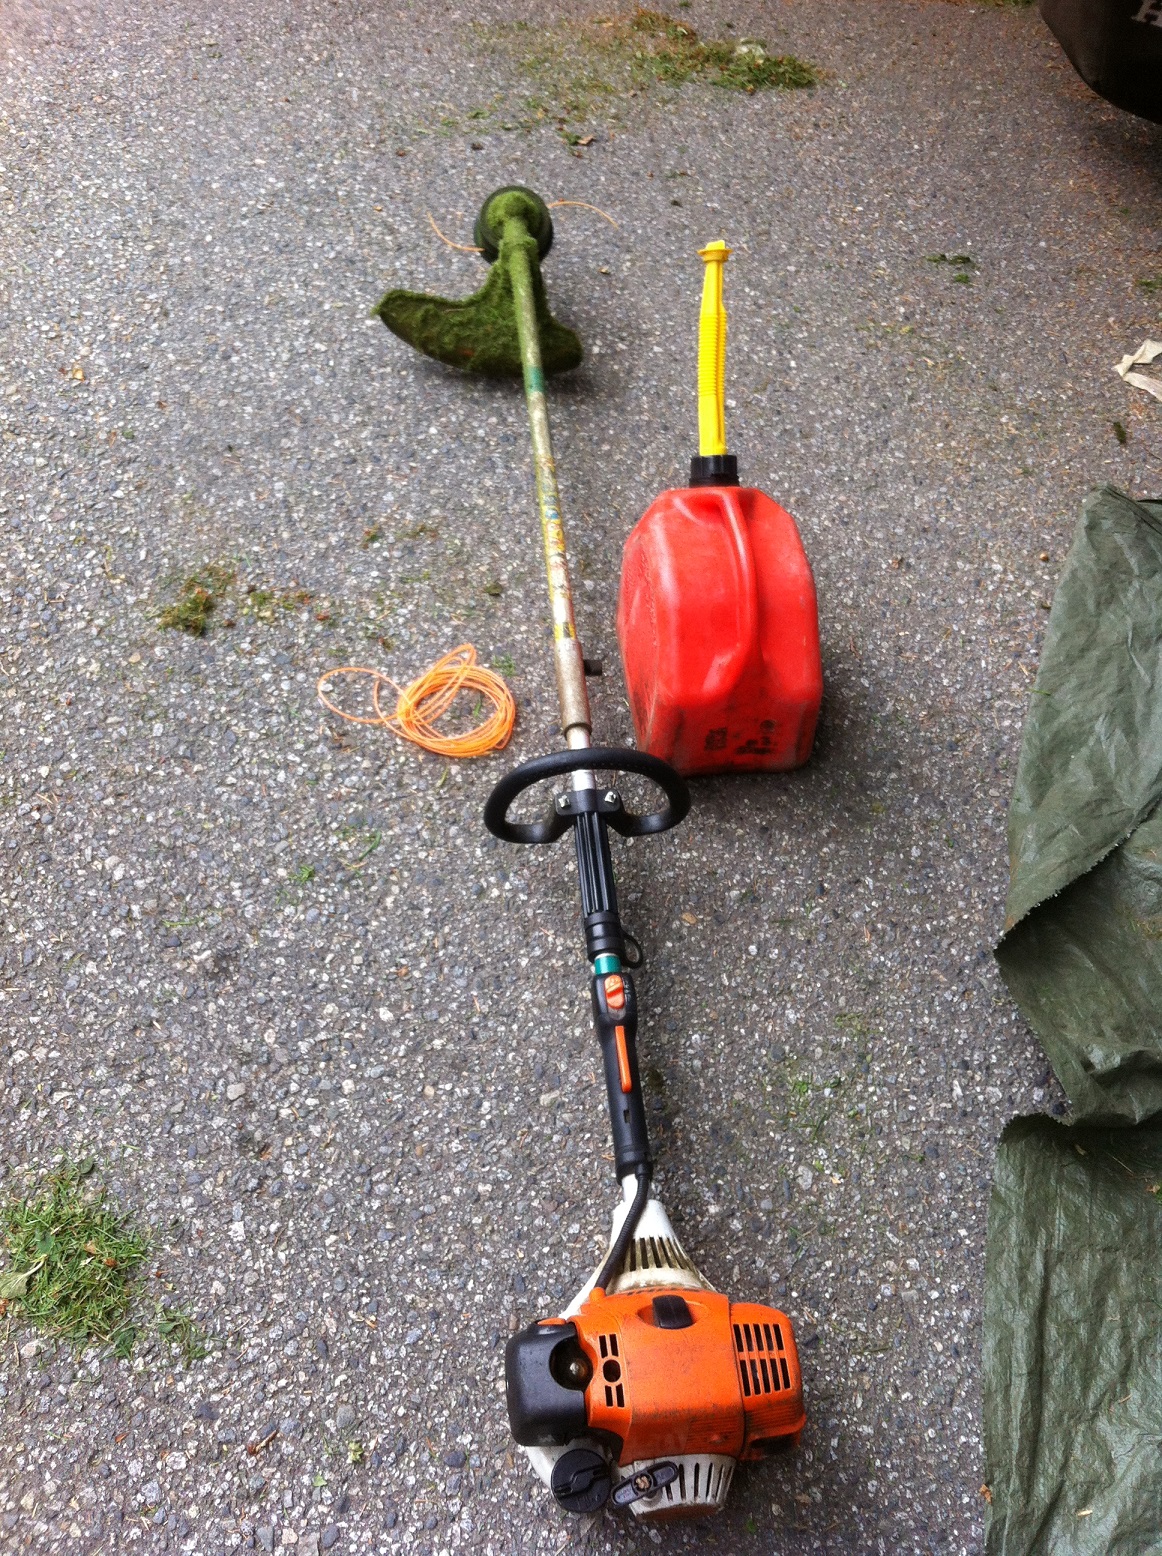
Step 7: cut higher, irrigate and fertilize as required


IMG_5644edit

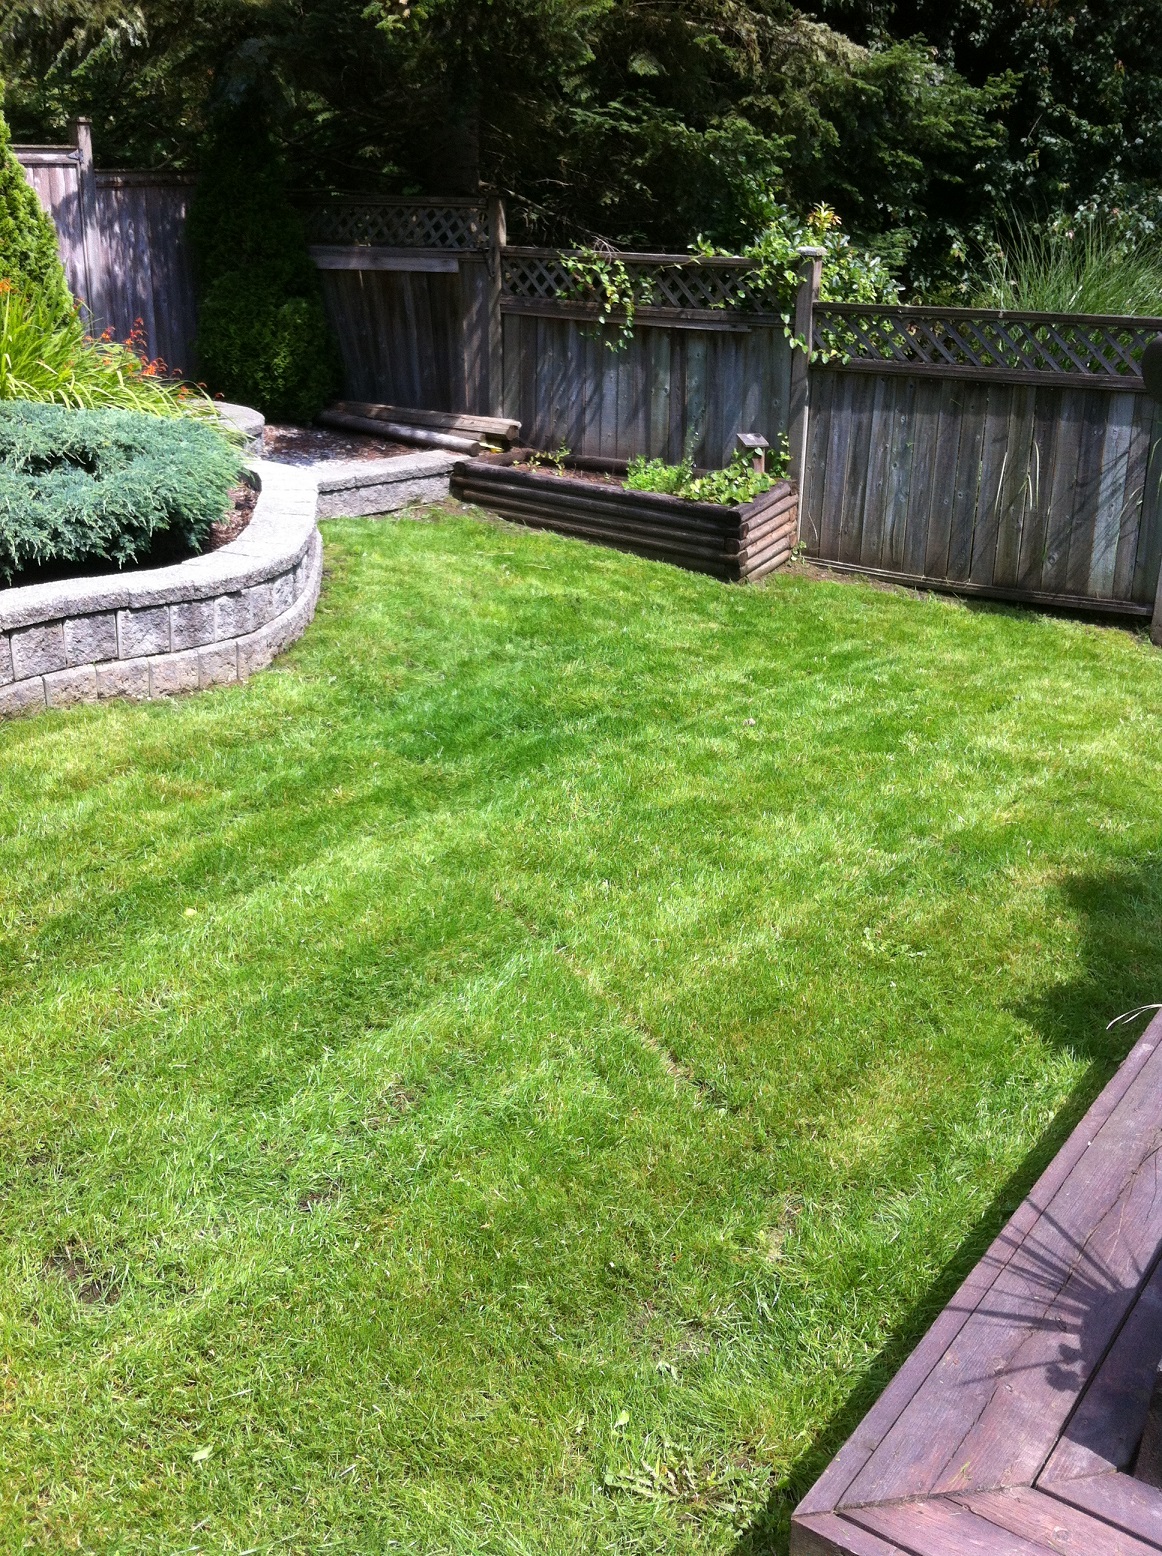
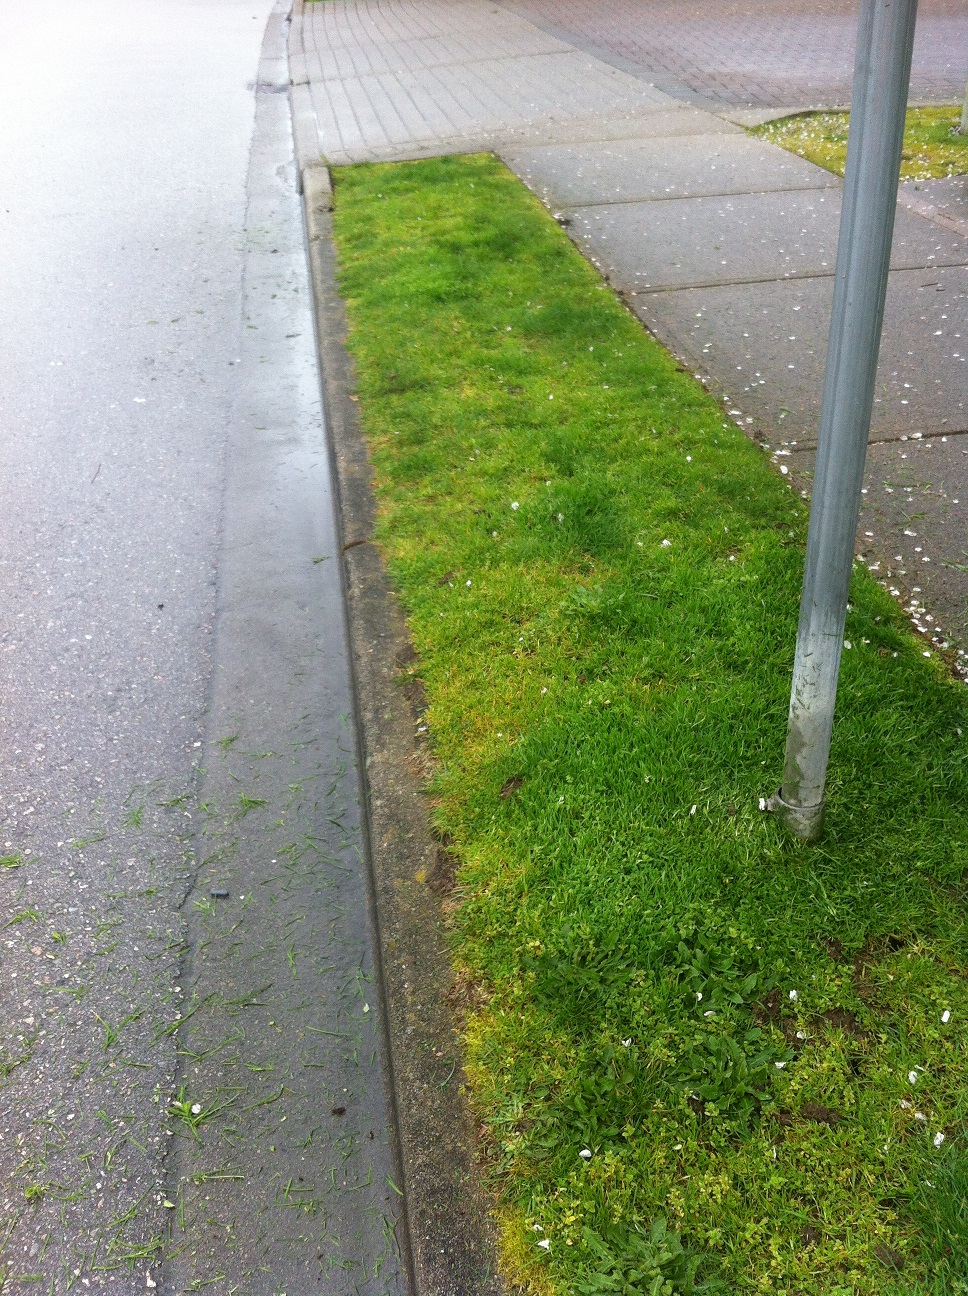
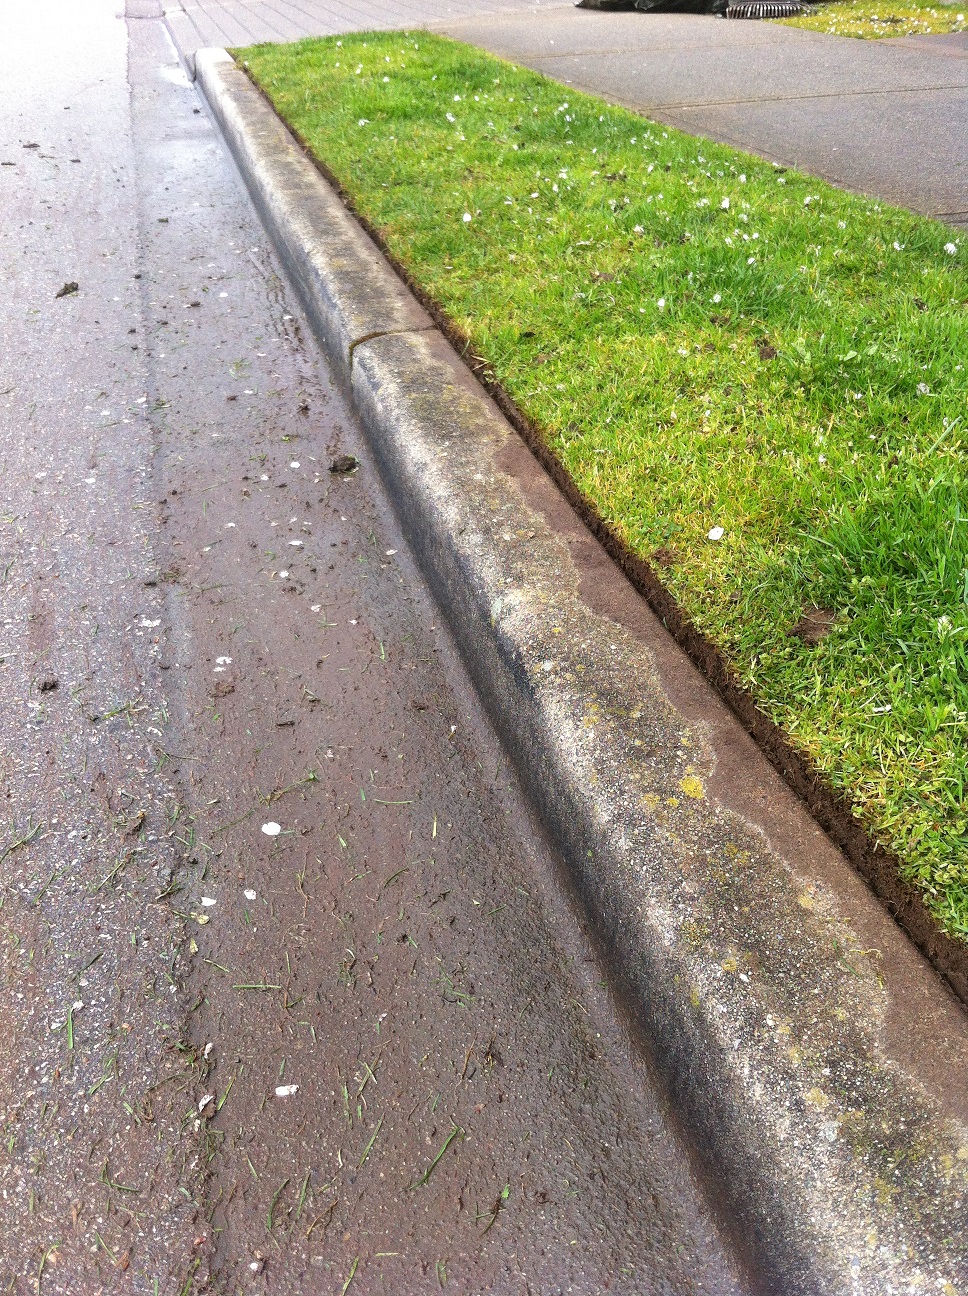
Mid-July 2016 lawn fixed, regularly irrigated, nematode application pending


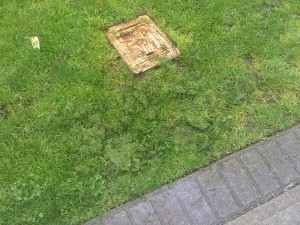
Clients who love their grass can repair their lawns, maintain them well, and apply beneficial nematodes in the third week of  July. There are no guarantees with nematodes but this home will be a good test site. More on nematodes in a future blog.


Line edger maintenance basics

By | Edging, Education, Lawn Care | No Comments

Let’s talk about basic line edger maintenance. An earlier blog discussed the importance of line edger head lubrication. Now we consider the spool and smooth line feeding.

July 1st Canada Day is prime fun time but sometimes the schedule demands a little bit of work. Like all work on stat holidays, the directions are mow-blow-go. Get the basics done and bail. Overtime is costly and residents would prefer to enjoy their holiday without noise and exposure to small engine exhaust.

So imagine my frustration when the line edger was not feeding new line. Normally you bump the head -gently!-on a hard surface and the line advances. Not this past Friday. It was very hard to make progress like this, especially when the directions were to get it done quickly.

There could be two problems with the line.

A) The line is about to run out and is too short to feed out

B) The line is crossed or otherwise stuck in the spool

I changed the line carefully and still the line wouldn’t advance properly. Then it hit me. The spool in the middle of the head was worn out. (I don’t normally use this machine.) Worn out is an understatement.


IMG_5124edit

worn out spool


IMG_5126edit

pop the head


IMG_5127edit

replace spent spool, carry spare parts in your truck


IMG_5130edit

might as well install new line


IMG_5132edit

much better!


IMG_5133edit

re-fuel and bring spare line


Before you resume your line edging work, re-fuel your gas tank and put correctly pre-cut spare line in your pocket. Maximum efficiency dictates that you have spare line ready to go if you should run out far away from your truck. Extra walking is the enemy of production.

Ear protection, safety goggles and long pants are all mandatory for safe line edging. Make sure residents are at a safe distance from you. Little boys love watching machines.

Your line edger is a workhorse so take care of it.


European chafer beetle battles: busy June

By | Education, gardening, Lawn Care, Strata Maintenance | No Comments

June is a busy month for the European chafer beetles. I was thinking about it this past weekend as I finessed beds for a client. Instead of grubs, I was uncovering adult beetles. Some were spent and some just played dead, then made a run for it.


IMG_5049edit

European chafer beetles on a Hydrangea leaf. Only the top beetle is dead, the other three played dead and then made a run for it!


The beetles mature and emerge out of the ground; most likely out of your damaged lawn. Then they fly into nearby  trees to mate and back down to lay eggs. If you’re lucky, they invade your neighbour’s lawn. If you plan to defend your lawn with nematodes, pay attention to the timing.

Nematodes

In late June the beetles lay eggs and by mid-July nematodes should be available. They must be applied to your well-watered lawn, preferably on a rainy day. The recommended nematode species is the “seeker” Nemasys G. Nematodes work but they are not selective. They hunt down beneficial grubs as well. The other problem is that you might have to re-apply the nematodes again next year. Cut your lawn higher and baby it with proper watering and fertilizing.


Fabric alternative

But what if you don’t feel like applying nematodes to your lawn? One alternative I have seen is breathable fabric used in agriculture. It makes it difficult for the beetles to stick their bottoms into your lawn and lay eggs. Pin the fabric to your lawn at this critical June stage, store it and re-use it next year. In the example below the fabric cost was around $250.


IMG_5002edit


IMG_4996edit


Seed alternative

Another alternative is using a different seed mix that will make your grass less appetizing. One test I am involved with involves “Chafer-resistant” seed mix with tall fescue grasses and 2% micro-clover. Warning: the micro-clover will produce white flowers and attract insects to your lawn. At $110+ for a big bag, it will also cost you.


IMG_4566edit

We are testing this seed mix on one site


IMG_4572edit

Spot the micro-clover

The European chafer beetle battles aren’t going away anytime soon but we can fight back with alternatives.


Free garden and landscape seminar May 11, 2016

By | Education, gardening, Landscaping, Lawn Care, Mulch, Seasonal, Tips | No Comments

Free seminar

A free gardening seminar in Port Moody within walking distance from my place will take place on Wednesday May 11, 2016. It sounds great already! Remember, this is in line with our goal of continuous improvement. Free education is awesome.

Master Gardener Dr. Linda Gilkeson will talk about “Naturally resilient gardens and landscapes.” Come learn how to make your lawns and gardens more resilient to variable weather patterns; and about year-round natural gardening, native plant selection and natural pest management. Also discussed will be gardening methods for drier and warmer summers, water shortages, and other types of extreme weather. This is very topical. I am in. Notebook in hand. Are you?

When: Wednesday May 11, 2016

Where: Inlet Theatre, 100 Newport Drive, Port Moody

Admission: Free!

A Sedum solution

The theme of this seminar reminds me of a recent strata complex case in Langley. The complex boulevard beds are exposed to the sun and the original planting didn’t survive. Planted between Acer campestre trees were Skimmias and Heathers. Many of them didn’t survive the hot summer. The proposed solution is to plant succulents like Sedums between the trees. It will be interesting to see what happens; and if we get another hot summer.


IMG_0608

Acer campestre and some surviving Heathers and Skimmias; Sedums will replace the Skimmias and Heathers.


Why you should fall in love with blade edging

By | Edging, Landscaping, Lawn Care, Strata Maintenance, Tips | No Comments

Blade edging is a great landscape maintenance tool. It gives our sites definition, it’s relatively easy to learn, and it can be done bi-weekly on standard BC strata sites. The only downside is the cost of replacement blades. (Always recycle your used blades.)

Incredibly, not all landscape maintenance companies use blade edgers to maintain nice, sharp edges on their work sites. That’s too bad. I personally love the sharp, clean look.

Let’s consider my work from mid-March 2016 on a Maple Ridge site.

Tired looking strip


blade1


This boulevard strip lacks definition. Grass is growing over the curb and it obviously gets line trimmed which does not do anything for definition; it simply rounds off the edges which is not our goal.

Key idea: the mower, line trimmer and blade edger should work together by meeting to create a nice, sharp edge.

Show time

Let’s take a blade edger with a fresh blade and see what happens. Pants, safety goggles and ear protection are mandatory. No discussions. Always let passersby go. Try not to do this work as kids walk to school!


blade2

Neglected boulevard strips like this will require some “drilling”. Keep your blade edger at ninety degrees and stay stubborn like me. You might have to run over the entire line twice. It depends. Once the edge is re-established, regular maintenance will be a breeze. Bi-weekly blade edging will suffice. Some high-profile areas like club houses can be bladed weekly.

Clean up

blade3

Obviously, this will require some cleaning. Remove all grass and dirt chunks before your clean up blow. The lawn area must be clean. Don’t go cheap here. The machine can generate black earth balls. Even one left on the lawn will detract from your presentation.

Final result

blade4

Carefully, run your blower along the entire edge. You can also blow the street assuming it can be done safely. Put on a safety high-visibility vest and do it quickly. Avoid rush hour traffic times.

No contest!

I know which picture I prefer. What about you? And your clients?


blade1 blade4

Don’t stop at boulevards. Edge your tree circles, grates and metal covers and soft bed edges. You will be glad you did.


Mowing 101: pilot errors crush tree wells

By | Education, Landscaping, Lawn Care | No Comments

Spring is finally here – a bit early this year – the grass is shaggy and mowers are coming out. Strata members wonder when the lawns will get mowed Properly. So we send our workers out and, inevitably, blogs are born! Consider the mistakes that were made in the field today.

How many problems can you list?


IMG_1980edit

  1. Mowers don’t belong in tree wells, period! Go around the tree well instead of forcing the mower into a narrow spot. Line trimmers were designed to hit tight spots, so use them. This is a horrific way of saving time.
  2. Scalping is a huge, HUGE, problem. The brown zone in the photo has been scalped and will require repair; most likely over seeding. Seed is expensive and extra time will be required for repairs. Remember: grass grows from meristems located about a third of the way up a blade of grass. Grass blades don’t regrow from underground roots, they grow from meristems. This is why a scalped area will likely stay bare unless we over seed.
  3. Soil compaction is another problem. The tree well is there to channel water and nutrients into the root zone. Weekly soil compaction with mower wheels will make it difficult for fine roots near the surface to move through the soil; water will also most likely pool up and run off instead of penetrating into the soil.
  4. The mower destroys the ninety degree tree well edge we so diligently established in winter.
  5. The wheel marks are unsightly.
  6. The tree well also exists to eliminate tree v. machine conflicts. The most likely outcome of any collision is bark destruction. Open wounds invite pathogens which the tree has to fight by compartmentalization and that uses up precious energy reserves, thus reducing health and growth. Wounds also affect xylem cells which means water transport is temporarily interrupted thus compromising function and growth. Collisions with machines also cause stress and reduce growth. If the tree dies and has to be replaced we face direct replacement costs and loss of ecosystem services.

Summary:  Never run your mowers through tree wells. Navigate around the edges carefully.

European chafer beetle damaged lawn alternative, volume 1

By | Landscaping, Lawn Care | No Comments

Many Coquitlam home owners, and elsewhere, are struggling with lawn damage caused by the European chafer beetle. The grubs feed on grass roots. Birds and animals dig up lawns to feed on them. My friends in Port Moody video taped two black bears in their backyard flipping turf over and feeding on chafers.


shiva

Westwood Plateau lawn damaged by animals searching for chafer beetle grubs


So your lawn has been damaged. Now what?

Some local residents are turning to lawn alternatives. The example below is interesting because chafer beetle damage was the last straw for this resident.


IMG_0721


Problems

  1. The owner had very little time and inclination to “baby” her lawn
  2. The large spruce tree shaded out the lawn and rained down needles on top of it
  3. dogs abused the lawn with urine
  4. foot traffic compaction

Solution

  1. dig up the lawn (this was my humble contribution to this project!)
  2. install wooden border
  3. install stones
  4. decorate with rocks and pots with succulents (low maintenance plants)


IMG_0724

pots with low-maintenance succulent plants


IMG_0723


Problem solved! No more mowing, no more chafers, very little maintenance required aside from needle clean up and weed control.


Soil Compaction: Don’t Forget this Silent Killer

By | Arborist Insights, Landscaping, Lawn Care, Mulch | 2 Comments

Study the dead tree pictured below. What’s wrong here?

11061787_10200999931356033_7776254739874648186_o

A heavy ride-on Deere mower has gone over the area very efficiently, riding right over the root zone. That means less line trimming. Perfect for the municipal workers maintaining this park. The operator does this every ten days or so. But wait. What about the tree itself? The tire tracks point to a deadly condition: soil compaction! (The pictured tree is dead. Was it soil compaction that killed it? Or bored ball players from nearby baseball diamonds? Campers building illegal fires with poached tree branches? Line trimmer damage?)

The 4th edition of Arboriculture defines compaction as the breakdown of soil aggregates. Compaction decreases total pore space in the soil. When large pore spaces are compressed, the resistance to root penetration increases.

The results of compaction?

  • Slow water infiltration
  • Poor aeration
  • Reduced drainage
  • Impaired root growth and activity
  • Increased erosion
  • Mycorrhizal activity declines

Basically, with compaction the tree struggles to obtain water and oxygen, roots can not grow as easily and since water can’t penetrate it runs off, causing erosion on the surface.

The top 4 inches of soil are usually the most affected; the greatest compaction occurs about 0.75 inches below surface.

At the September 2015 Can-West Horticulture Show in Abbotsford, Dr. Kim Coder relayed to us a story about a group of green activists who campaigned to save an ancient tree. They assembled at the base and did what they had to do, never noticing the serious compaction they were responsible for over the root zone. If I recall the story correctly, the tree declined and eventually died.

Think about soil compaction and avoid it! It’s hard work rehabilitating compacted soils. For best results create a nice tree well and mulch it with arbor chips. Many tree companies are happy to donate their wood chips. Problem solved.


Basic Lawn Care Tips

By | Company News, Landscaping, Lawn Care | No Comments

A) Only mow over grass!

Running over fixed objects is dangerous for the operator, passerby and leads to costly repairs. In the example below, the mower blade was destroyed. But don’t forget about the mower shaft holding the blade. It costs hundreds to replace. The mower will likely work fine for a while with a new blade and then….not so much. Remember, get to know your mowing area well, clear away any obvious debris and avoid hitting fixed objects.

IMG-20110602-01154

An unforgiving fixed object

IMG-20110602-01156

About to be retired mower blade

B) You CAN line-trim backwards!

There are cases where line-trimming backwards is the way to go: close to cars, windows, tree-wells and bikini girls. The two examples below clearly illustrate how trimming backwards can save you time. The messed up tree well has to be carefully raked out; blowing would dislodge most of the new bark mulch. The clean tree well was line trimmed backwards, eliminating extra clean-ups.

photo 1

A clean tree well, line-edged backwards

photo 2 (2)

Line-edged freestyle, clean-up required