It makes me smile every time I make a pleasant garden discovery. My last discovery happened thanks to my wife, a snow country girl from the West Coast of Japan. She checked tourist information sites for Kelowna because my son had fall league soccer matches there all weekend. And bang, there was a Japanese garden tucked behind Kelowna’s city hall. It was something like a five minute drive from our hotel and it was free! The sunny fall weather helped, too.
Japanese gardens
Two important things about Japanese gardens. One, the Japanese love nature and it’s reflected in their gardens. Forget religion and various Zen trinkets. It’s just that they live on a small, crowded mountainous island so large private gardens are reserved for the rich.
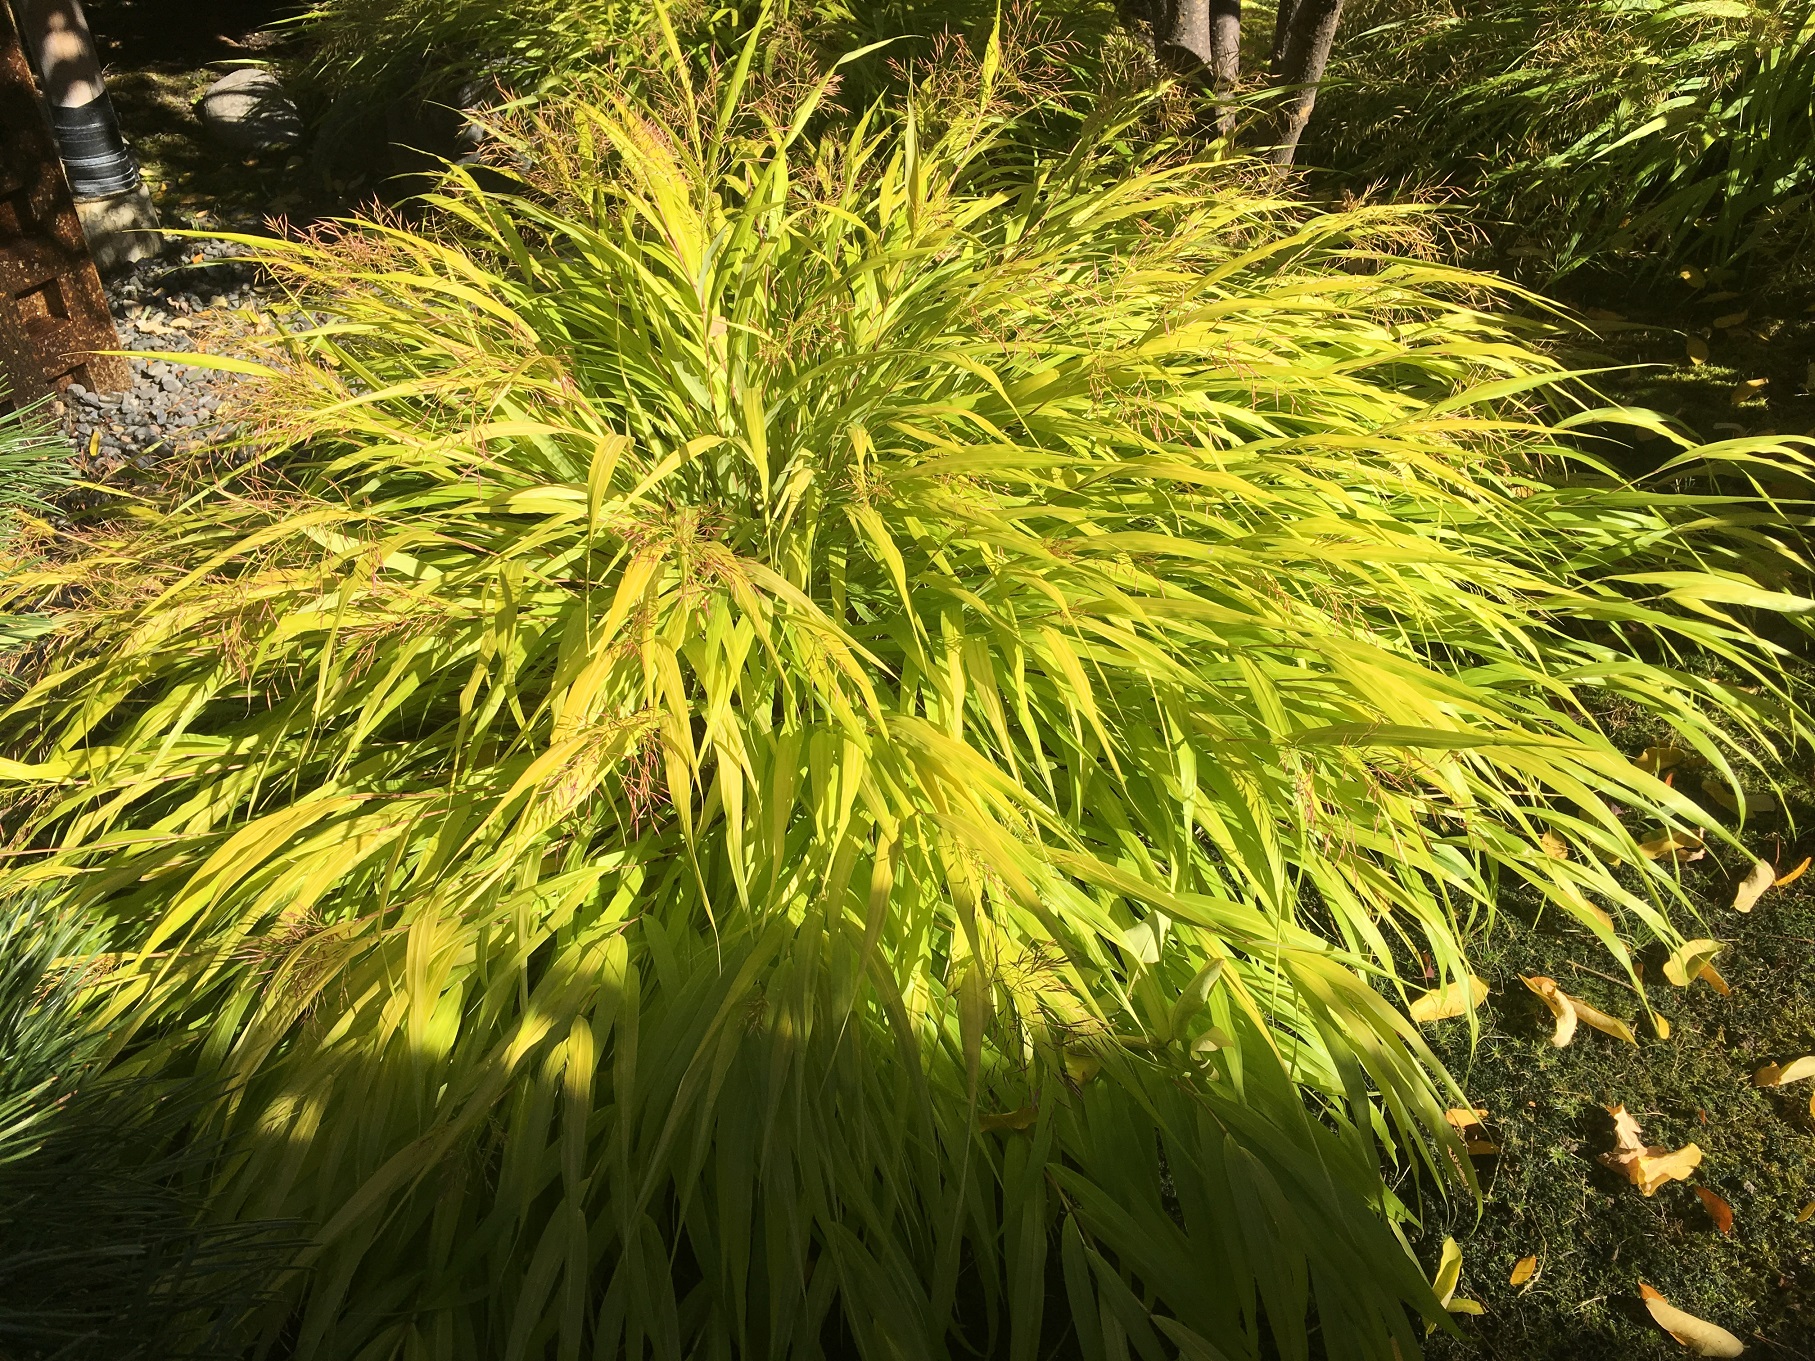
Two, there is lots of room left for your imagination. It’s not like Western gardens where there is so much stuffed into the garden your eyes don’t know where to look first. I love this about Japanese gardens. They can do so much with some Azaleas, moss and stone. Spaces between plants are extremely important.
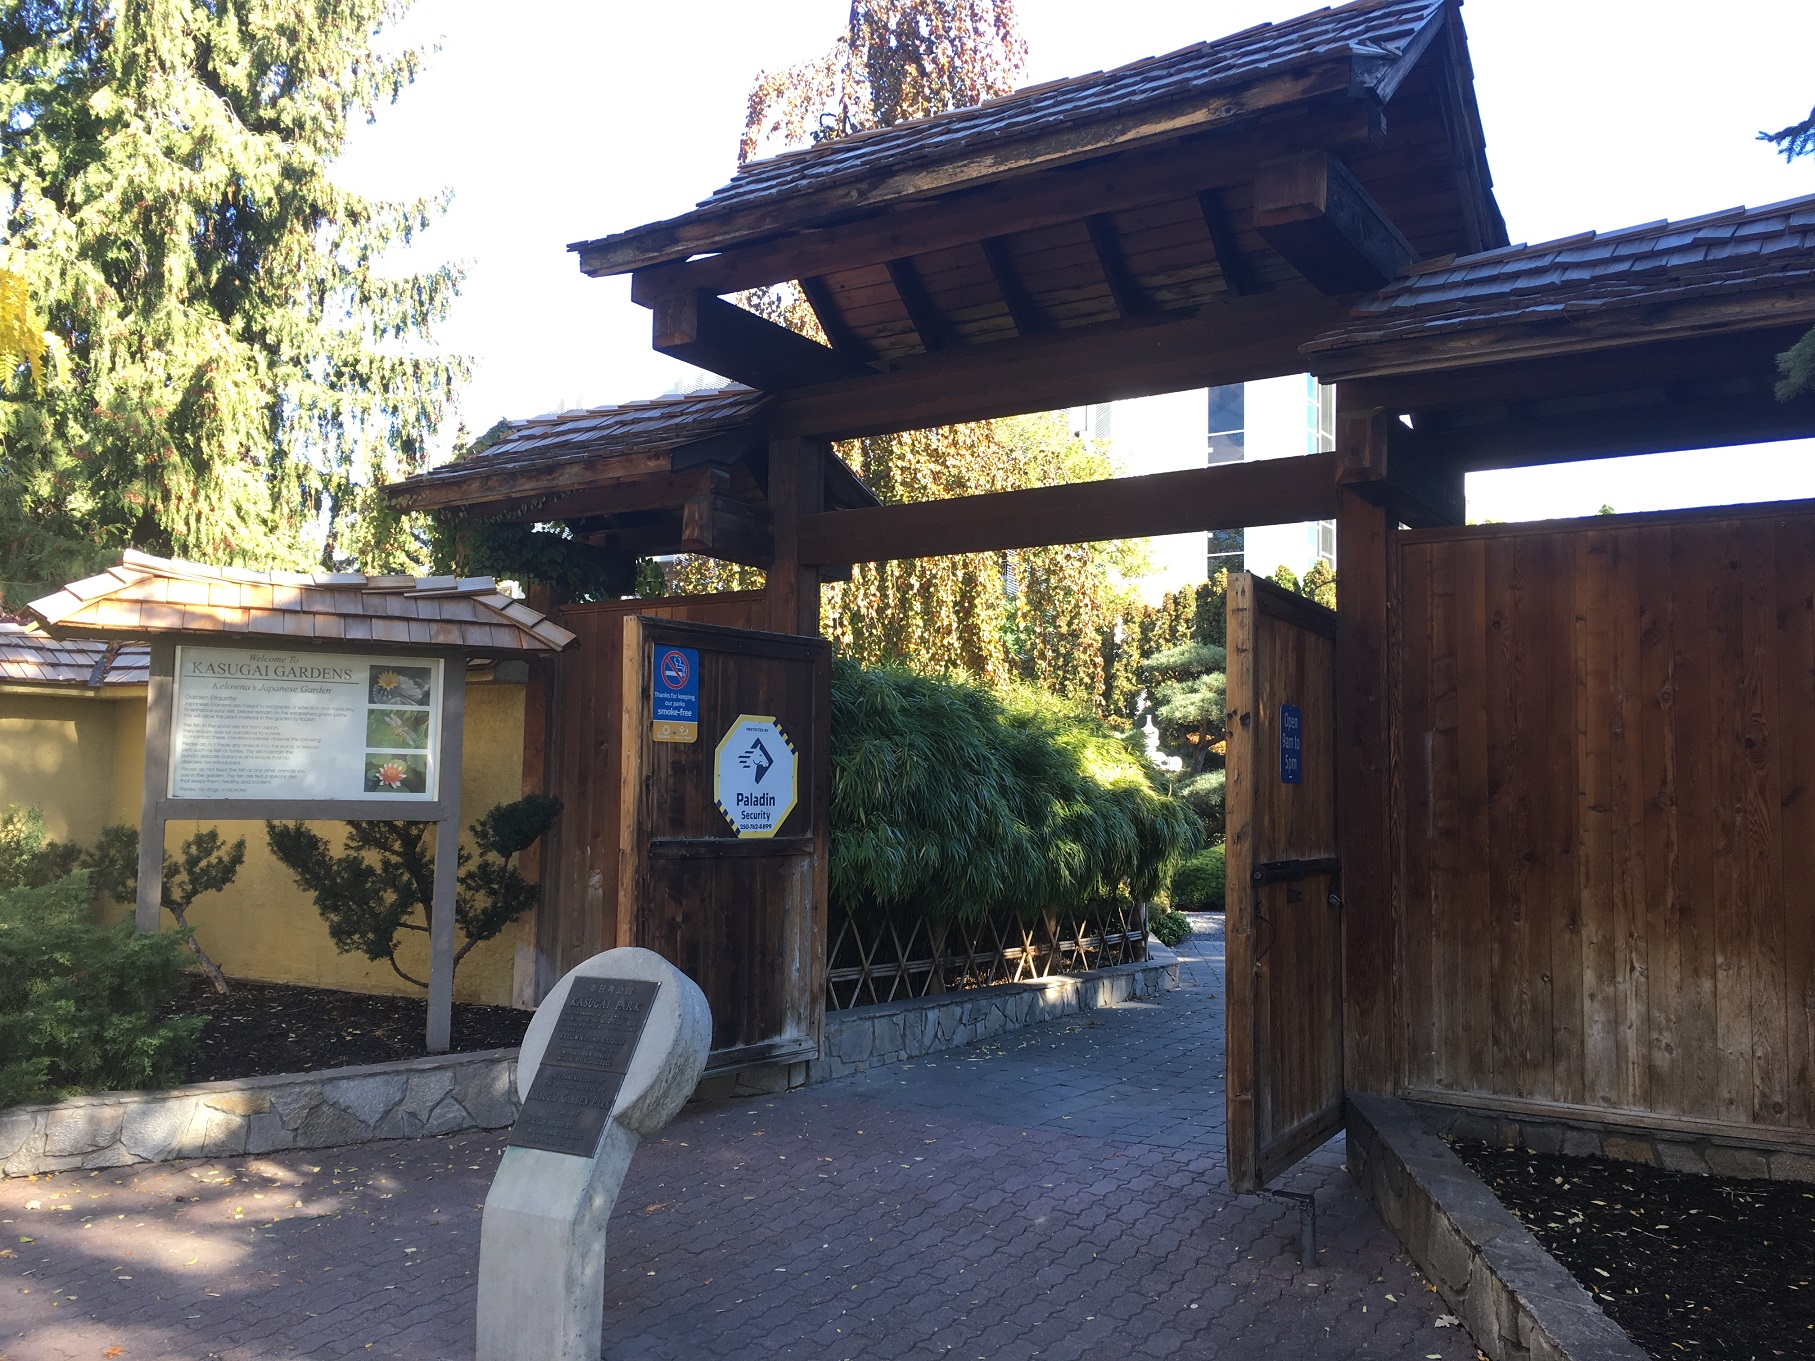
Kasugai
Kasugai is Kelowna’s sister city and it’s from that relationship that this garden developed. The garden is small; my kids burned through it in no time because they were thinking about lunch. I took a bit longer because I had research to do for my blog.
I noted the common Japanese garden features: gazebo to sit in, rock garden, lantern, bridge, pond and stream with koi carp fish.

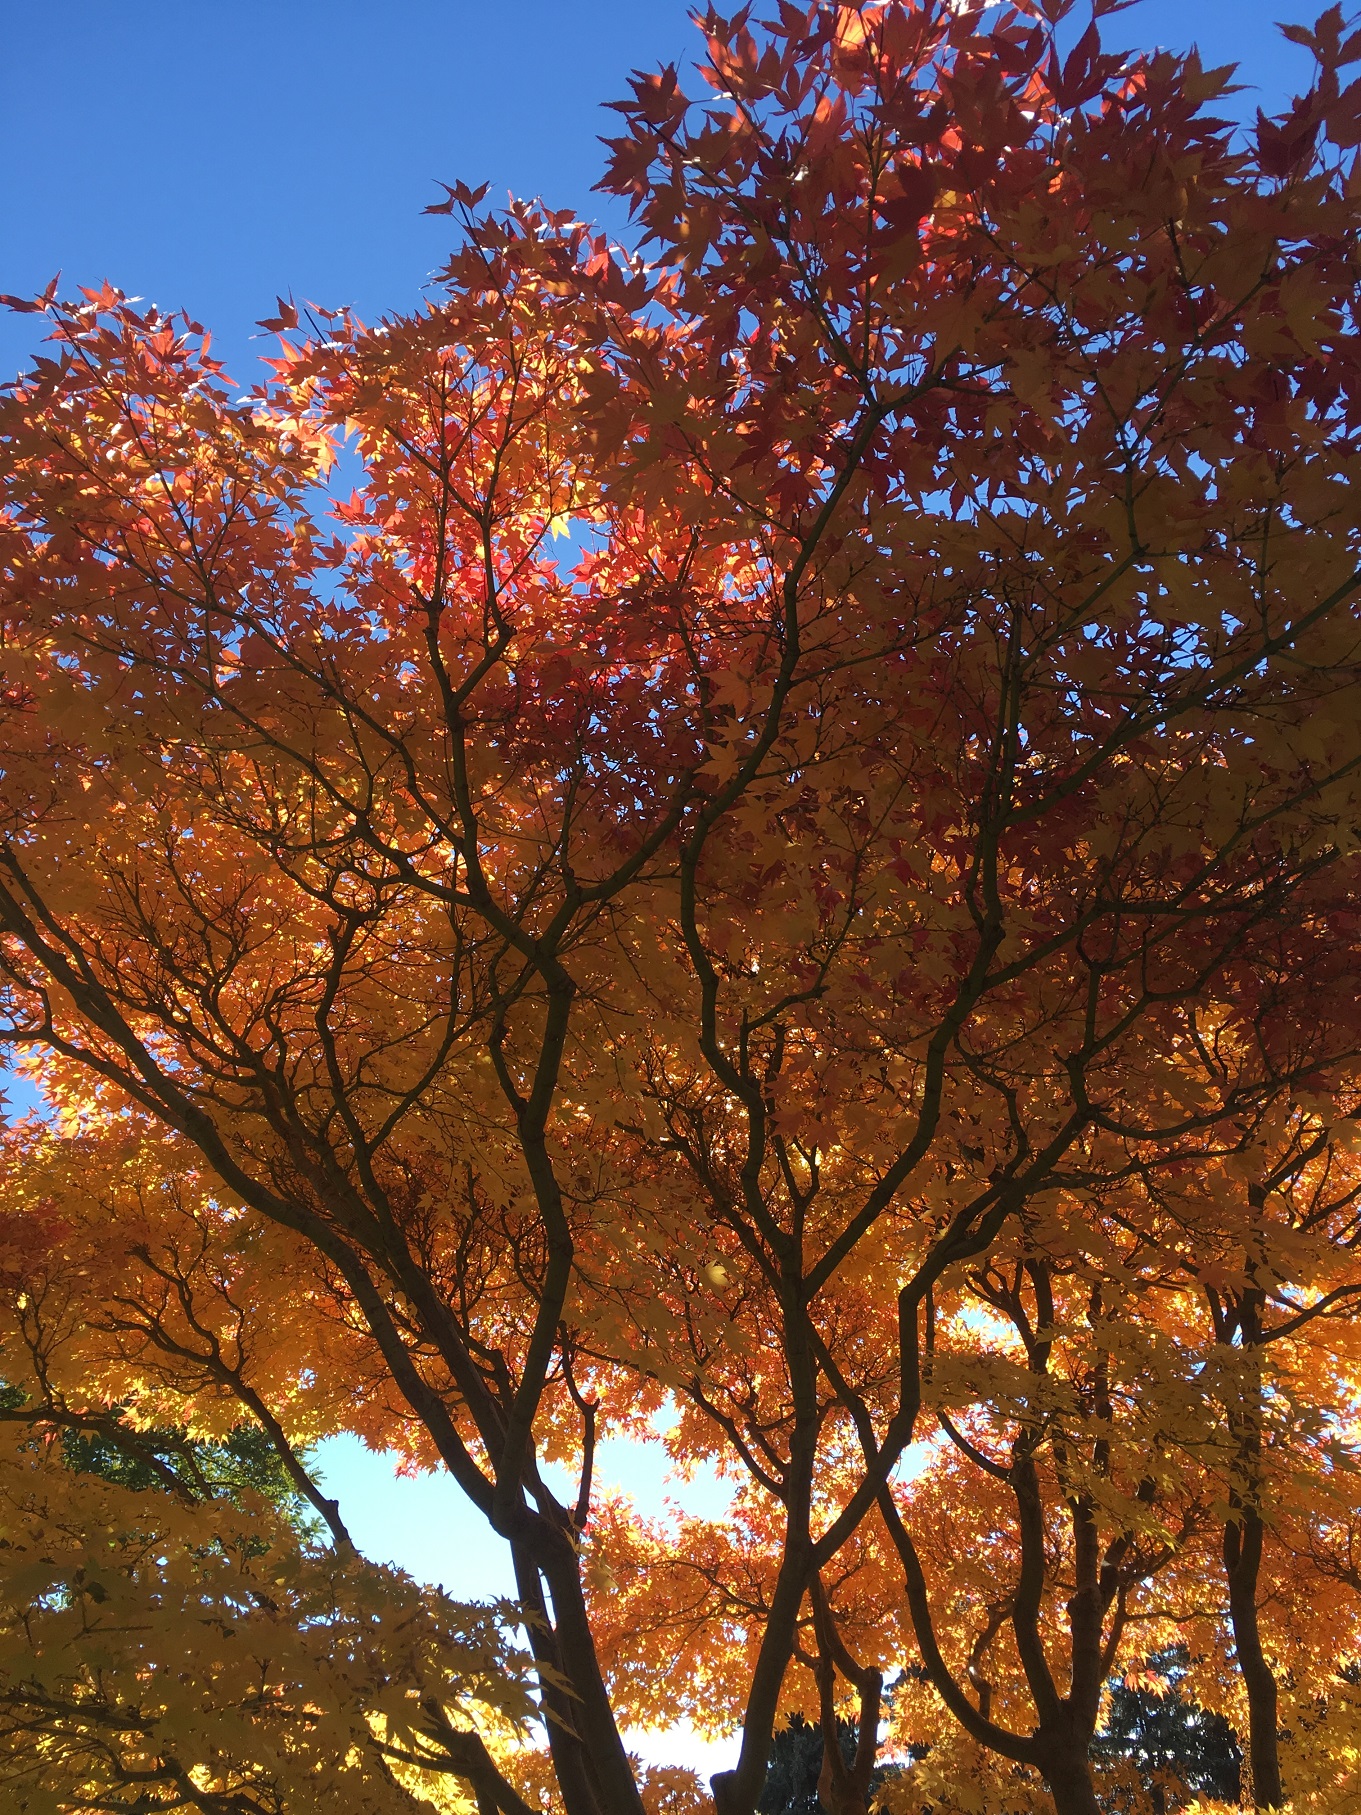
My favourite trees
As soon as walked into the garden, I noticed a specimen of my favourite tree, Albizia julibrissin. Unfortunately, in October the beautiful fragrant flowers are long gone. When you get up close the flowers tickle your nose. The fragrance must be experienced because I can’t describe fragrances.
The garden also sports another tree species I love. Davidia involucrata. In summer, when the round fruit is partially covered by the involucre, you understand the common names given to this tree. Ghost or handkerchief tree. I prefer ghost because the first time I looked up into this tree in a Vancouver daycare, the fruits covered in long white involucres looked like ghosts. I wonder if the kids ever noticed.
Stop by
If you have some time to kill in Kelowna, definitely stop by this free Japanese garden. It’s well worth the visit.
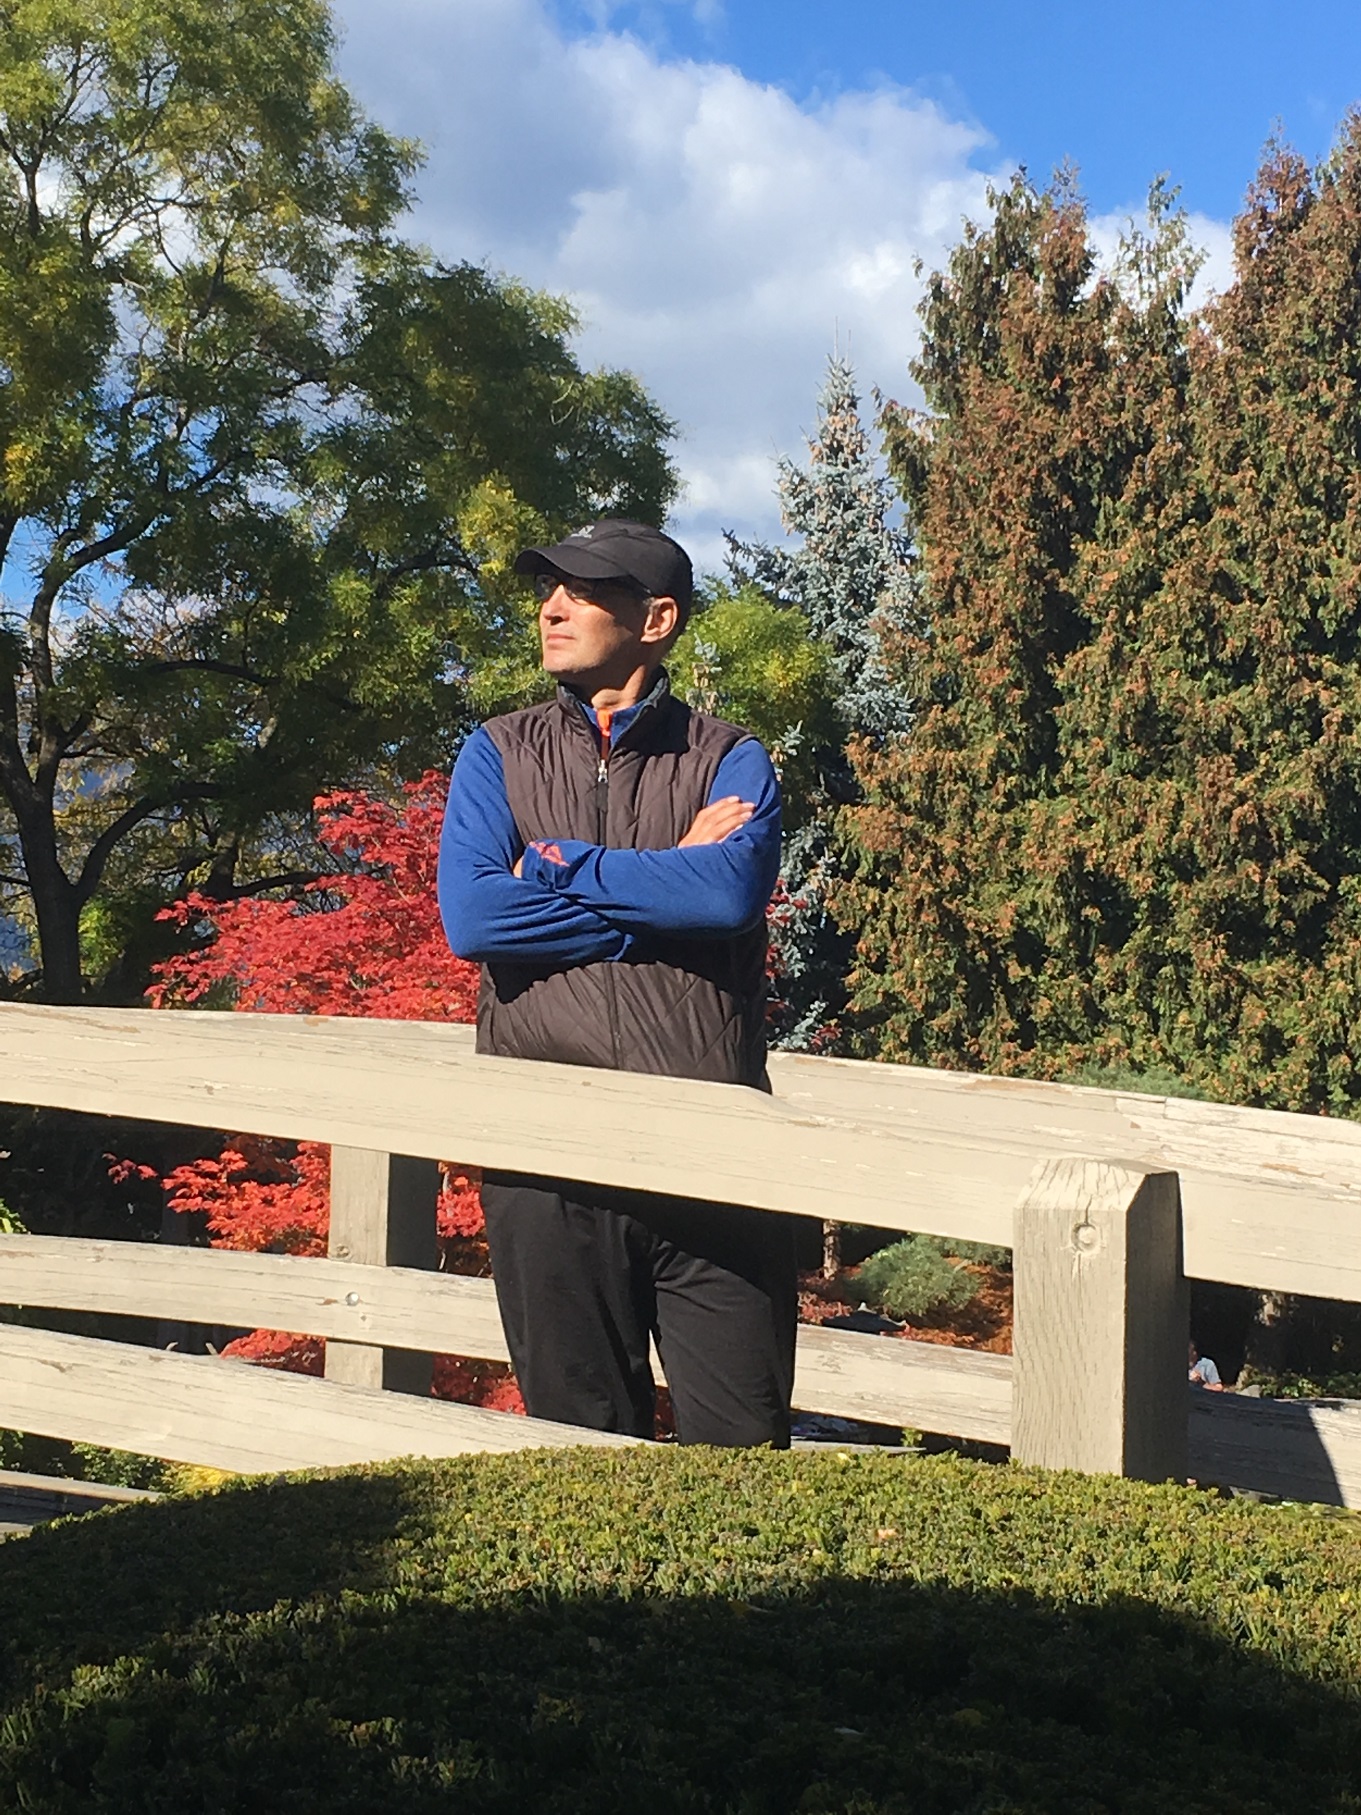
Pro blogger Vas researching…..