“LAB GIRL” by Dr. Hope Jahren is a fantastic book! That is, if you like plants, science or you are considering a career in academia. I purchased the audio version and listened to the book during my weekend work sessions. Dr. Jahren’s Ph.D. dissertation was about a tree. Her work focuses on plants and their longevity. Paleobiology.
The chapters nicely alternate between personal life and science. I openly confess to enjoying the science chapters more. It seemed like there were too many lab set-up references. But this connects to Dr. Jahren’s constant side-kick, lab researcher Bill. The two are inseparable. After finishing the book you might feel the urge to visit with Bill. He is a pretty interesting character.
Key idea 1: If you want to make it in academia as a female Ph.D., get ready for a bumpy ride. Male professors have doubts, funding and grants are a constant headache. This book should be required reading for any female considering a career in US academia.
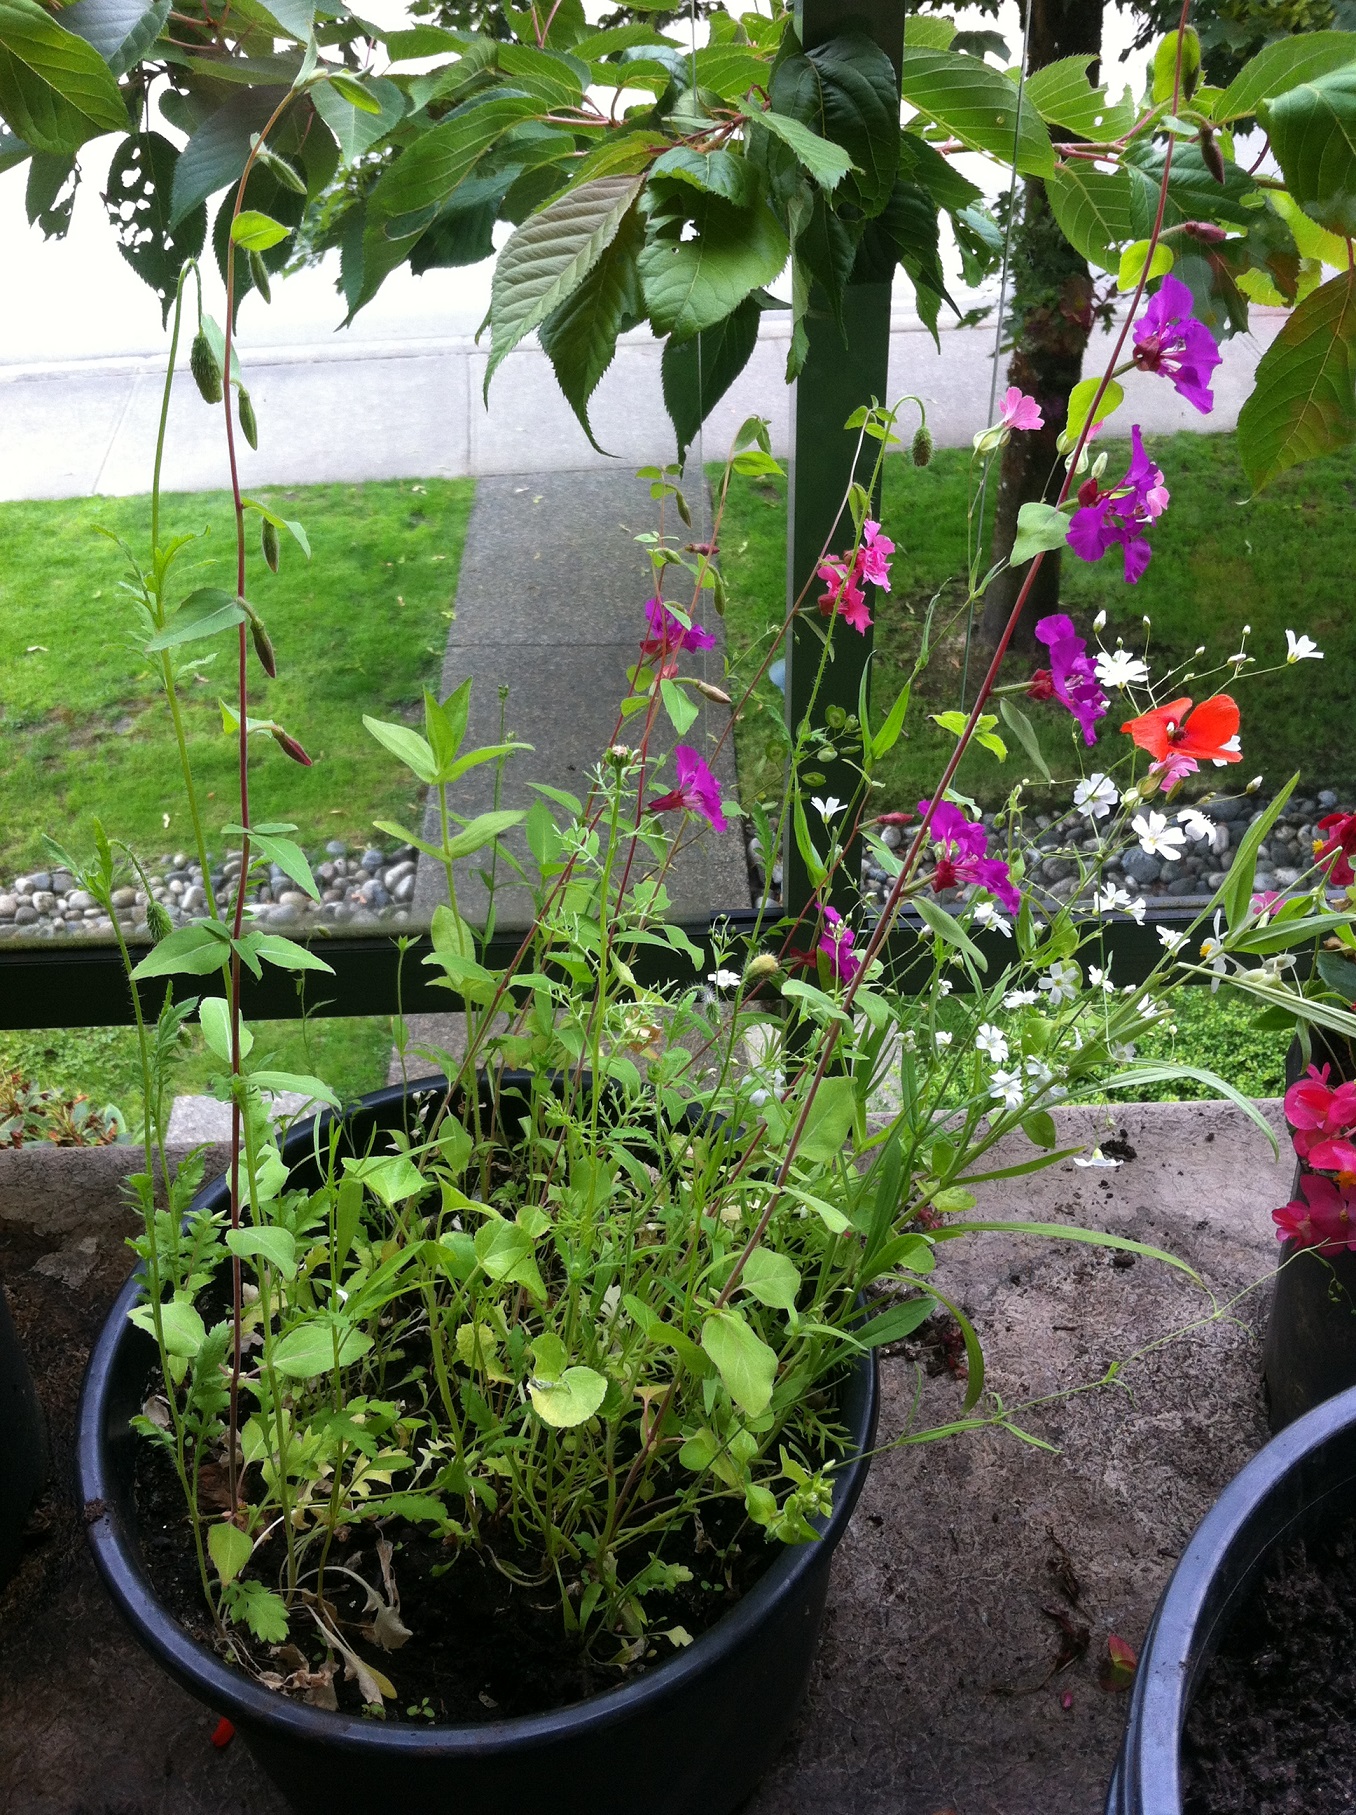
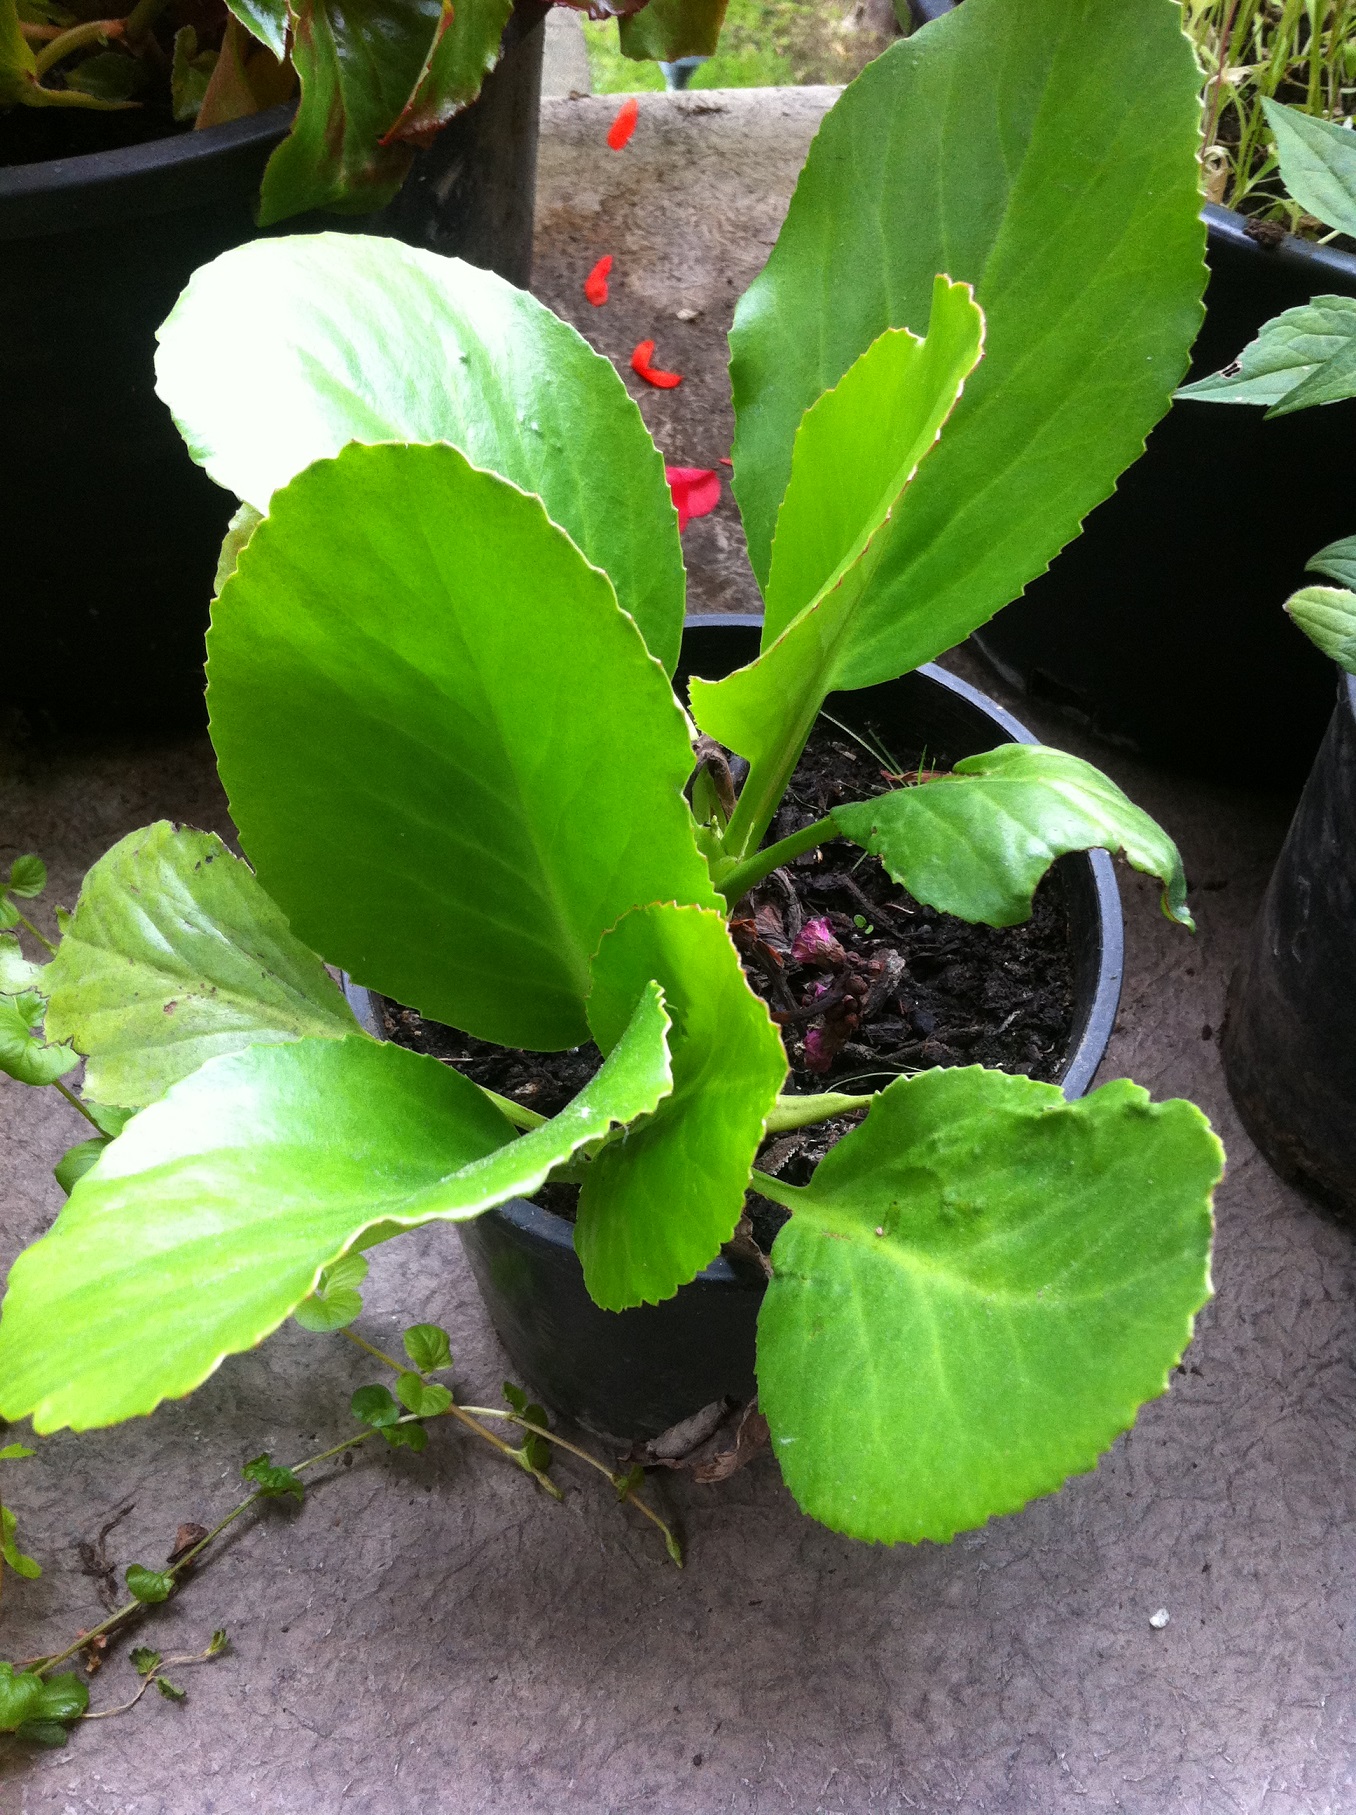
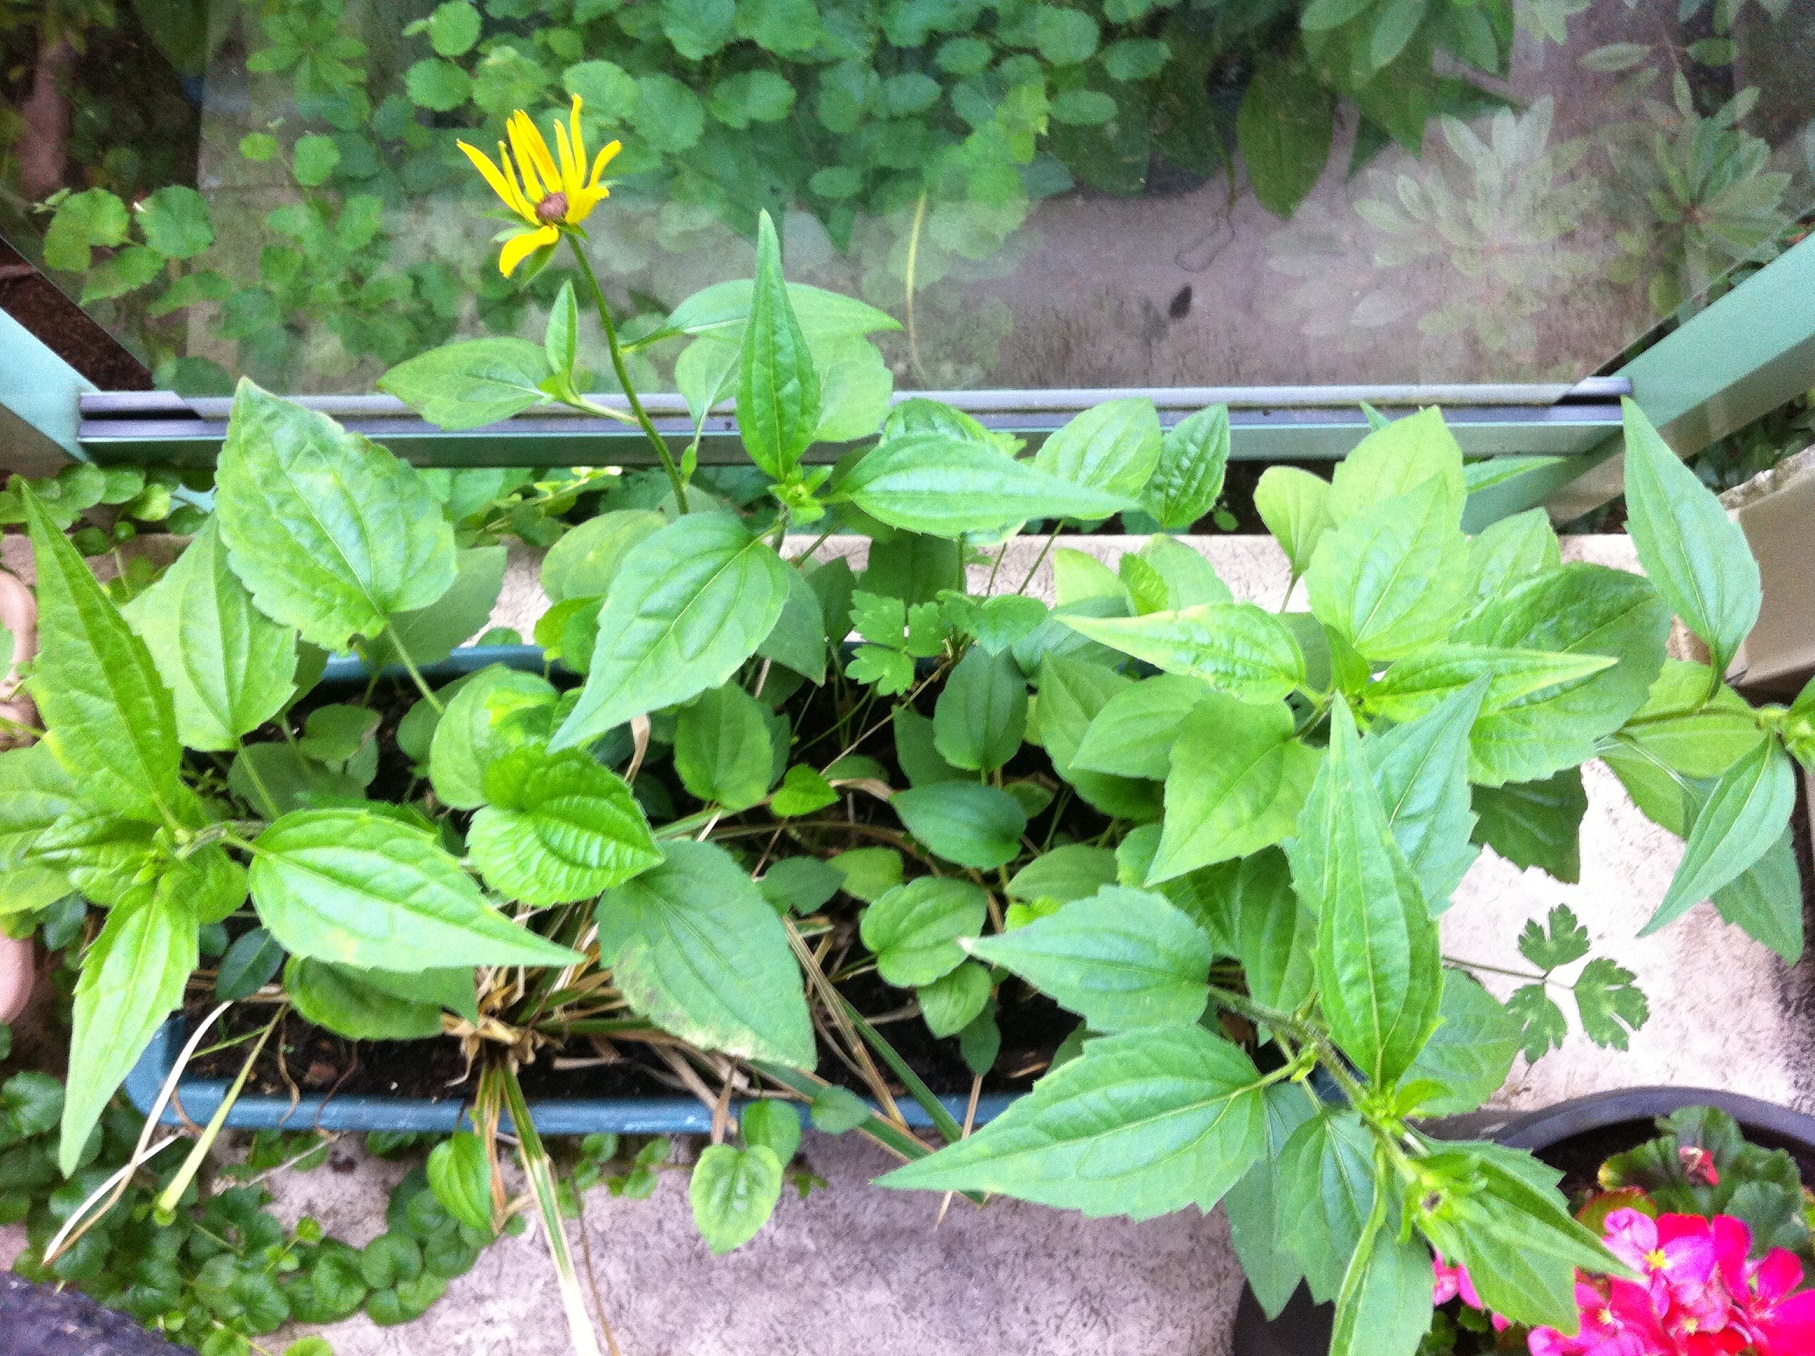
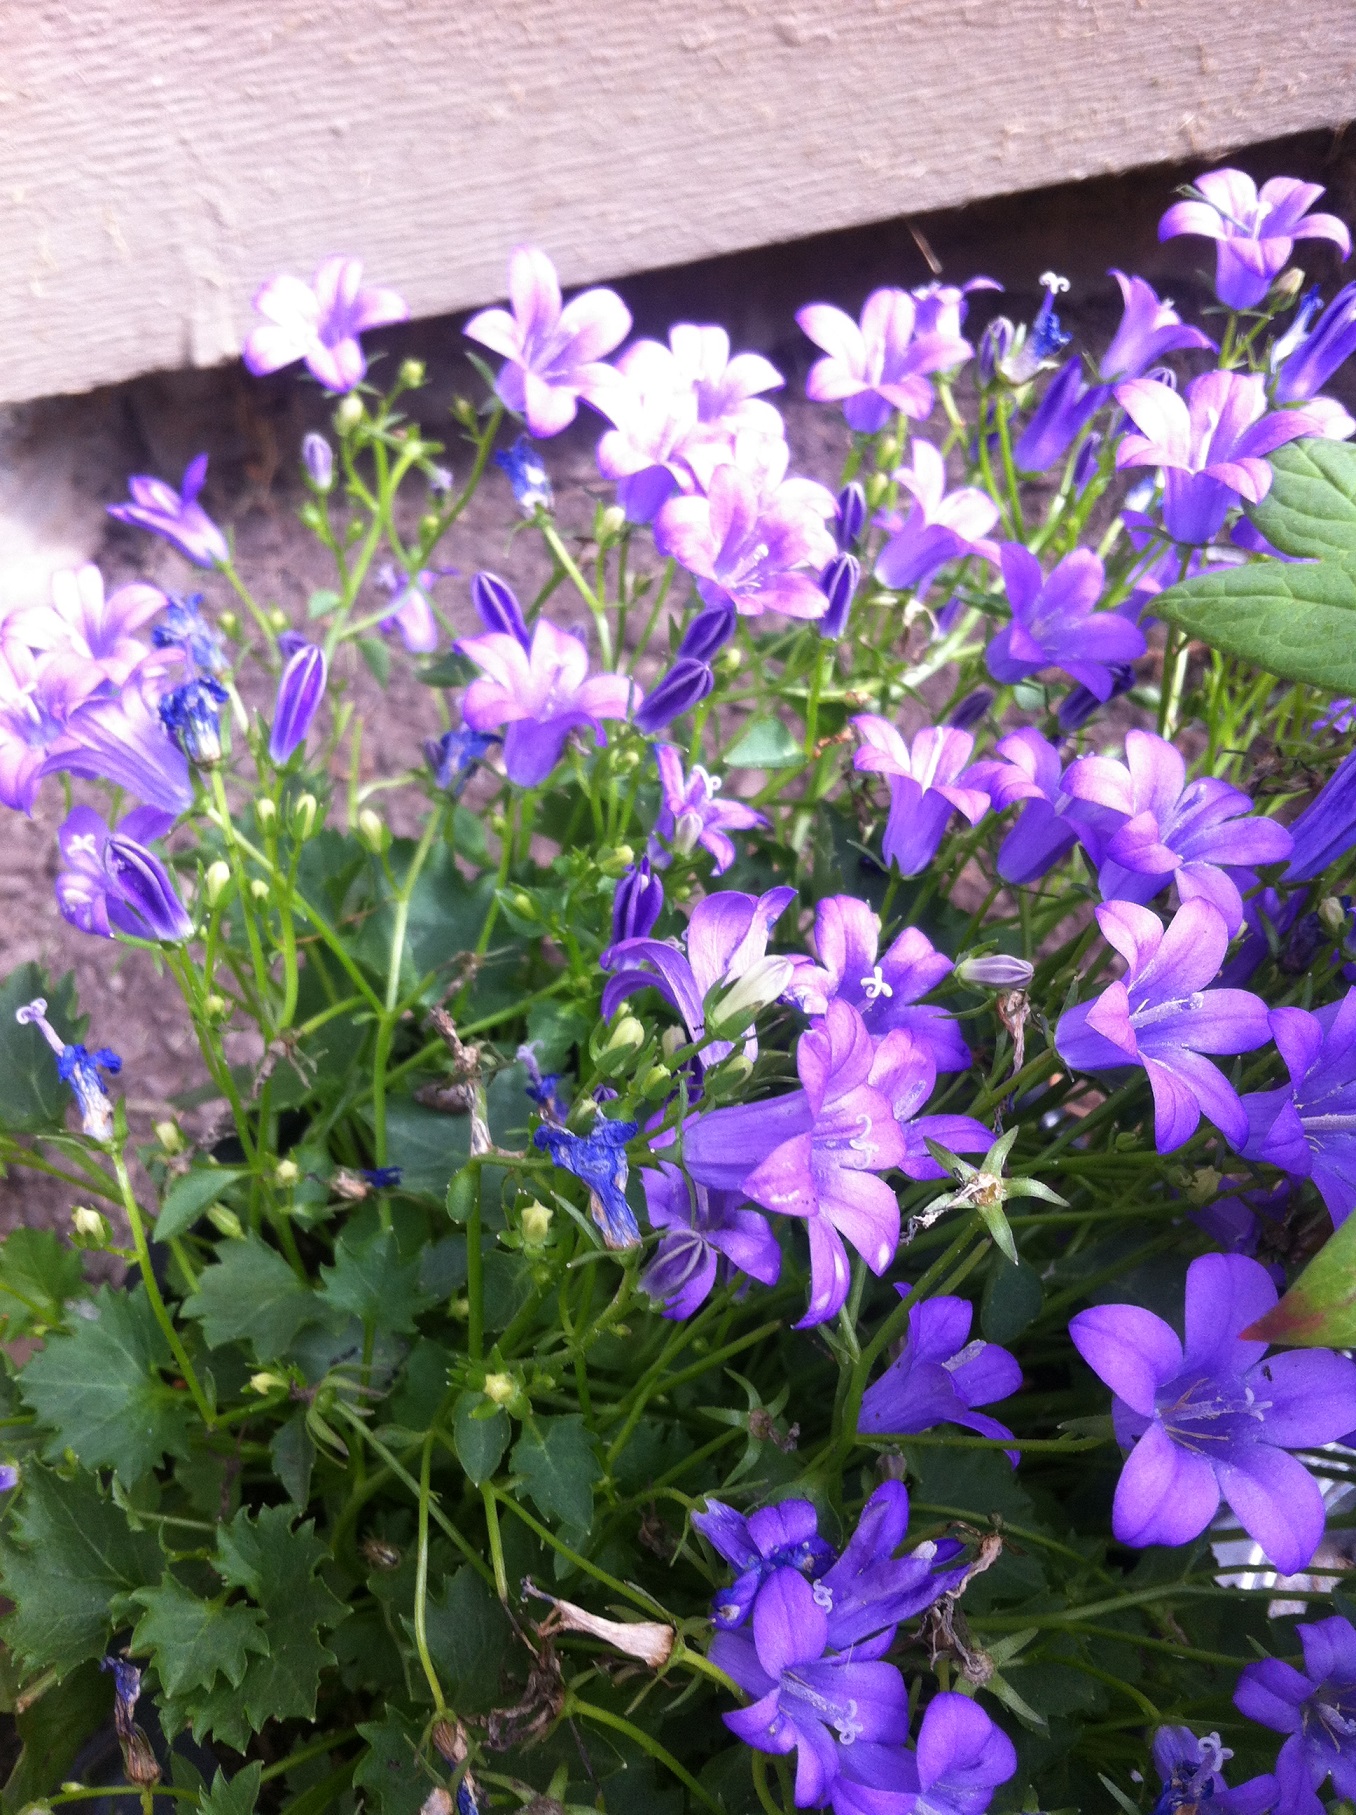
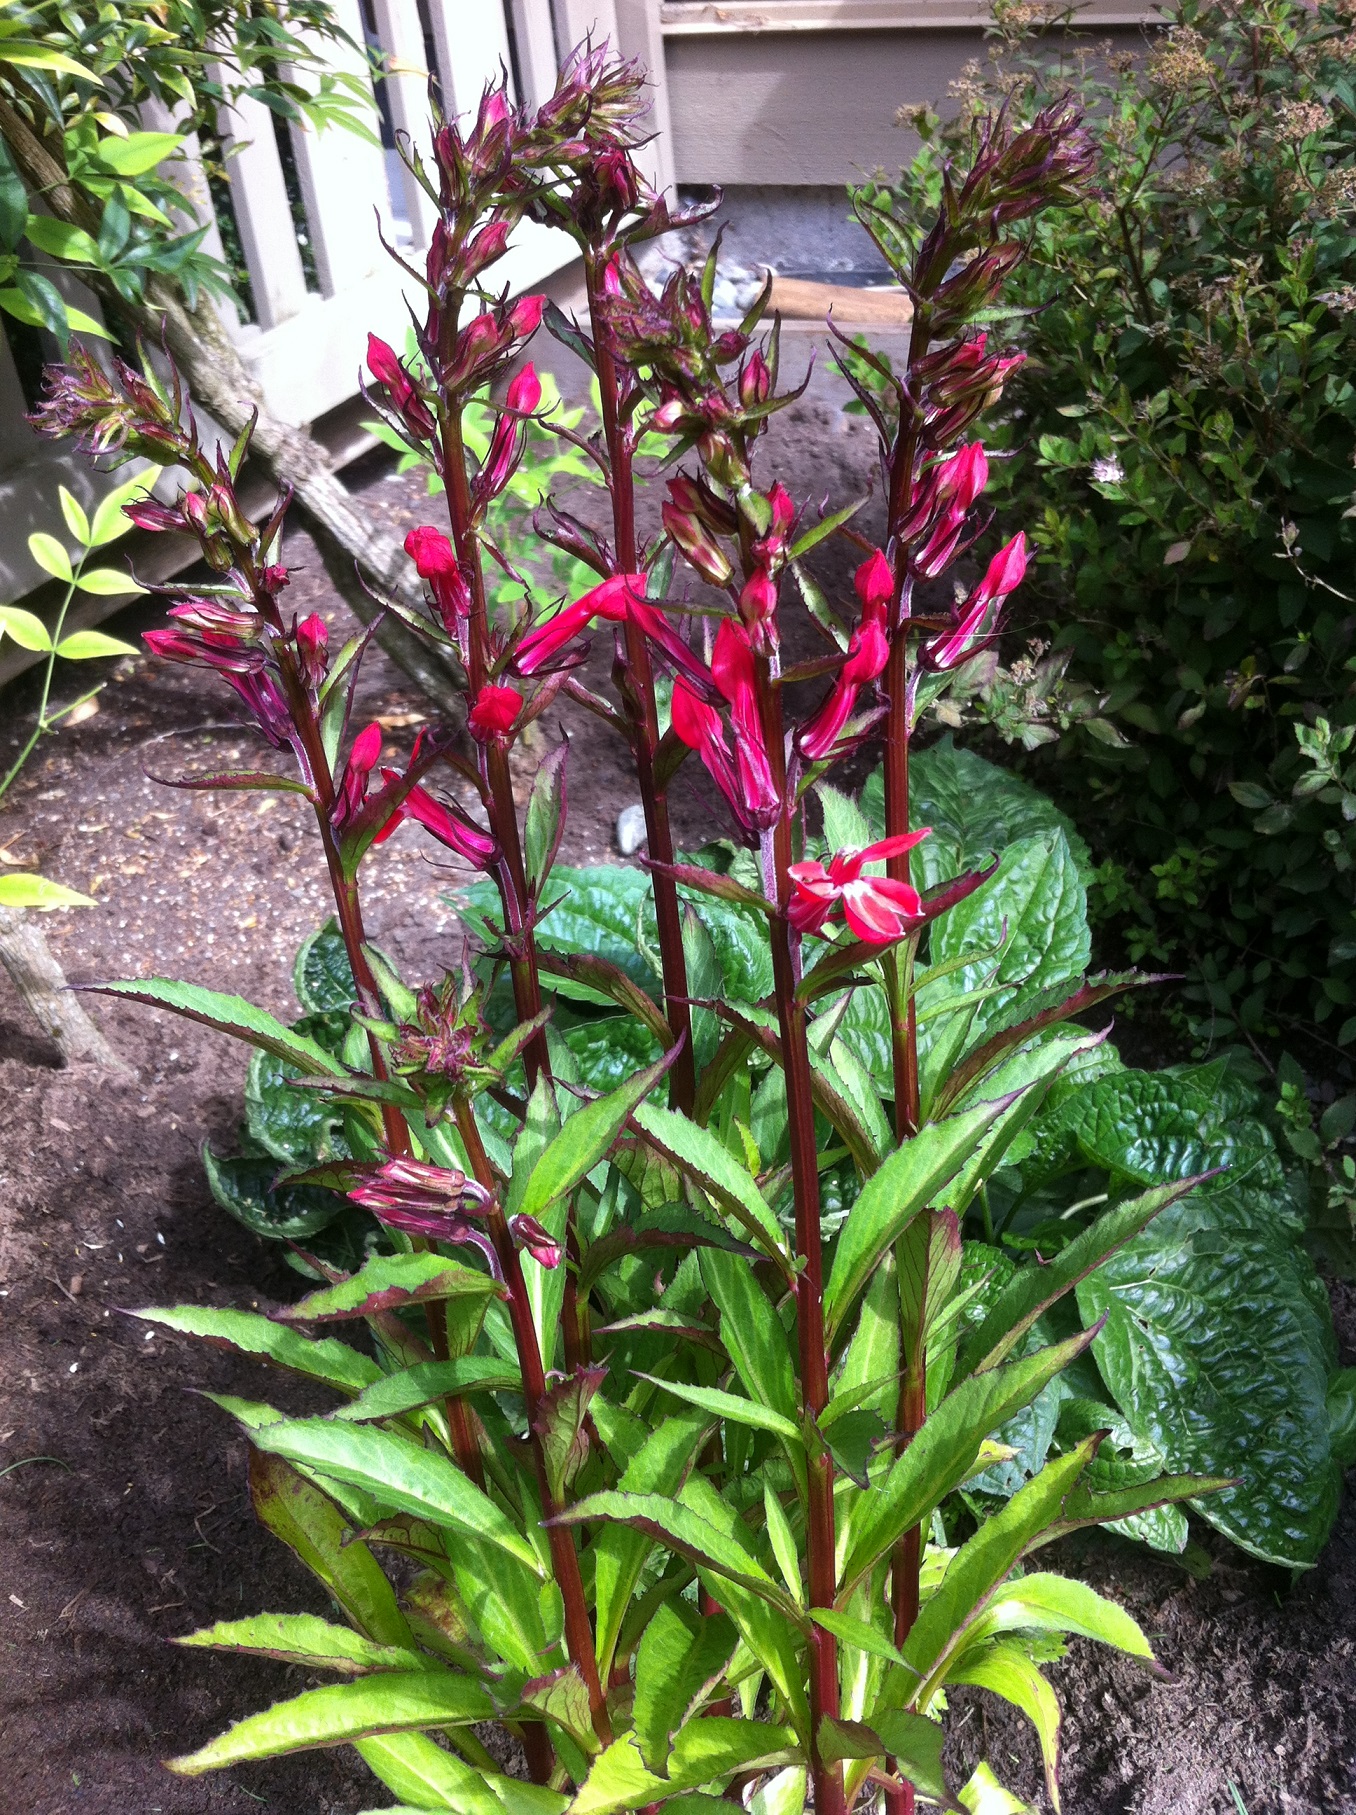
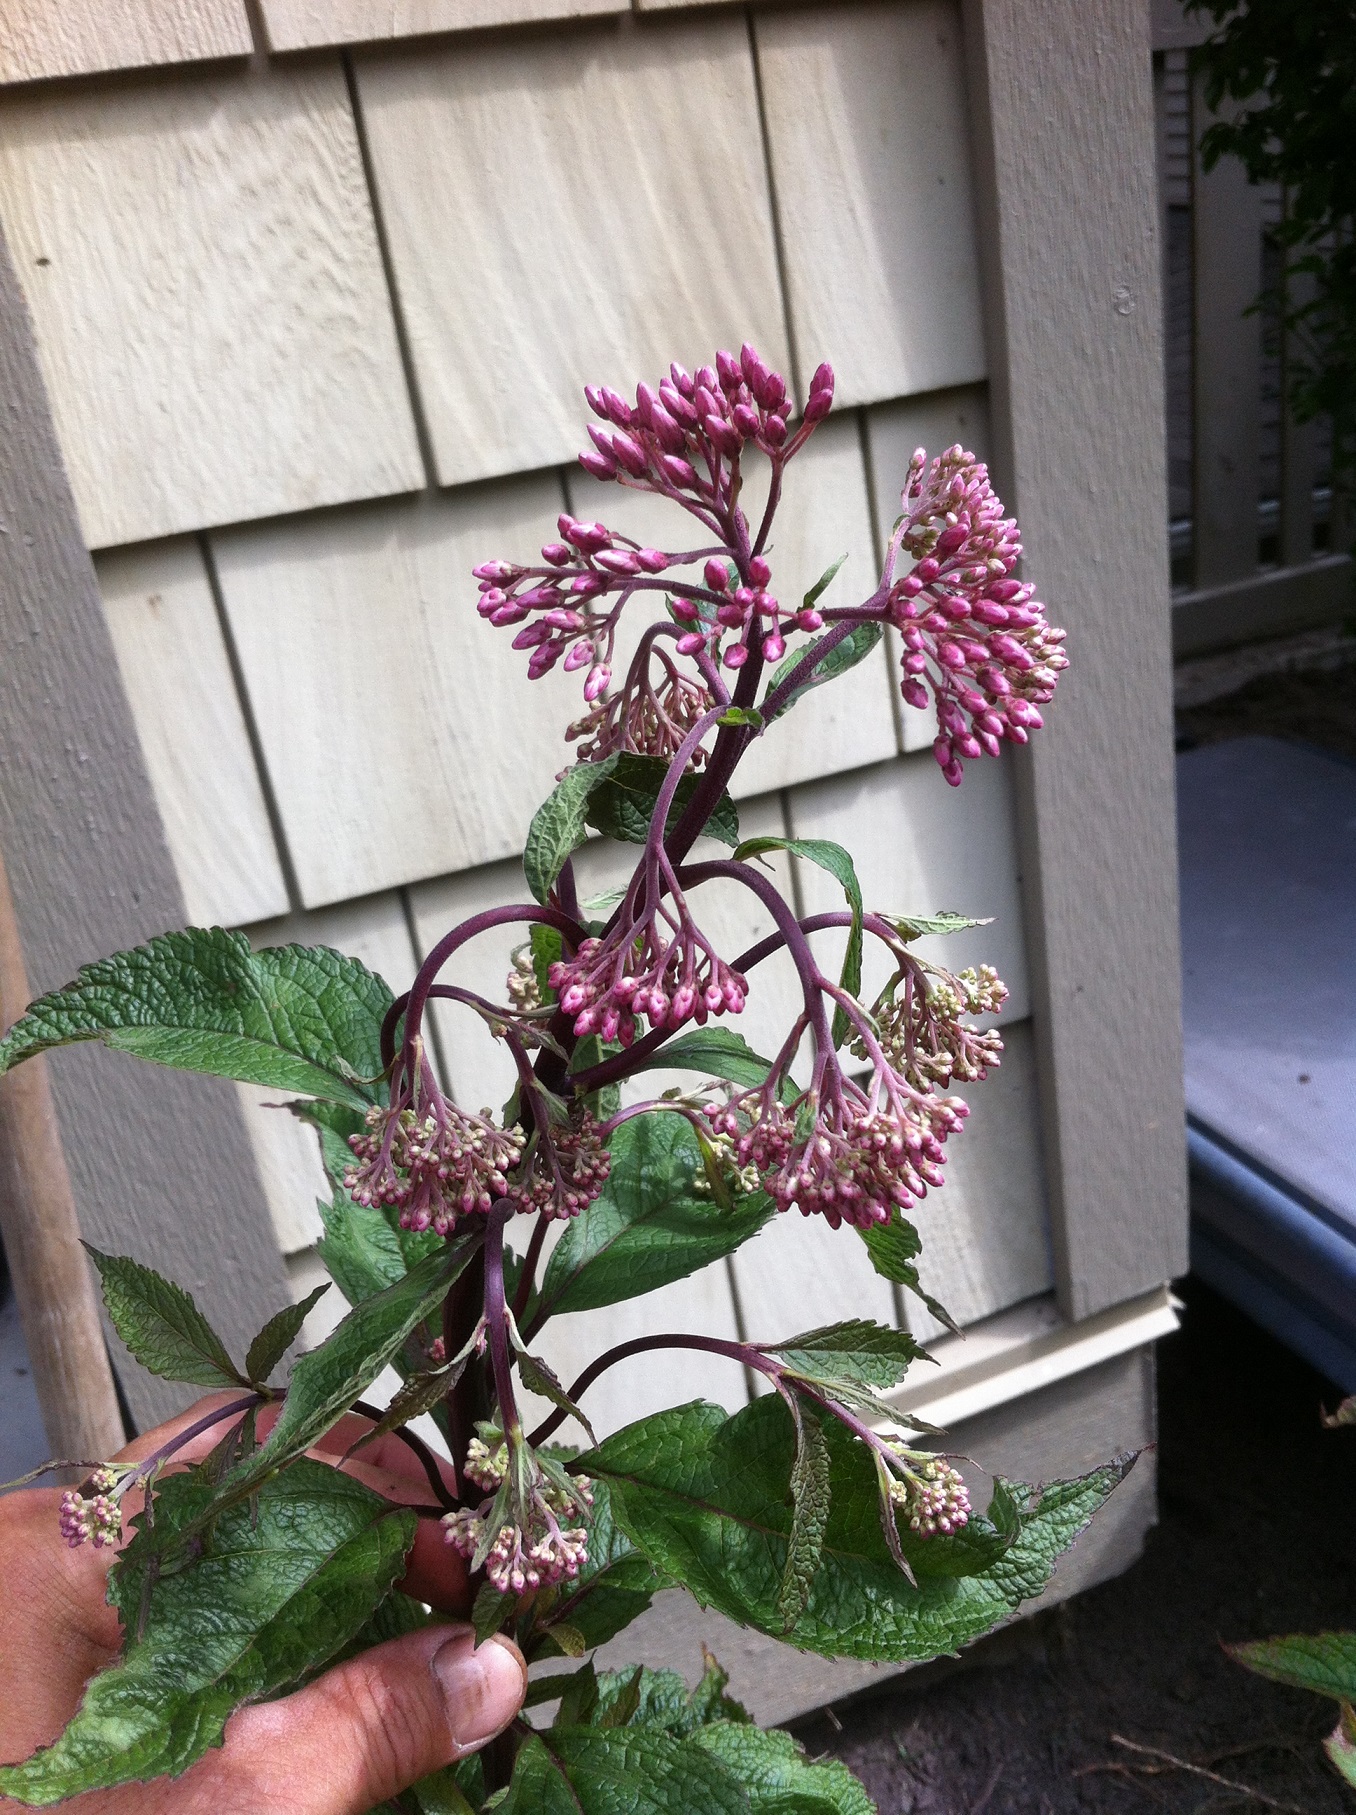
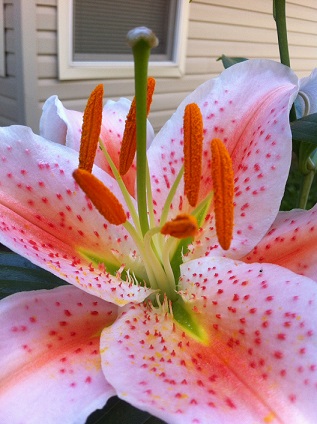
Key idea 2: Plants, especially trees, are incredibly fascinating. I already knew that. You will, too, after reading “Lab girl”. Consider the case of resurrection plants. They are so brown and dry, we would consider them dead, and toss them. But wait. A bit of moisture brings them back to life. This can repeat many, many times, until eventually they do die. These are the only plants that have figured out how to grow without being green!
Seeds are also amazing. Alive, they can wait for hundreds of years before taking a chance and emerging. Their one chance. What exactly triggers it?
Key idea 3: The book closes with a personal request from the author to plant a tree at your home. If you can. The planet is losing green cover every year. This small act of planting a tree or two will help.
Key idea 4: To learn more about trees, Dr. Jahren recommends Peter A. Thomas’ “Trees: Their Natural History“, about $50 from Amazon.ca. By the time this blog post is published, I expect to have it finished. In paperback form.
The book has a happy ending. Hope marries, has a child and the family settles in Hawaii. So does Bill. Of course. I love plants so I give it 5 stars out of 5.