Aspen 2 full range technology
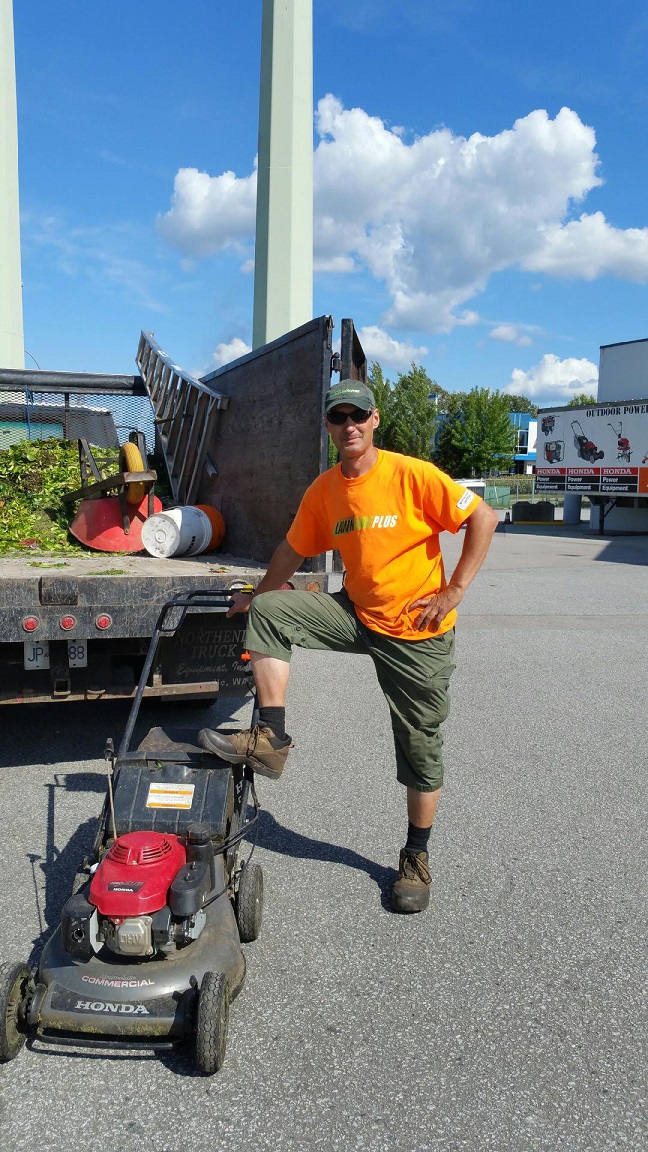
I rarely get excited about machine fuel but Aspen fuel for landscape machines is a great invention! The new Aspen 2 full range technology fuel is designed for engines that work hard, like chainsaws.
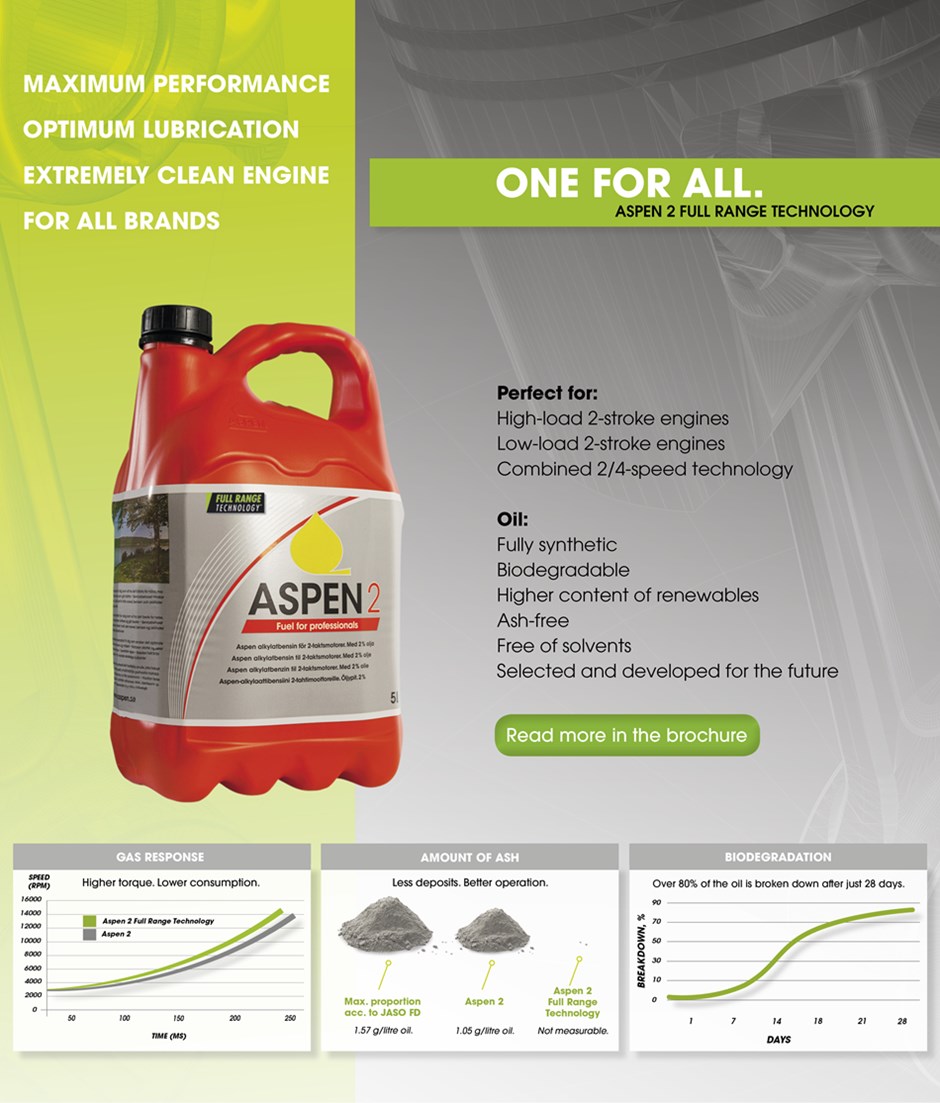
High combustion temperature machines get the right lubrication to cope with high temperatures. There is increased torque and acceleration.
Machines with lower combustion temperatures, like leaf blowers and hedge trimmers, are easier to start, air filters stay clean longer, and there is 6% improvement in engine acceleration.
Oil
Aspen fuel comes pre-mixed. No need to stock oil. No more spills behind the truck or incorrect ratios. It’s completely synthetic with 60% renewable content, biodegradable, and free from ash and solvents.
One of my previous employers used the older Aspen 2 fuel and it worked fine. The company mechanic told me that my line edger could be started in my kitchen! With little kids at home, that would have been extreme blog content creation. I passed on the test. But I did witness a demo at the 2015 Can-West horticulture show. Two beakers, one with conventional gasoline and one with Aspen fuel. A piece of Styrofoam is floating in each beaker. The gas just erases the foam in no time; Aspen ignores it. It just floats there. I took in the test result and then helped myself to free Stihl candy.
I believe our machines worked fine. There was an issue with re-fuelling time since we went through a lot of the orange containers in one week. This is unconfirmed information from friends, but the City of Coquitlam gave up on using Aspen 2 this year after too many containers piled up in the works yard. What do you do with them? They should consider the same drum refuelling idea. Good on the city to at least attempt the switch.
Biggest drawback
Cost! Piles of used containers are nothing compared to the retail cost. It runs anywhere from $2-3/L. Most small landscape companies won’t even consider that. My ex-employer had the advantage of being a distributor. The boss loved the fact that Aspen fuel use would lead to lower repair costs.
I thought about my work mates. Gasoline machines generate unhealthy exhaust. What if we had cleaner burning fuel to use all year in the field? That would be a bonus. Considering the retail price, it’ll be a while. But I can dream my Aspen 2 fuel dreams.
Source: Aspen.se