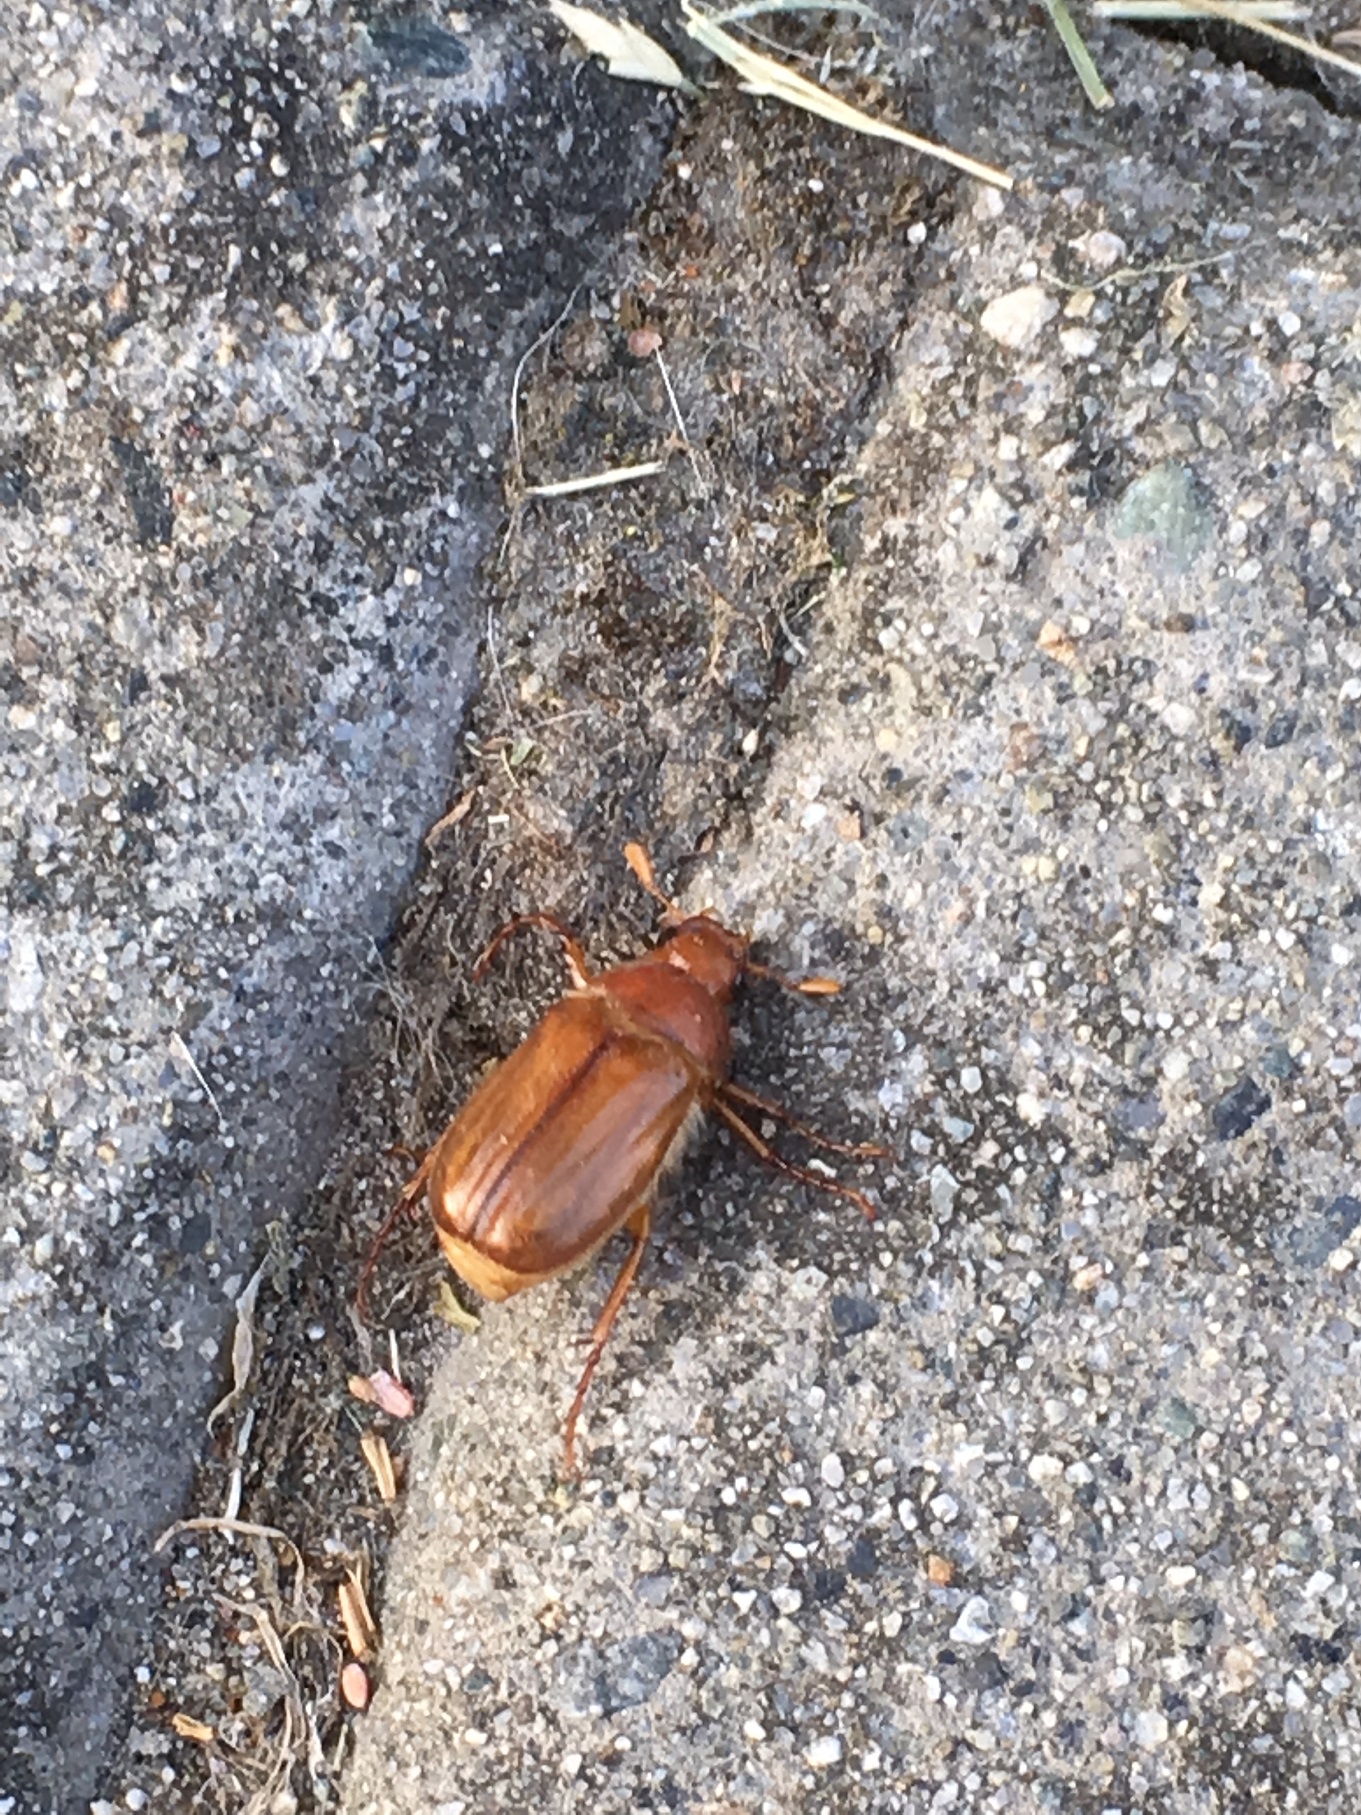
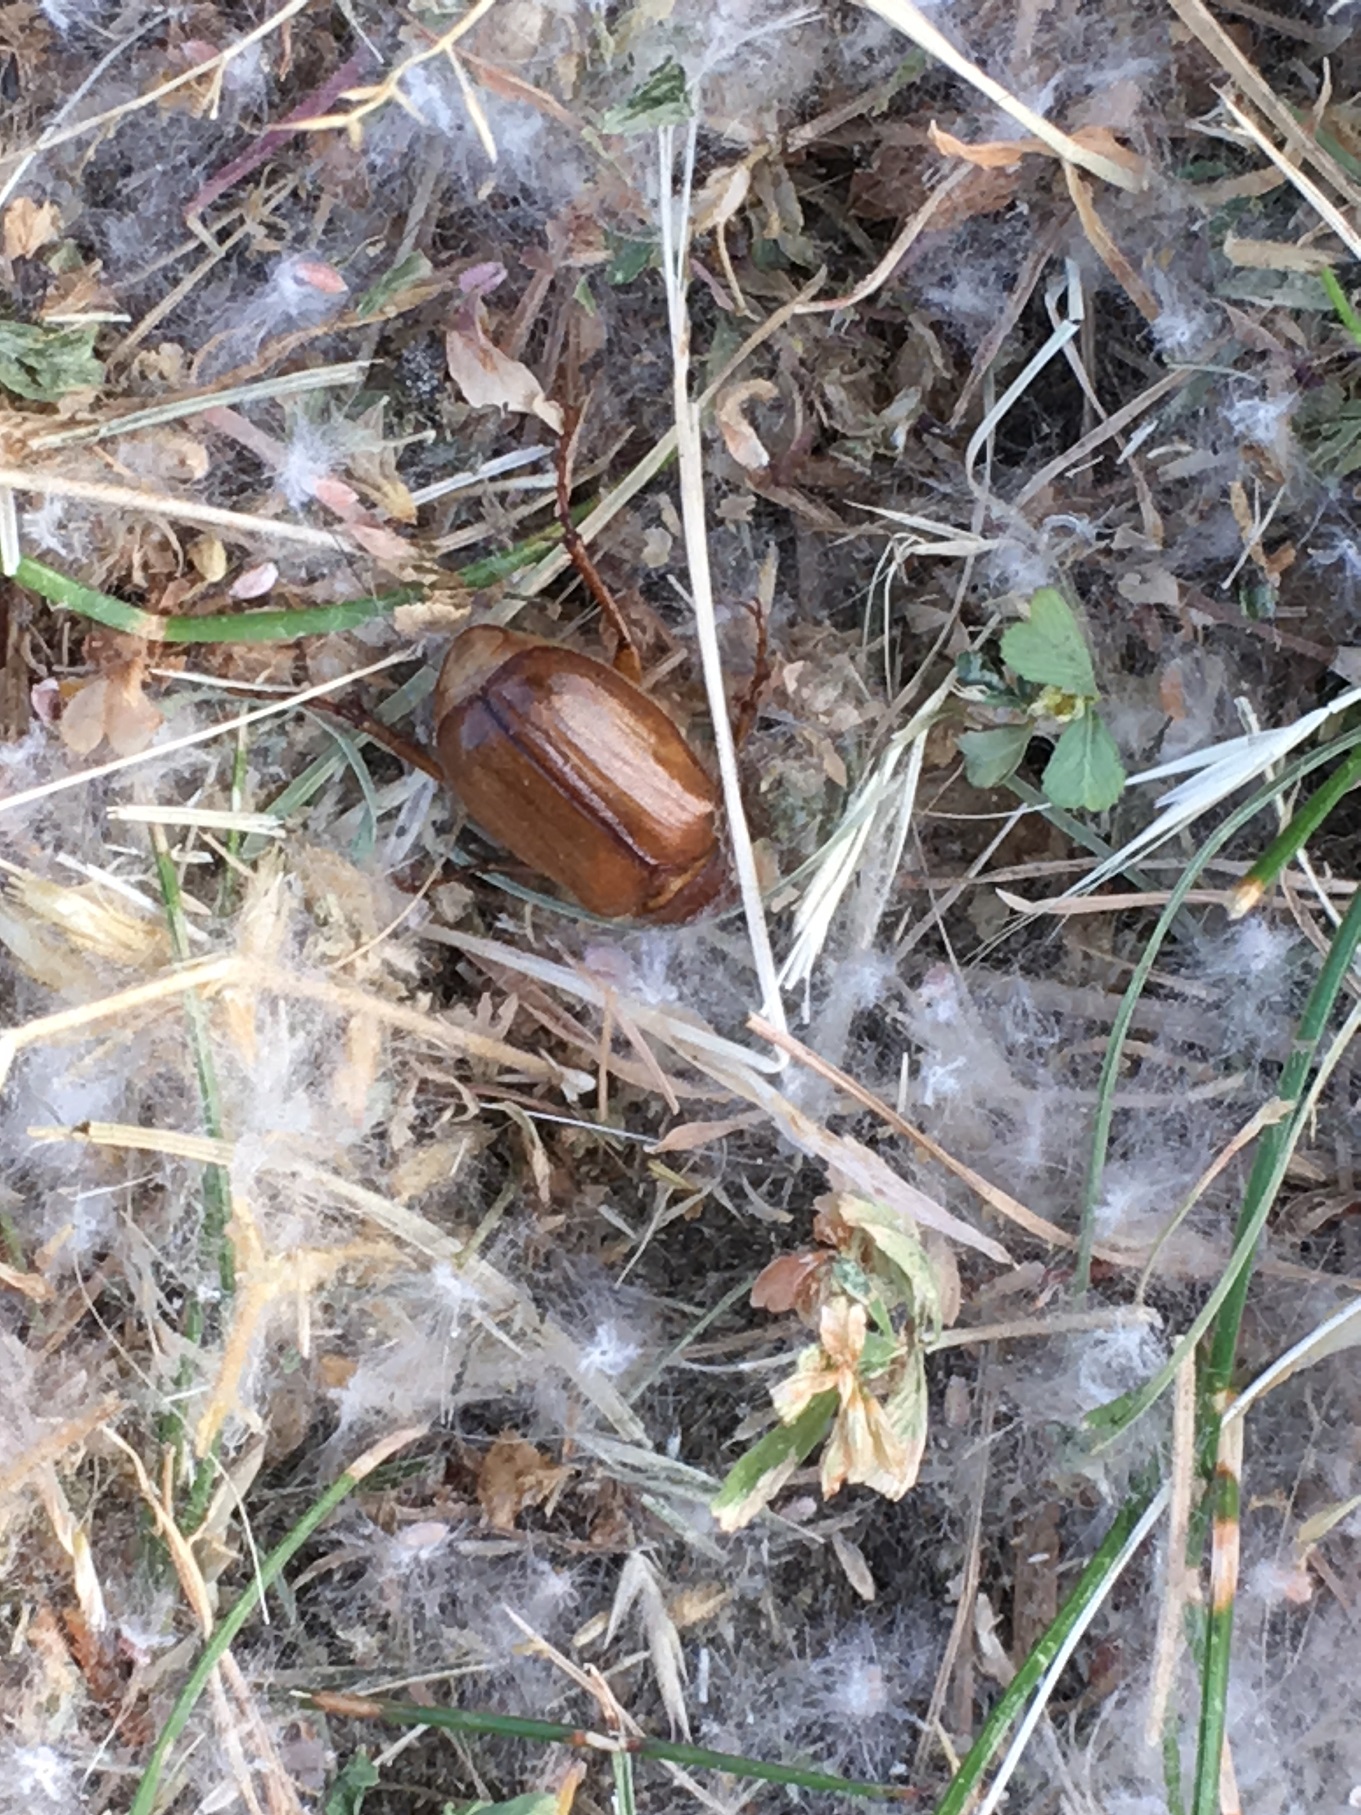
This past June as I walked to my car in the morning I noticed a fat European Chafer beetle heading for the nearby lawn. Of course! June is the time the beetles fly into nearby trees to mate and then head back to delicious-looking lawns to deposit their young.
June
The European Chafer beetles aren’t going anywhere anytime soon. We’re stuck with them. I could have stepped on the beetle with my Stihl boots but that would have been a nasty start to my day. So instead of incorporating the beetle into the sidewalk, I observed her. Once she hit the lawn she disappeared very quickly.
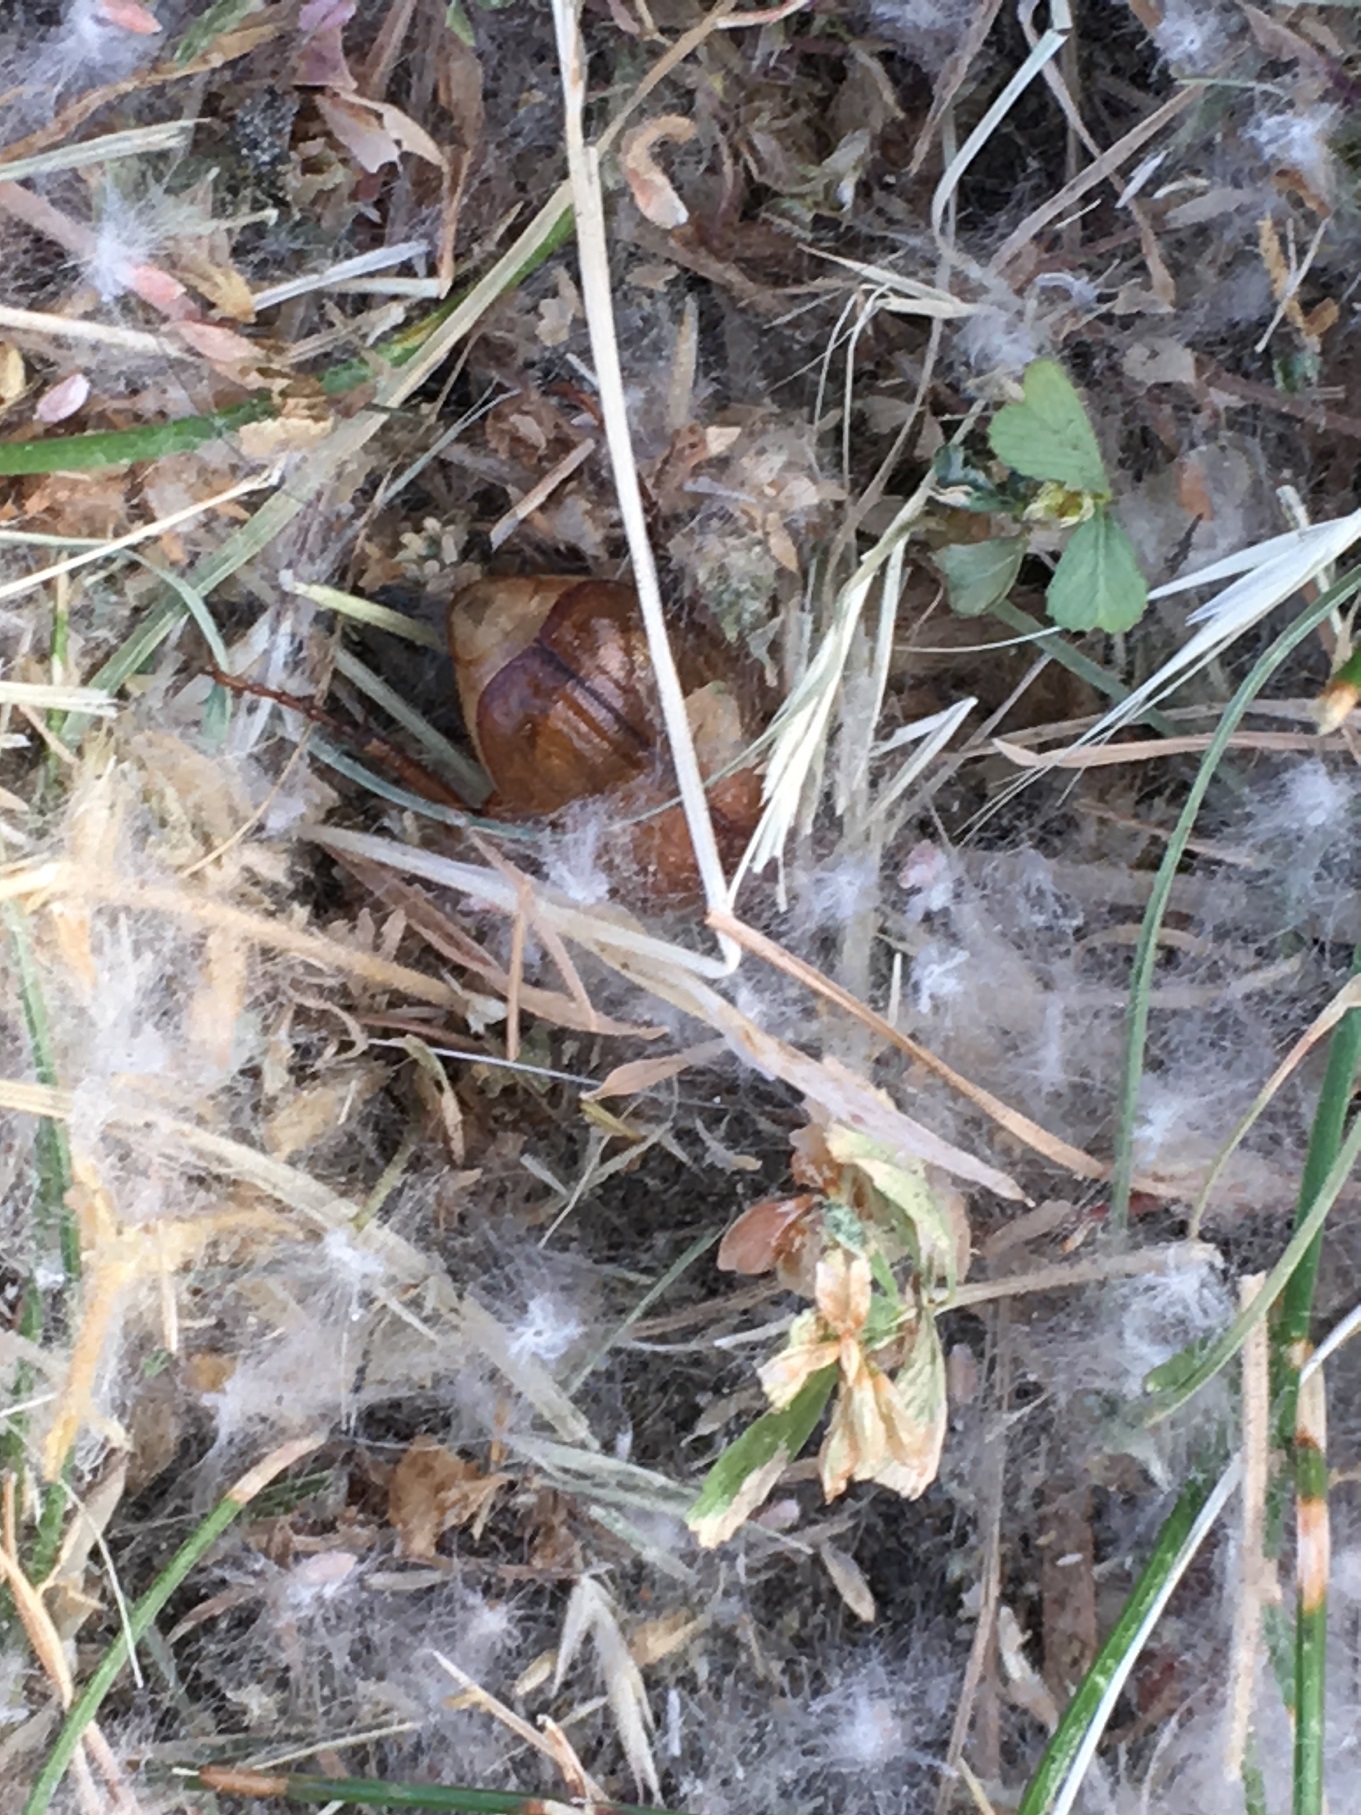
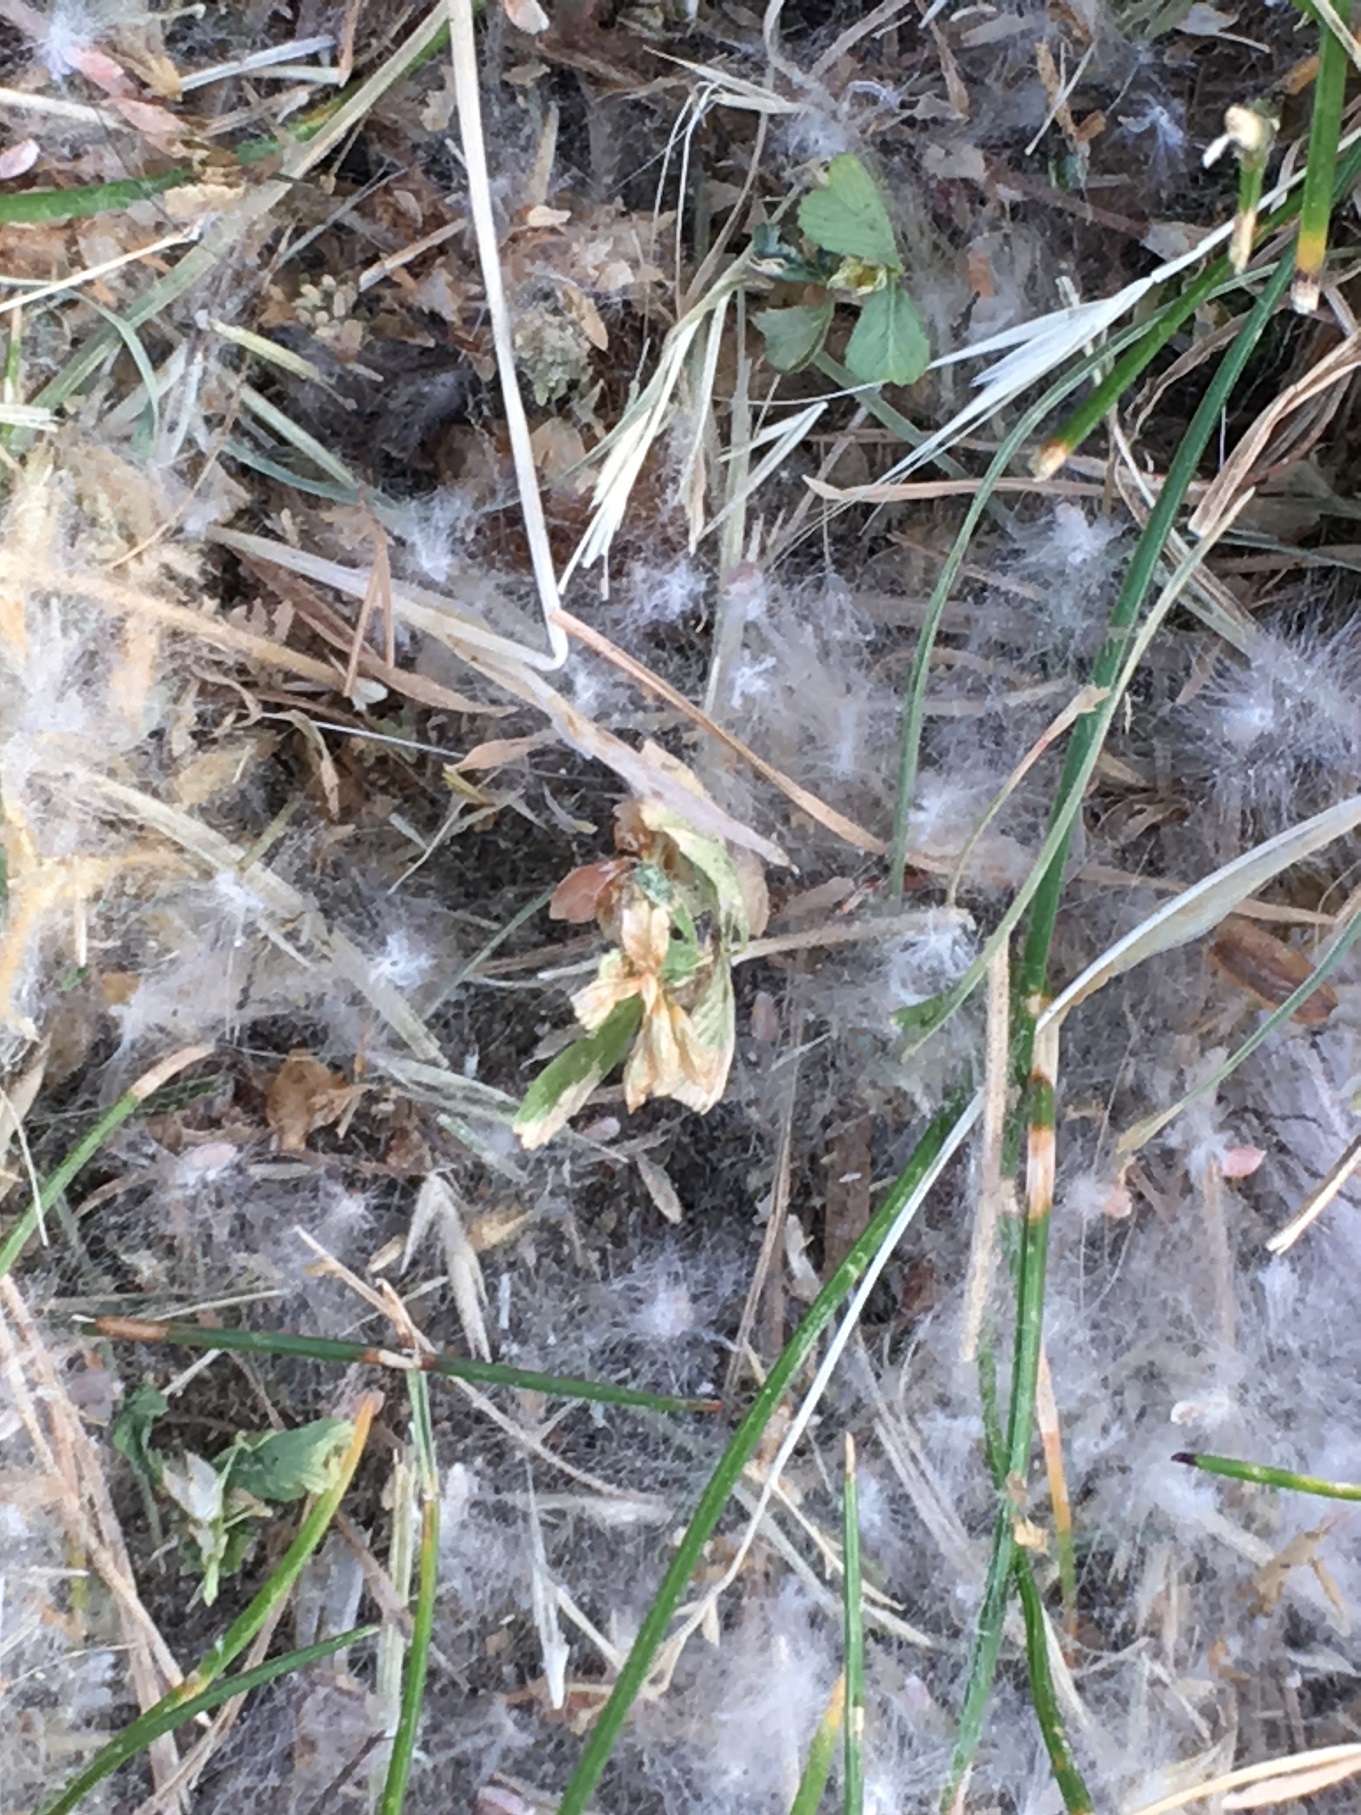
This picture sequence should remind you to order nematodes from your local garden centre. More on this later.
July 8, 2018
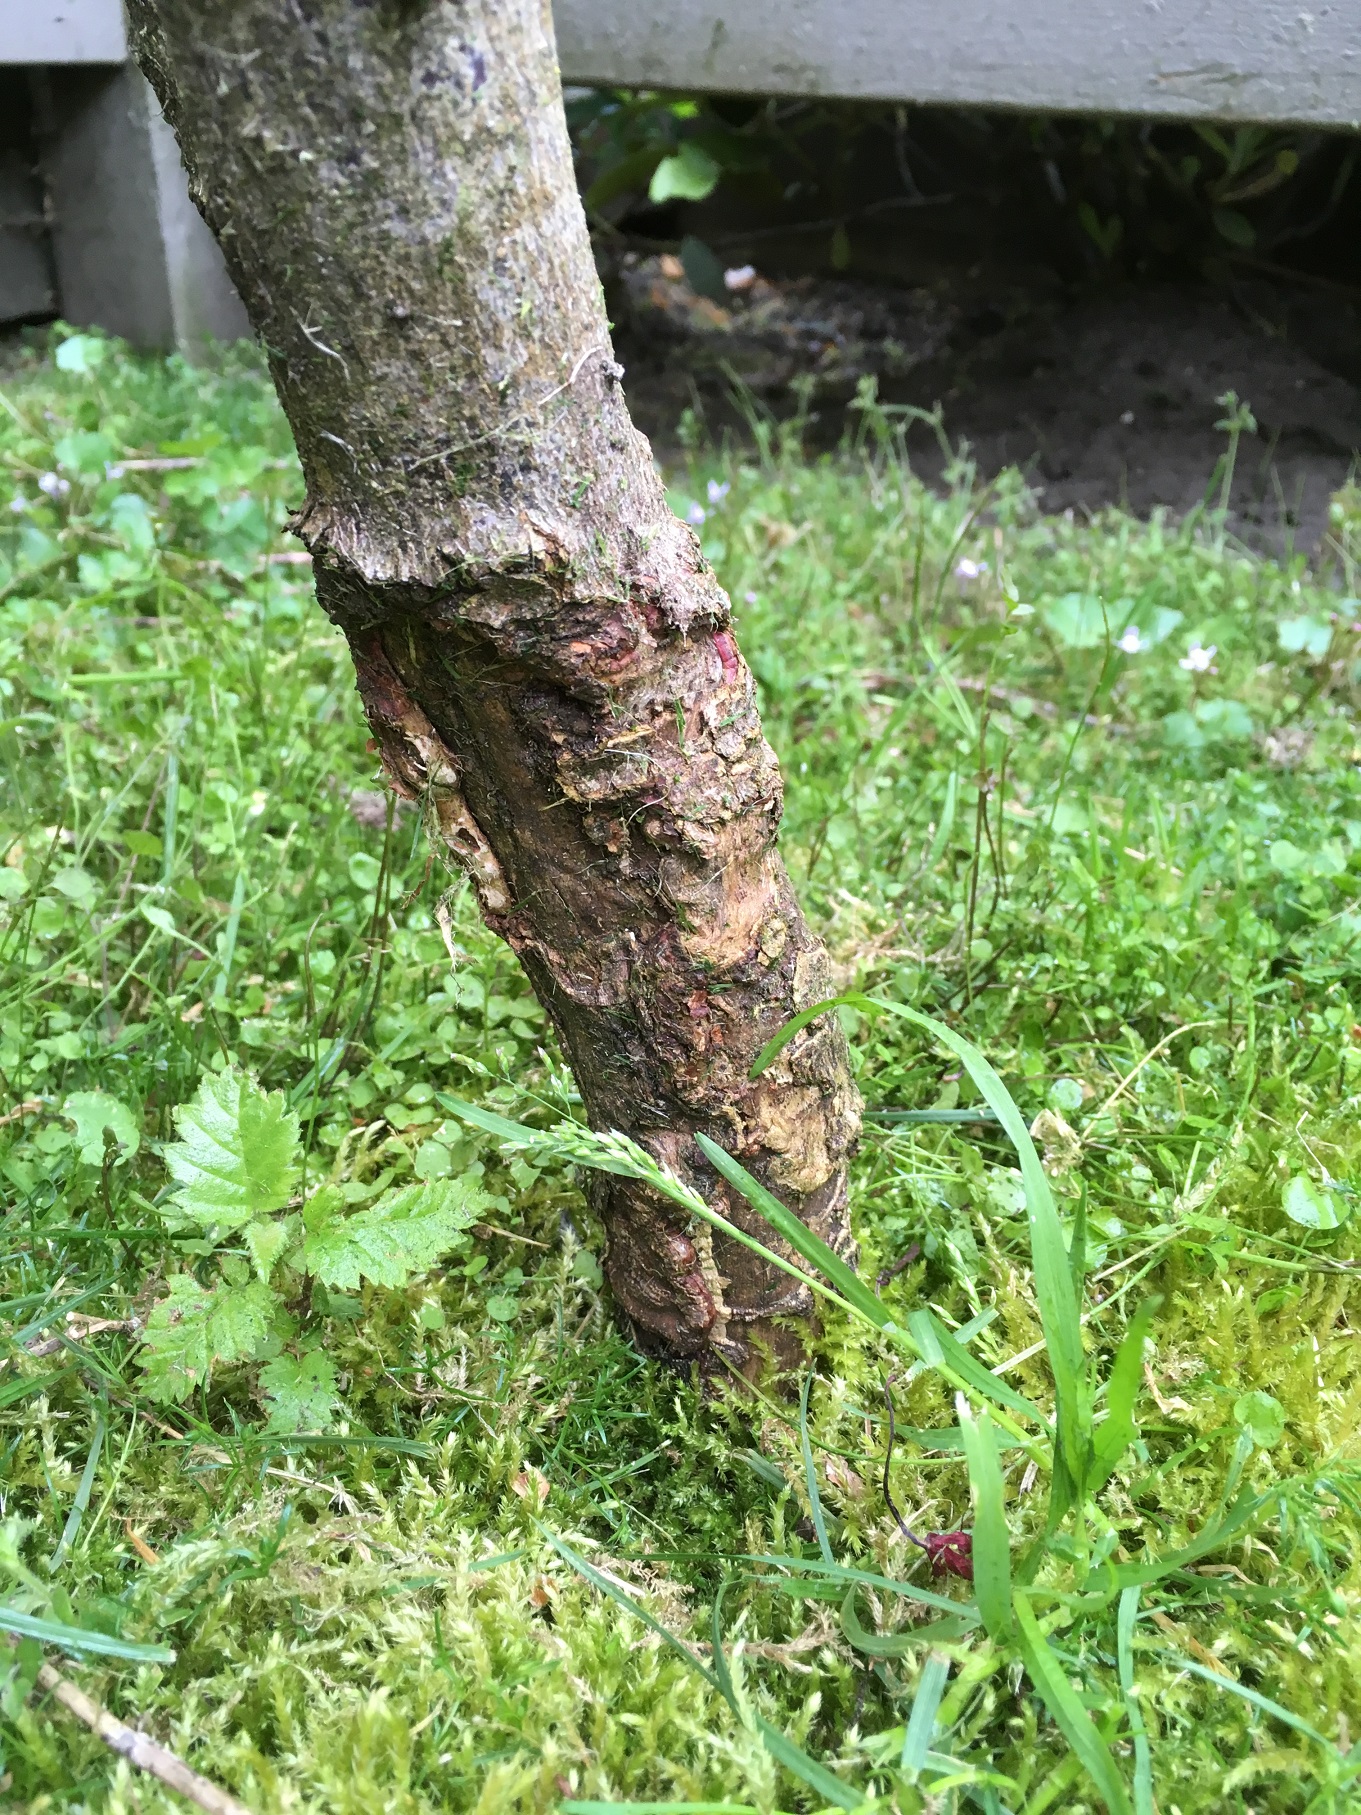
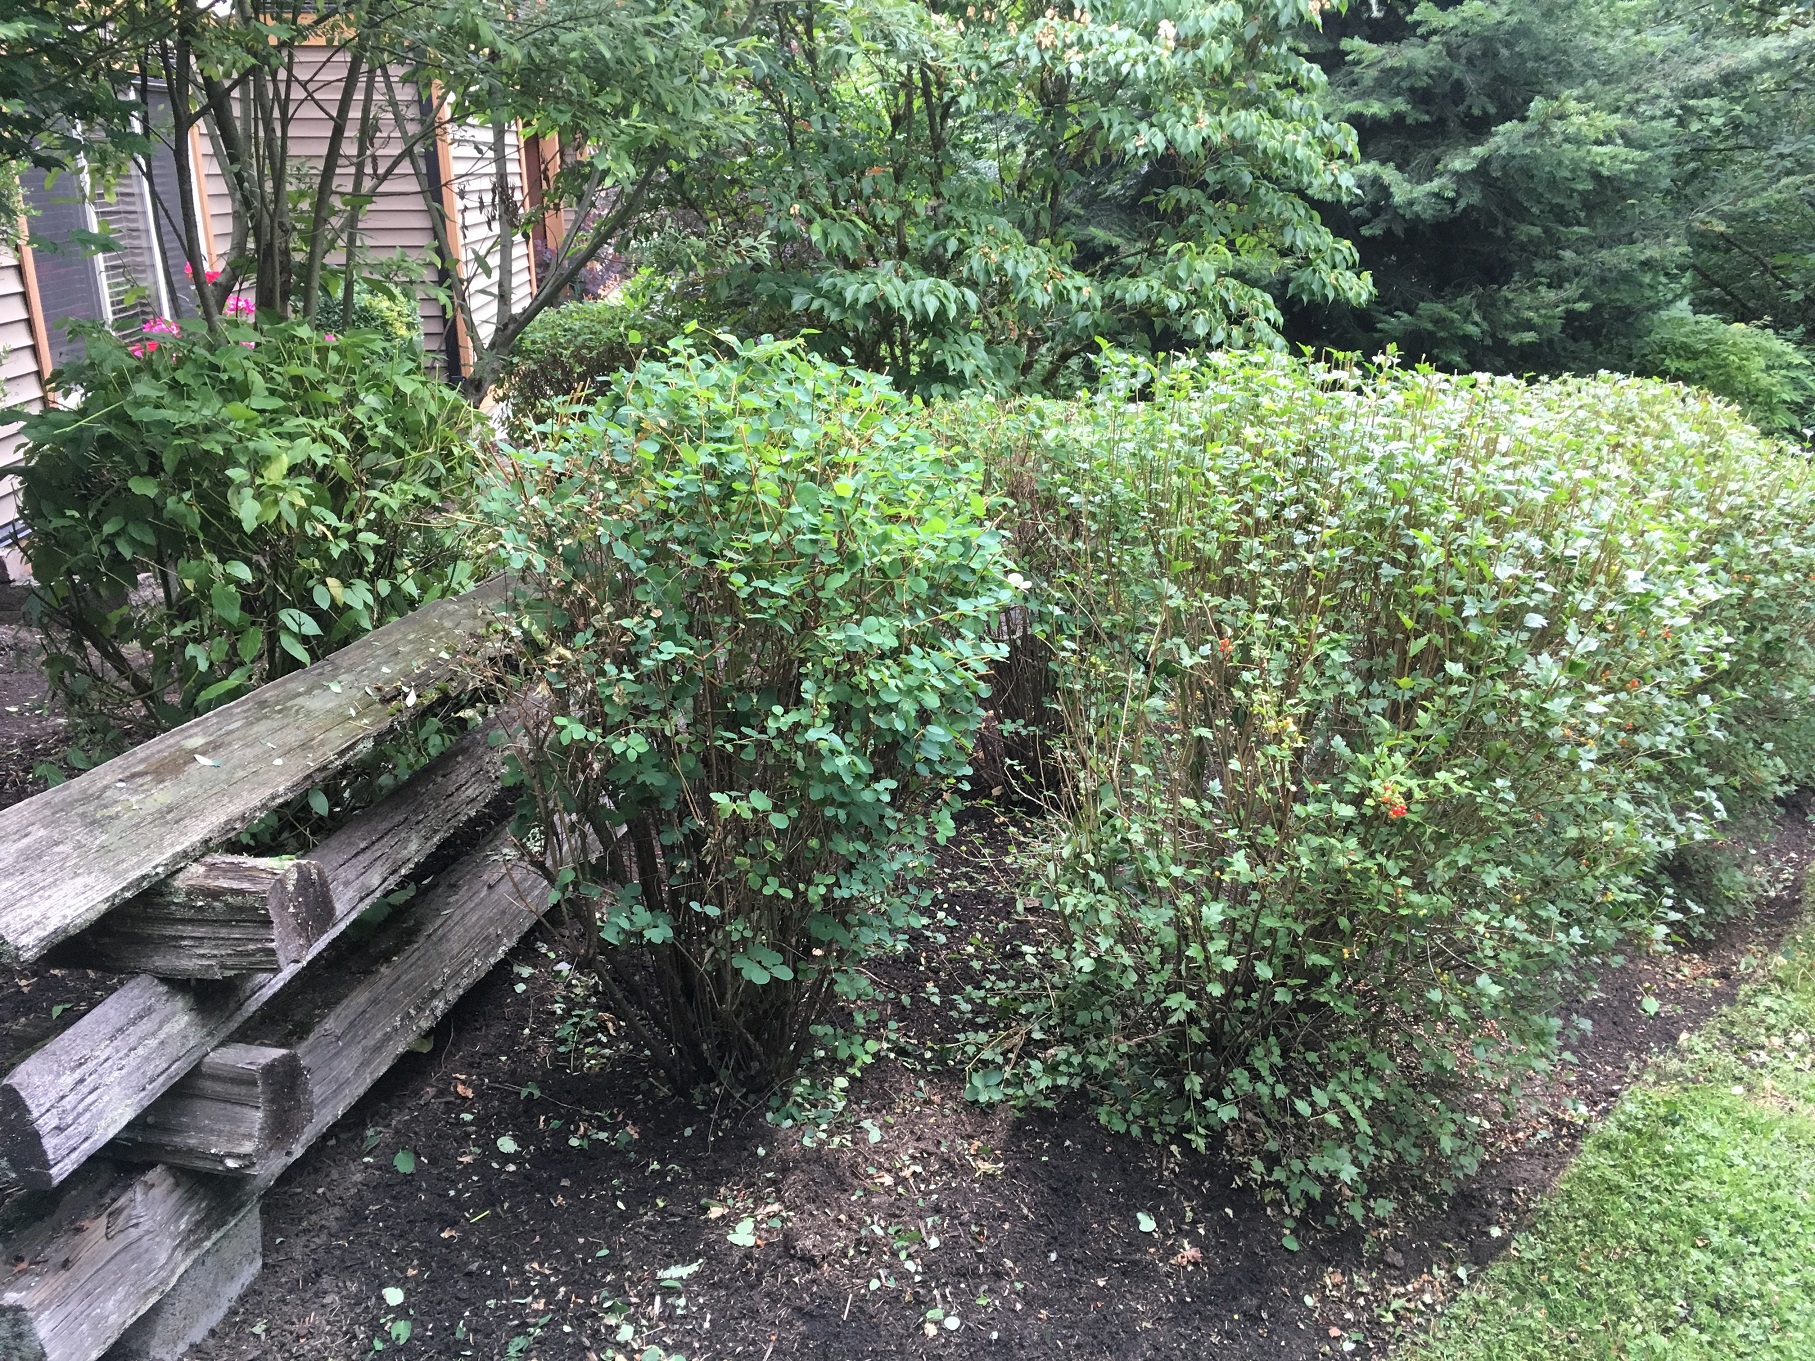
While helping my buddy with his wild backyard I turned over unused garden beds. And in the process I dug up many beetles and a few young grubs. The grubs will mature in lawns and beds before emerging as beetles next summer. And to mature they will feed on grass roots which in turn attracts animals. Crows, birds and raccoons will happily dig up your lawn looking for these juicy grubs.

European chafer beetle larvae 2018.
What can you do?
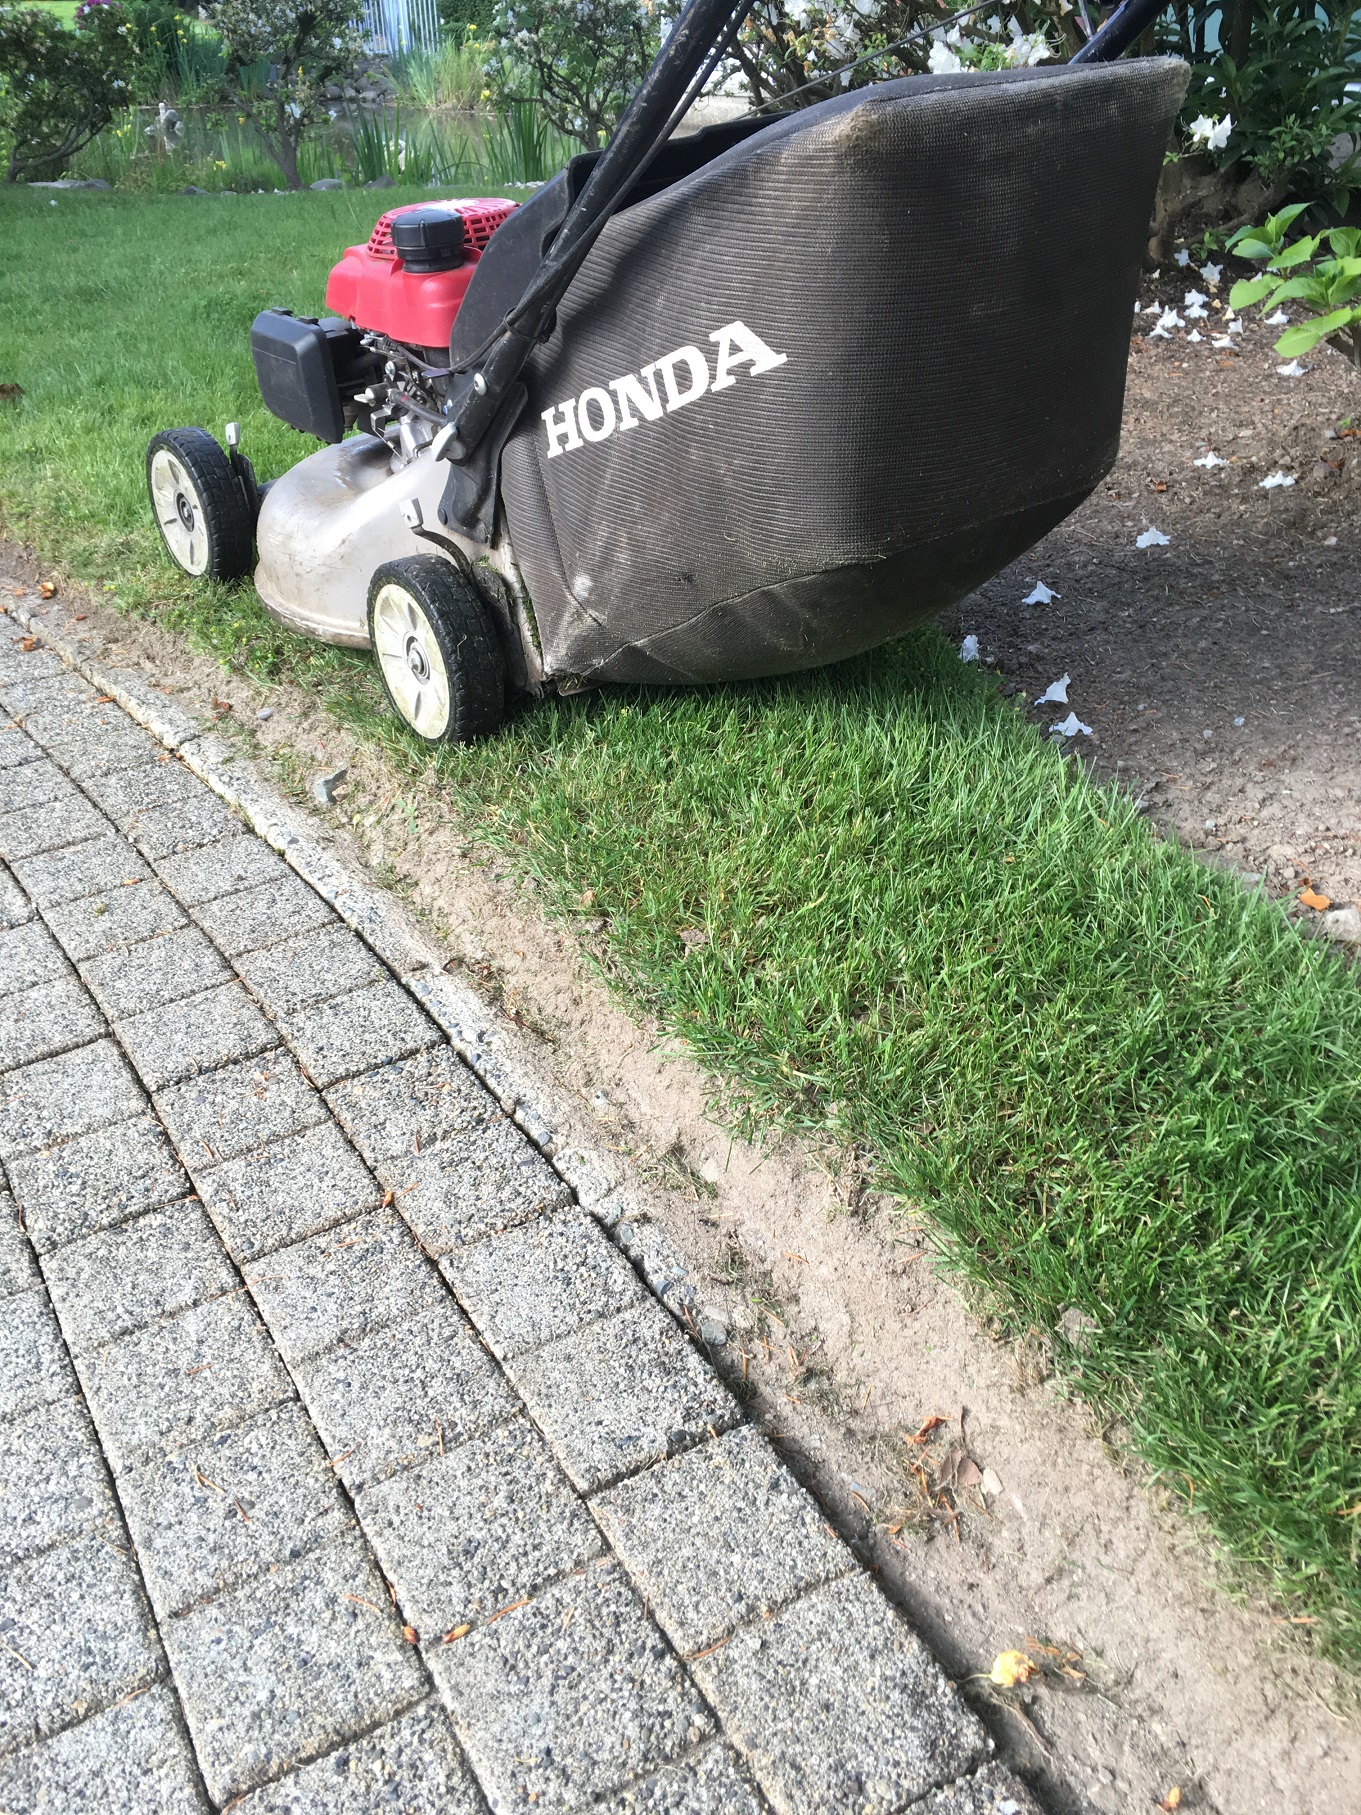
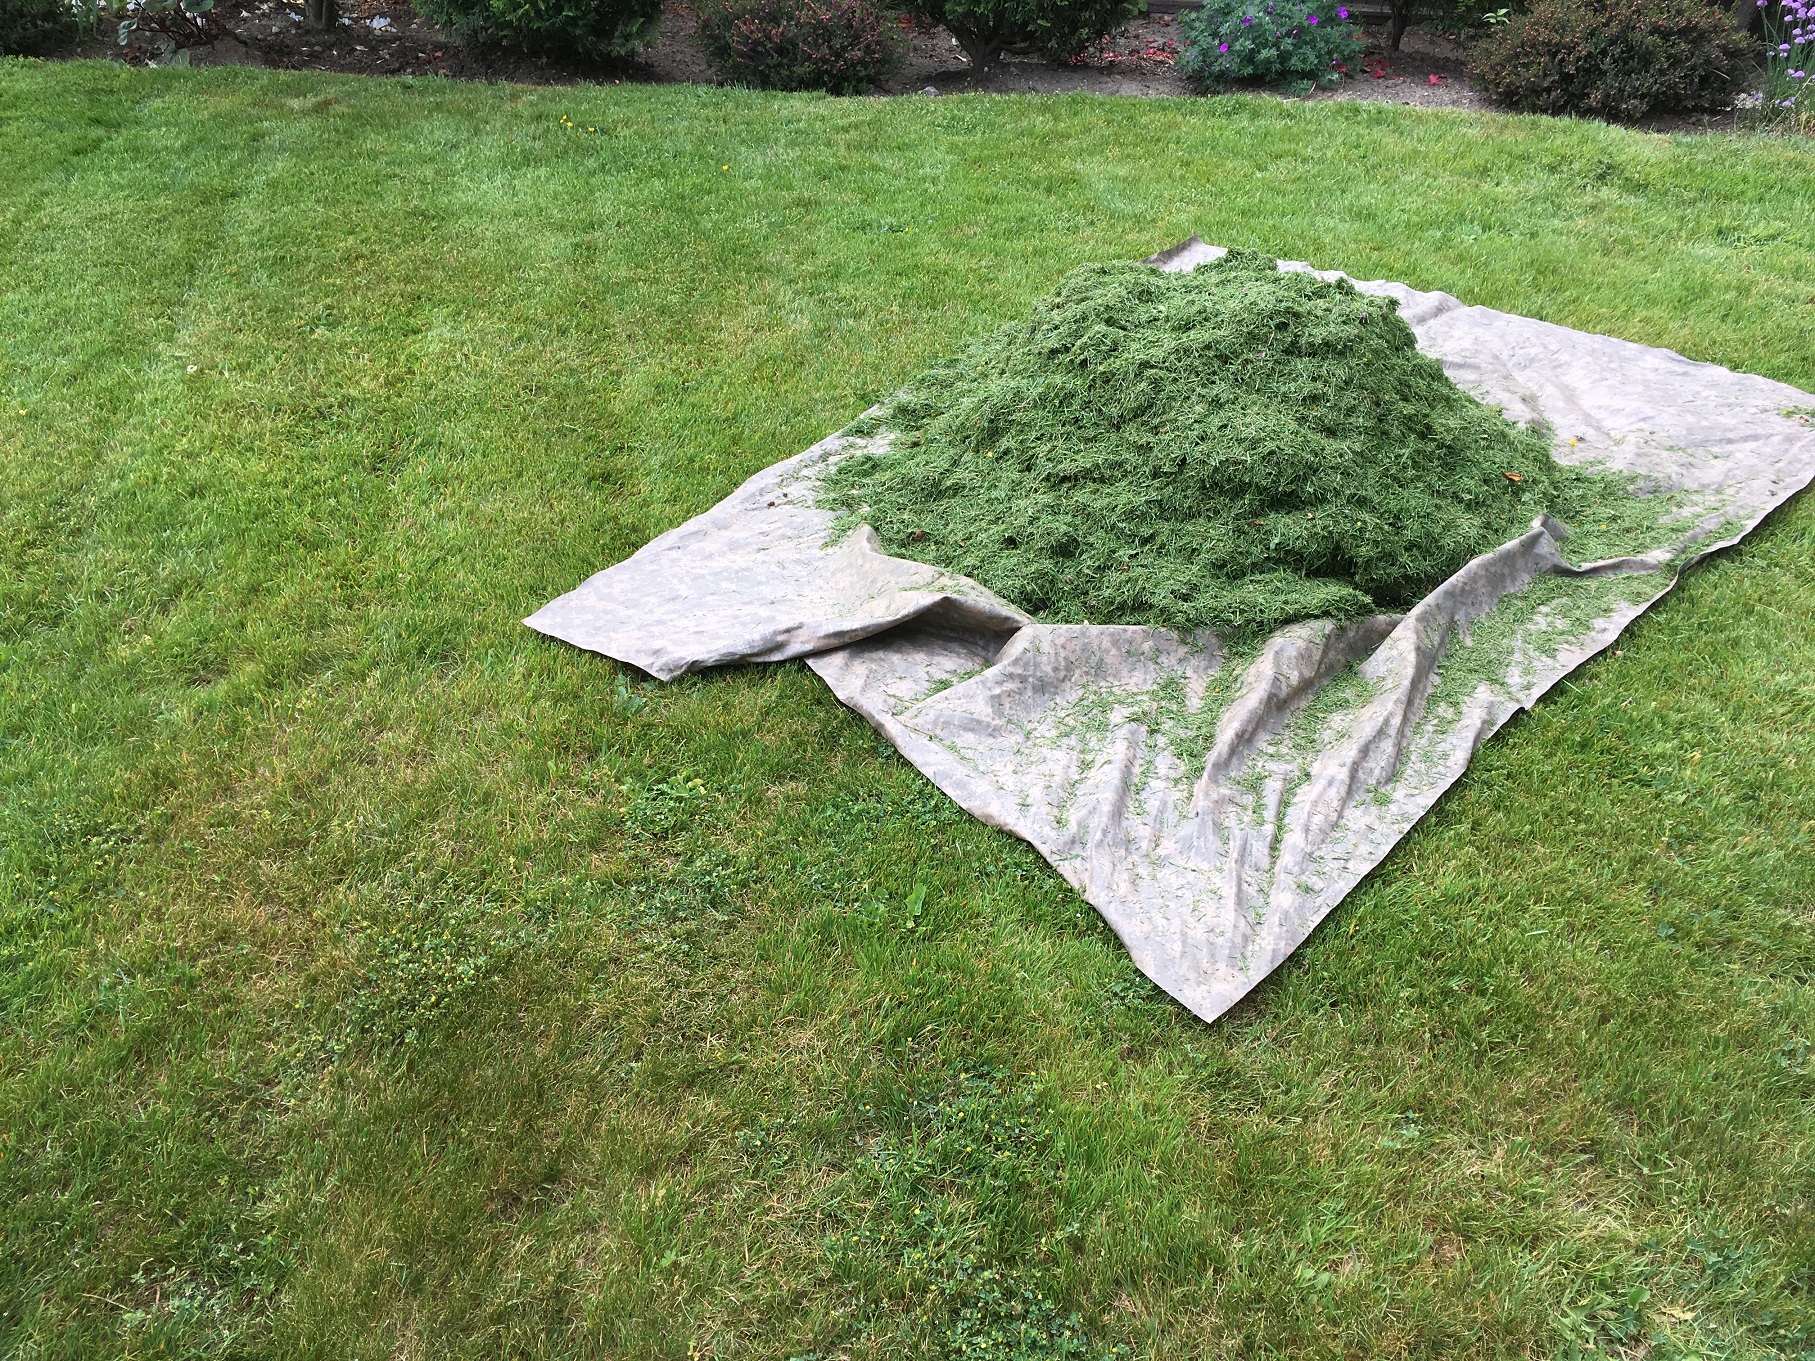
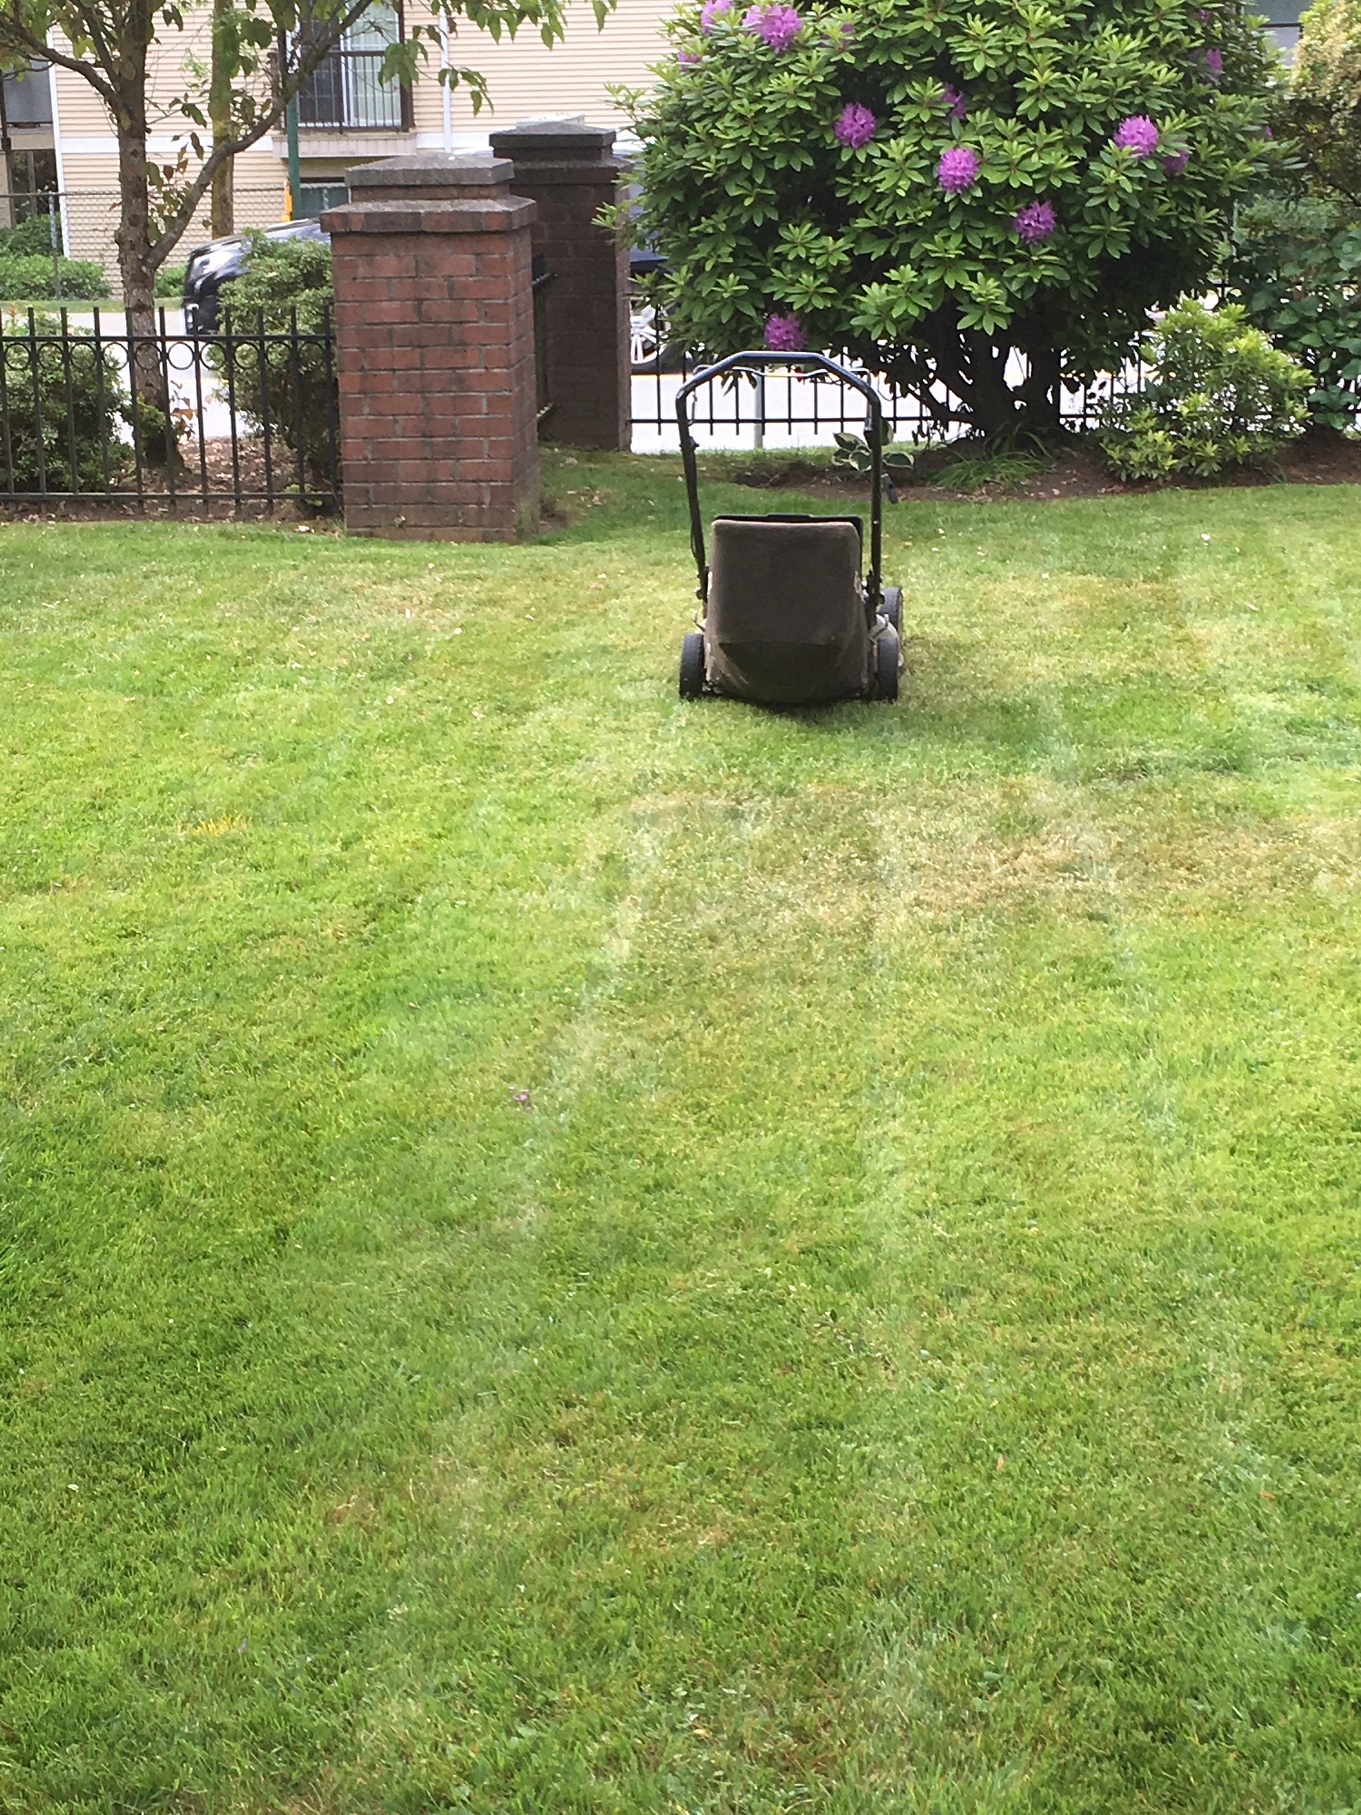
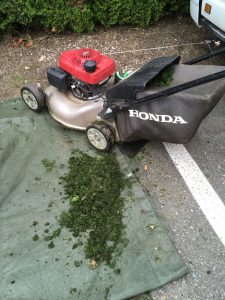
Step one, take better care of your lawn. My buddy is way too busy to “baby” his lawn. He has previous chafer related lawn damage that never got fixed. All three municipalities in the Tri-Cities recommend raking over your damaged lawn and then applying topsoil and over-seeding with deep-rooted grass. Water your lawn daily unless there are watering restrictions in place. Once your lawn is established water 1-2 times per week. Keep your lawn at least 6 cm high and leave clippings on the lawn.
Step two is optional and it involves applying nematodes in the third week of July. The basic idea is for the microscopic nematodes to chase down the grubs and eat them from the inside. You can read my blog about the procedure. There is one catch which makes clients nervous: you will have to apply the nematodes every year.
The chafer beetles are here to stay but you can help your lawn by keeping it healthy.