Mutilation
My Dec 21, 2020 blog post covered the whole fern mutilation affair so please read it to get the whole story. I will only recap the key points here.
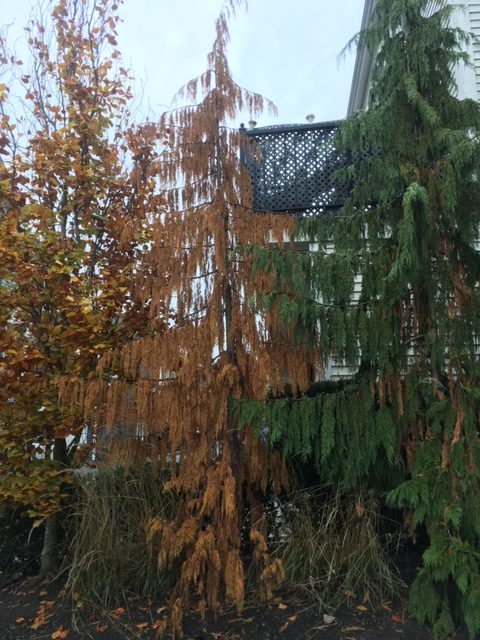
Our West Coast forests are full of the native sword fern (Polystichum munitum). It does fine in the wild and in our managed landscapes. Except when experienced landscapers don’t use their heads and power shear it.
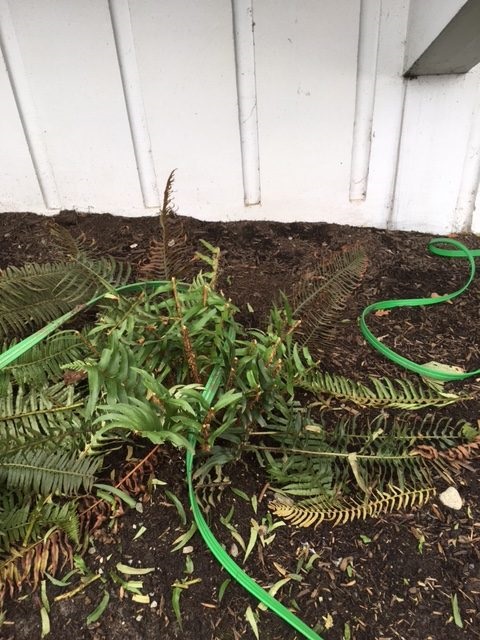
Imagine the horror when I discovered that the fronds had been halved by power shears- in winter- and the mess was never cleaned up. And we’re talking about experienced workers, not new dudes. It’s not clear what happened but clearly there was a breakdown somewhere.
I’m sorry, but this kind of shoddy work can not be tolerated. Here’s why.
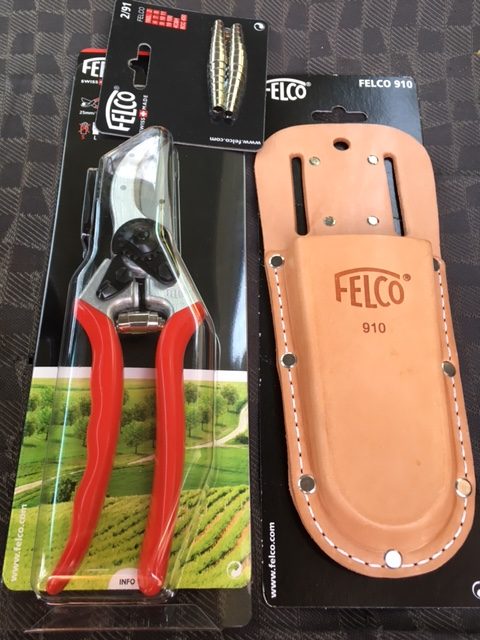
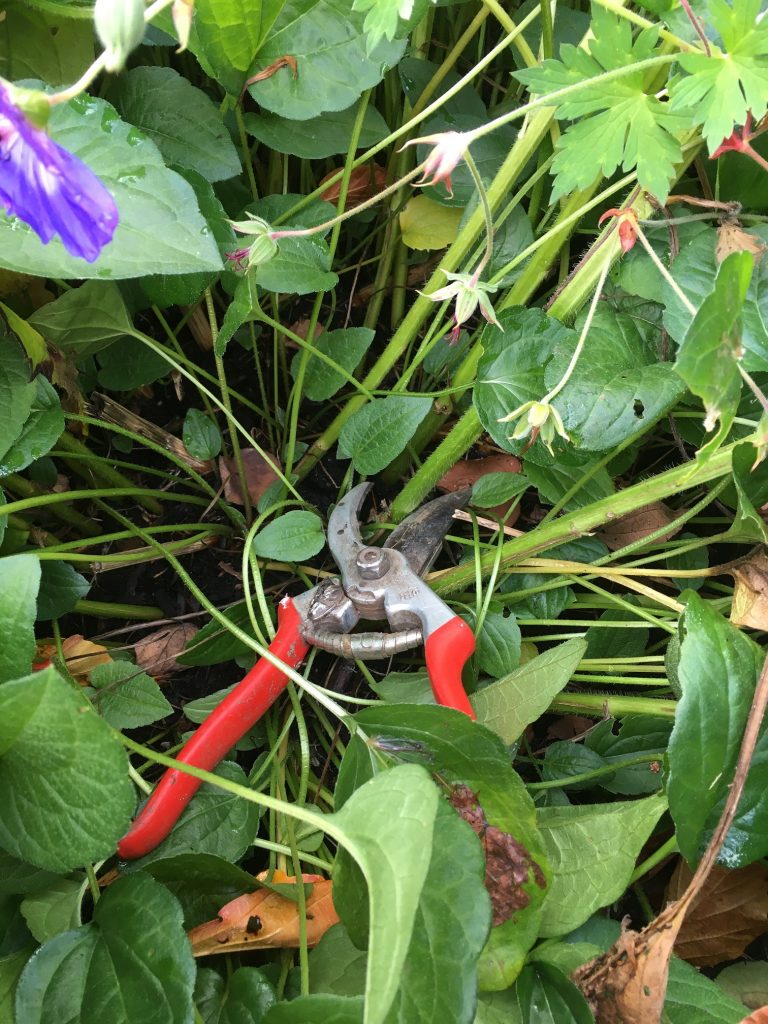
- Use hand snips to take out the brown fronds, if they bother you. It does make the sword ferns look neater. Don’t power shear ferns. Ever! I don’t care if it takes longer.
- The fronds only make sense when they are intact, not halved. It looks freaky.
- Not cleaning things up is the ultimate sin. How people walk away from this carnage is beyond me. Clearly, there were some problems with the crew. Pruning and clean-up go hand in hand. Both should be fantastic.
- The timing is awful. If you look at the base of the ferns, you should see next season’s fronds tightly packed together. When they pop up in spring, then you can take out the old brown fronds. Not in winter. Since nothing new emerges until spring, the residents get to look at halved sword ferns all winter. That’s just bizarre.
Good news!
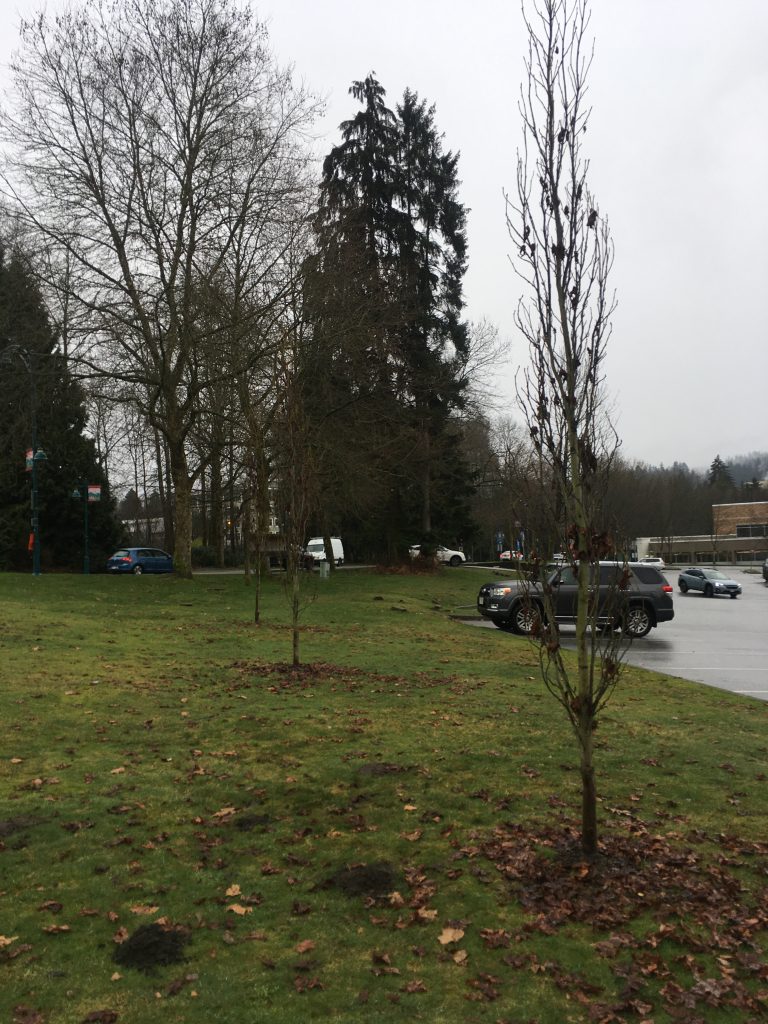
Because plants are resilient, we have some good news to report a year later. I’m happy to report that the sword ferns recovered nicely! And the crews are under strict orders not to touch them until next spring. Hopefully, they learned their lesson.
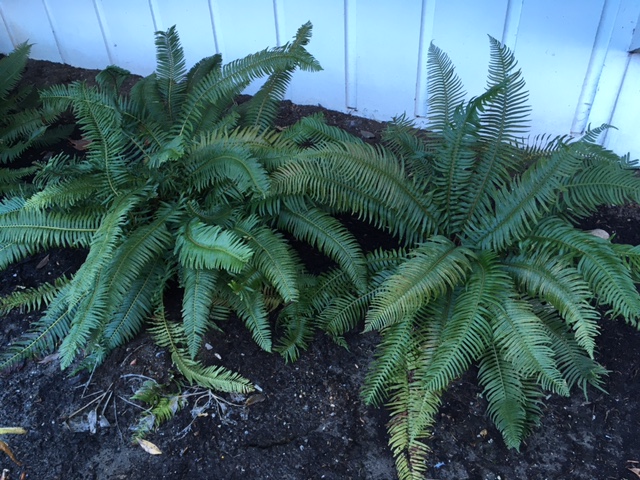
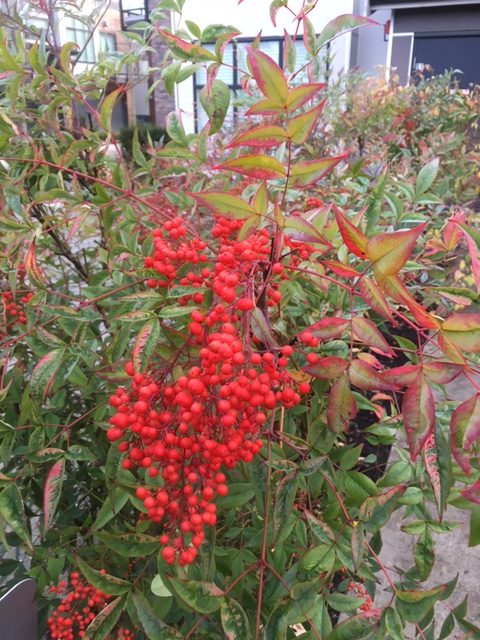
Left alone until spring, these sword ferns look great all winter.
Now you know how to handle our native sword ferns. Use snips in spring to prune out the brown fronds. That’s it. Then enjoy them for the rest of the year.