Hunting for education credits (CEUs) is one of my favorite activities. The idea is to force you to upgrade your skills by continually learning through reading, attending seminars, symposiums and taking quizzes. ISA (International Society of Arboriculture) requires me to collect 30 CEUs in one three year re-certification period. The re-certification renews on the date of your certification. June in my case.
The Landscape Industry Certified program in North America requires 24 CEUs every two years. Certification expires on December 31, every two years. In Canada, the CNLA will send a friendly reminder. There is a form to fill out and mail back.
To re-certify:
a) will cost you money but it’s cash well-spent. If you ask your employer nicely, it won’t cost you anything. The cost of not re-certifying is much higher. Re-certify!
b) normally one hour spent in class or reading equals one credit. By completing my eleven hour audiobook “Lab girl”, I will be eligible to claim eleven hours; a one-page book report is required.
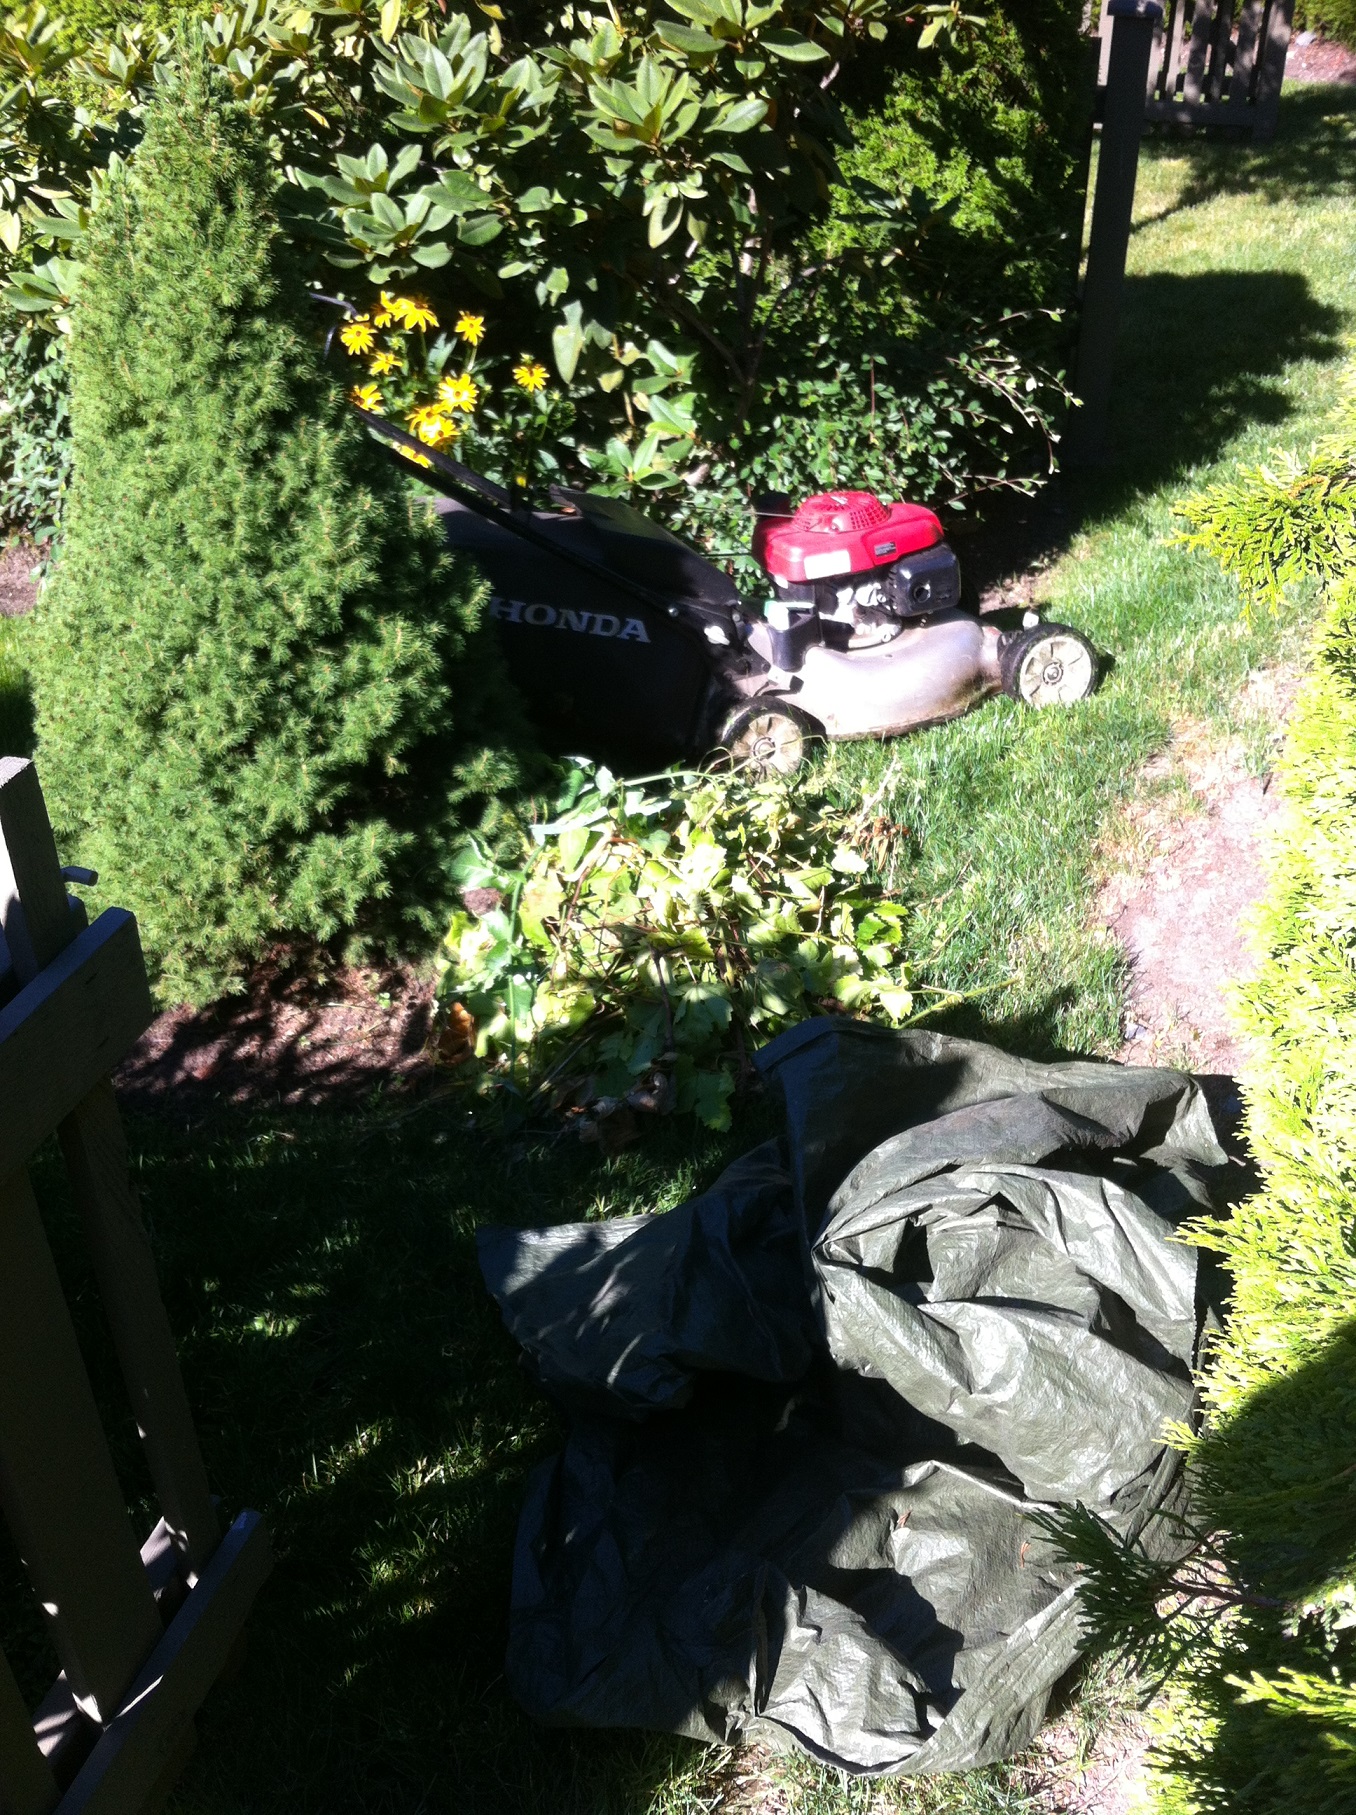
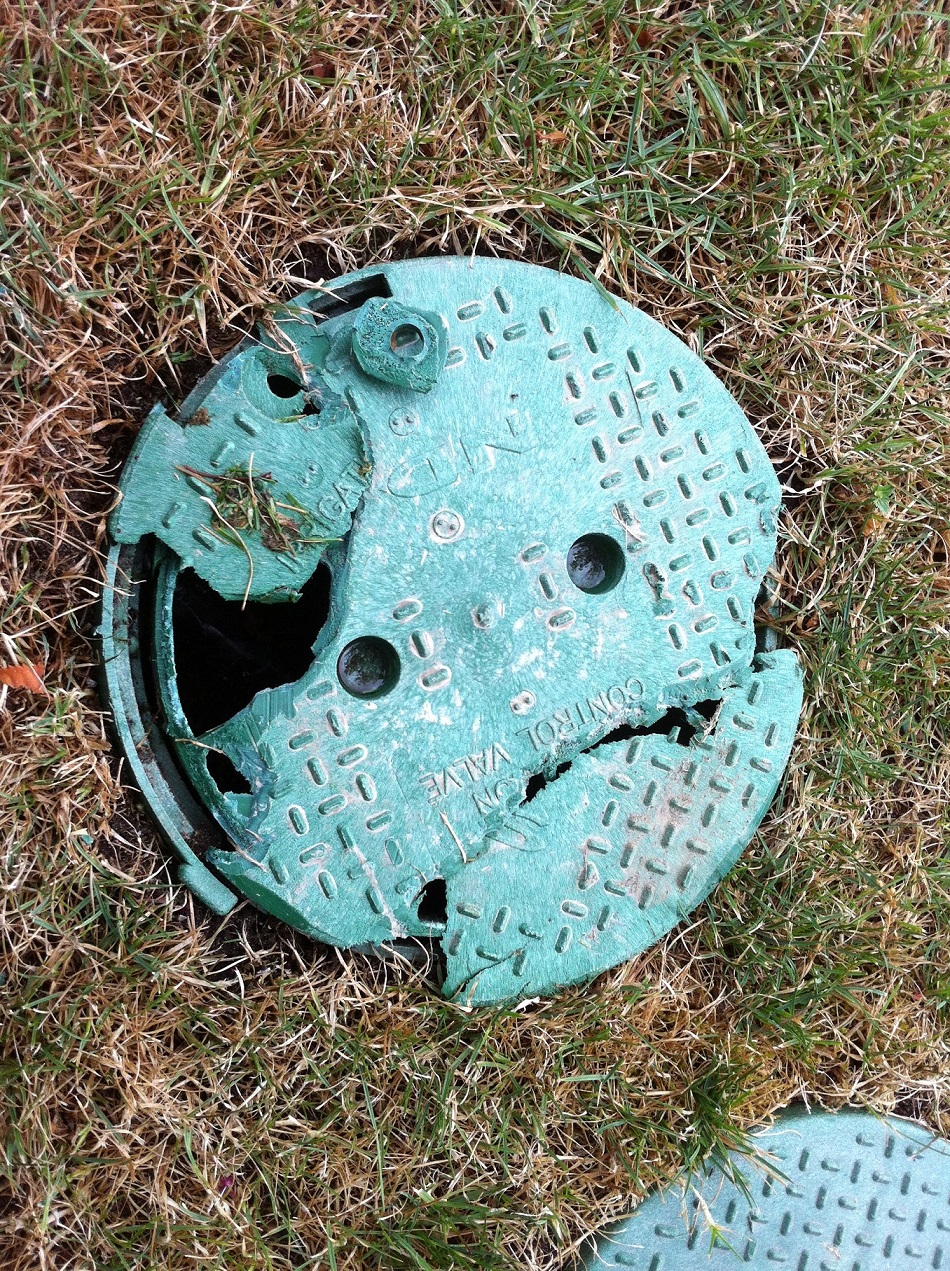
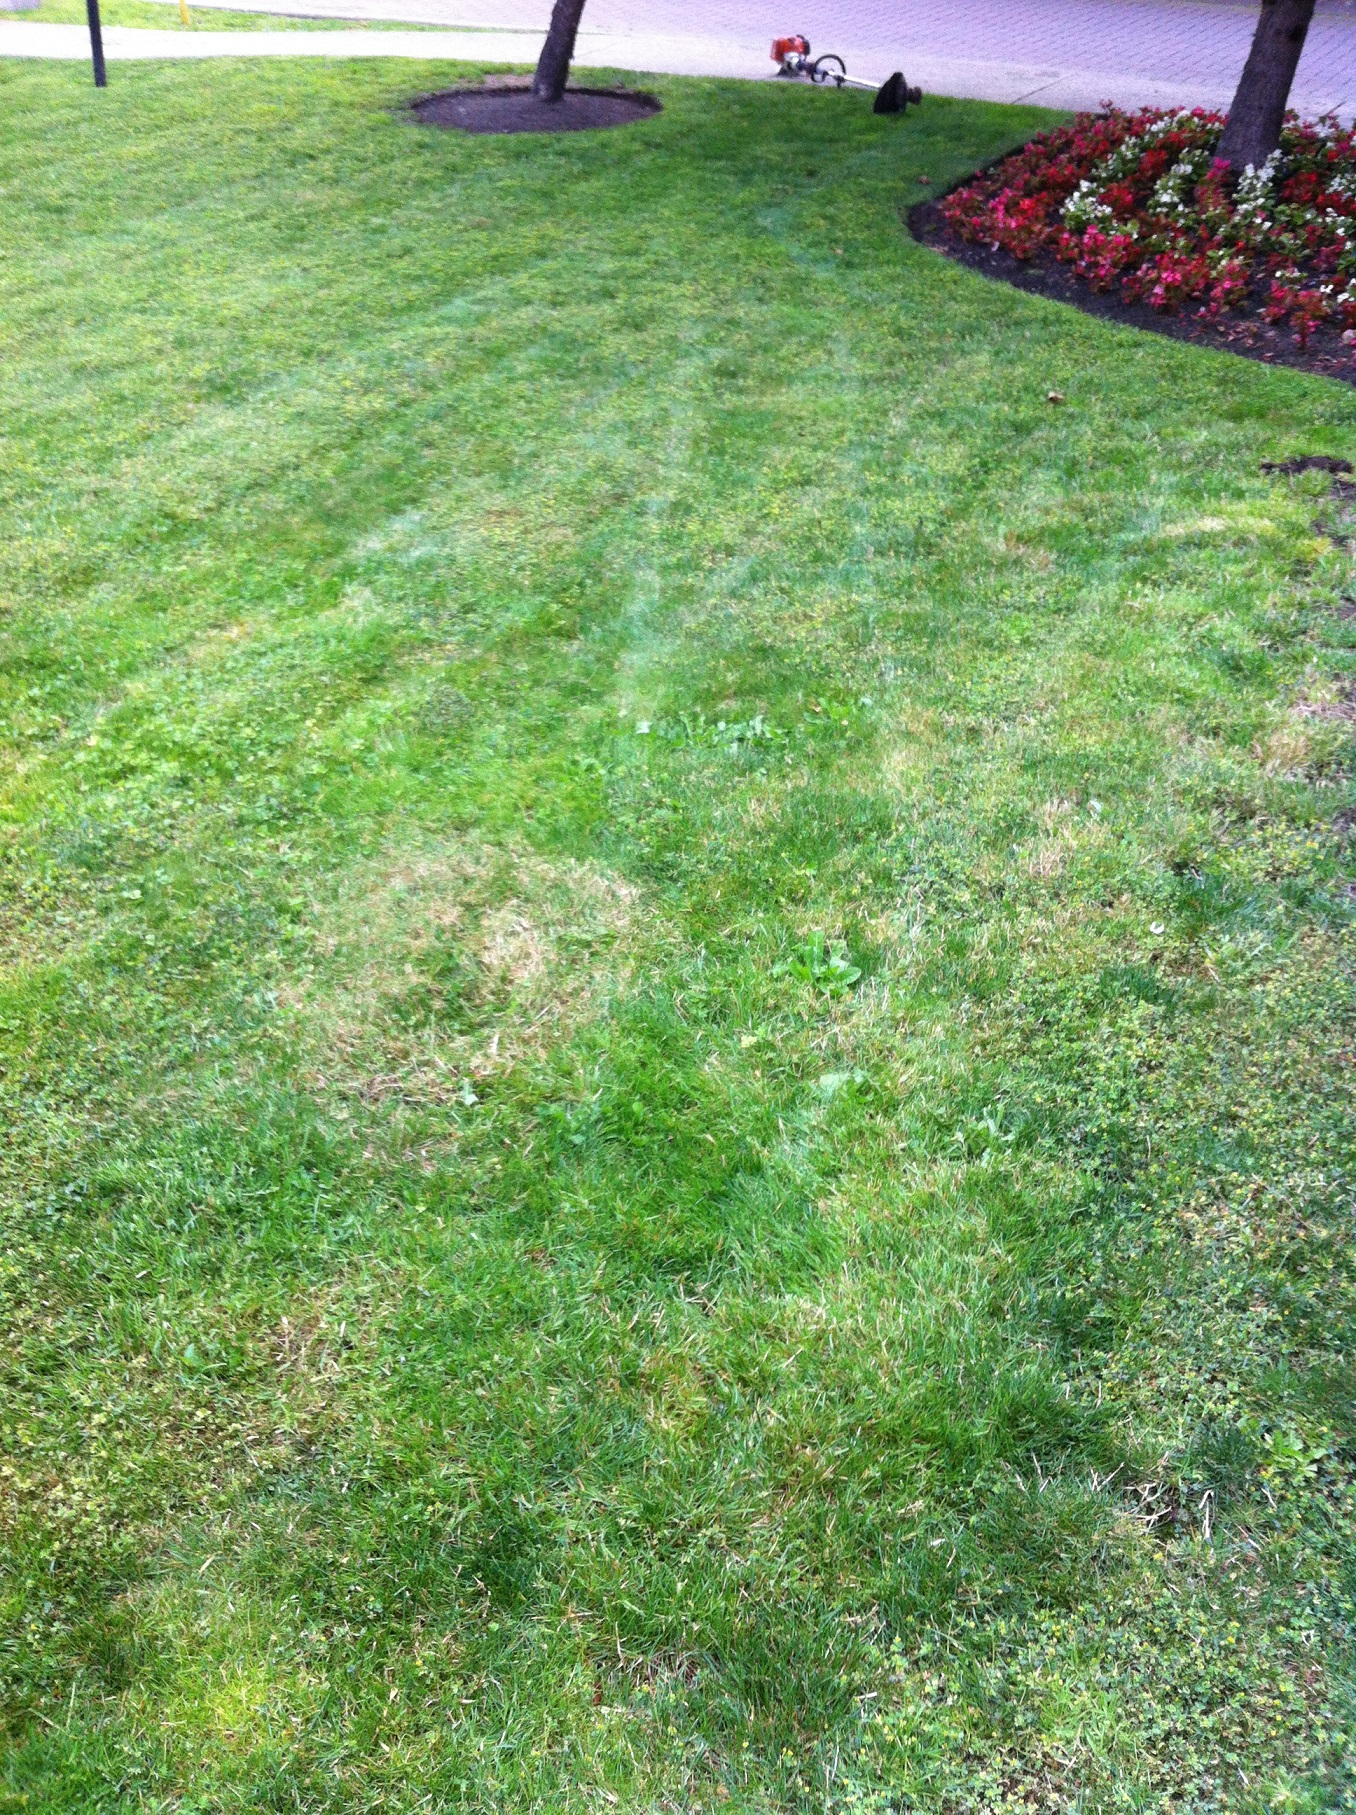
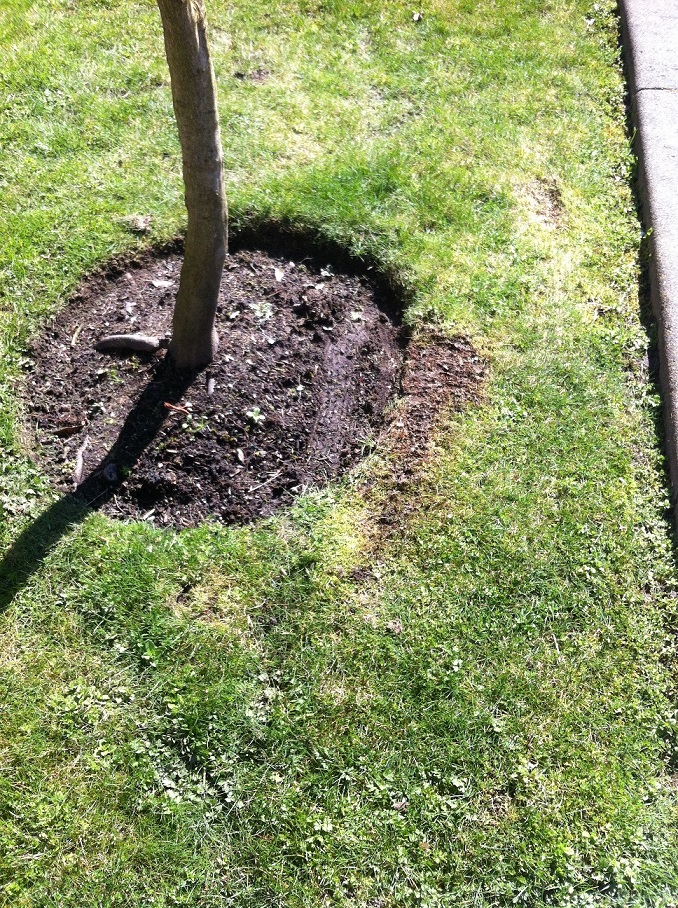
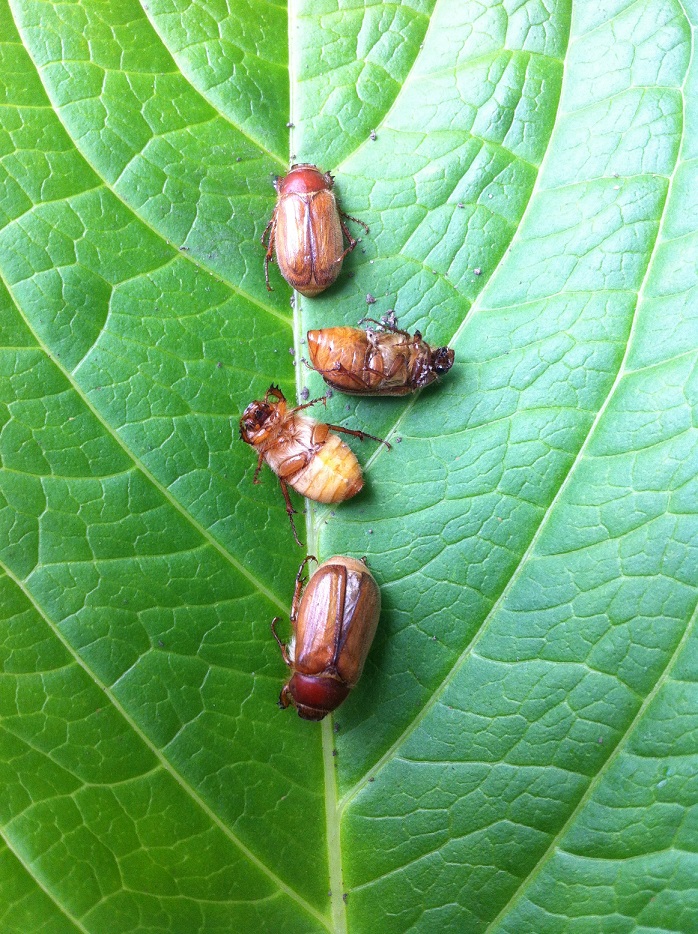
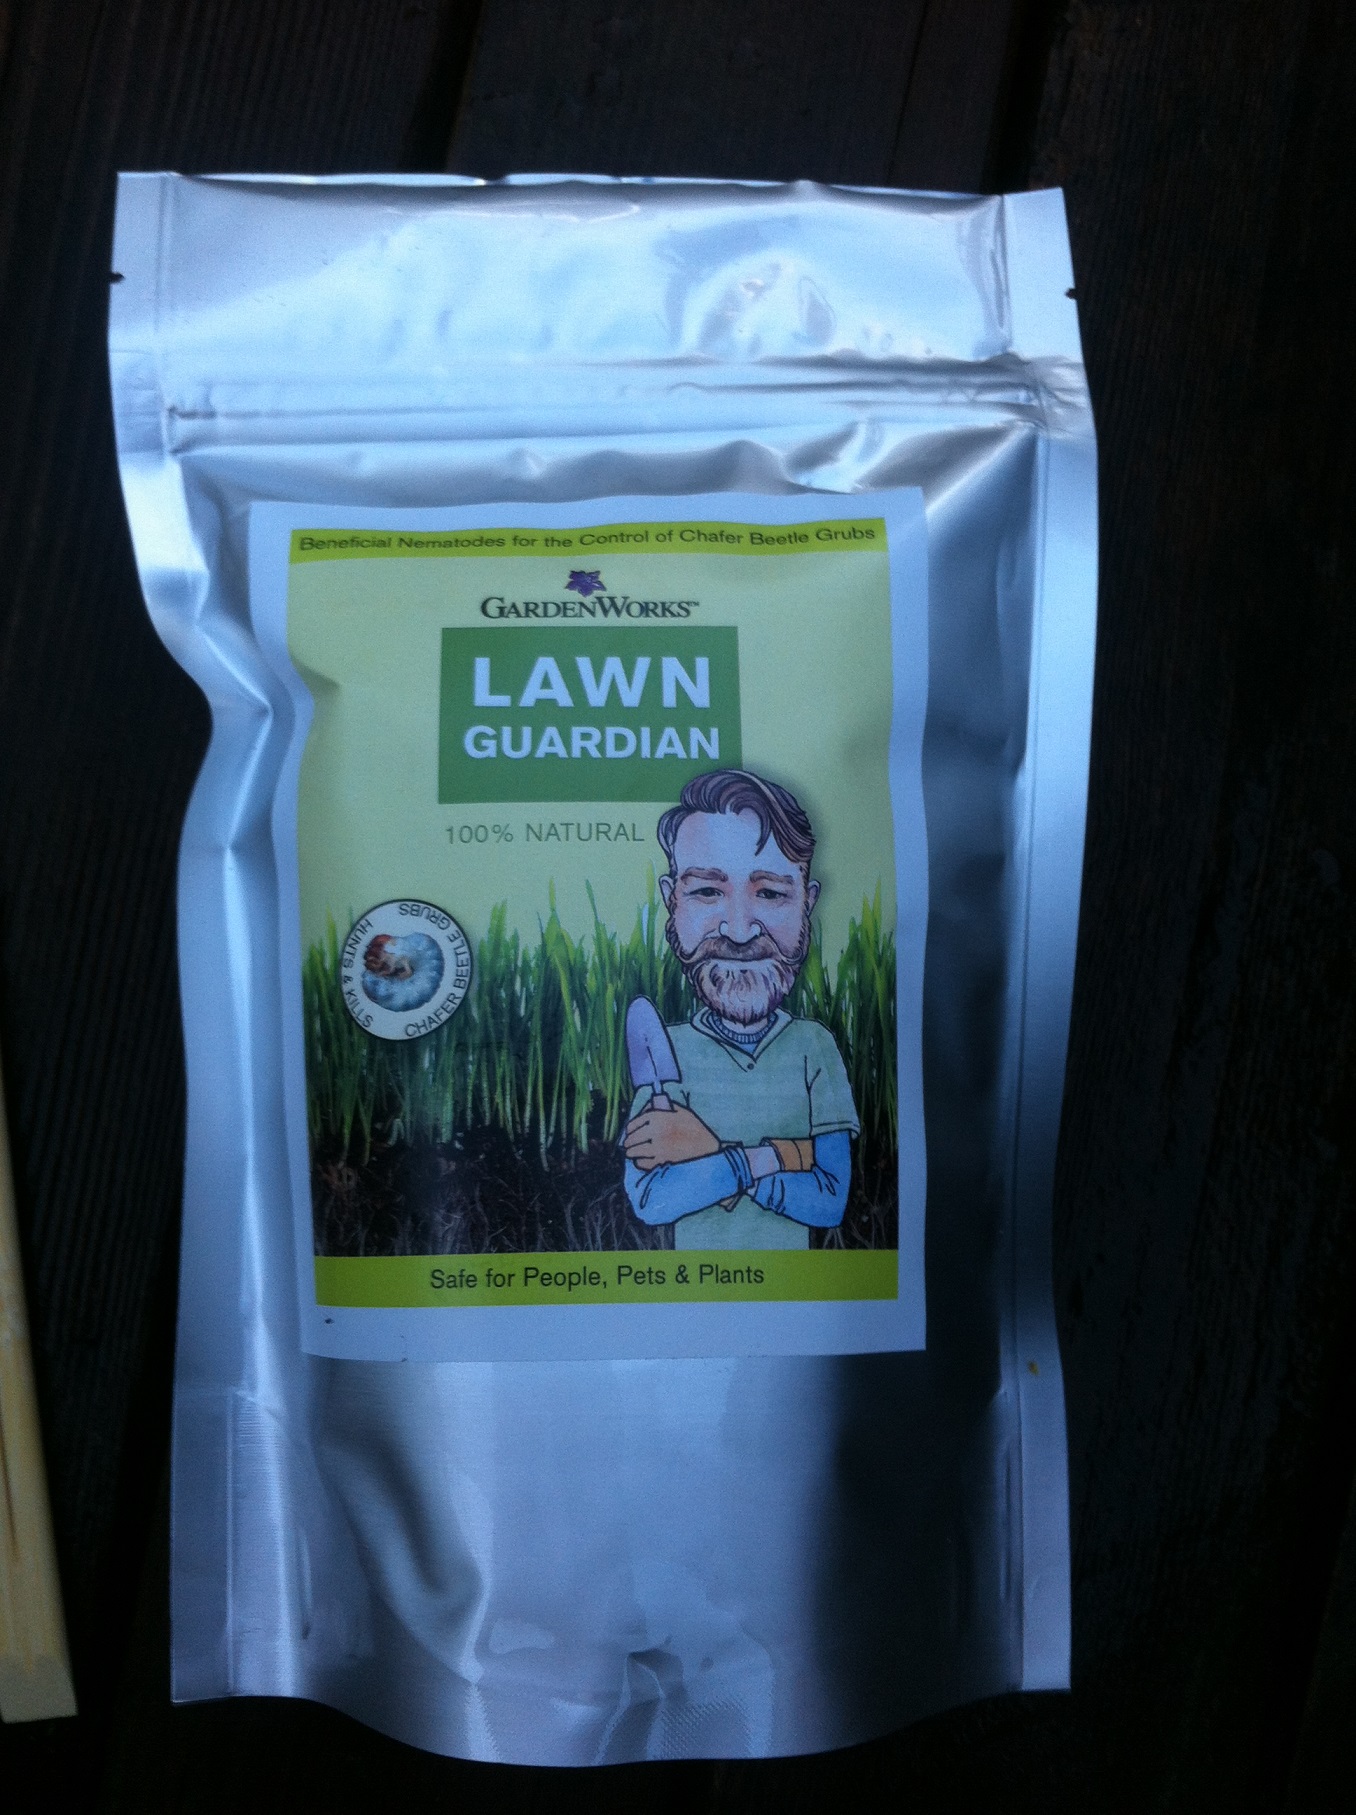
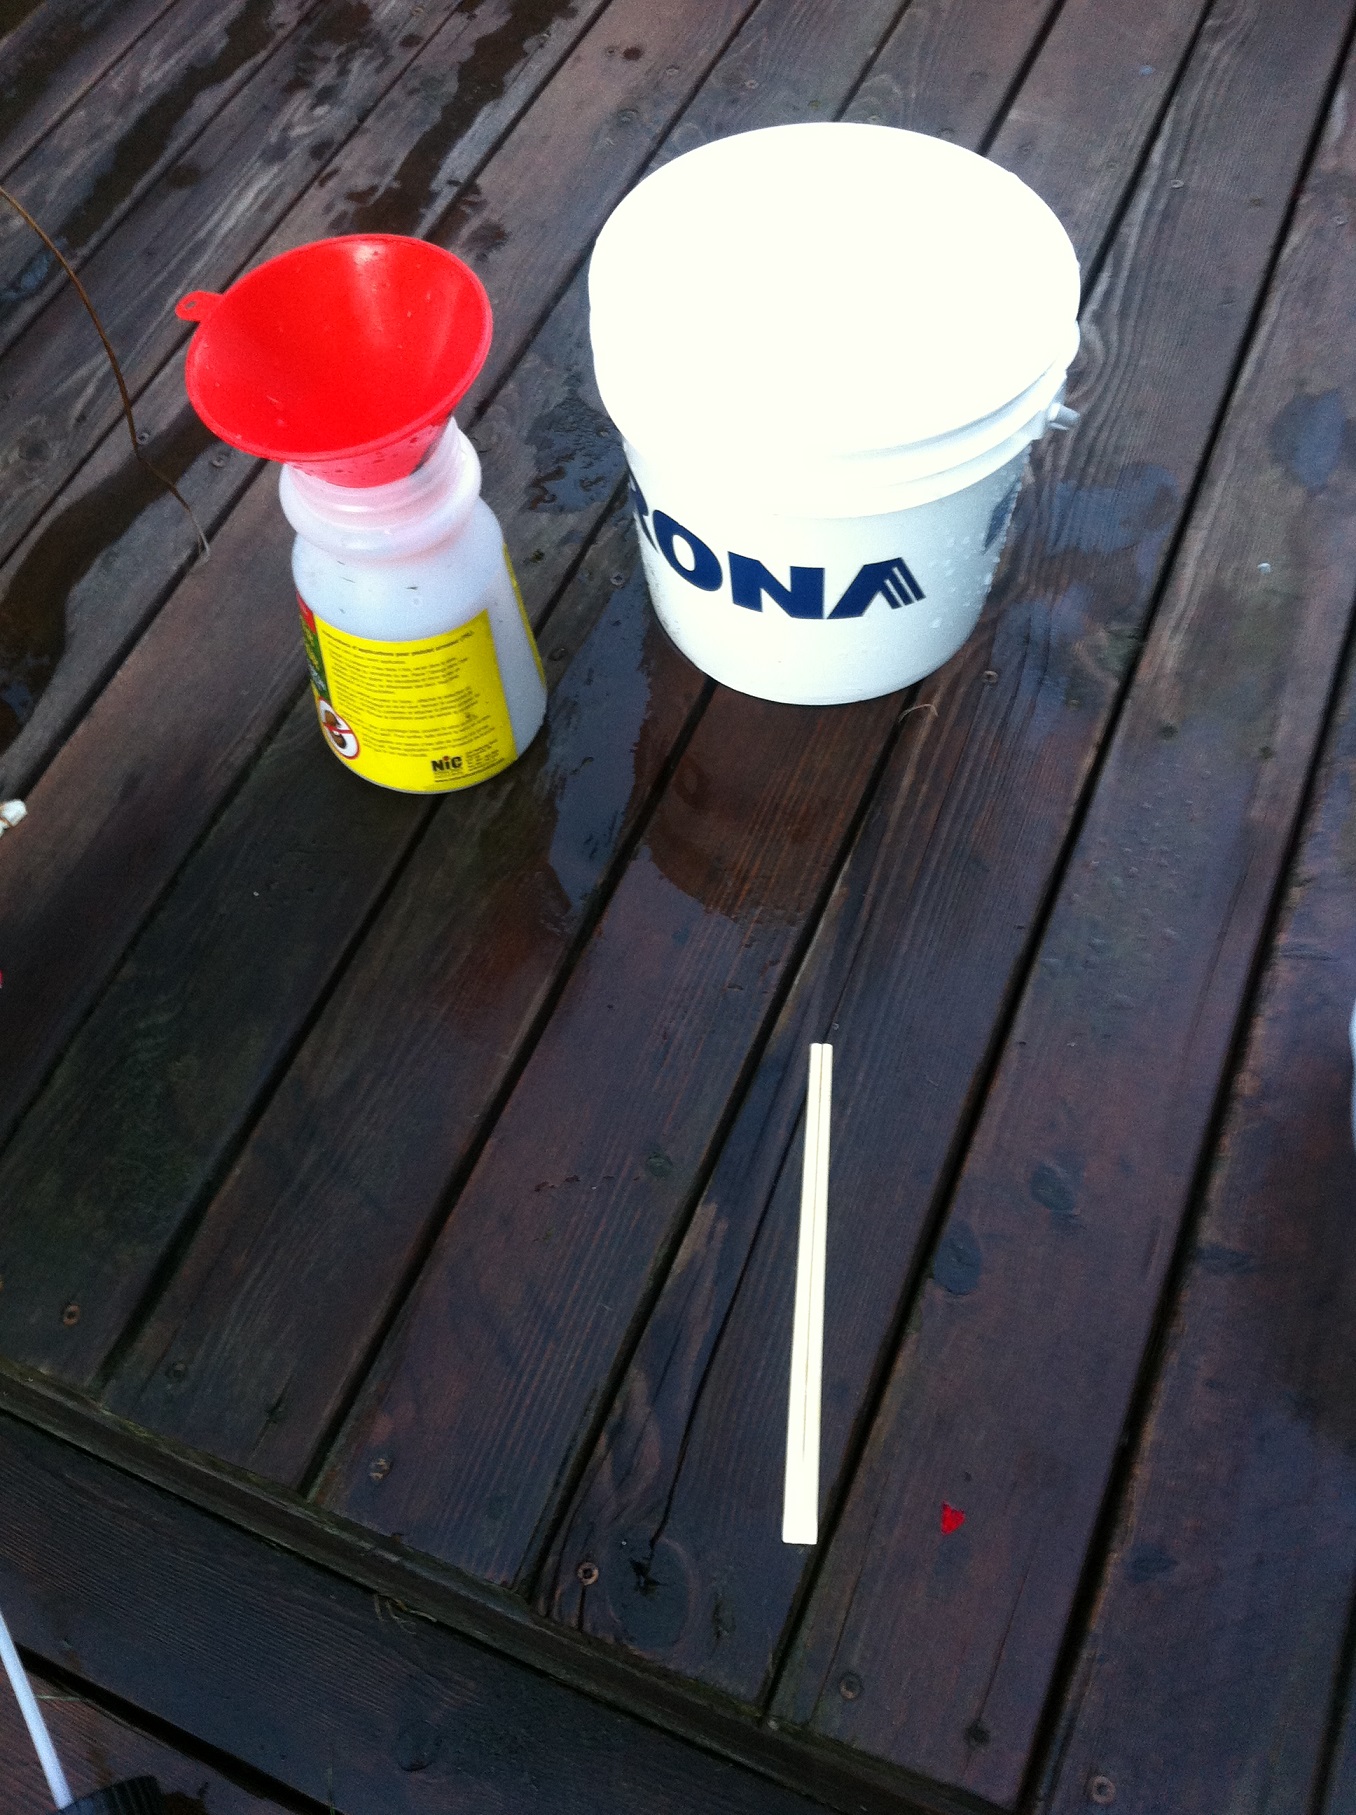
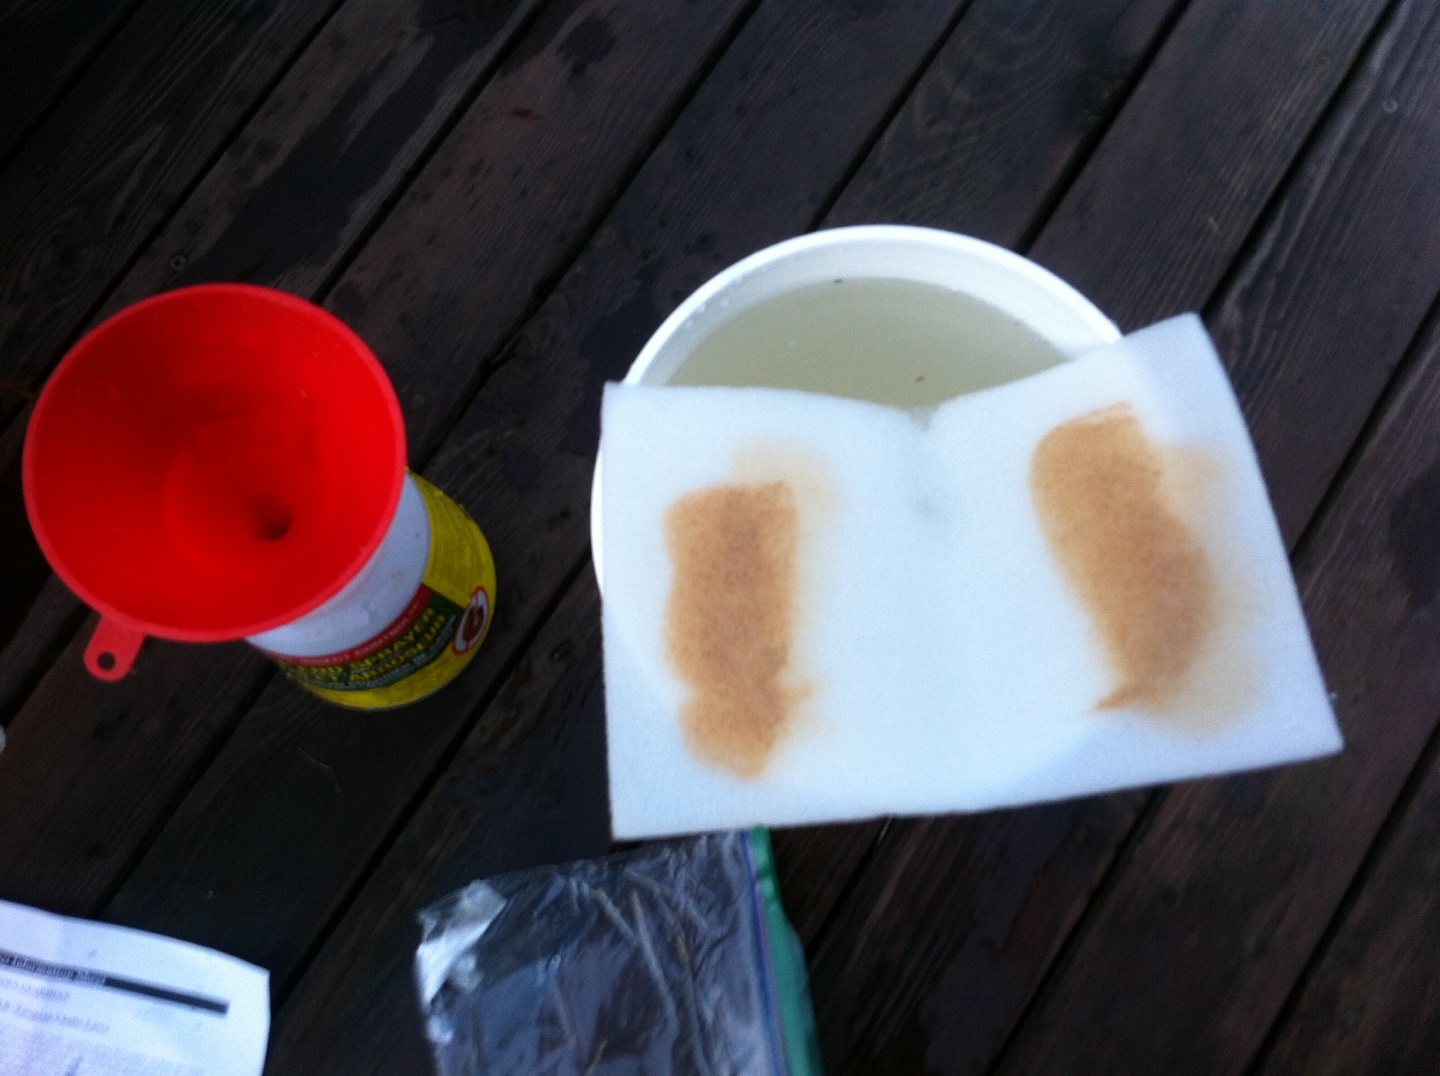
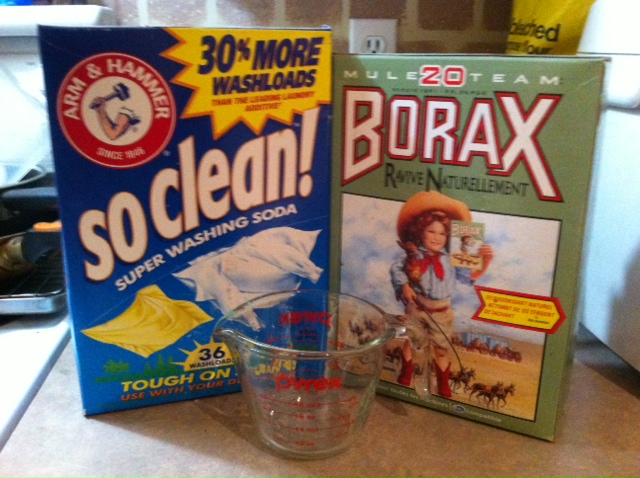
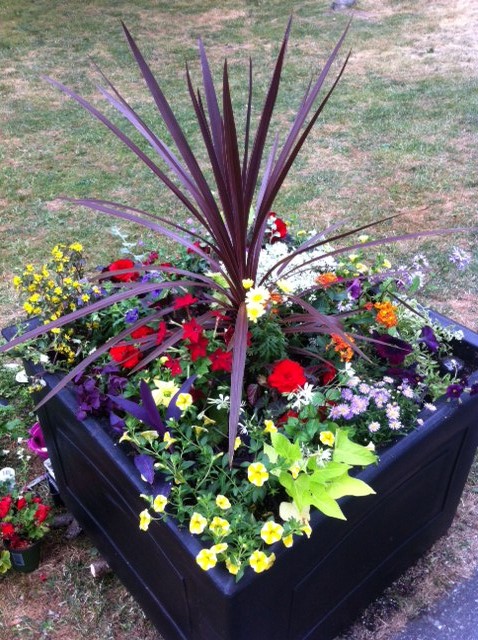
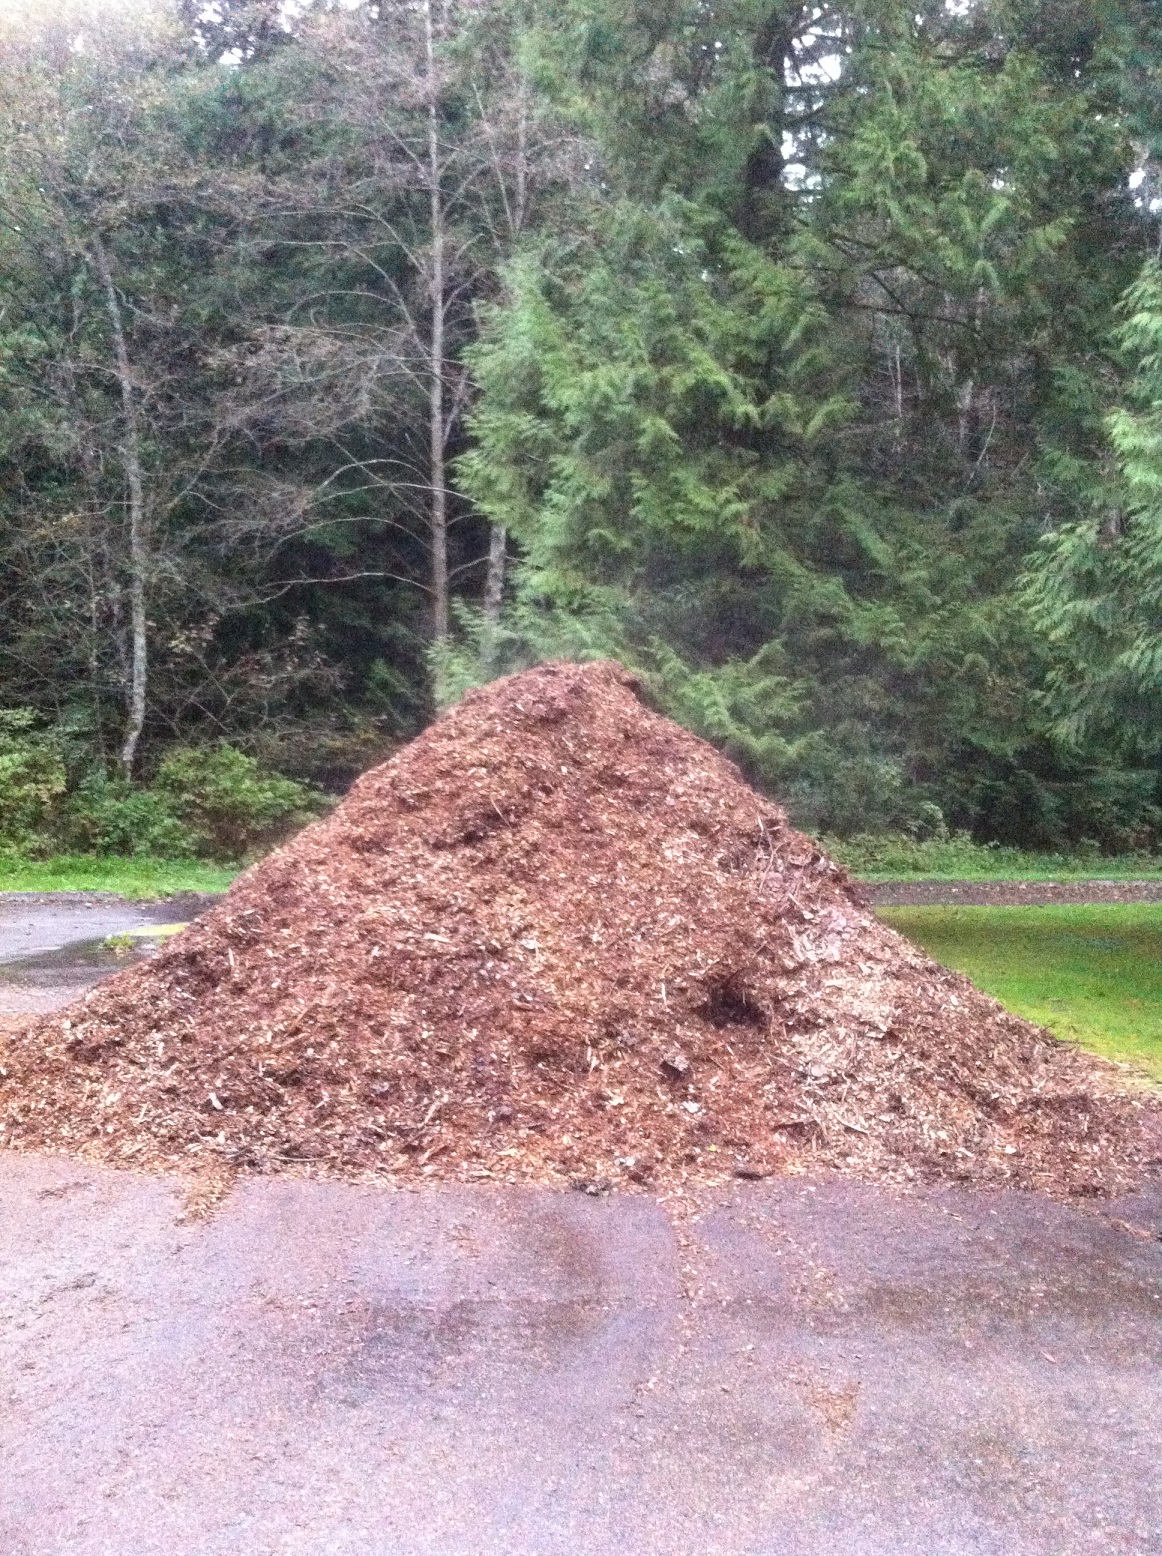
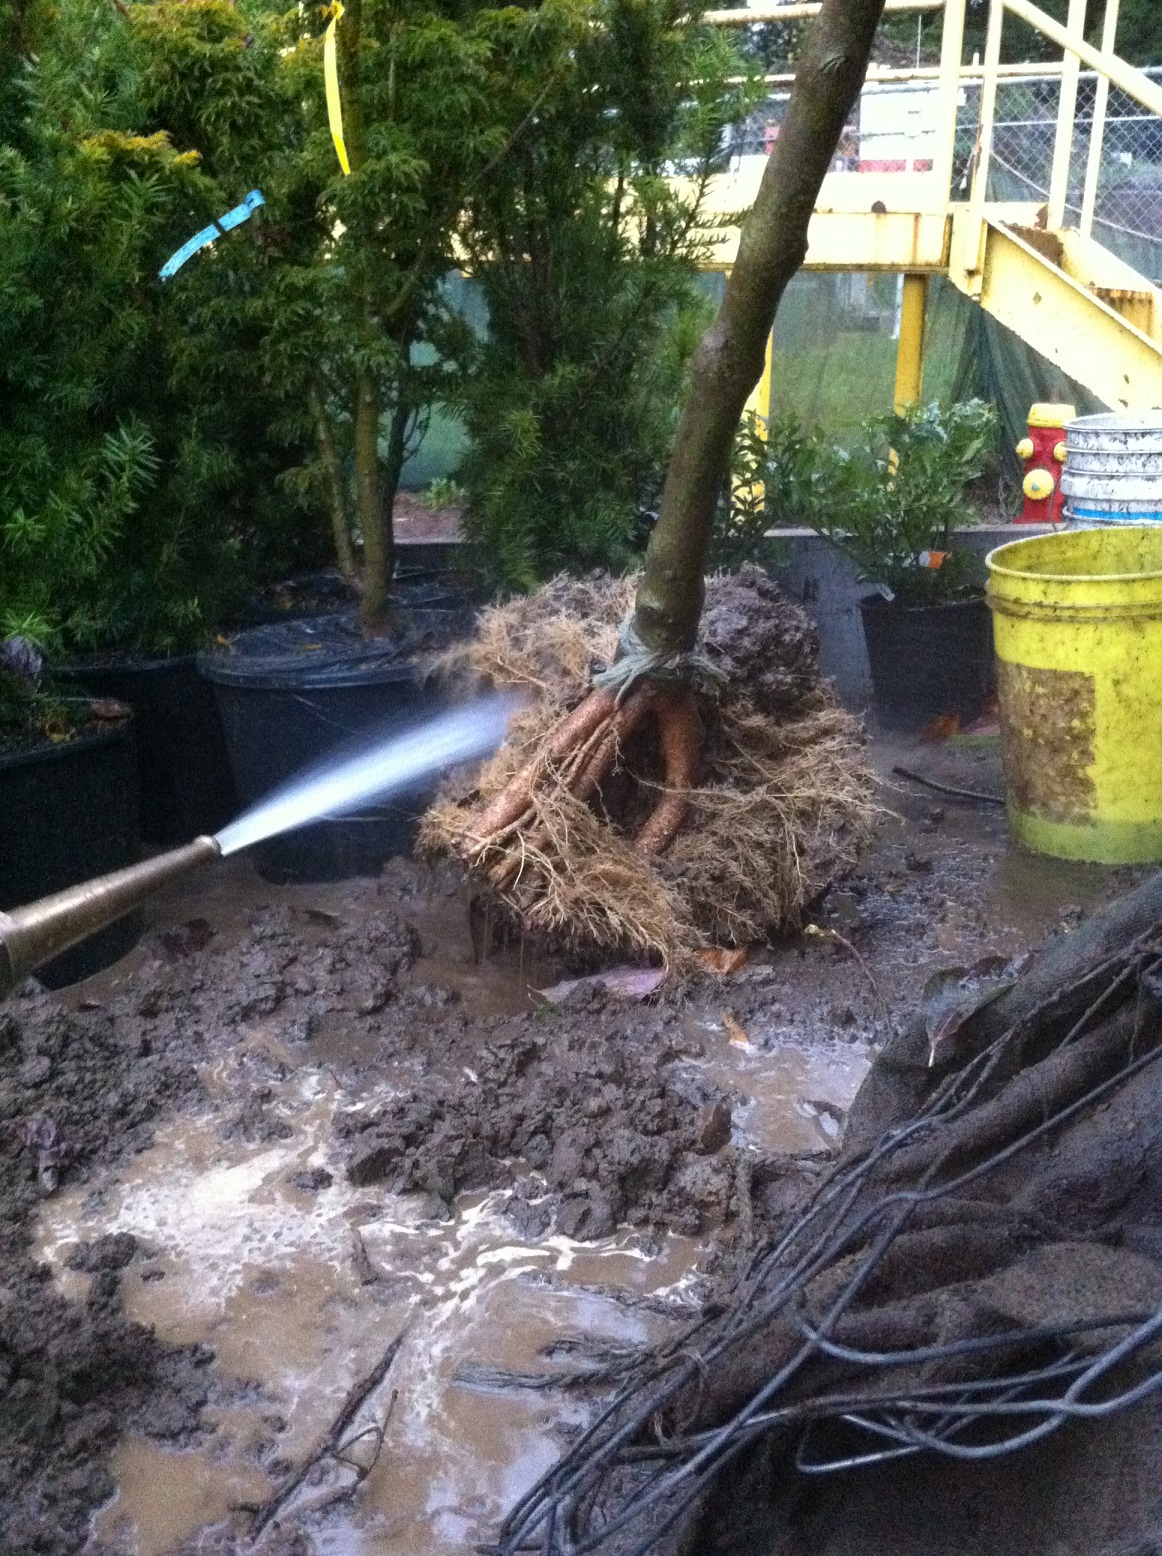
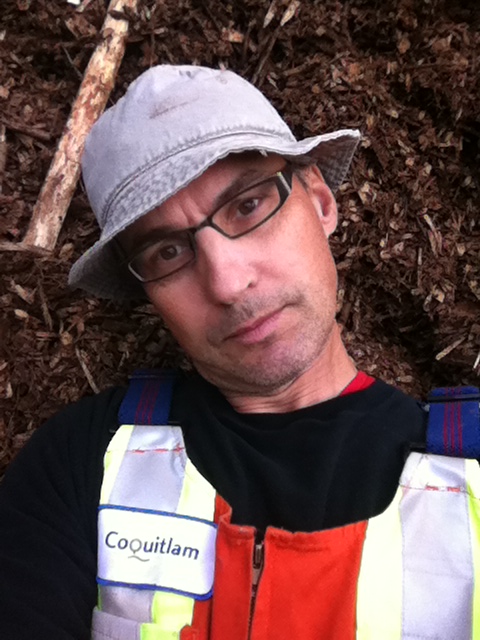
So what does a West Coast landscape pro do to stay certified and up-to-date? Take a look at the picture for clues.
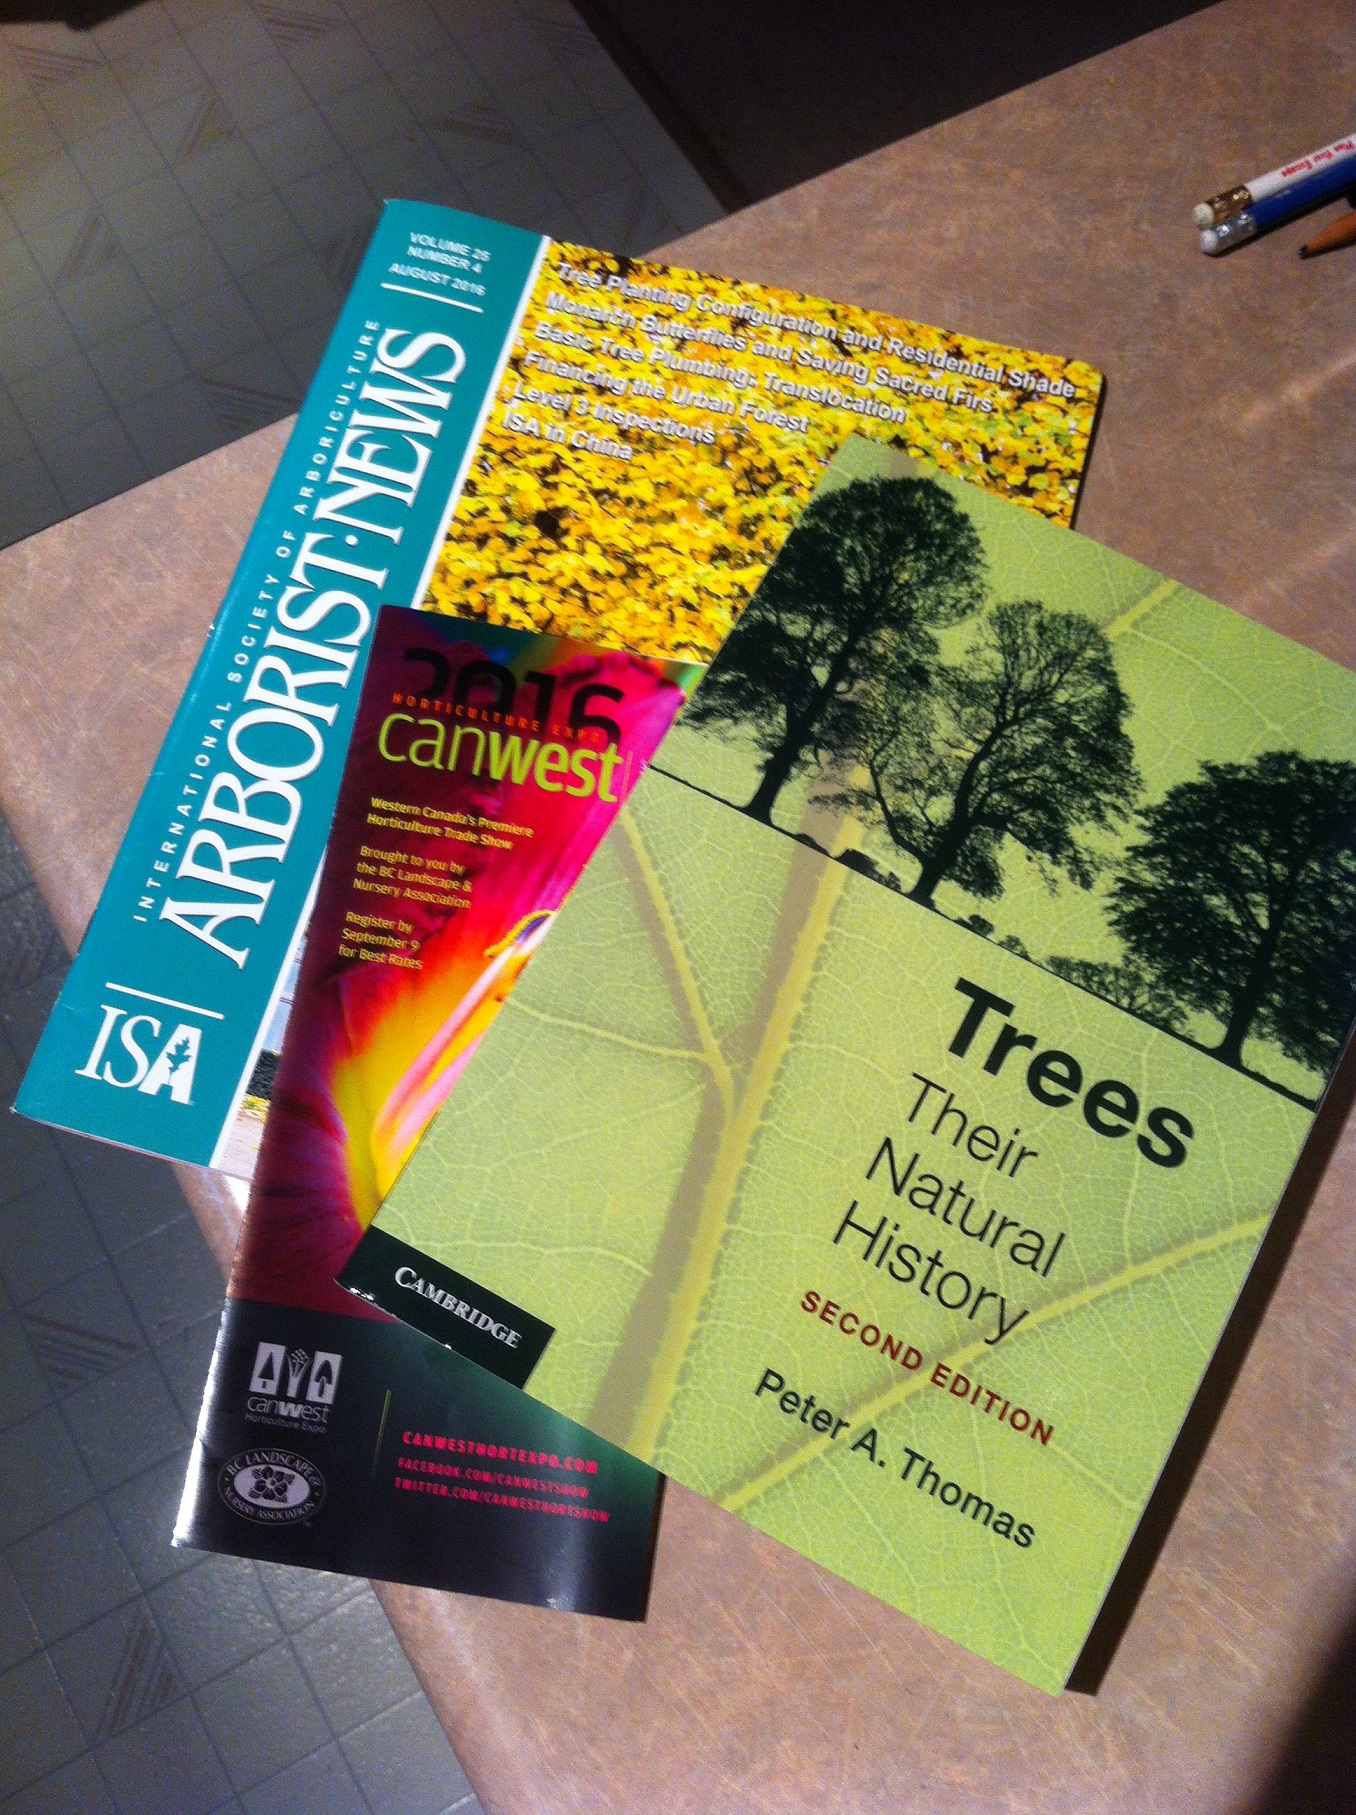
Arborist News
Arborist News magazine is published bi-monthly by the ISA and every issue has one CEU article for you to complete. You can fill in your answers and mail the form in or complete it online. The ISA will automatically add the credits to your file.
The magazine also advertises various books and manuals you can complete for CEUs. Get whatever interests you or where your knowledge is the weakest. There are tons of choices.
This is the premier horticulture show in British Columbia. I will attend the Urban Forester’s Symposium. Five hours of lectures equals five ISA CEUs. Lunch is included. ISA sign up form will be provided. Bring your certification number.
The CNLA will also credit me with five CEUs for this symposium. Then I have two more seminars on the following day. 1.5 hours x 2= 3 CEUs for a total of 8 towards my CLT.
The best part of this event is the plant ID contest booth. No CEUs are given here but you can win a prize and outscore your friends.
Also, it’s a great event for creating new contacts and maintaining existing ones. Some people I will only see once a year at this horticulture show!
Books
As mentioned above, the CNLA will credit you for every hour spent reading green industry related books. Trees: their natural history by Peter A. Thomas was the one tree book recommended by Dr. Hope Jahren in her book “Lab girl”.I can’t think of a better way to collect CEUs.
Collecting CEUs for re-certification is not a pain. It’s a fun investment of your time and money. Stay current in your field and deliver great value to your company and clients.