On demand gardening
The text message came through exactly one week from Christmas; and flurries in the forecast. Looking at the weekend forecast, I was totally prepared to shut down my side-hustle operation. It’s been a good, long season. But I’m a well-known landscape slut. I can’t say no.
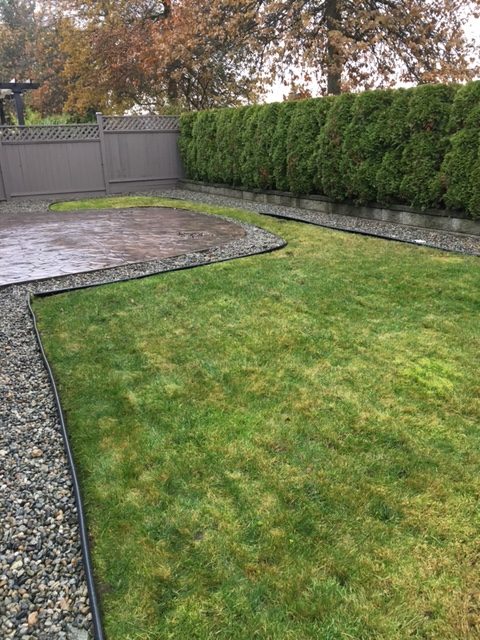
Plus, this was a serious request. My client was having a karaoke party and the garden looked like hell after the recent snow melted away. Could I clean it all up and also give the back pool area a blow? Absolutely!
Residential service
This is exactly why my side-hustle business exists: you enjoy your party and sing karaoke, I make sure your guests aren’t horrified when they arrive and see your gardens. Some of my clients do yoga by the pool while I garden nearby. And many of my clients are, sadly, too invalid to do the work themselves. I work for elderly couples where both the husband and wife have serious health issues. So my work saves them from having to look out on a weedy, wild-looking garden.
Some of my clients are in their nineties and living alone. They barely make it up and down the stairs, never mind lawn mowing and weeding. Vas can handle that.
Proper Landscaping provides the same great service but on a larger, strata scale.
Basic tasks
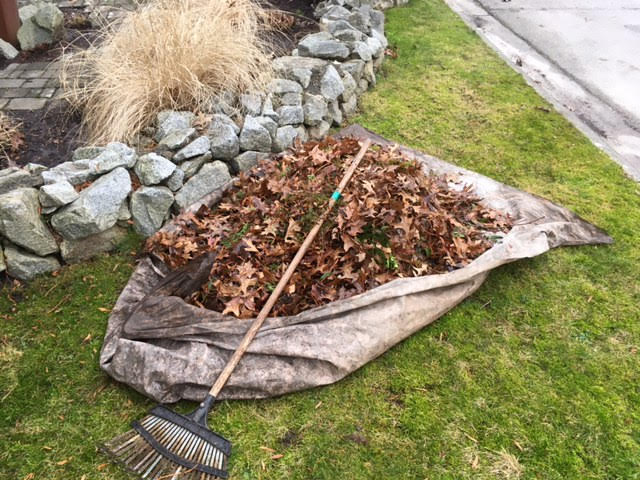
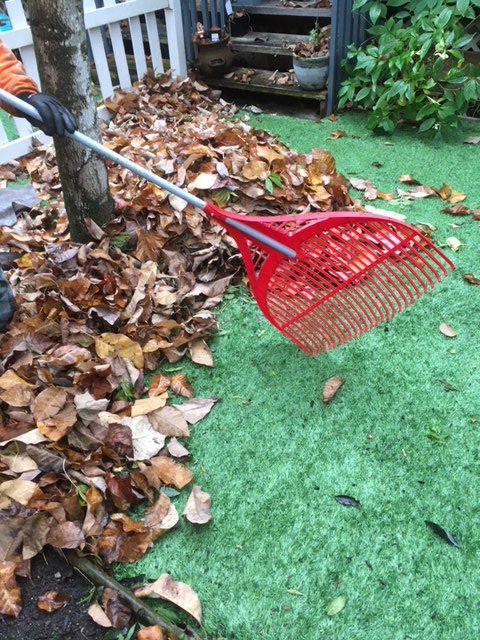
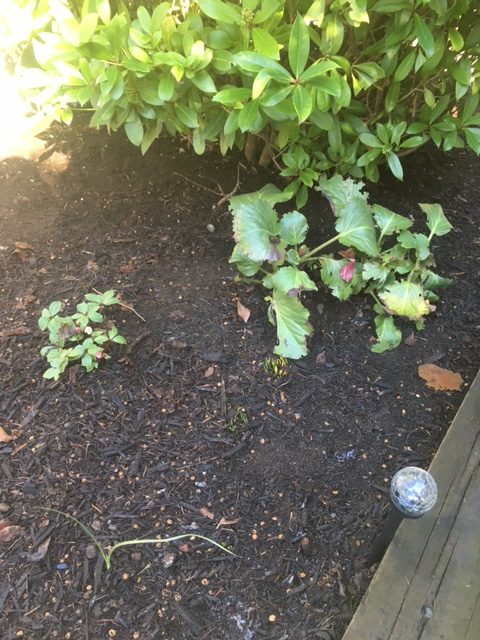
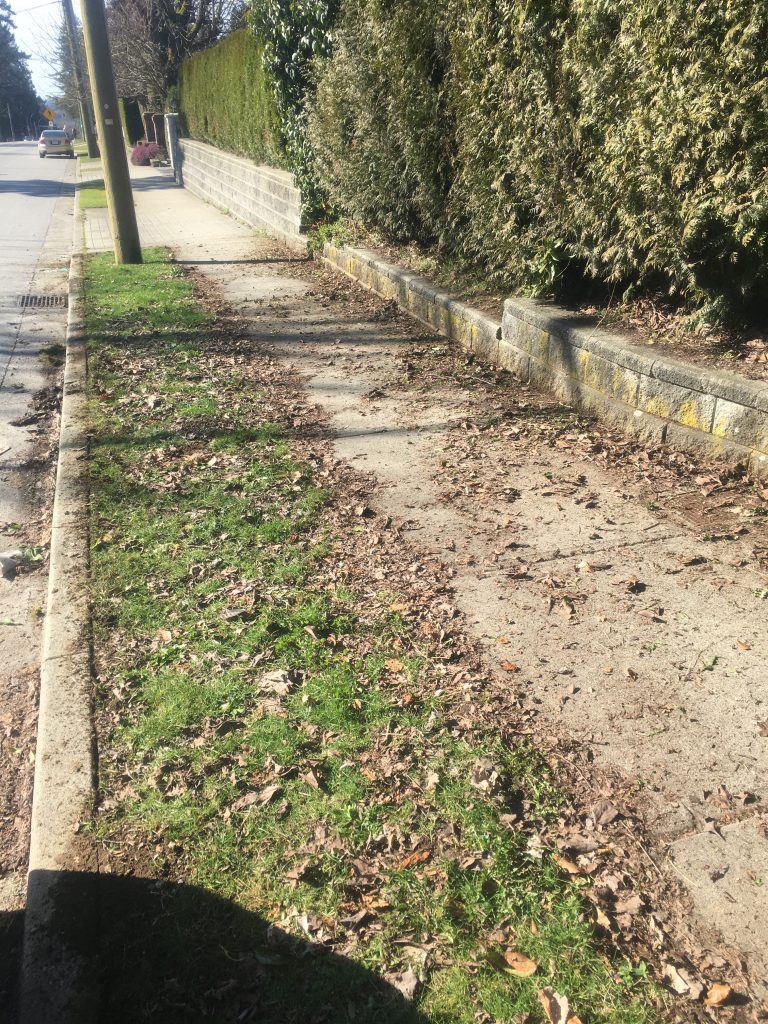
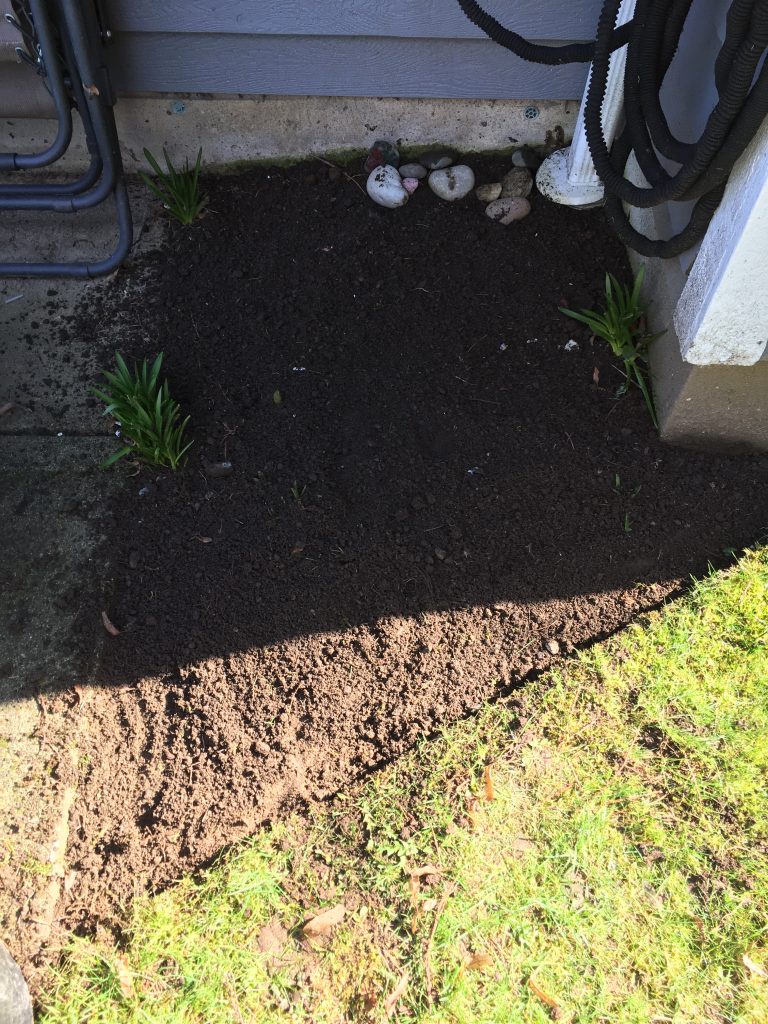
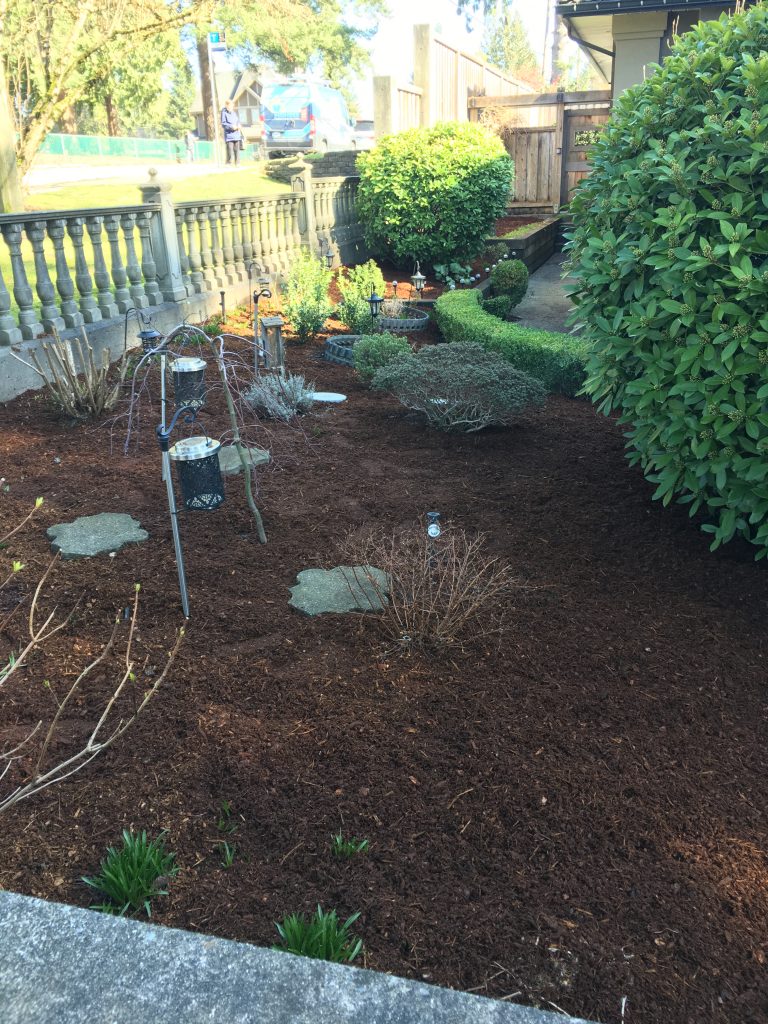
I had to do a lot of raking to do because the cherry tree on the boulevard finished dropping its leaves. Weed weren’t a big issue because in spring we installed several yards of mulch to keep them down. The mulch worked well, except along the fence line where it was too thin.
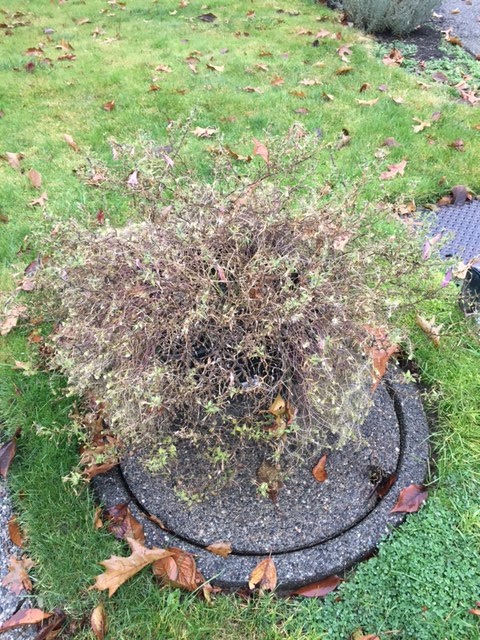
As I raked, I noticed a beautiful Callicarpa shrub, now completely bare and showing its purple berries. Deep into December, it was the only thing putting on a show.

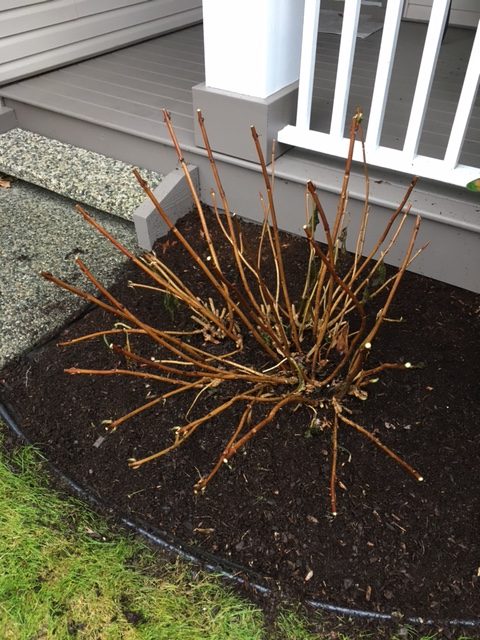
Another important task was removing spent hostas and daylilies. But the key final task was a clean up blow, only hours before guests would start arriving for the karaoke party. I blew the property thoroughly, including the back pool area.
As soon as I got home, I sent my fat invoice to the owner, knowing full well she’s already busy drinking and singing, and very unlikely to question the dollar amount.
This then is the reward. Not just the money and profits but the satisfaction of delivering good service, on time, so the client can relax and concentrate on whatever they’re doing.