As I was browsing through the magazine section of my local public library I noticed a short story in the New Yorker magazine (July 10 & 17, 2017). Caring for plants, by Hye-young Pyun, translated from Korean. Sure, why not.
It all starts with our protagonist in hospital, badly crippled. There was a car accident and, sadly, we learn that the wife didn’t make it. This is where gardening comes in. The wife loved her garden. She cared for her flowers and shrubs but now the garden looked rough and abandoned.
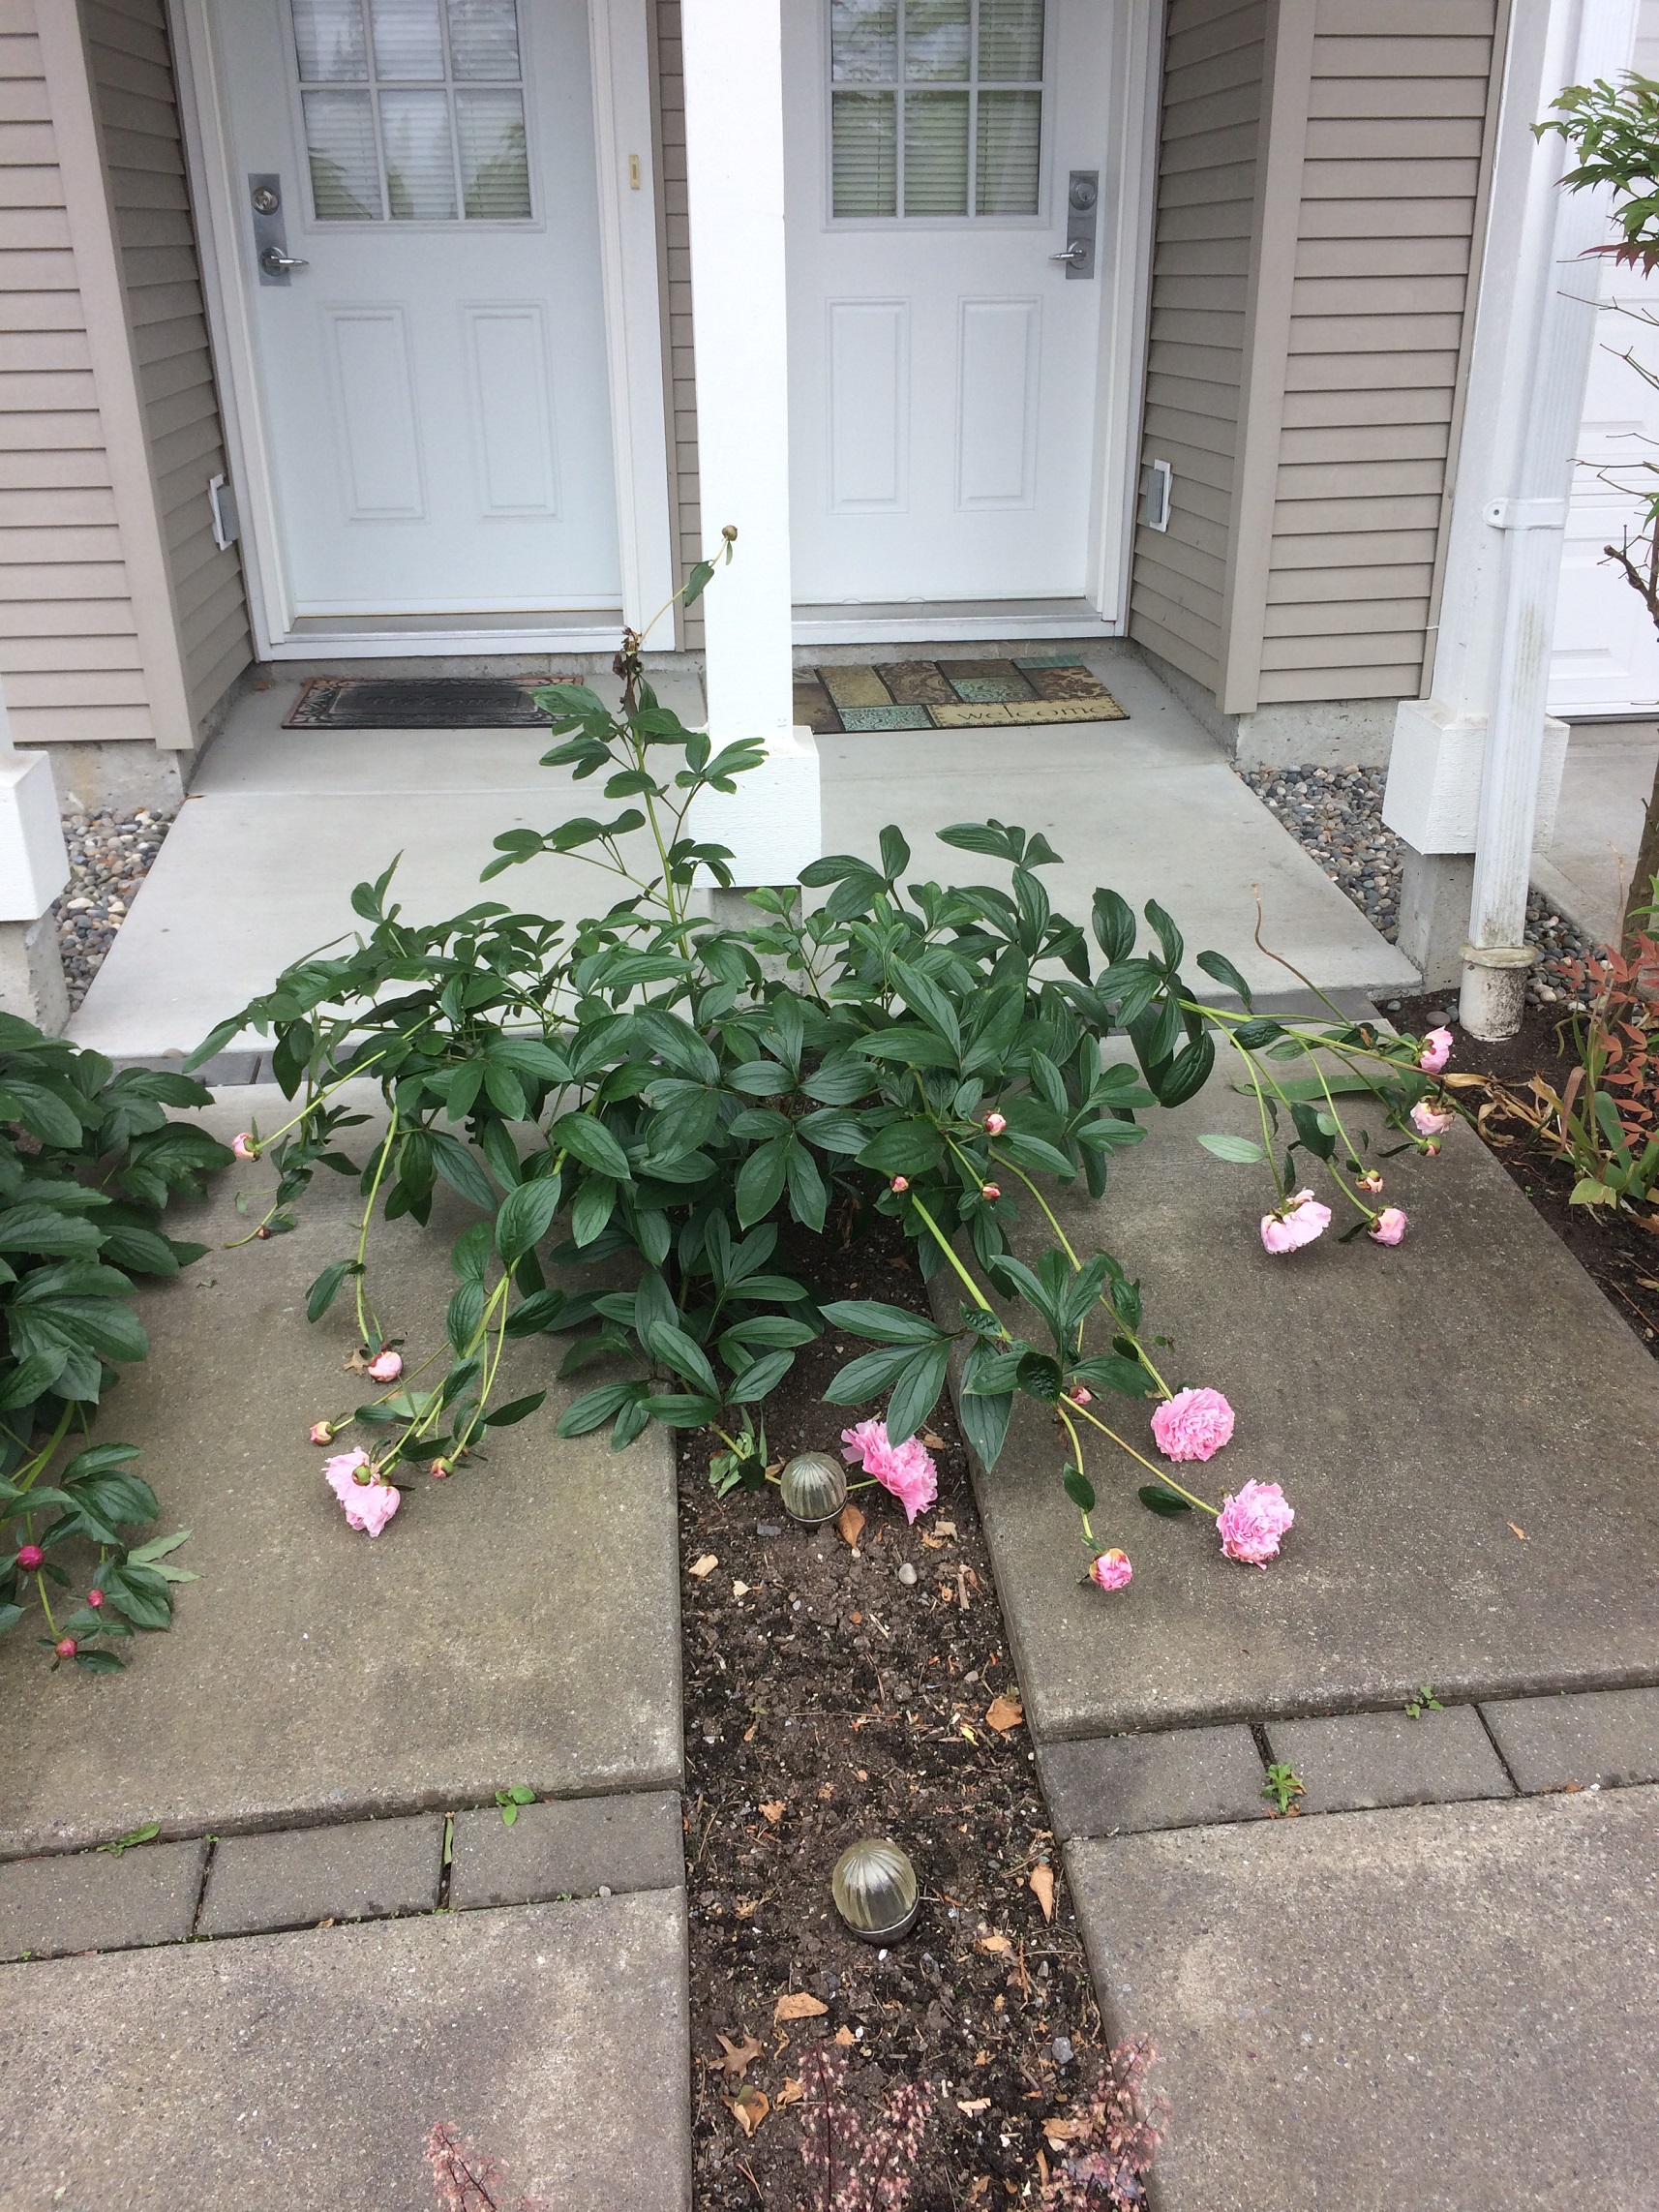
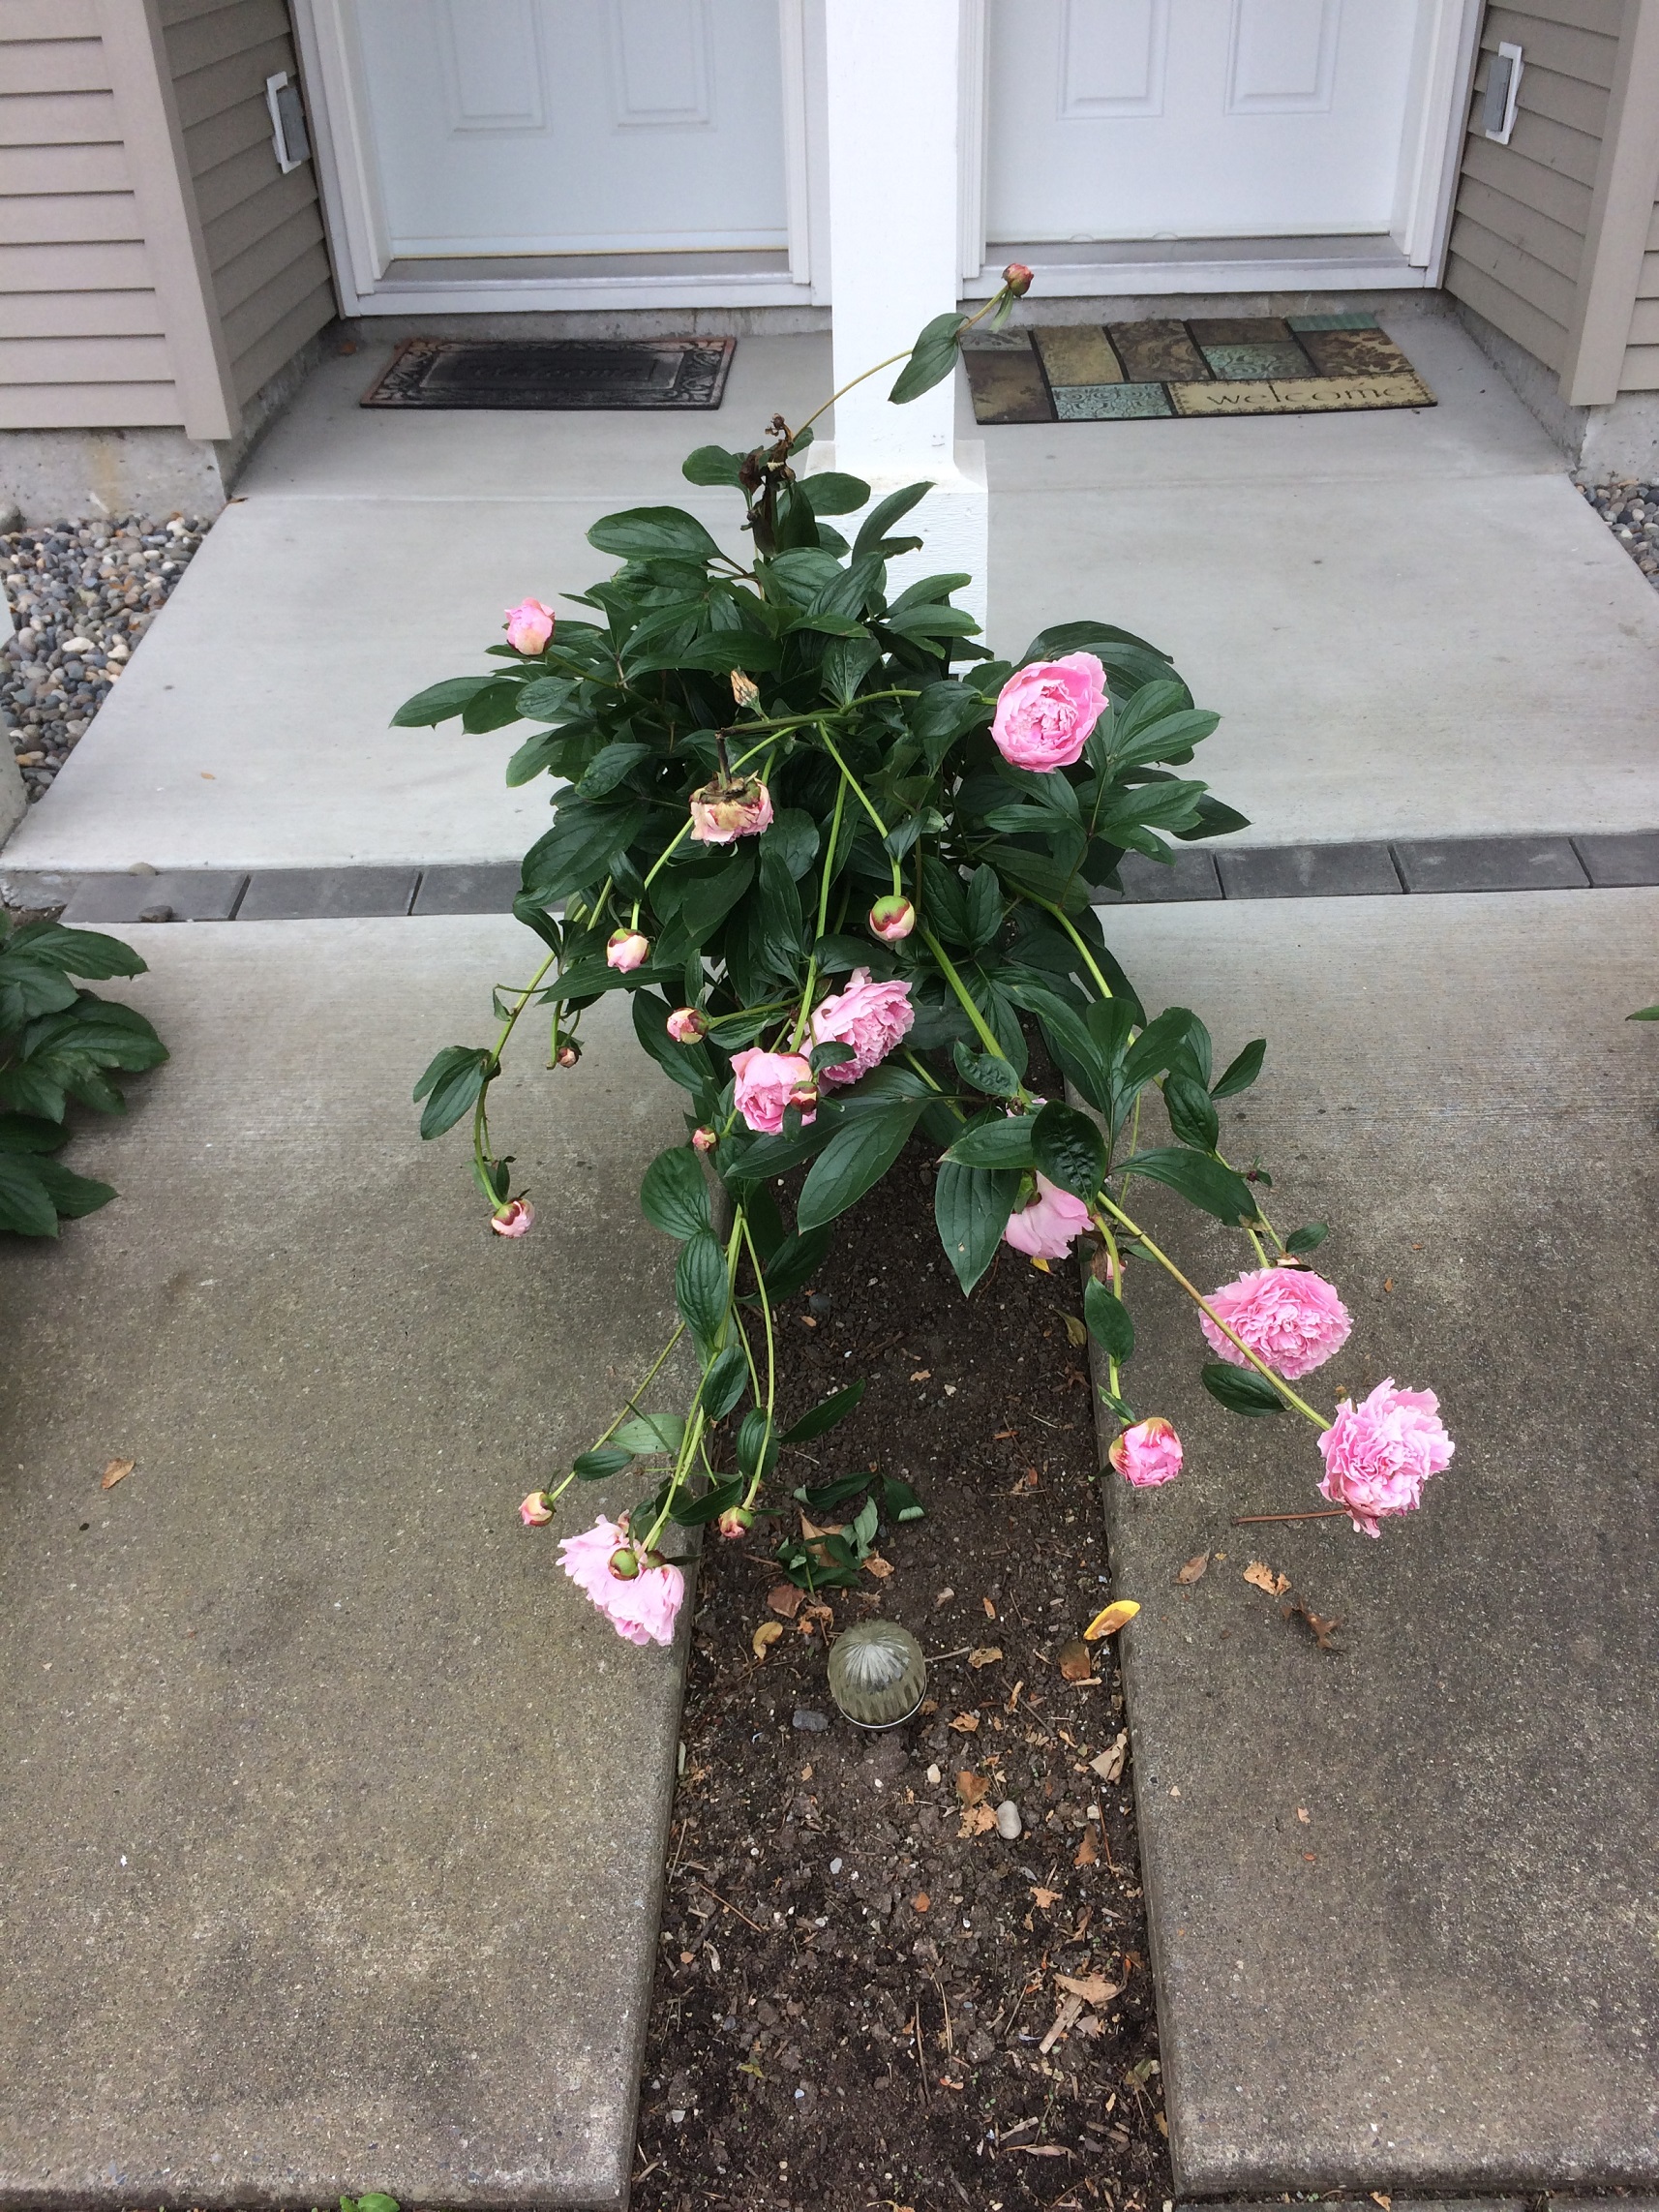
I have some experience with abandoned gardens. One of my earlier blogs deals with a true story from Japan. The wife commits suicide and her husband lasts barely a year or two. Their little front garden is still there but it no longer gives anyone pleasure. It is sad to see the weeds and over-grown plants.
Our protagonist eventually gets well enough to go home but he’s still in rough shape. His first caregiver is a riot and by far the best character in the story. Then she gets fired. And the mother-in-law enters the picture. We know she is sad and mad. She never liked the cripple.
When she isn’t helping her son-in-law, she is out in the garden. She knows that this was her daughter’s favourite spot so she does what she can to keep it up. Then she starts digging holes in the far corner of the garden.
Our protagonist is slowly recovering and still has to crawl to make it to the washroom. Then he mentions to his physiotherapist that she has been feeding him extra pills. Wasn’t that unusual? Perhaps. The physiotherapist, too, gets axed.
Now the mother-in-law starts talking about money and budgets. The son finds it odd and then discovers that his resignation at work had been submitted without his prior knowledge.
Then one day, he crawls to the window and sees his mother-in-law planting new plants in the holes she had dug. But wait. Is that an extra large hole in the far corner of the garden? Here we get to exercise our imagination. Perhaps tomorrow there will be a large tree delivered? Or is it meant for our crippled son-in-law. It’s up to you to decide how he ends up there. An overdose looks imminent. I think.
If you have some extra time at night or on the weekend, read this short story and let me know how you think the story ends.