It’s October, 2018, and leaf season is here. Landscape contractors rely on their backpack blowers to clean-up leaf avalanches on their sites. If you drive around you’re bound to see a few a rose-cheeked landscapers blowing for hours.
I personally don’t stress about leaves. I love fall and I clean up the leaves as well as I can. Then I return the following week for more.
Aside from leaf clean-up blowing, there are two more blowing techniques every landscaper must know.

Pre-blow
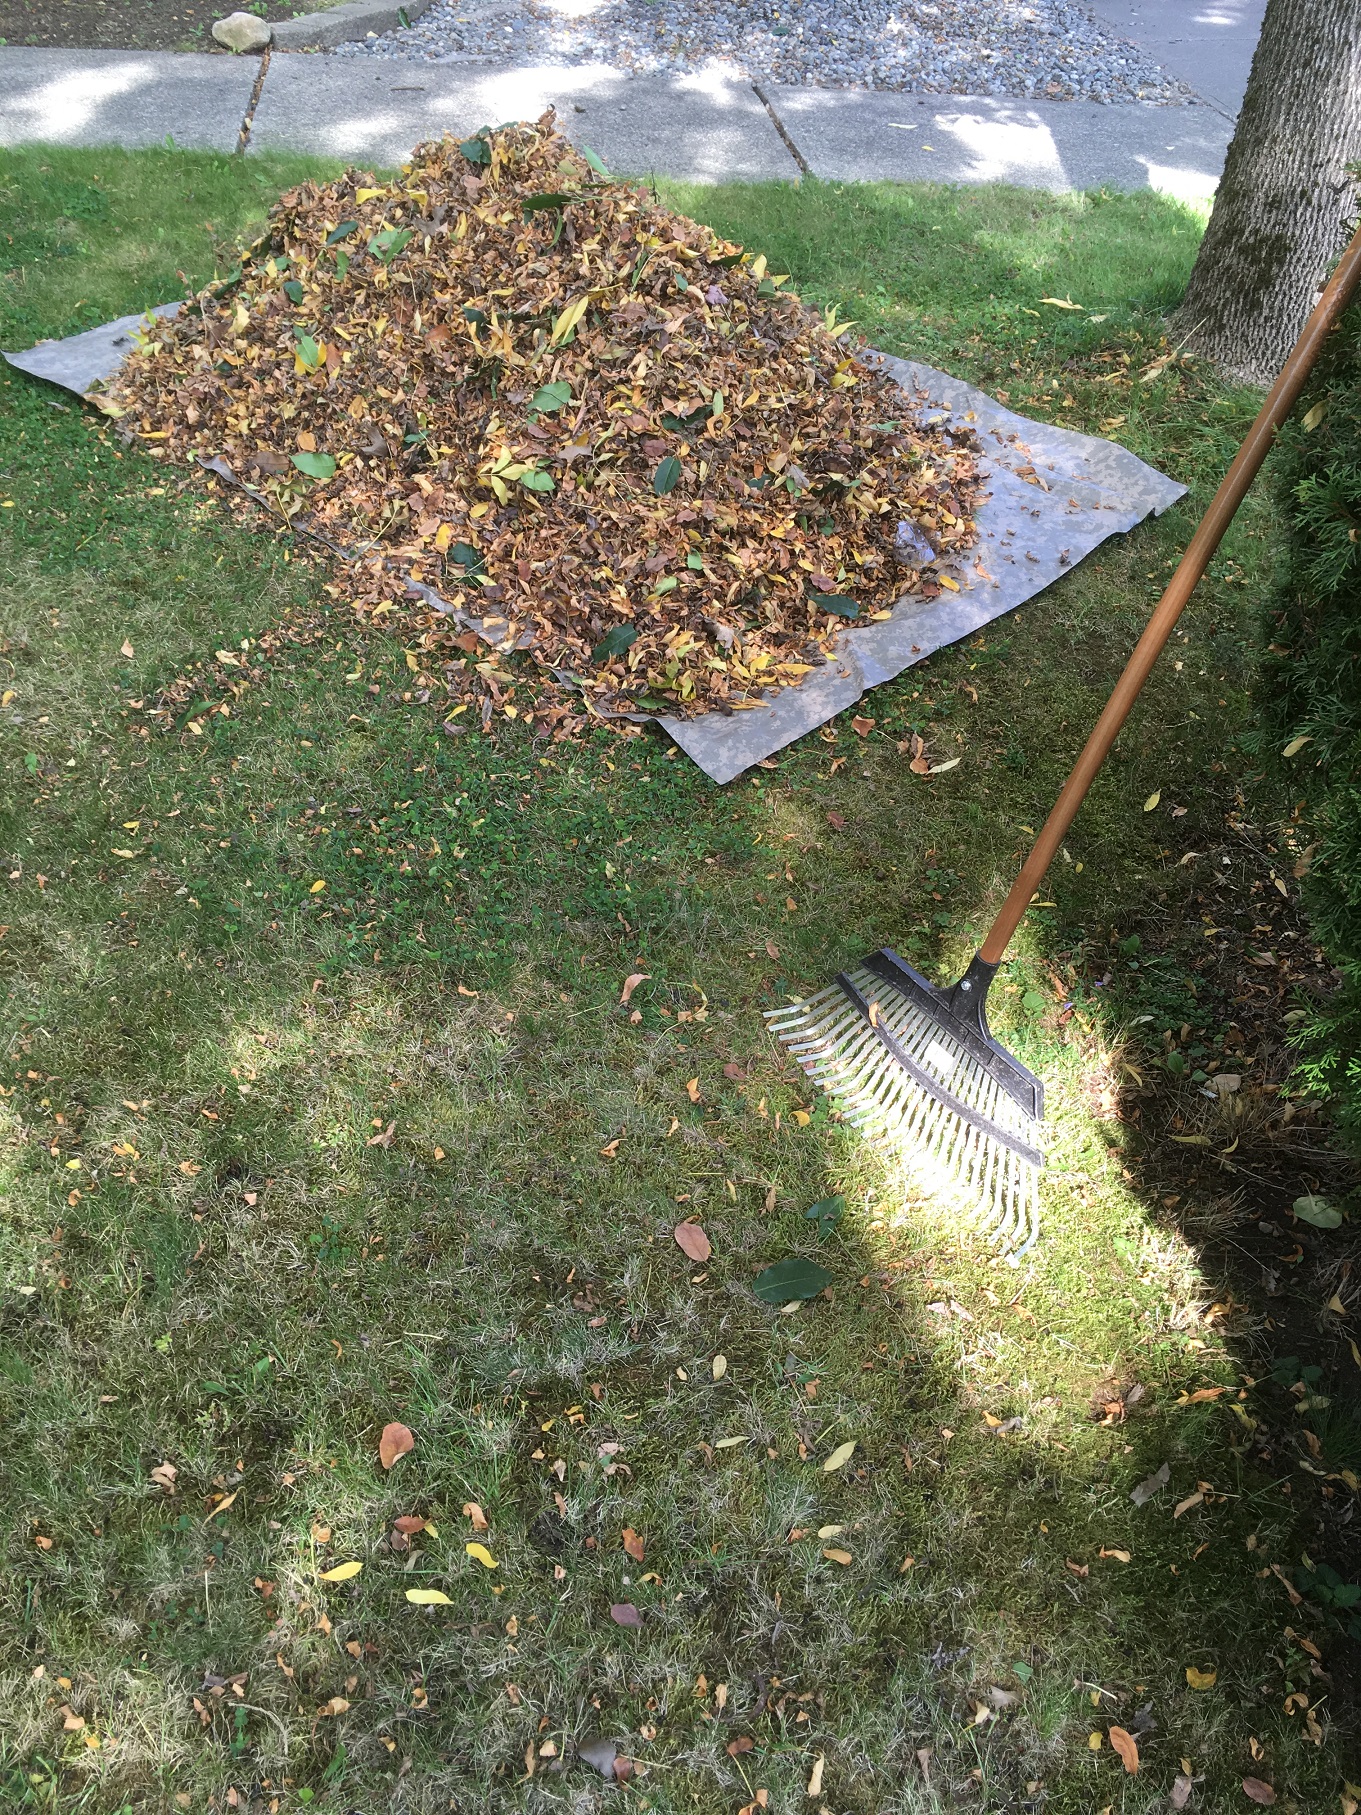
Early in leaf season when the leaf drop isn’t overwhelming, a pre-blow can be a great time saver. Pre-blow involves a quick blow of your site where leaves are blown onto lawns and then mowed. This eliminates time consuming leaf pile pick-up with rakes.
Simply mow over the leaves and bag everything. Then all that’s left to do is a final touch up blow. The only issue is judging the right amount of leaves. If the leaves really accumulate after your pre-blow, the mower will struggle to shred them when you mow. Don’t kill your mower. That’s why this technique is best used early in the leaf season. I think it could be used more in landscape maintenance.
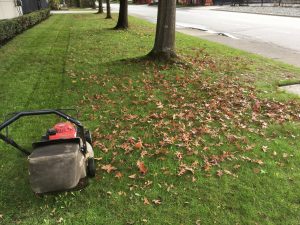
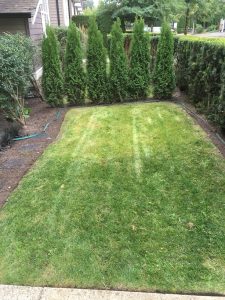
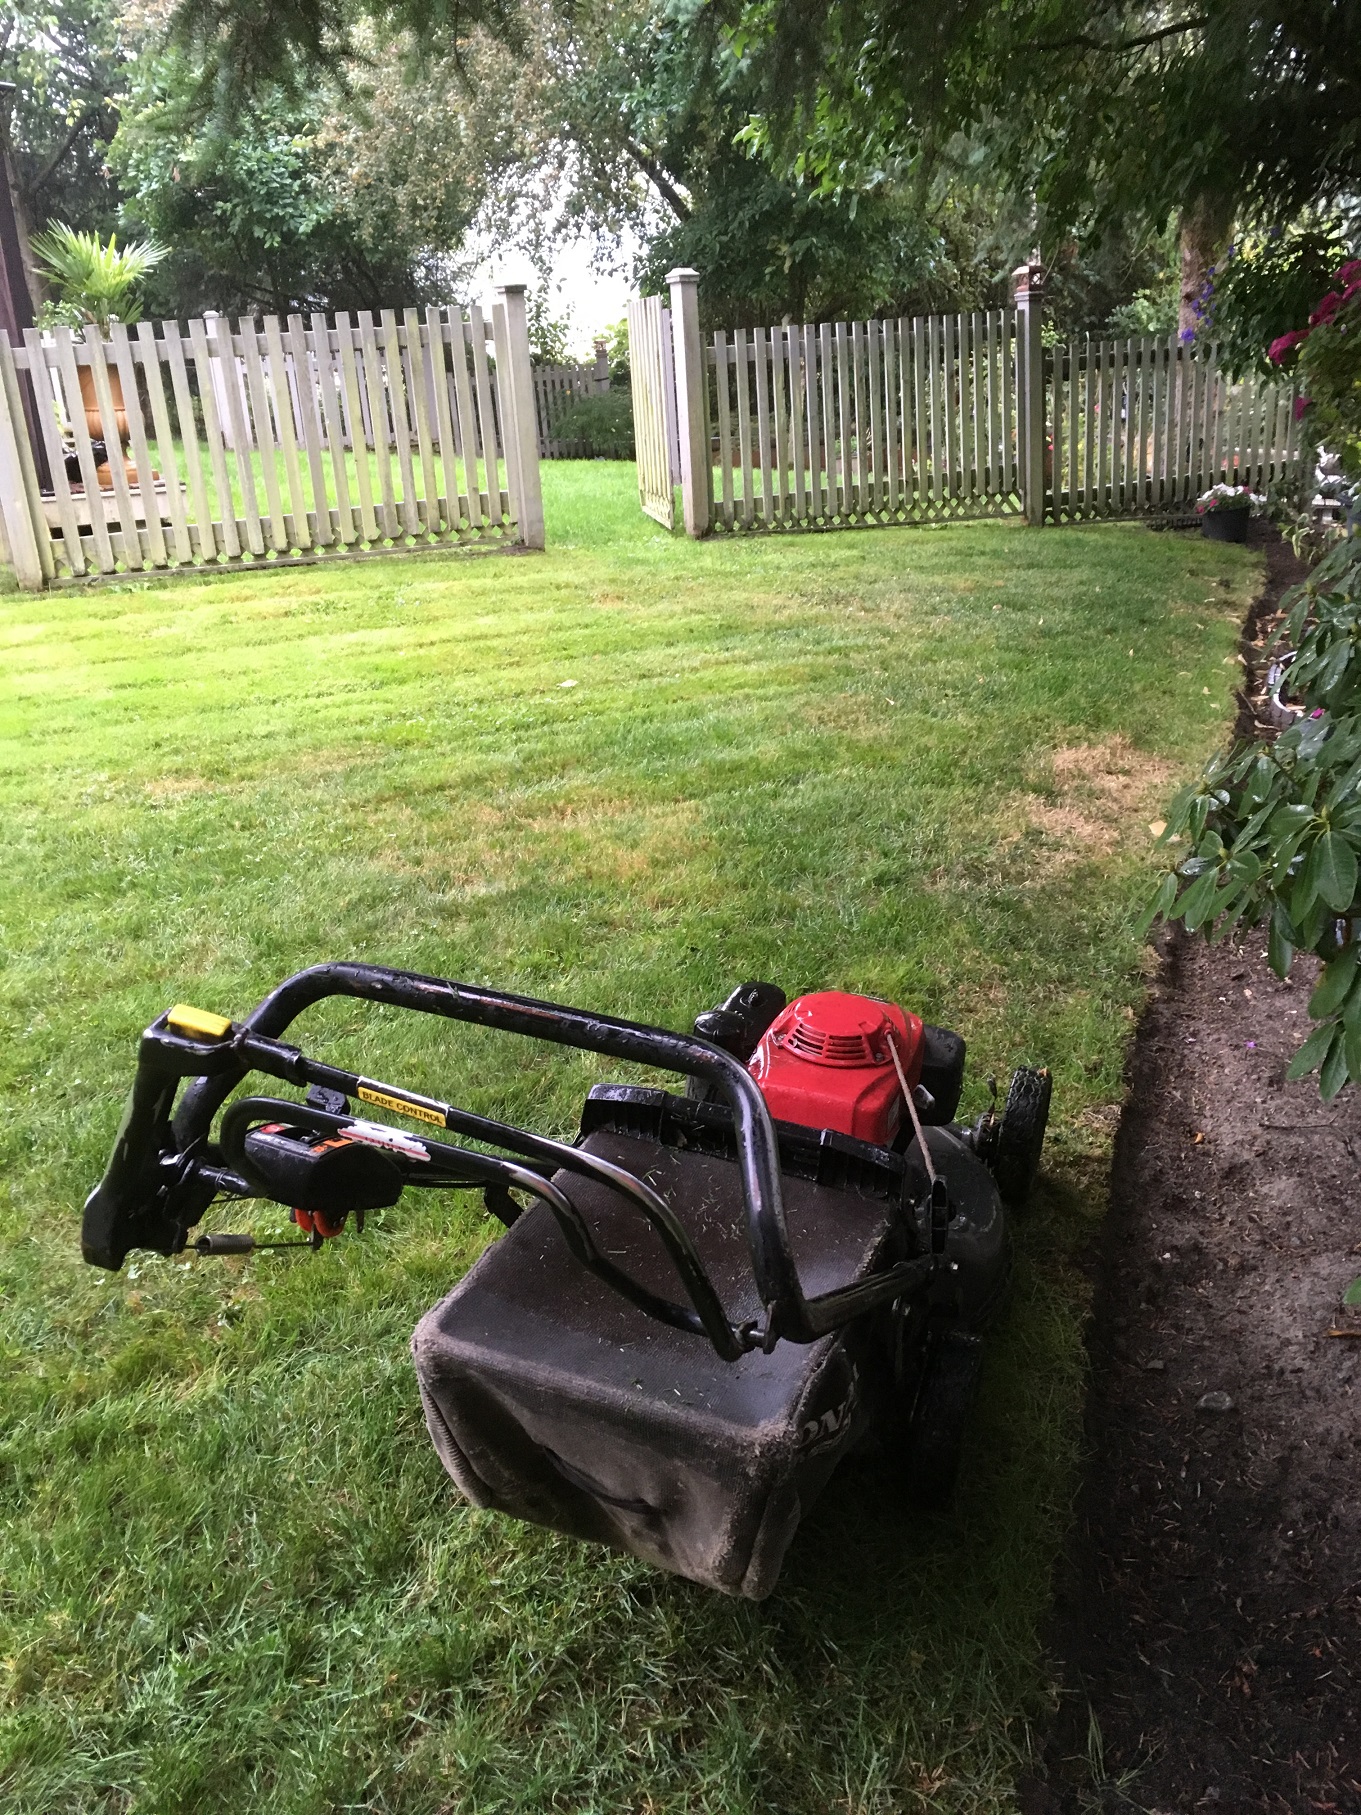
This is a well executed pre-blow. There isn’t enough leafiness to overwhelm the mower engine or to start raking piles.
Final blow
As the name suggests, this is the final courtesy clean-up blow. But I’m finding that many new employees only concentrate on the actual clean-up. With proper training they would know that their final blow also doubles as the final check.
Yes, foremen are responsible for checking their sites in theory but it’s not always easy in practice. That’s because some strata sites are huge and asking the foremen to walk the entire site at the end of the day can be too much.
So the worker doing the final blow is responsible for checking everything over as she goes. That includes missed debris piles, full green waste tarps, empty tarps, open gates and missed hand tools. It’s up to the worker to alert the foreman so we avoid calls to the office later.
Lawn care mistakes must also be corrected. Mistakes happen. Nobody goes home until missed lawns are mowed and huge mohawks eliminated.
Again, I find that new workers aren’t trained to perform final site checks when they blow. Once they get into the habit everything runs smoothly.
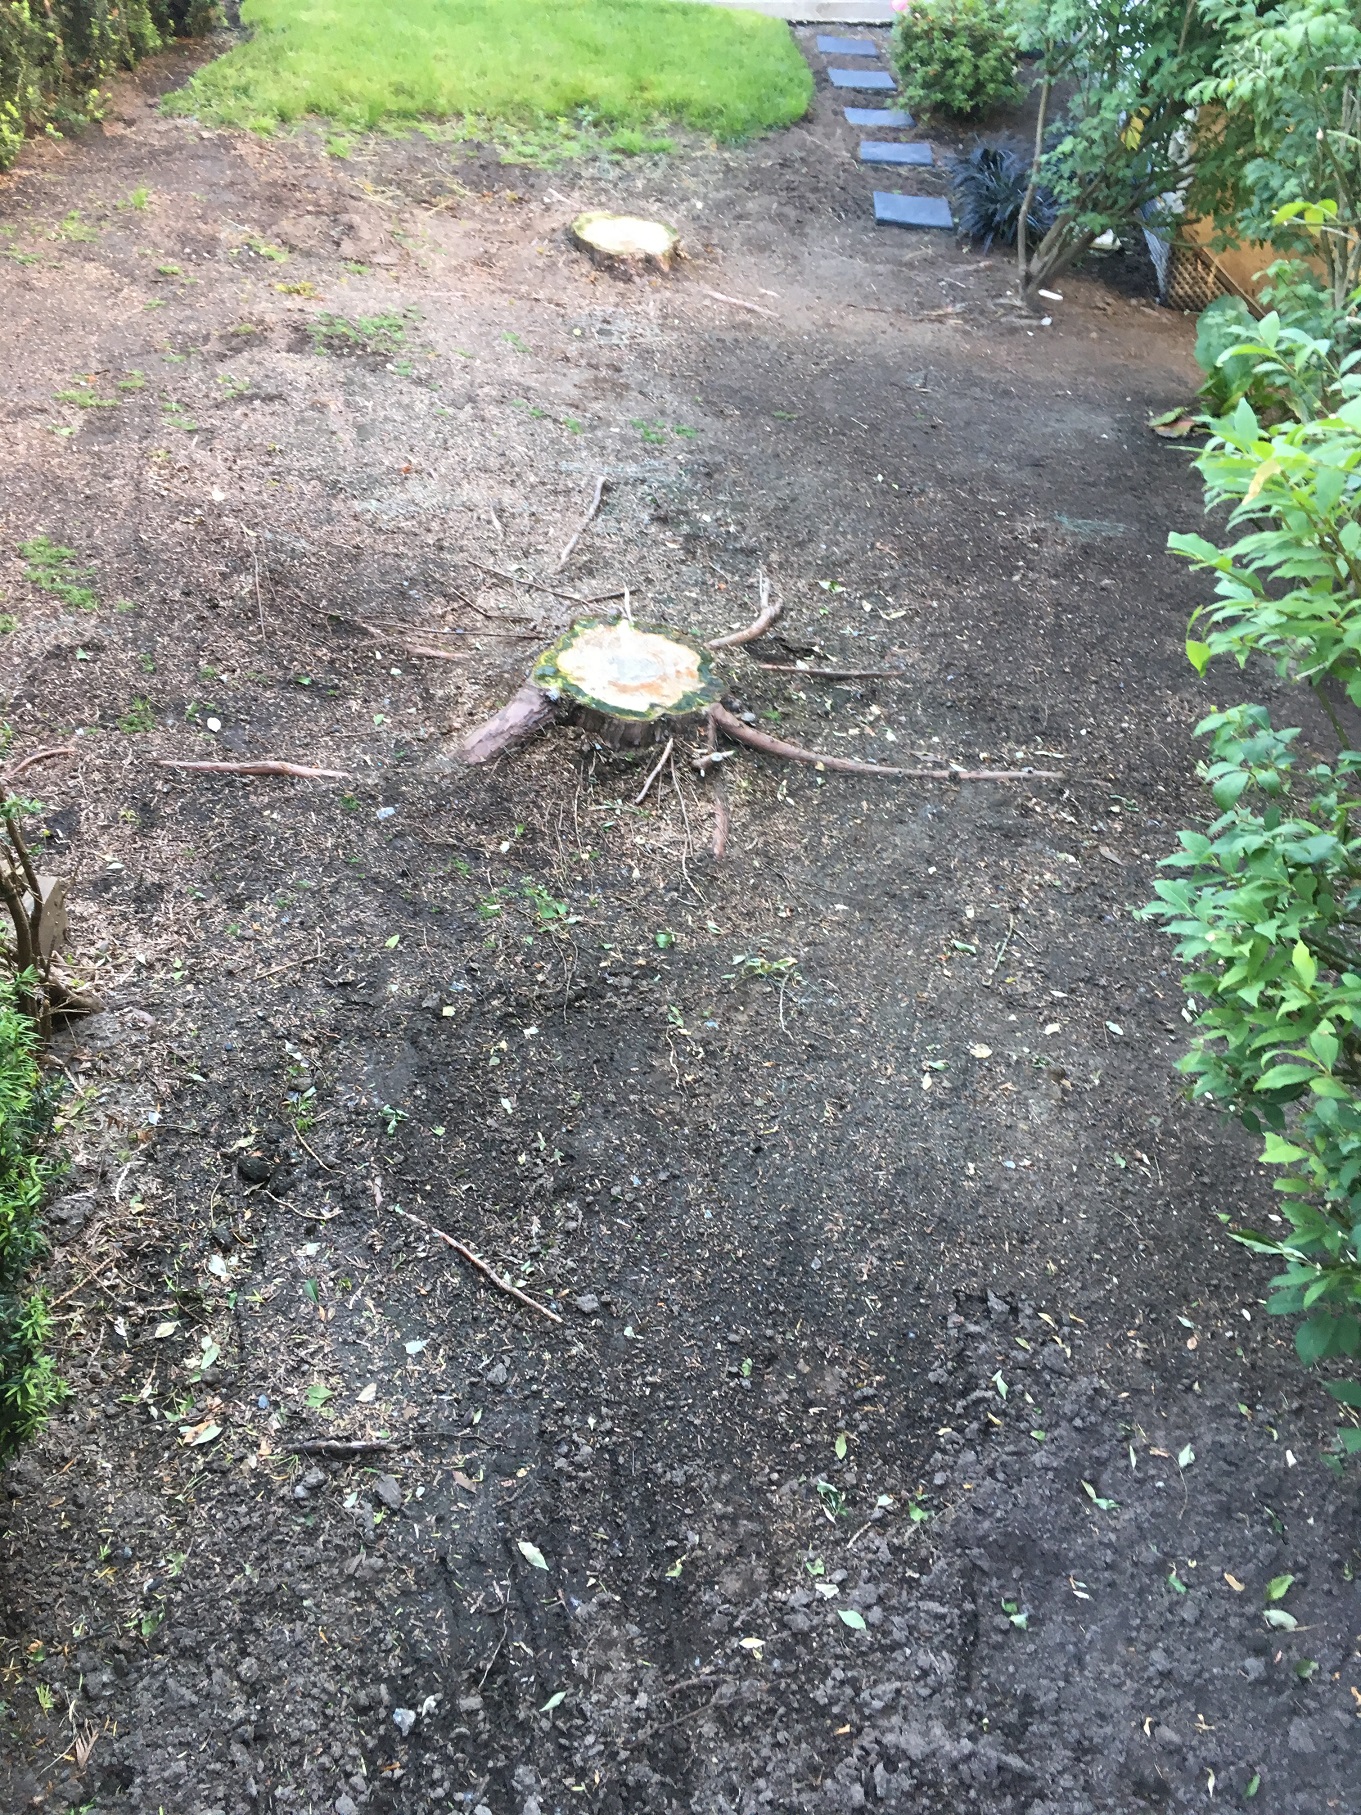
When a missing hand tool is discovered on site later, it means that the area wasn’t blown or the worker only occupied himself with blowing, not checking.

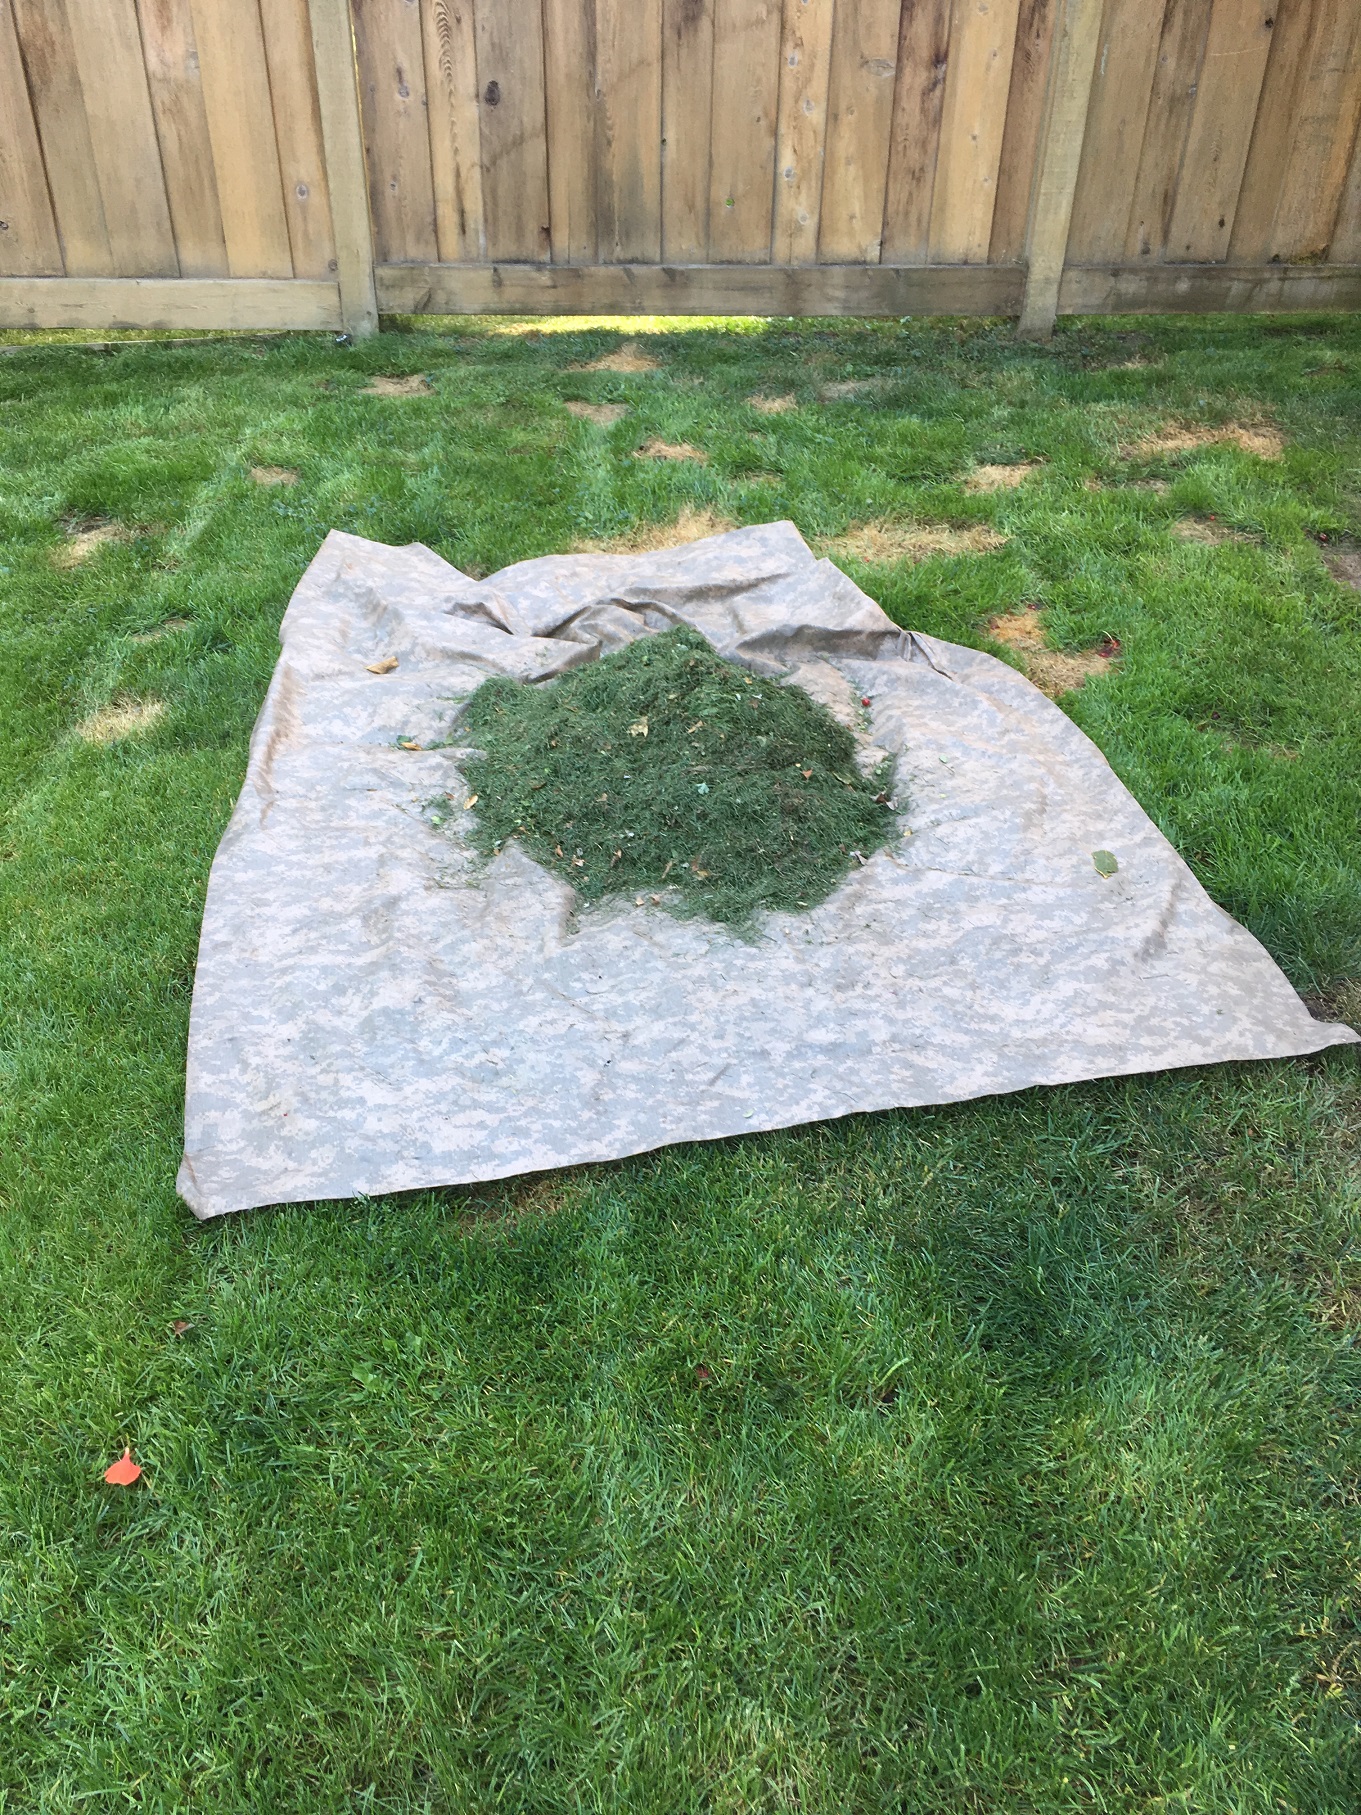
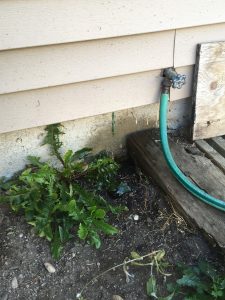
This missed tarp was discovered during the final blow.
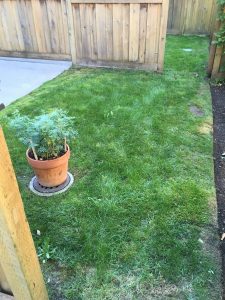
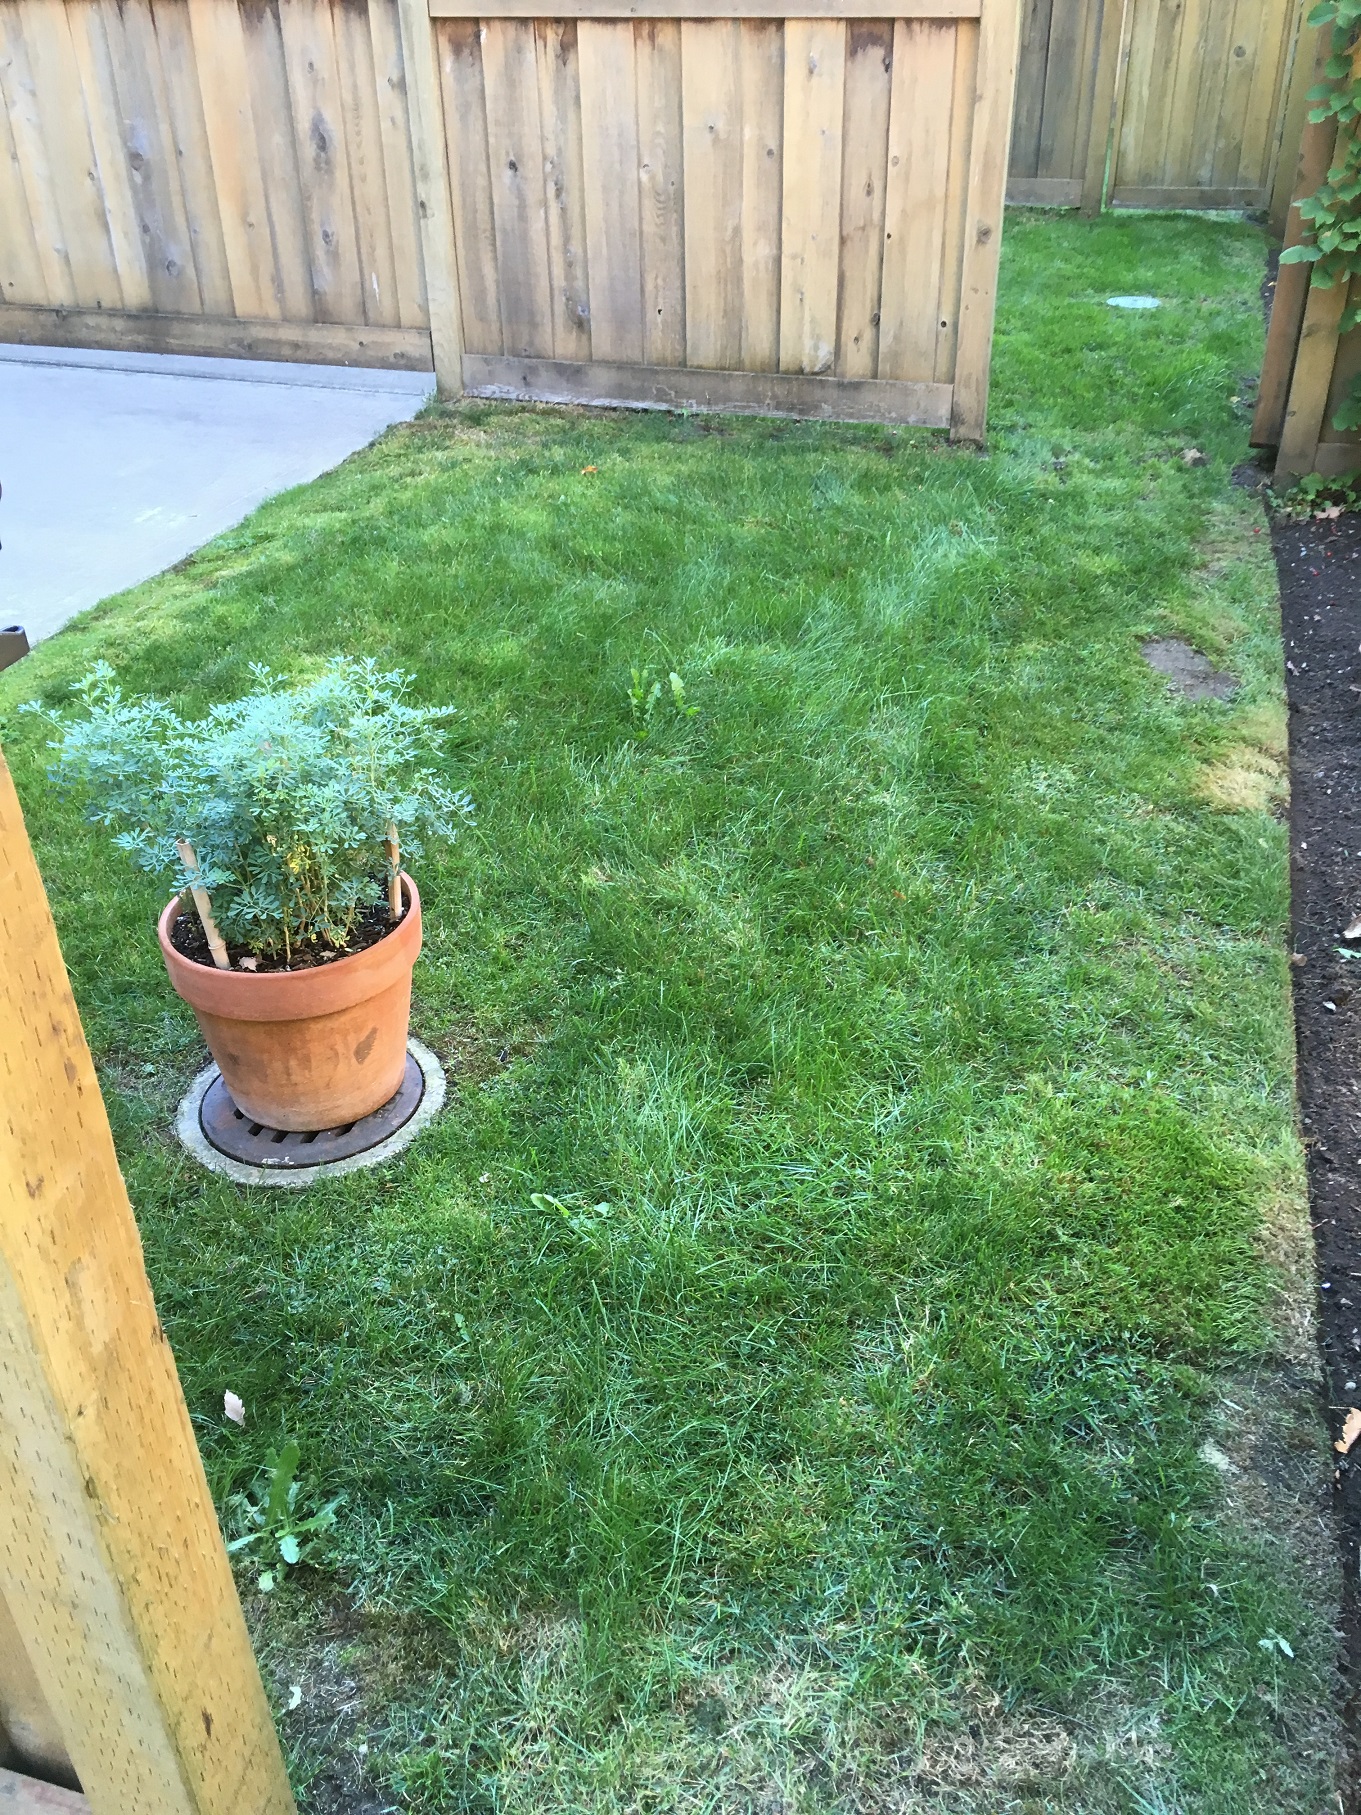
This yard didn’t get mowed at all.
Conclusion
Consider training your landscape workers to perform pre-blows and final blows with site checking. Your whole operation will be smoother.