Brian Minter writes in today’s Vancouver Sun about gardens being places of comfort. And I totally agree. Except it wasn’t very comfortable today buying the paper. Just before I entered Shopper’s drug mart, the security guard questioned me about my shopping intentions. What? These really are strange times we live in.
Escape
With the novel coronavirus upsetting our normal routines, we need gardens more than ever. We need some safe spaces to escape to, where we can rest and relax.
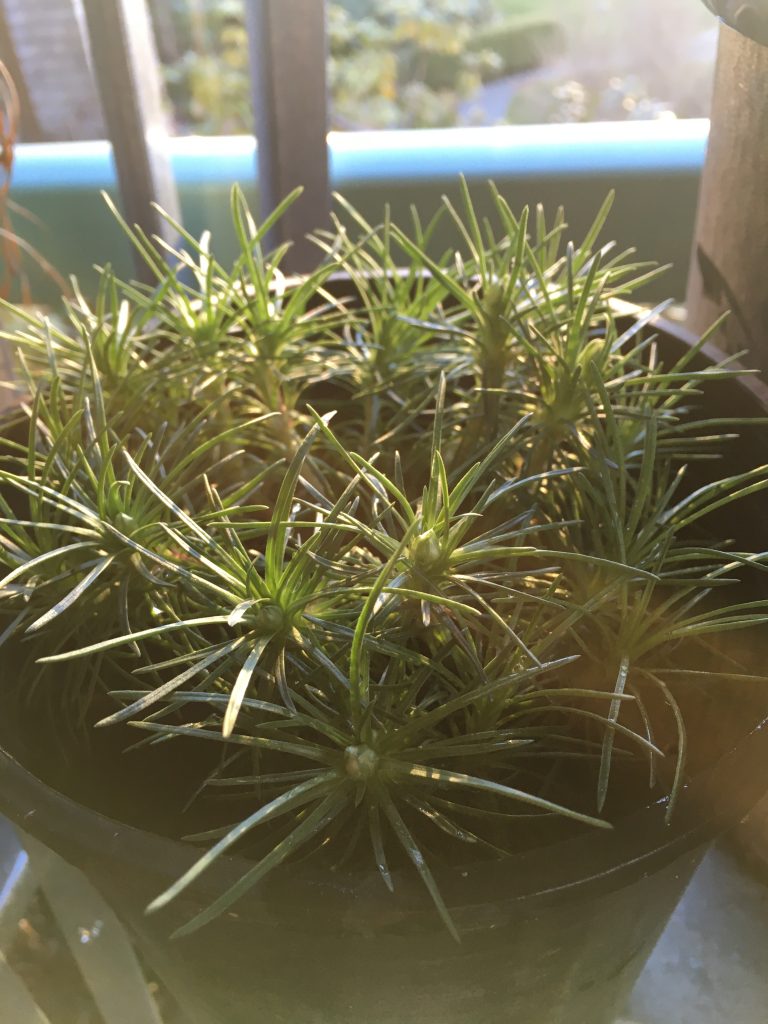
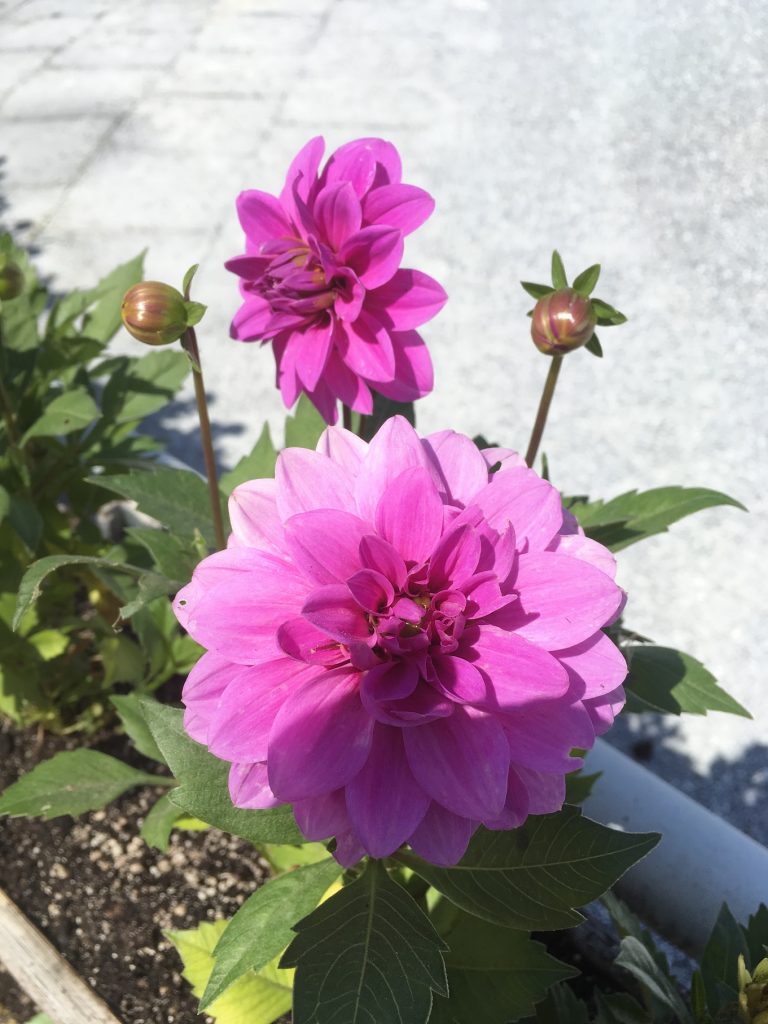
Unfortunately, I only have a small patio so I have to rely on containers. Of course, Brian Minter is a gardening legend in British Columbia so he’s after well-designed containers. Mine are planted with rejected plants I brought in from work; and I love all of my rescues.
Elements
The only designed pot I have contains Mexican feather grass (Stipa tenuissima) which moves nicely with the breeze. All around it I planted purple tulips because I read too many gardening magazines and I saw this idea in one of them. The light grass contrasts nicely with the purple tulips. At least that’s the idea. The tulips aren’t out yet. I can’t wait.
Minter also mentions colours and perfumes. The only perfume I get in winter comes from my one Sarcococca. The other elements are plants which attract pollinators and LED mini-lights for extra magic.
Now, while my patio probably wouldn’t get a passing mark from Brian Minter, it’s my special place. I feel like the plants I rescued and bought are my friends. Some are tiny trees I will never be able to keep to maturity but I love seeing them grow.
I have one Styrax, Pin oak and Horse chestnut, not exactly patio pot friendly specimens. Once they grow up I will give them away.
Watering my plants also got my mind away from virus news and financial stress. Now I’m considering growing vegetables.
If you have a garden or a patio, try to add some plants. It may just give you some serenity in a crazy world. I feel great when I check on my patio plants. I think you would, too.
Brian Minter is right, gardens are places of comfort.