Here we go again
I love mulch. It keeps moisture in your beds, deprives weeds of sunlight and it gives your beds an instant sharp look. Of course, it does break down so you might have to top it up once in a while.
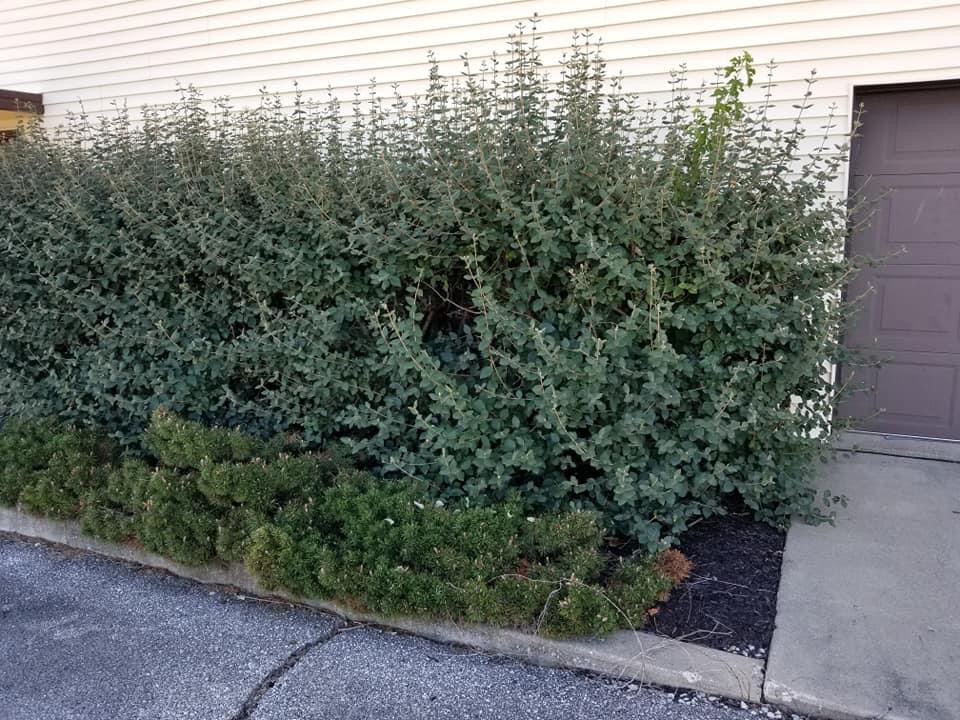
Just last week, I did some clean-ups at a new site my day-job employer took over from another landscape contractor. While the pruning looked OK, I could tell the previous dudes didn’t care for finesse work much. And yet, it’s finesse work that gives your site a sharp look.
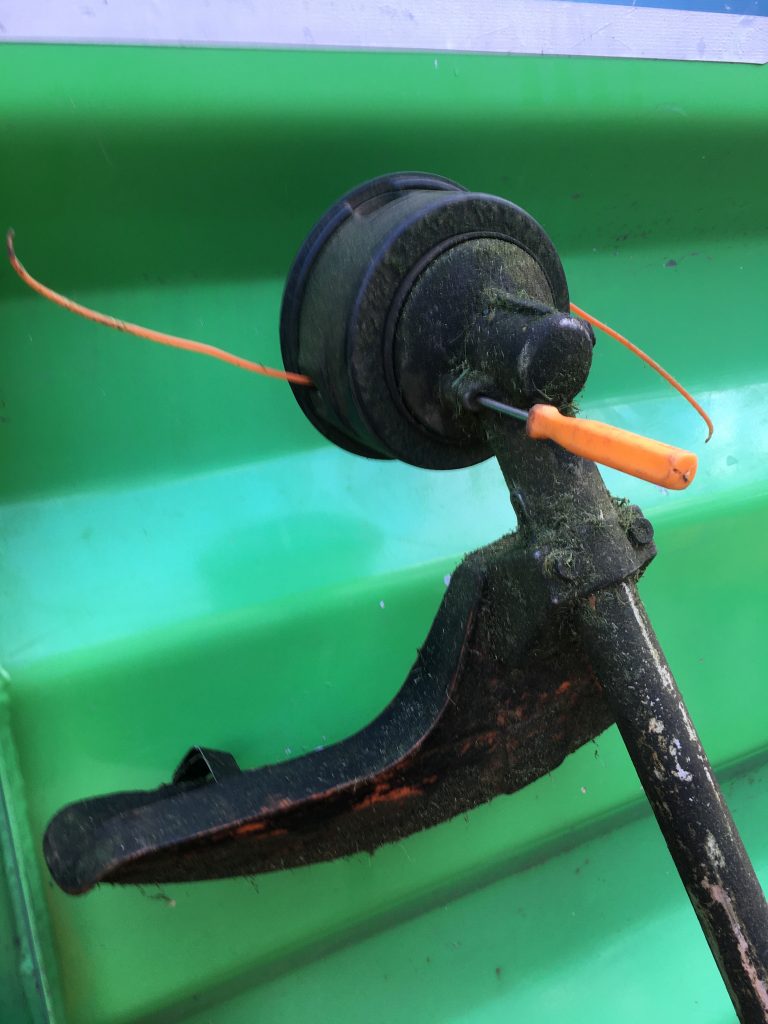
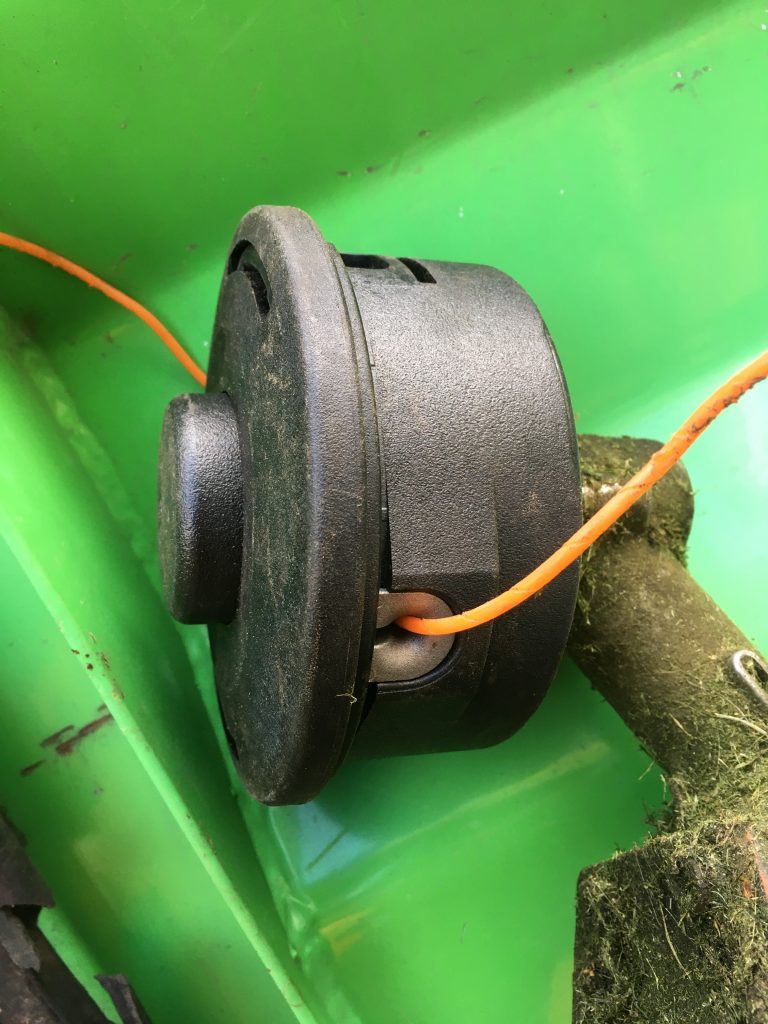
Running a line trimmer through your planted beds doesn’t qualify as finesse work. It’s extremely dangerous and desperate. If you somehow manage not to blow out windows, you will likely injure the plants. Never do this. Allegedly, the previous contractors did this all the time. Which is why they lost the site.
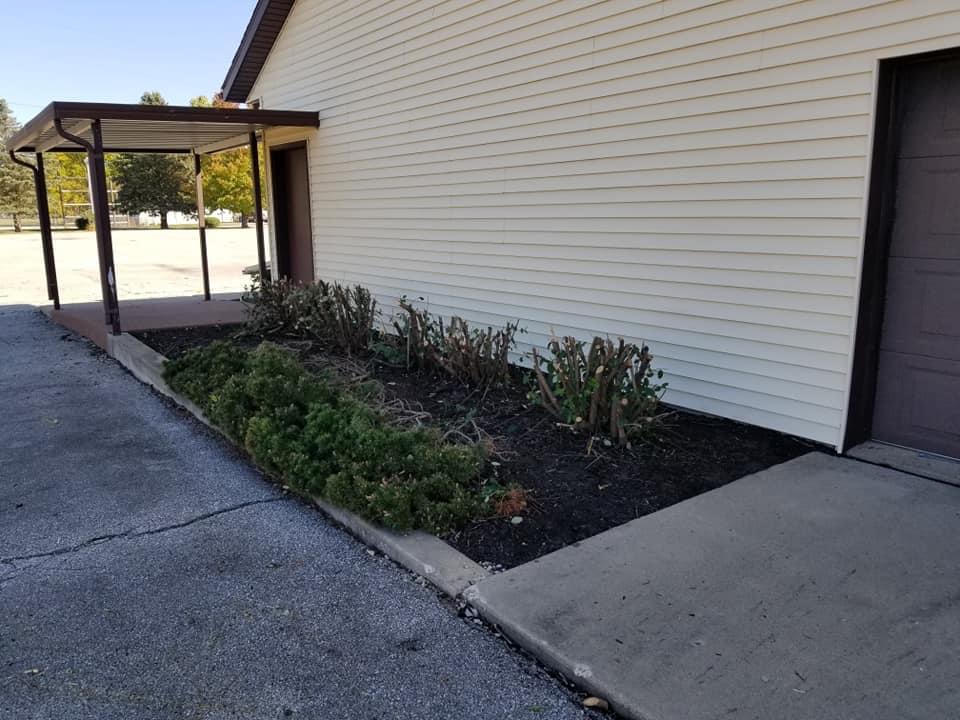
Don’t go cheap with thin mulch

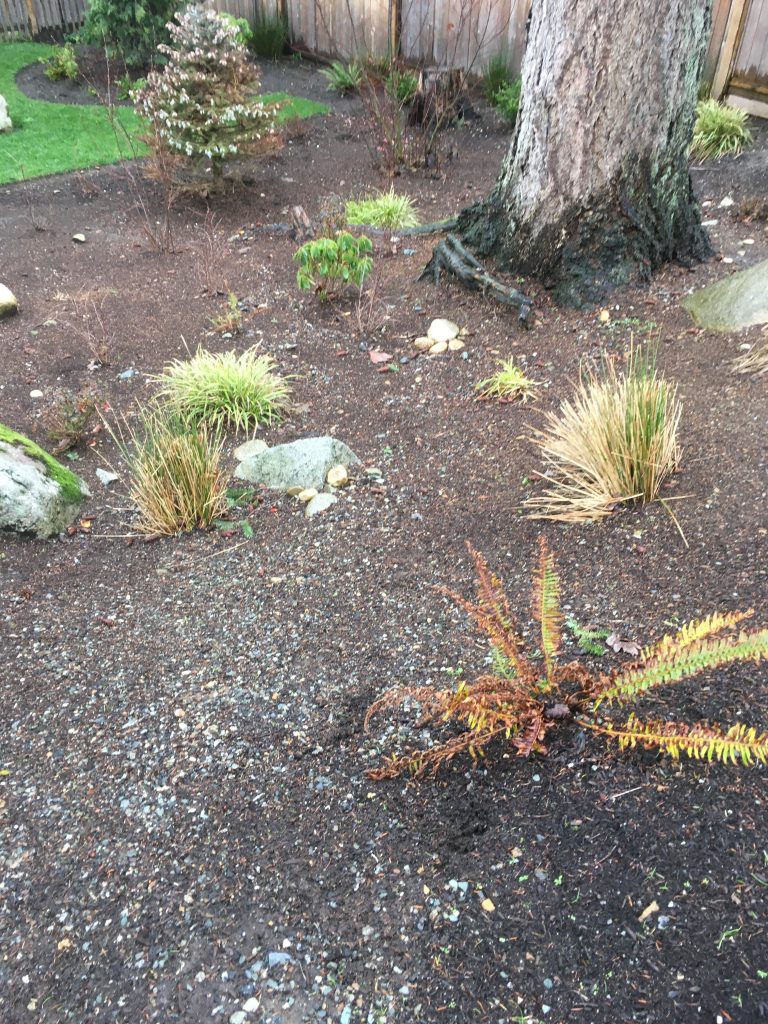
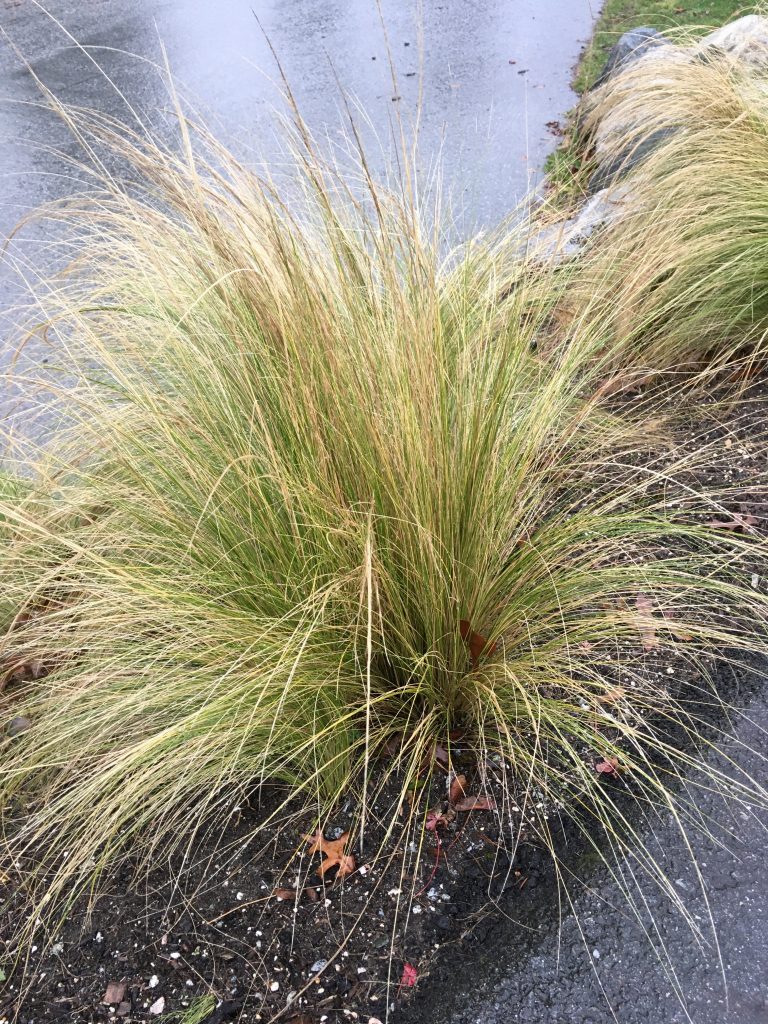
Here I had to gently uproot the weeds and get rid of them without removing the mulch. It would be difficult to line trim the weeds into oblivion.
But this isn’t how mulch works. At a depth of 2-3″, it should keep moisture in the bed, block sunlight from reaching any weeds and give us a sharp look.
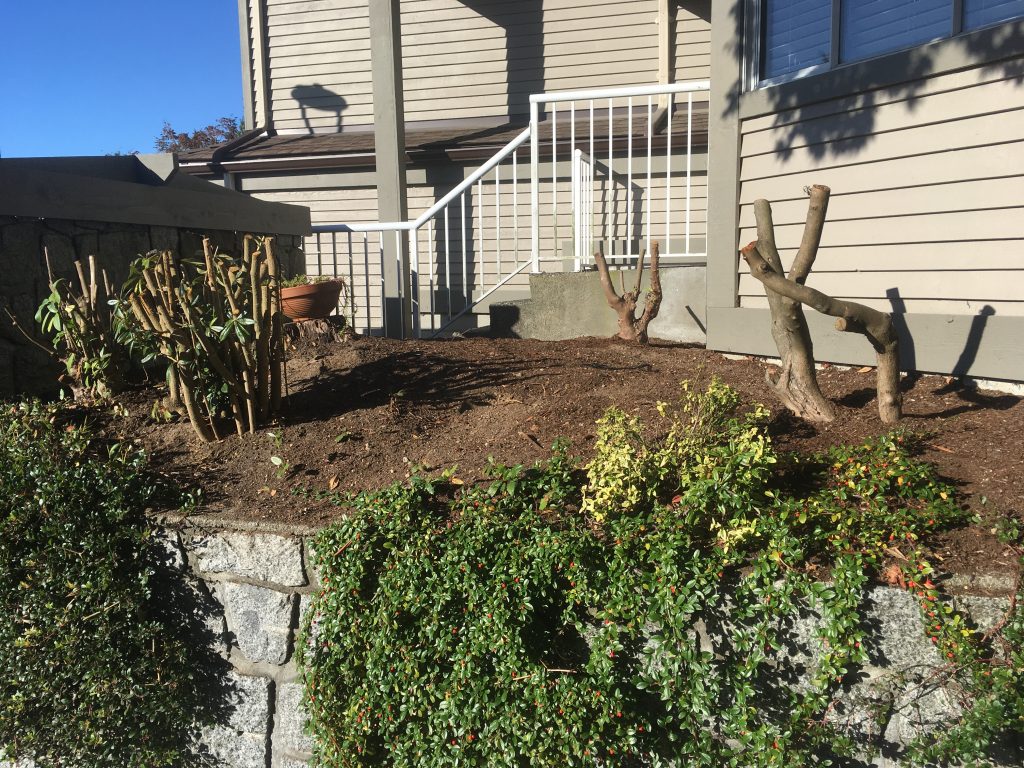
Of course, over time the mulch degrades and requires top-up. But I also find that many homeowners try to go cheap by applying a thin layer. Which is a huge mistake.
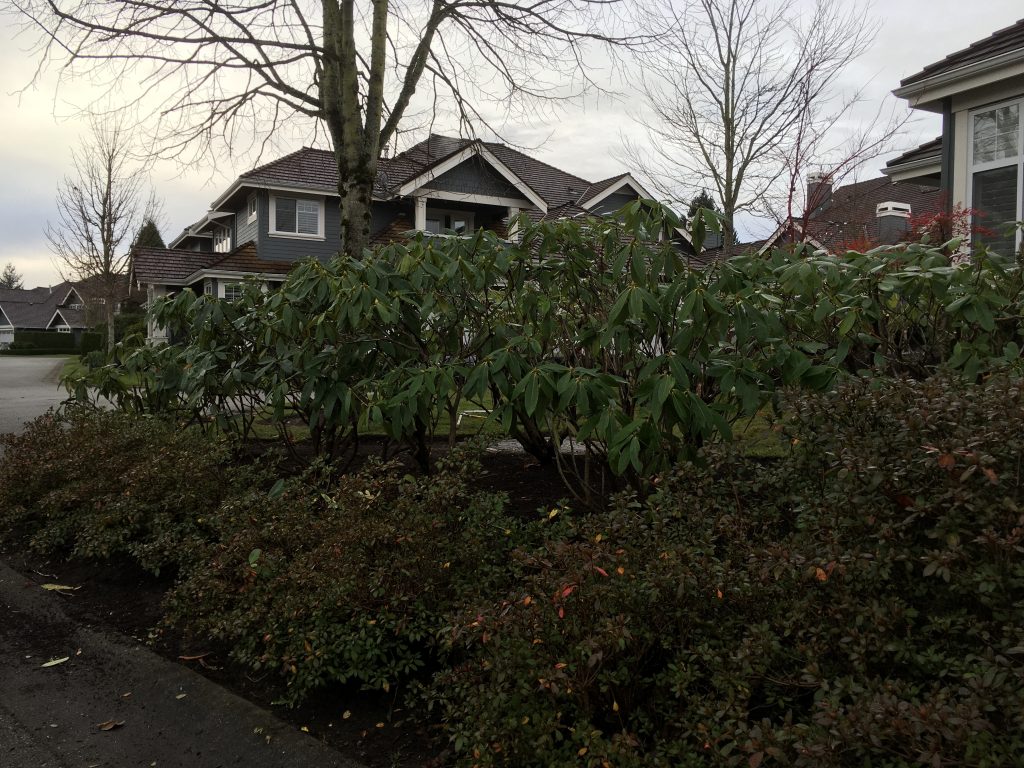
I learned why from Dr. Linda Chalker-Scott, my mentor. I knew mulch kept moisture in the bed and prevented sunlight from reaching weeds. What I didn’t know was that a thin layer of mulch made everything very cozy for weeds. It helped retain moisture in the bed without depriving the weeds of sunlight. That’s how we get beds like the one pictured above.
Now that it’s nicely weeded, it needs more mulch to replenish it and make it work and look the way it was supposed to. So, remember, don’t go cheap with mulch. Apply at least 2-3 inches and keep it topped up.