We already know from my recent blog posts that fall is a great time for landscape installation projects. Cooler temperatures and moisture in the fall are good for plants; and the fall is a bit slower once we get over the maximum leaf drop on our sites and in our gardens.
Privacy screen
Privacy is a common problem. New owners move into their unit just as we remove dead cedars (Thuja occidentalis ‘Smaragd‘). Now their windows are exposed just above a walkway and we have a problem. The husband is a nice guy but the wife can compose letters to strata that would make a construction worker blush.
So a quote is submitted to strata council and approved quickly so the problem goes away. I was the lucky installer on a sunny fall day. It just so happened that the site was a challenge.
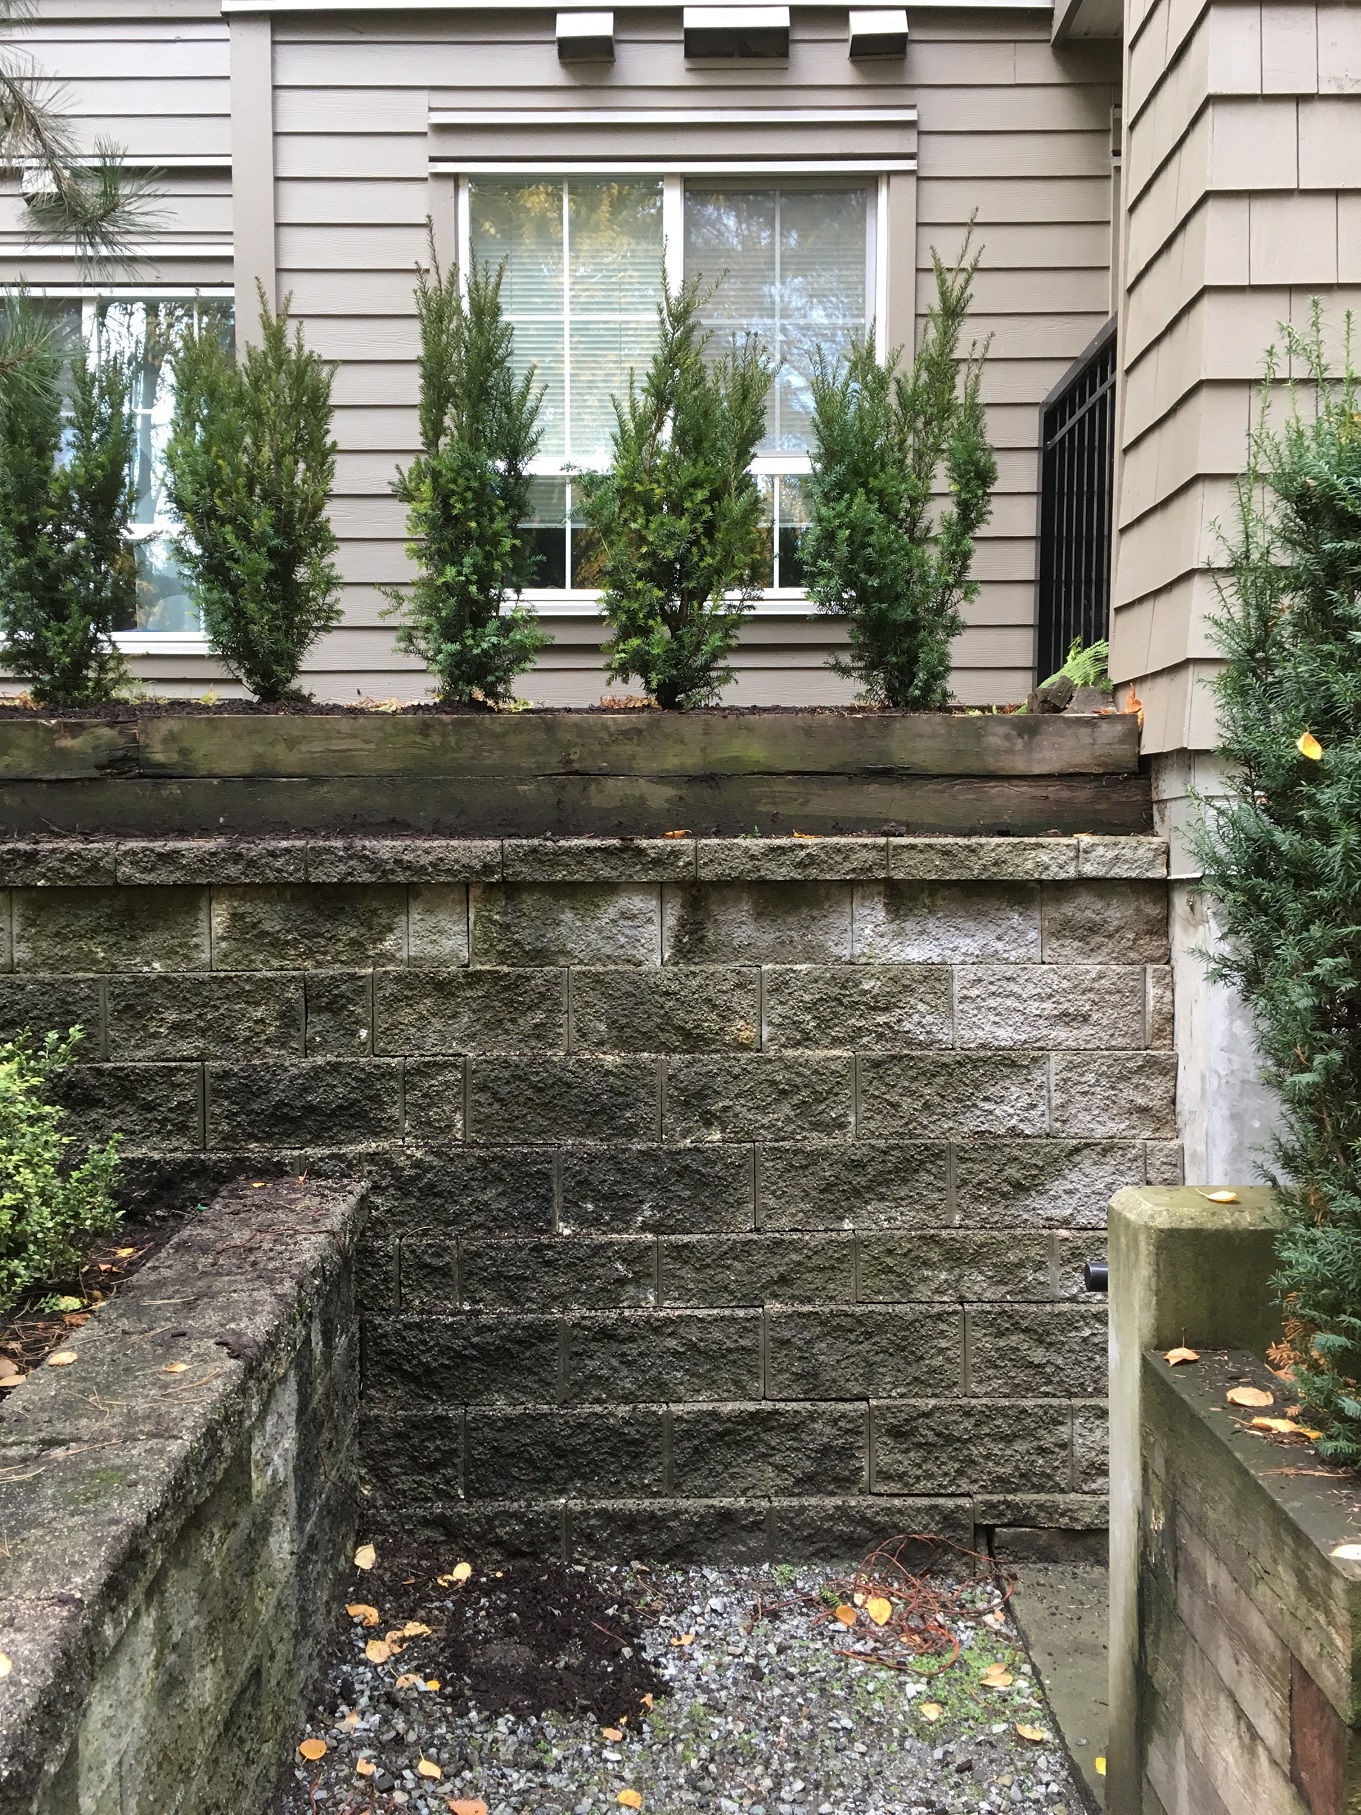
It’s not perfect cover for windows yet but give it some time.
Cedars vs Yews
The heat waves our landscapes have been subjected to in recent summers have been hard on our cedar hedges. Most strata owners are too busy to water their plants and regular weekly landscape work visits don’t allow for watering.
Thus, the switch to yews (Taxus x media ‘Hicksii’) which are considered hardier. They make nice hedges and sport red berries. But they are more expensive than cedars so it’s a strain on strata budgets when many cedars die.
Access
I got a bit sweaty walking the thirteen potted specimens up the back walkway and I loved it. It served as training. Access is another common hassle. Same for soil conditions. Since the soil closest to the edge was mostly clay, I was forced to off-set the yew row just a bit. Not that it’s a huge problem.
The soil was very wet and I had to be careful with irrigation pipes. Another challenge was soil volume. As soon as stuck my shovel in, I hit landscape fabric. Not good. I had to make adjustments.
Planting

Not the best conditions: soggy soil, clay edge, ledge and low soil volume.
One adjustment involved removing the yews from their pots and cleaning off soil from the bottom of the root balls. This allowed me to plant the yews in their somewhat shallow planting holes. Also, don’t forget to rough-up the roots before planting so they stop circling.
The second adjustment involved moving in some soil. There were at least two specimens with exposed root balls so the extra soil levelled everything off nicely. Remember, when backfilling your planting holes, always use the existing soil. A very common mistake is backfilling planting holes with new soil. It looks great but water will find it easier to move into the new soil. It will then cause soil saturation and your yew will turn into a joystick. Who knows which way it will fall?
Remember the soil we cleaned off from the bottom of the root balls? I saved it and used it to top-dress the finished yew line. It gave it a nicer look.
One last step: blow off the muddy ledge below the yews. Always clean-up as best as you can. Weekend rain will water the yews in nicely. I wish them well. I always feel responsible for the health of my plantings.
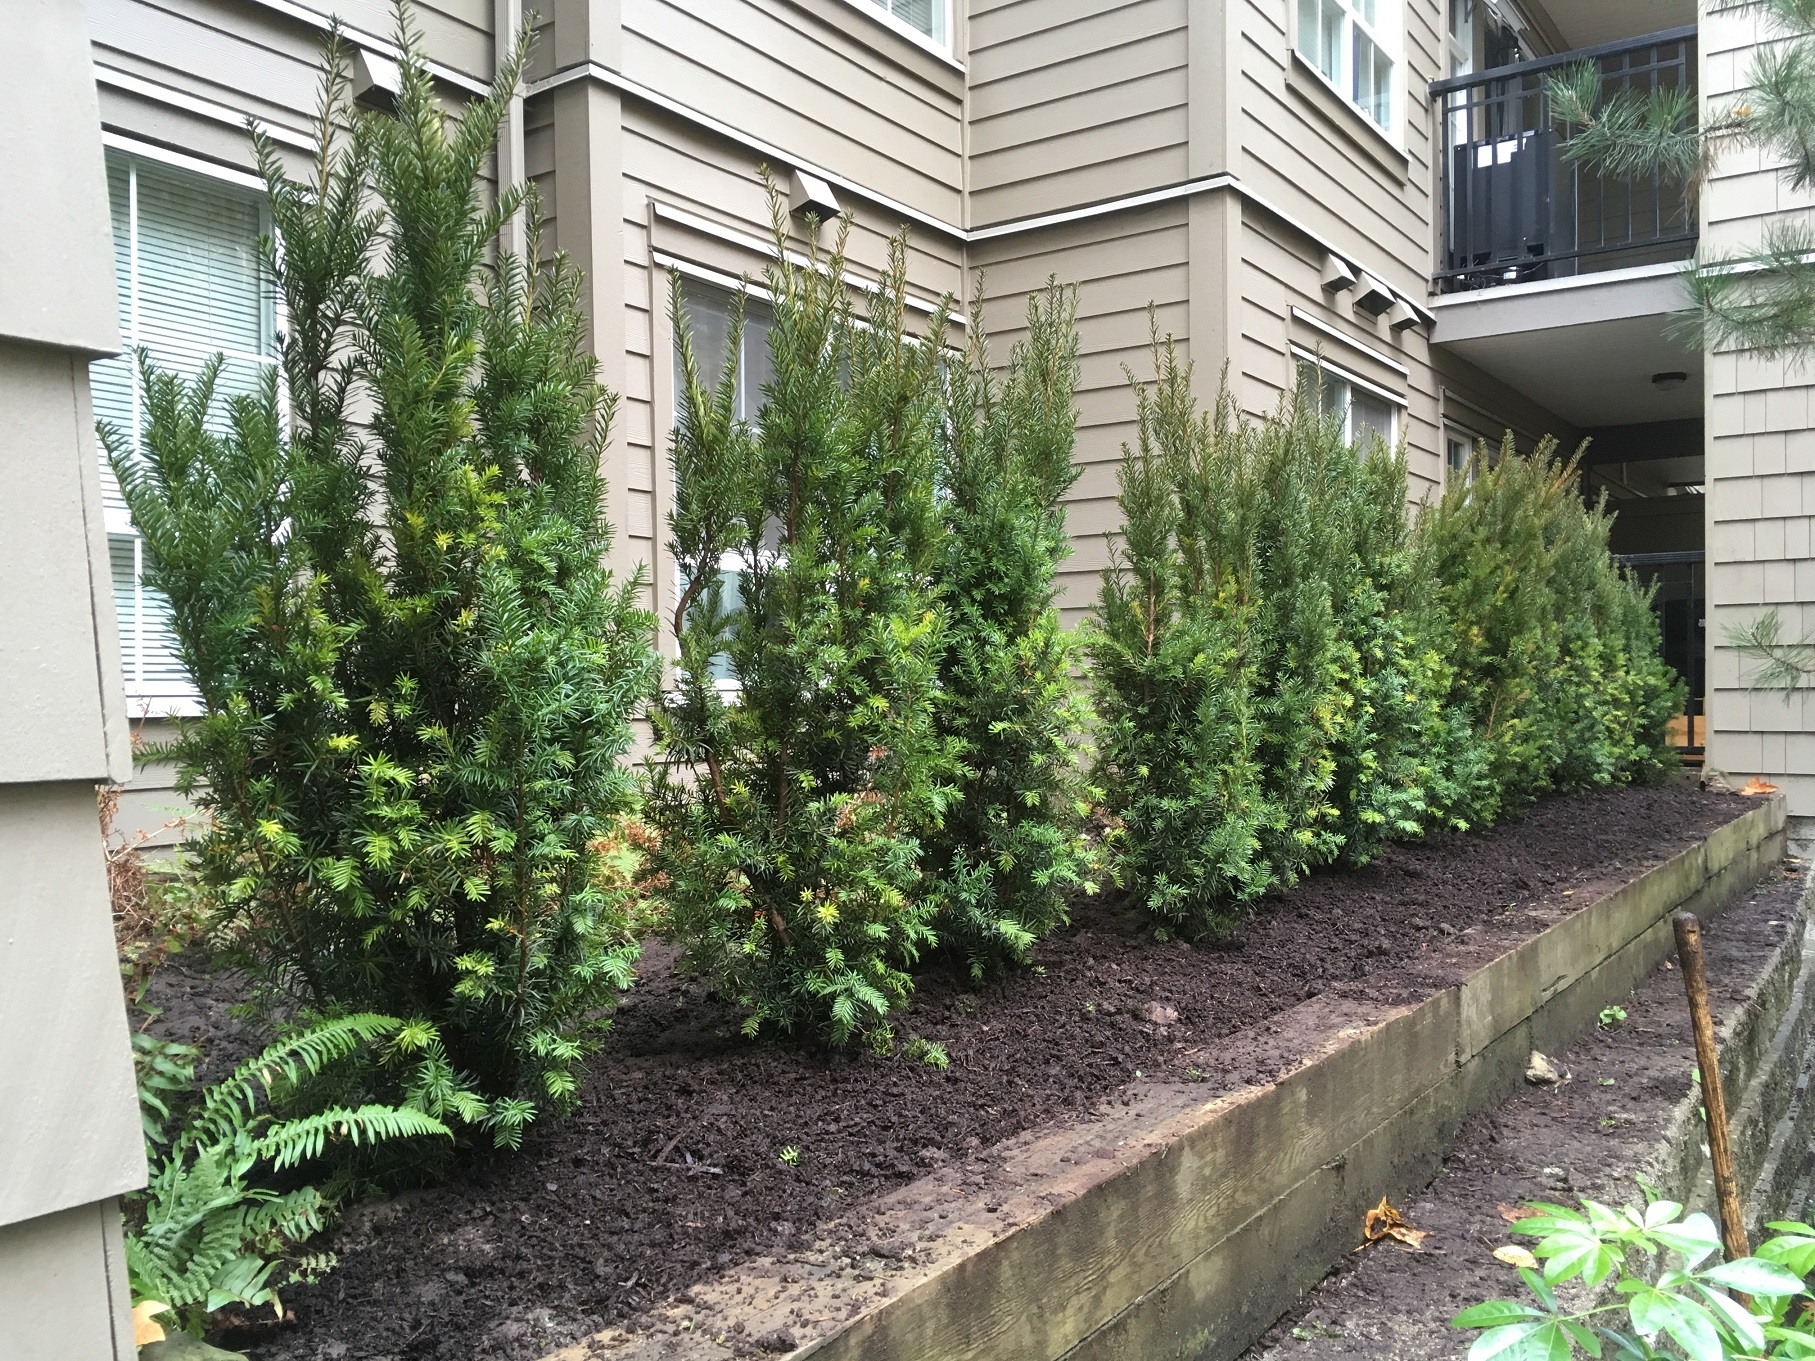
This is a nice change from brown cedars. I hope all of these yews survive and thrive.


