Today is Remembrance Day, a day to remember those who gave their lives for our freedom today. Unfortunately, I had to work today but I did stop at 11 a.m. to remember those who made their ultimate sacrifice.
A new bed
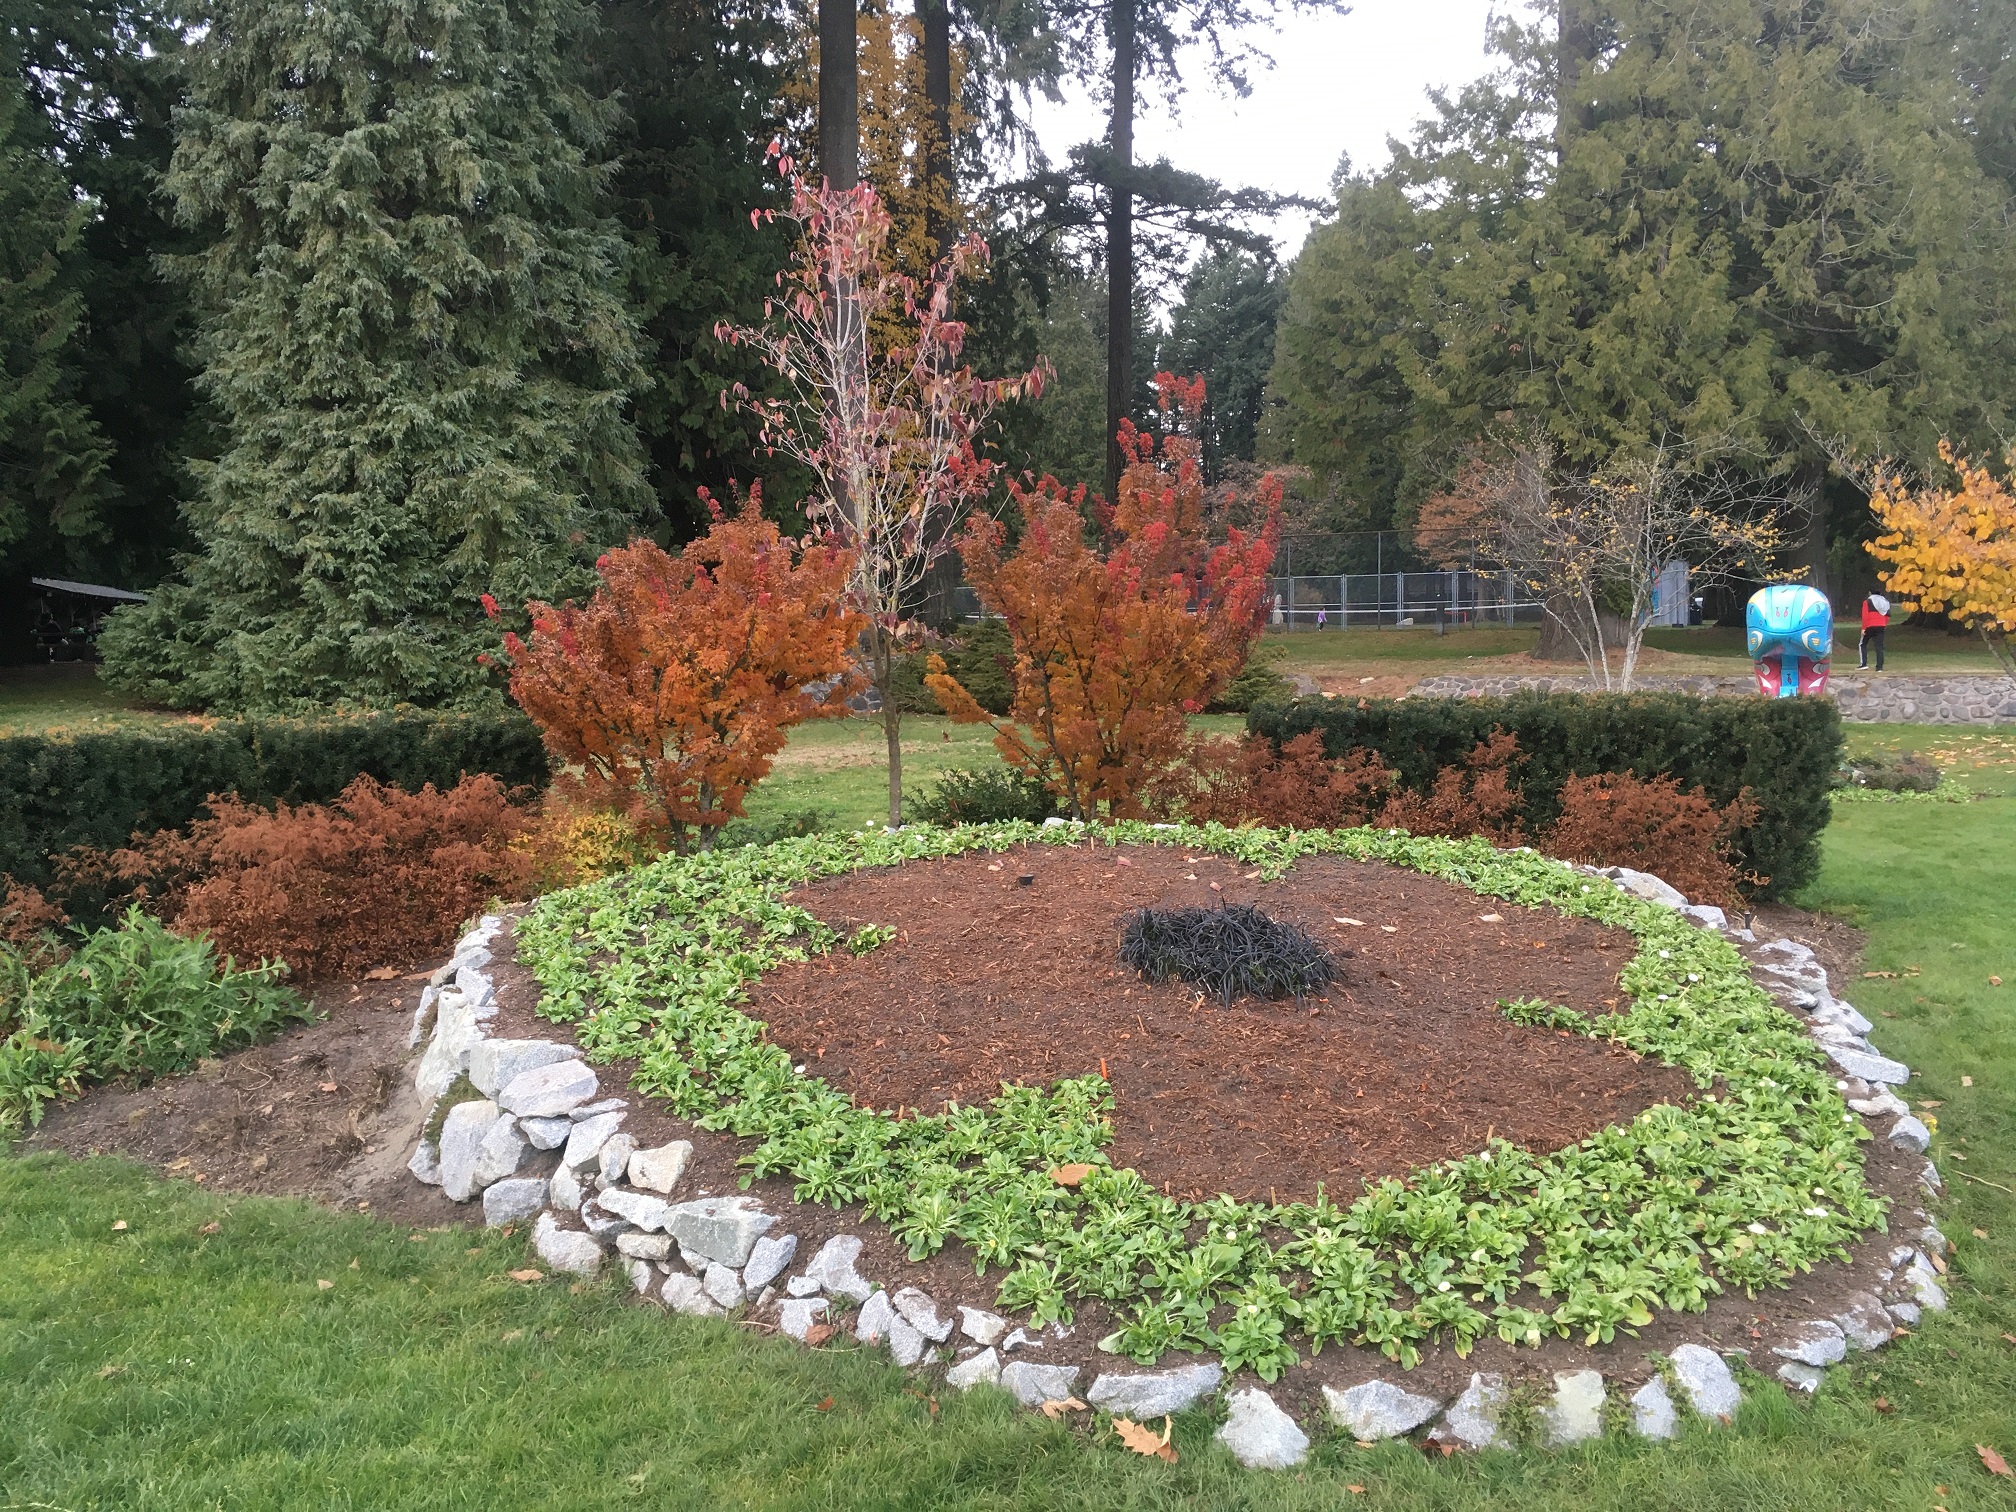
In 2014, while working for the City of Coquitlam as a park labourer, we created a new bed for Remembrance Day at Blue Mountain Park. And now I drive by the park weekly so I remember fallen soldiers all year.
In subsequent years the municipality redesigned the front planted bed but the plants in the back remain. And I’m glad they do because I planted them with my city gardener boss. We planted yews (Taxus), Astilbes, maples (Acer) and one dogwood (Cornus).
I planted all of the back plants in 2014 with my city gardener boss. They all look fine.
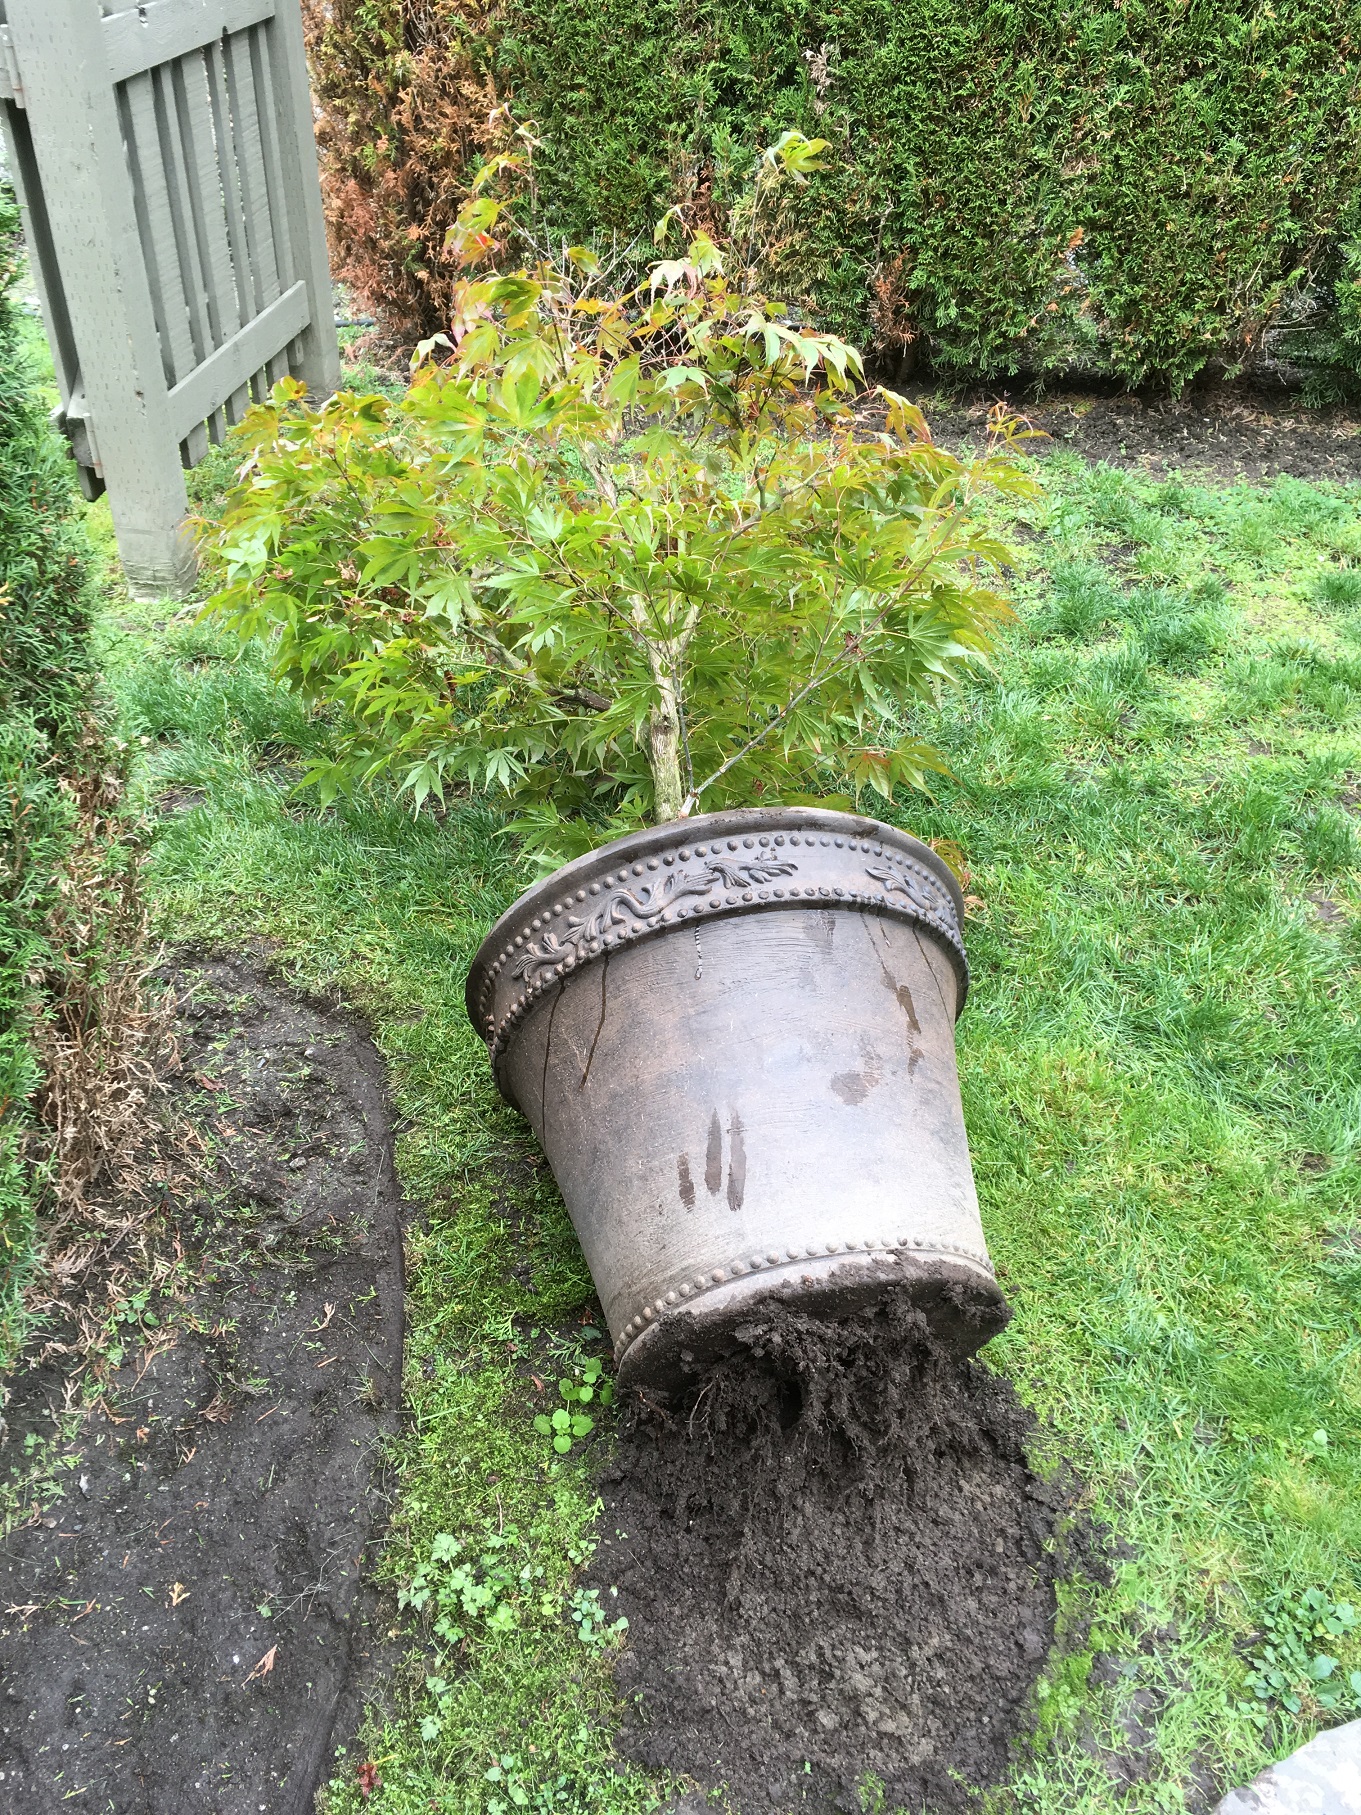
First bare-root planting
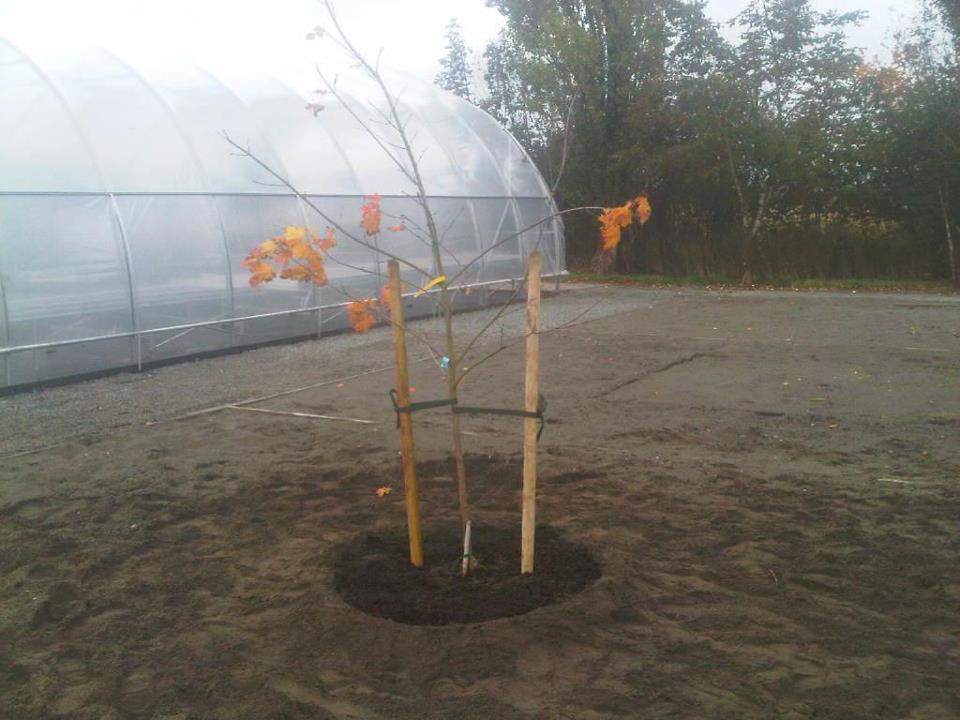
The dogwood planting was very special because it was my first bare-root planting. Bare-root planting is recommended because when you wash off the root ball you can clearly see the tree roots. This then allows you to arrange them so they look like spokes on a wheel before planting. We want all roots to run out and get established, not keep running in circles. Feel free to prune out any rebel roots.
When you wash off the root ball, hold on to the mud you create. You will use it to plant the tree after your roots are nicely arranged like spokes on a wheel. The mud anchors the bare-root tree in the hole. At the time I didn’t know this. Keeping mud in the back of the truck seemed crazy.
The procedure is to install the muddy soil in phases: soil and water go in and then you wait for it to settle, and repeat the procedure until the hole is filled. The mud cements the tree in the hole.
When we did the planting in 2014 the lawn and soil were wet so I got very muddy but it didn’t bother me. I loved the new experience of bare-root planting.
2019
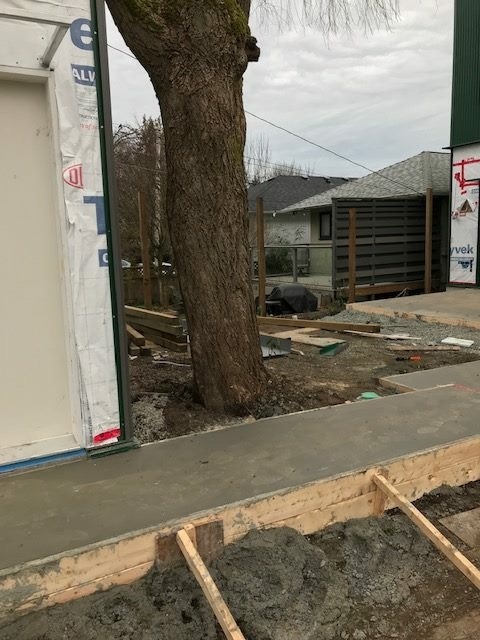
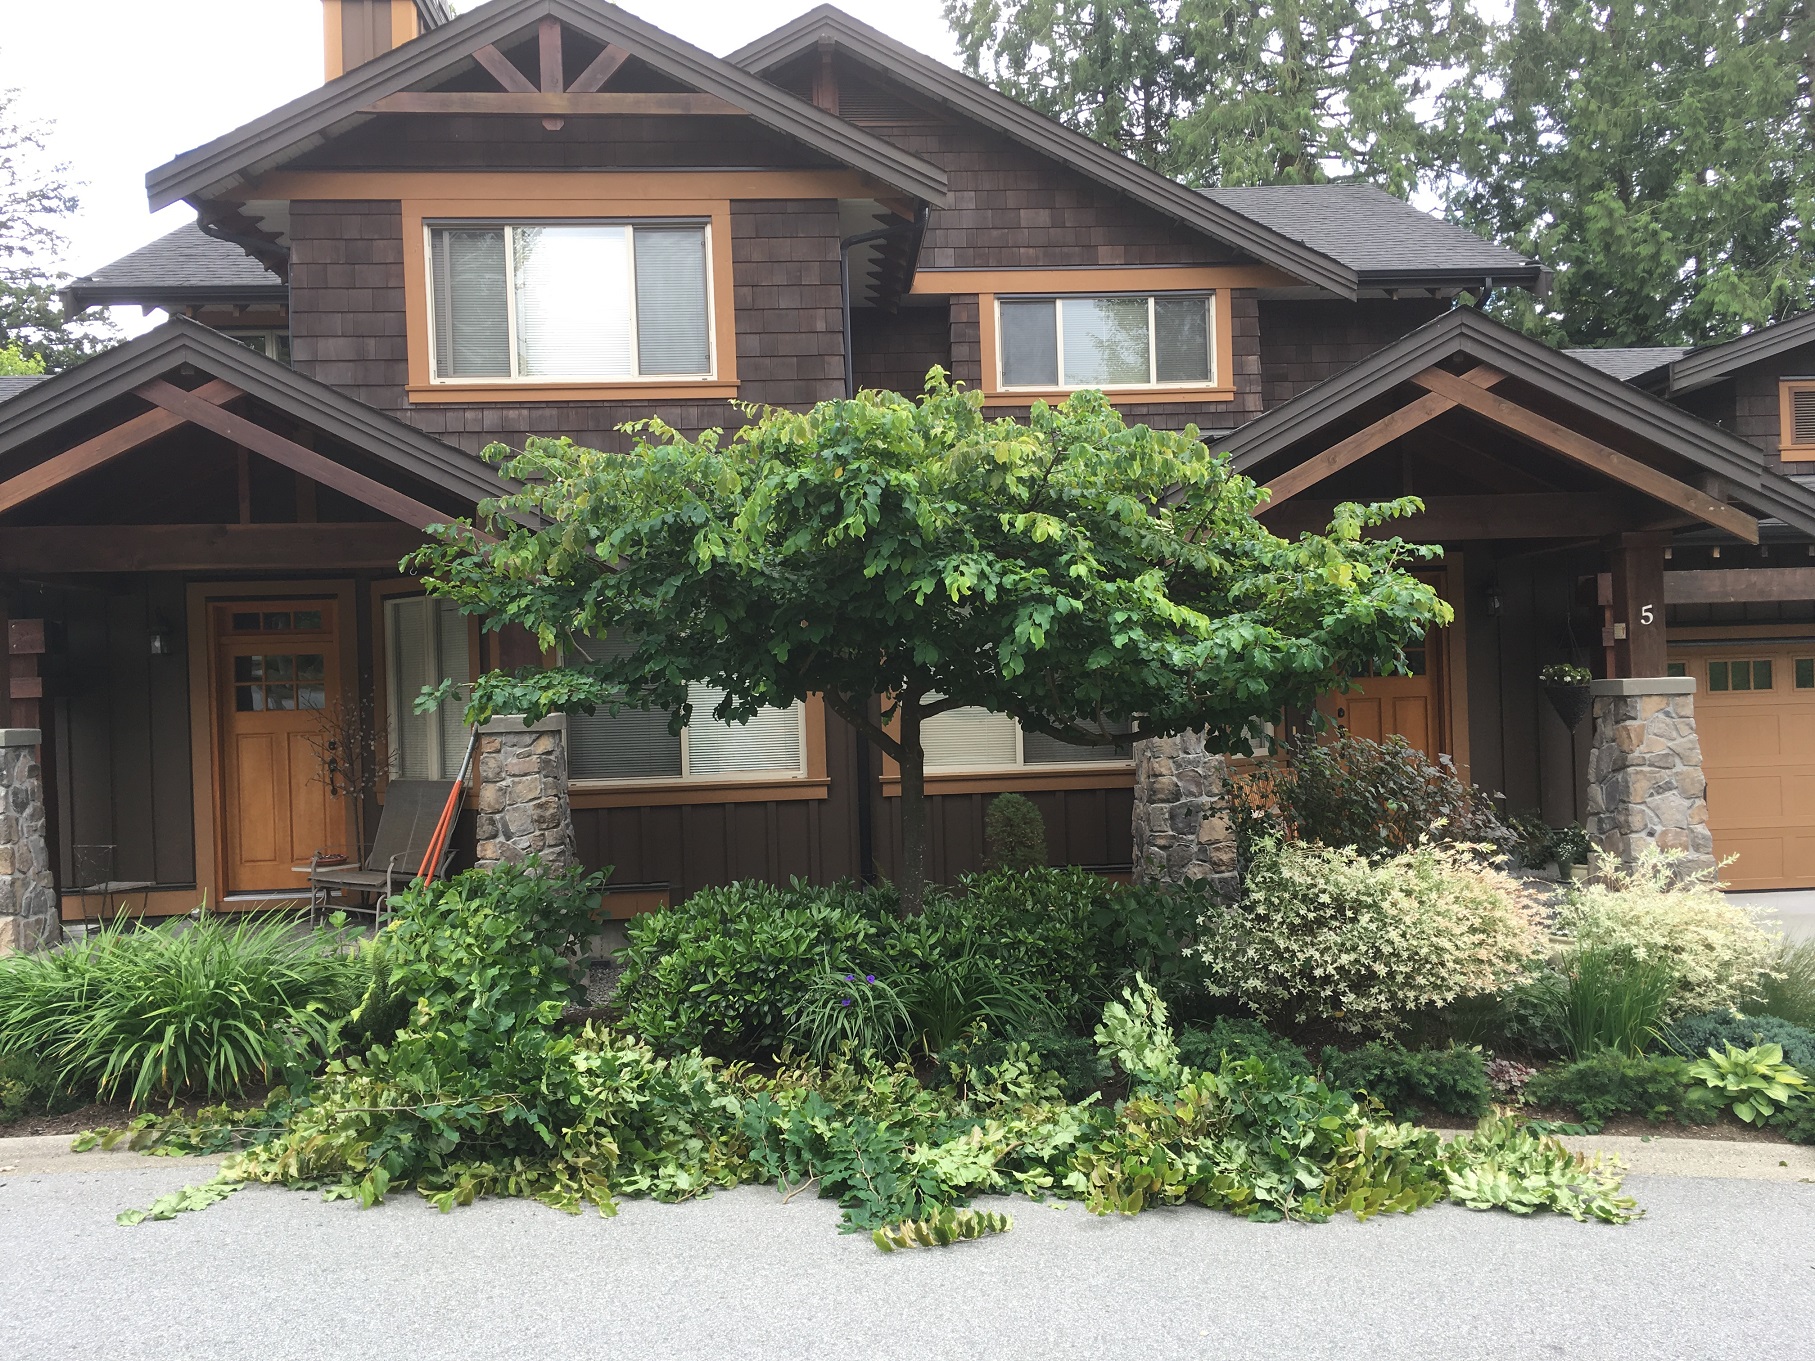
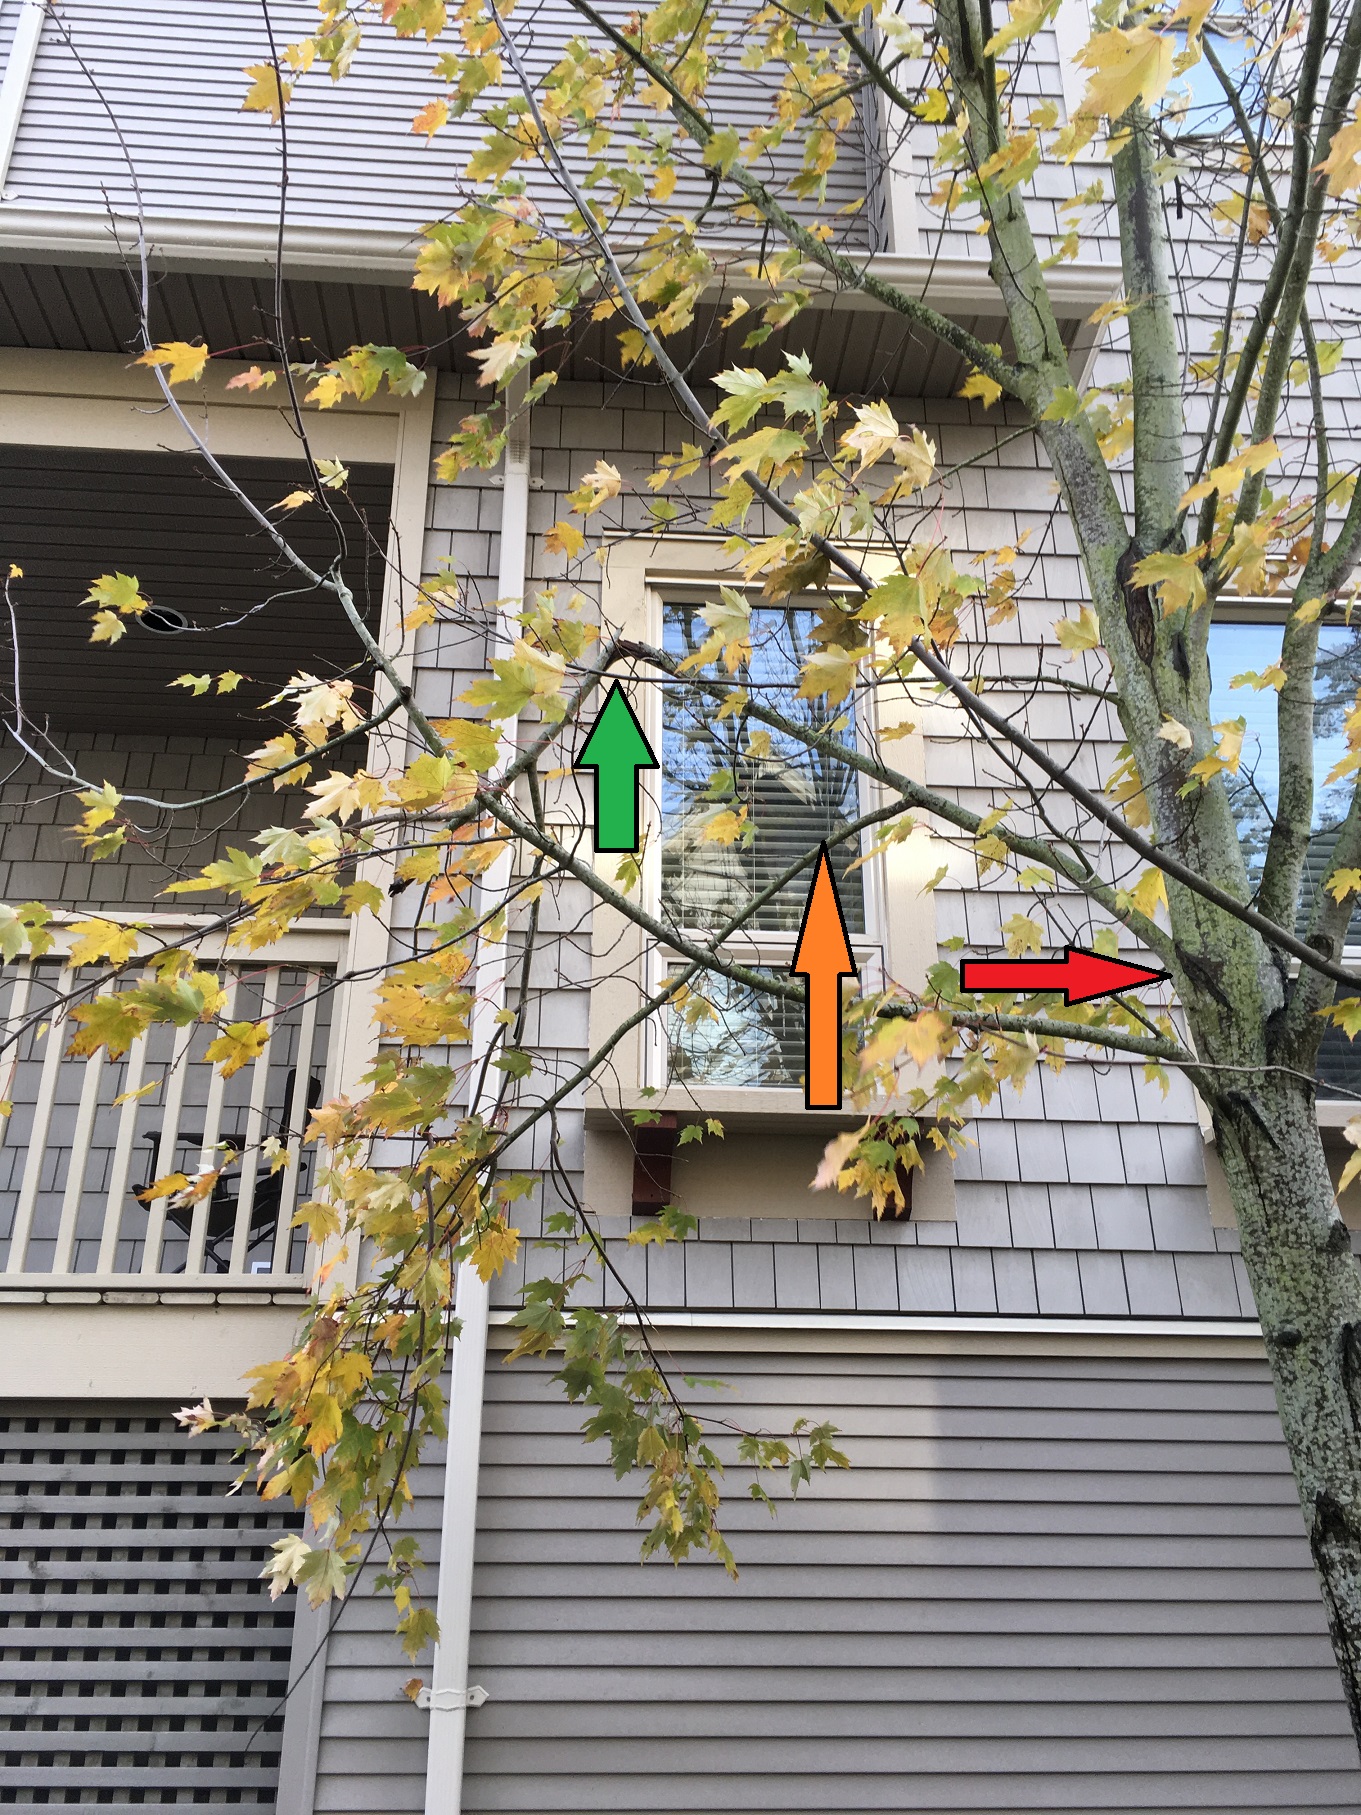
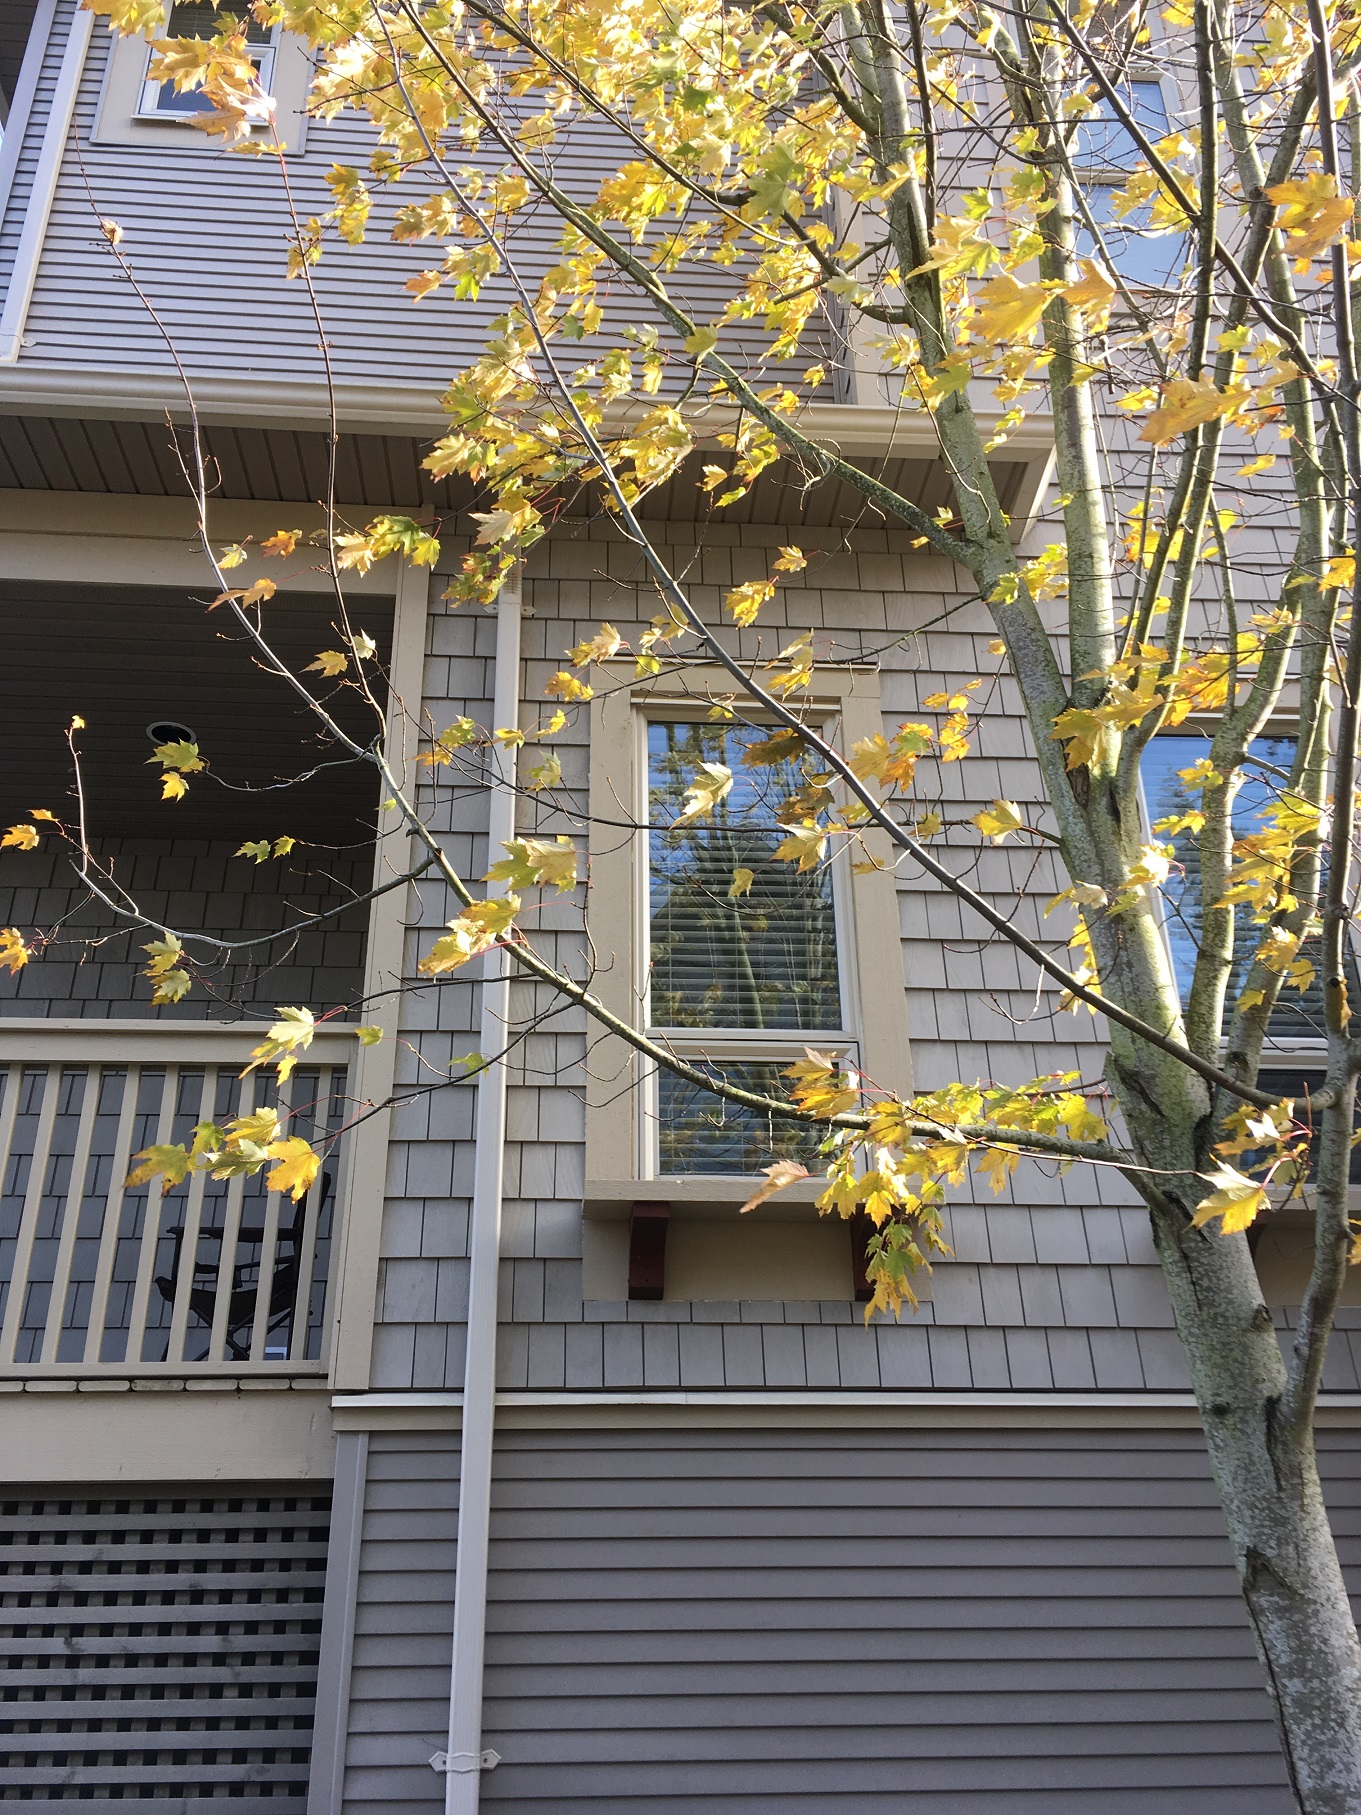
Now, five years later in 2019, I finally stopped by to take a picture of the dogwood and it looks healthy. I gave it a quick wiggle test by moving the trunk back and forth. The base felt solid which means the tree is established. Yay! Success. The other plants look fine as well.
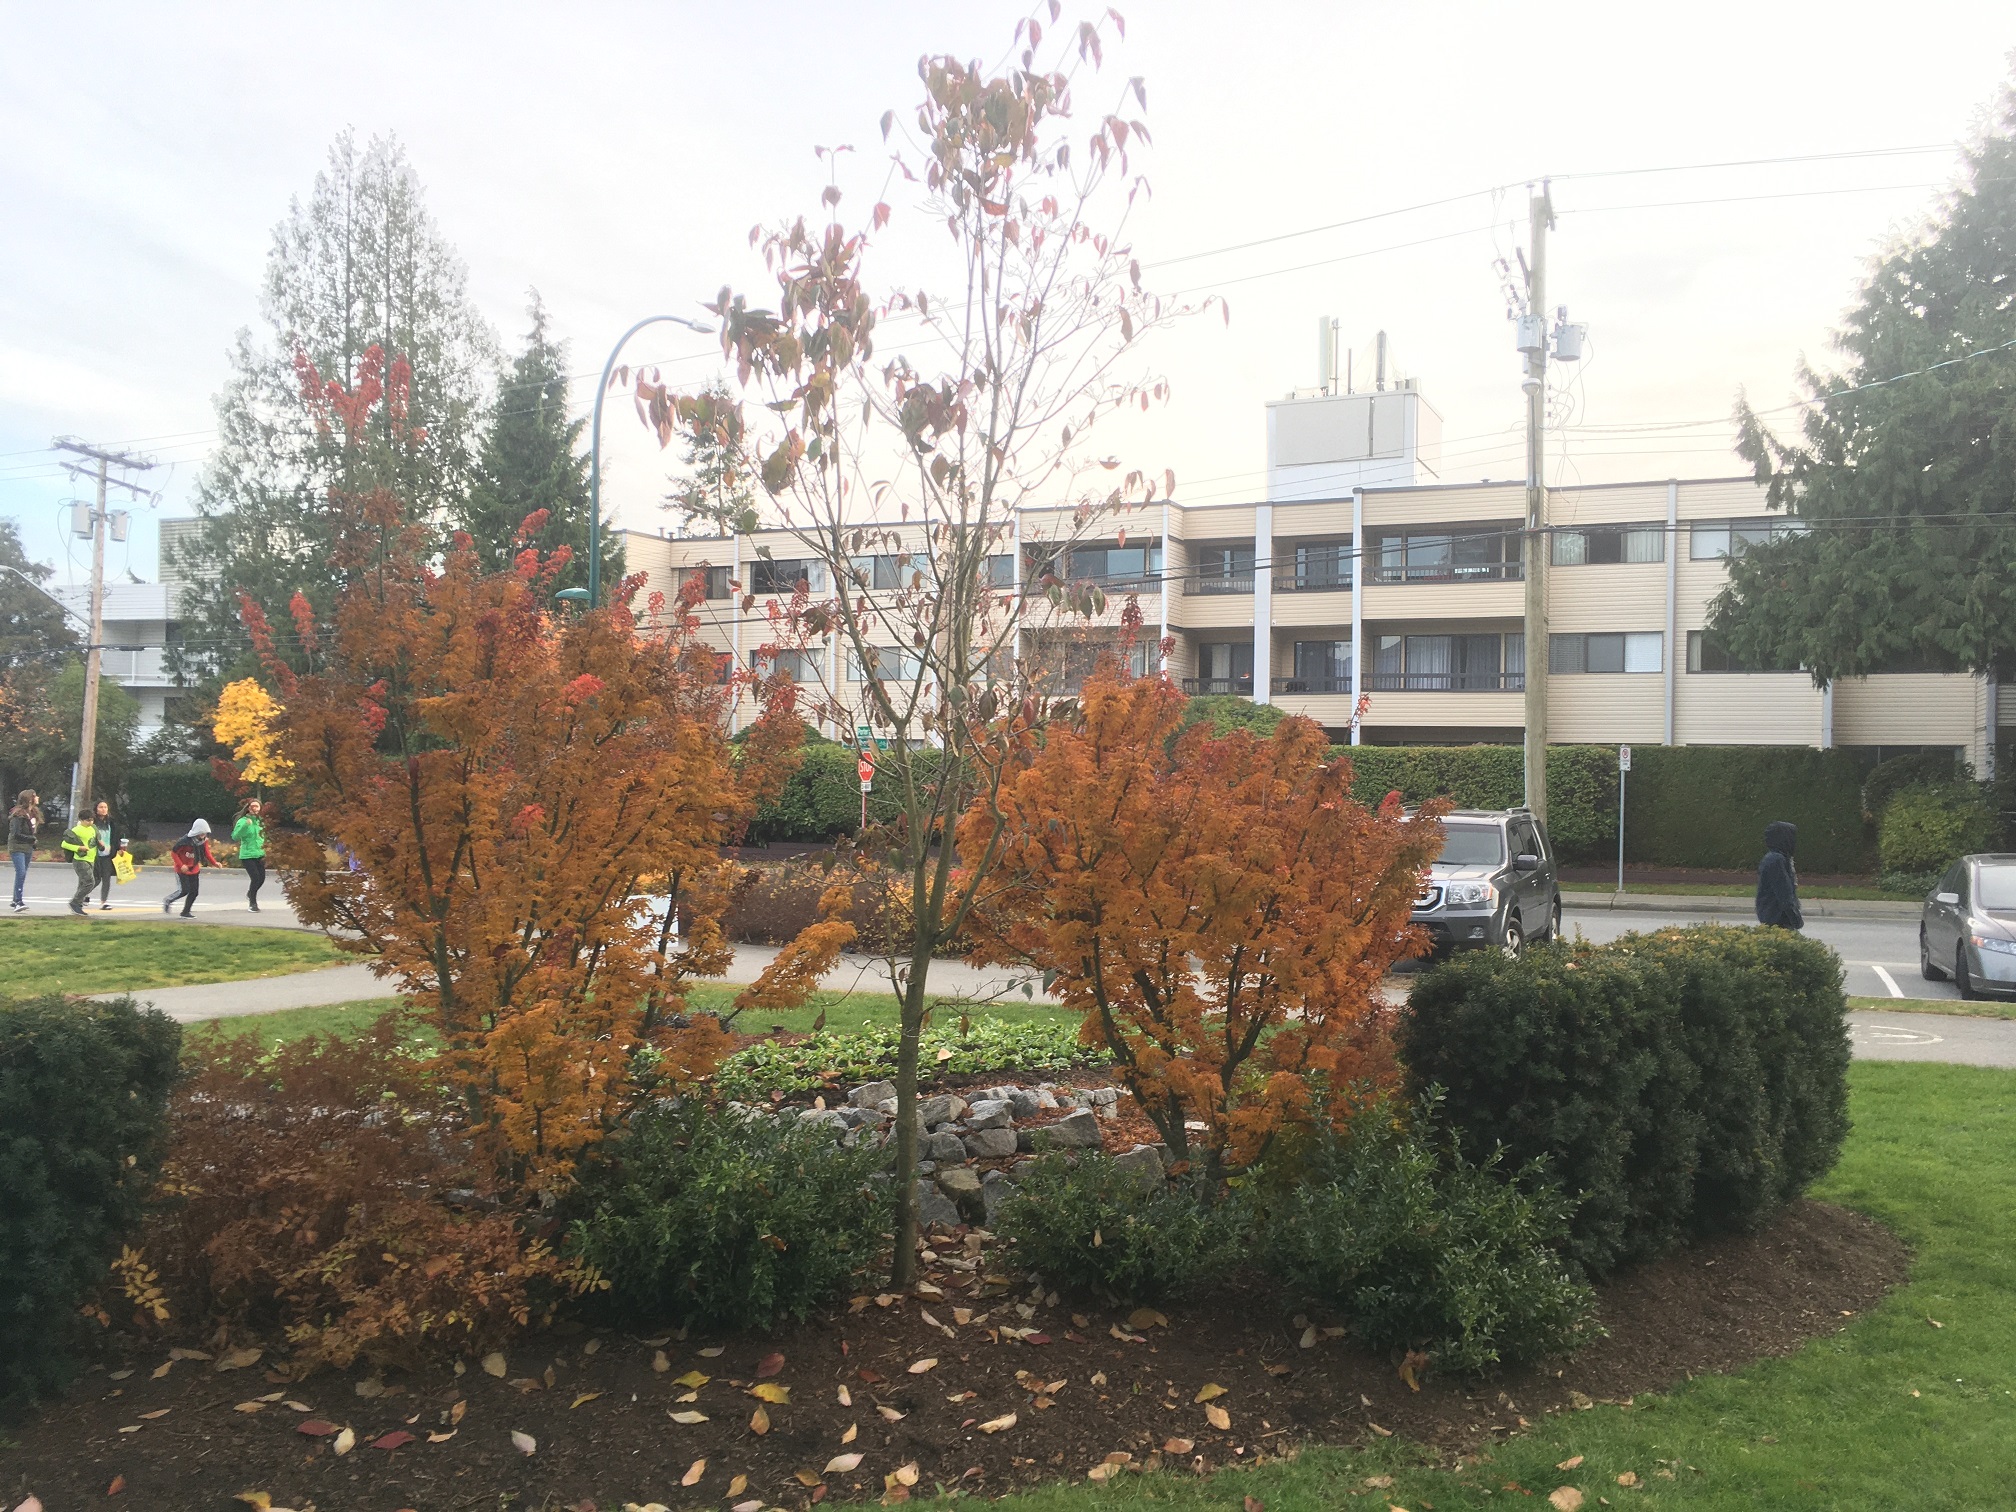
The dogwood in the middle was planted bare-root in 2014.
It feels good to know that my work will be on display for many years to come. I have since done one solo bare-root planting project and I hope to do many more. You should try it next time, too.
I hope you had a great Remembrance Day!