While working on one strata site recently, one of my tasks was to examine a row of Zelkova serrata trees because the strata council was concerned about two specimens with cracked bark. In the past they had to remove two specimens and now they needed a certified arborist to take a look.
Zelkova serrata
My first encounter with these trees was on the West Coast of Japan in Niigata City, Niigata prefecture. Now I was examining a full row inside a strata complex.
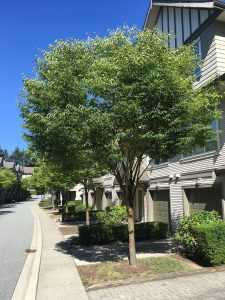
Zelkova serrata is a good street and shade tree with attractive bark and great fall colours. It tolerates pollution and it’s adaptable: it can handle heat, little water, various pH soil levels and nutrient poor soils. That’s not a bad list for an urban tree.
It grows to around 30m high with a short trunk which divides into many upright stems forming a round-topped head.
Zelkova serrata
Leaves
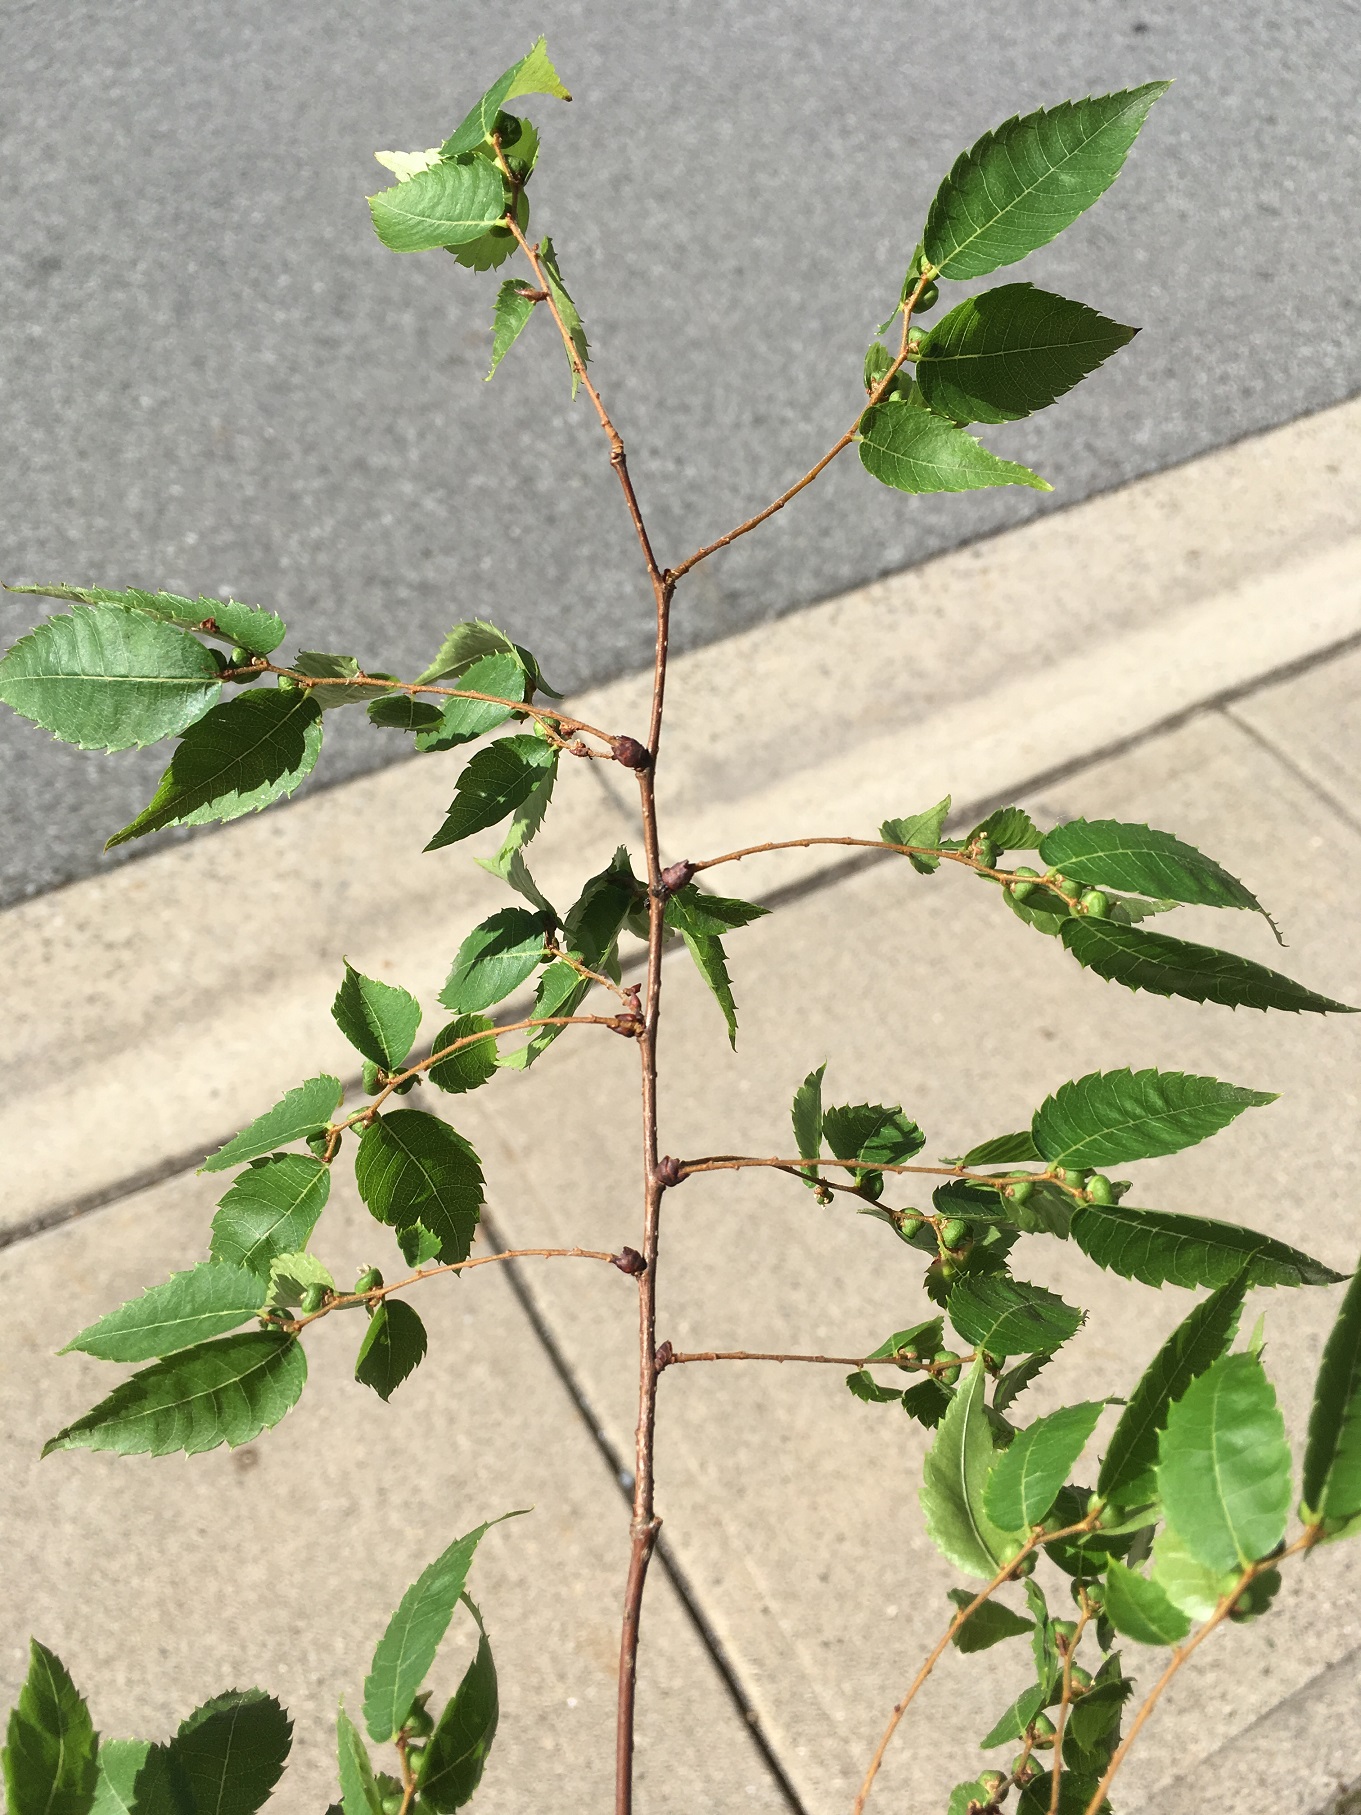
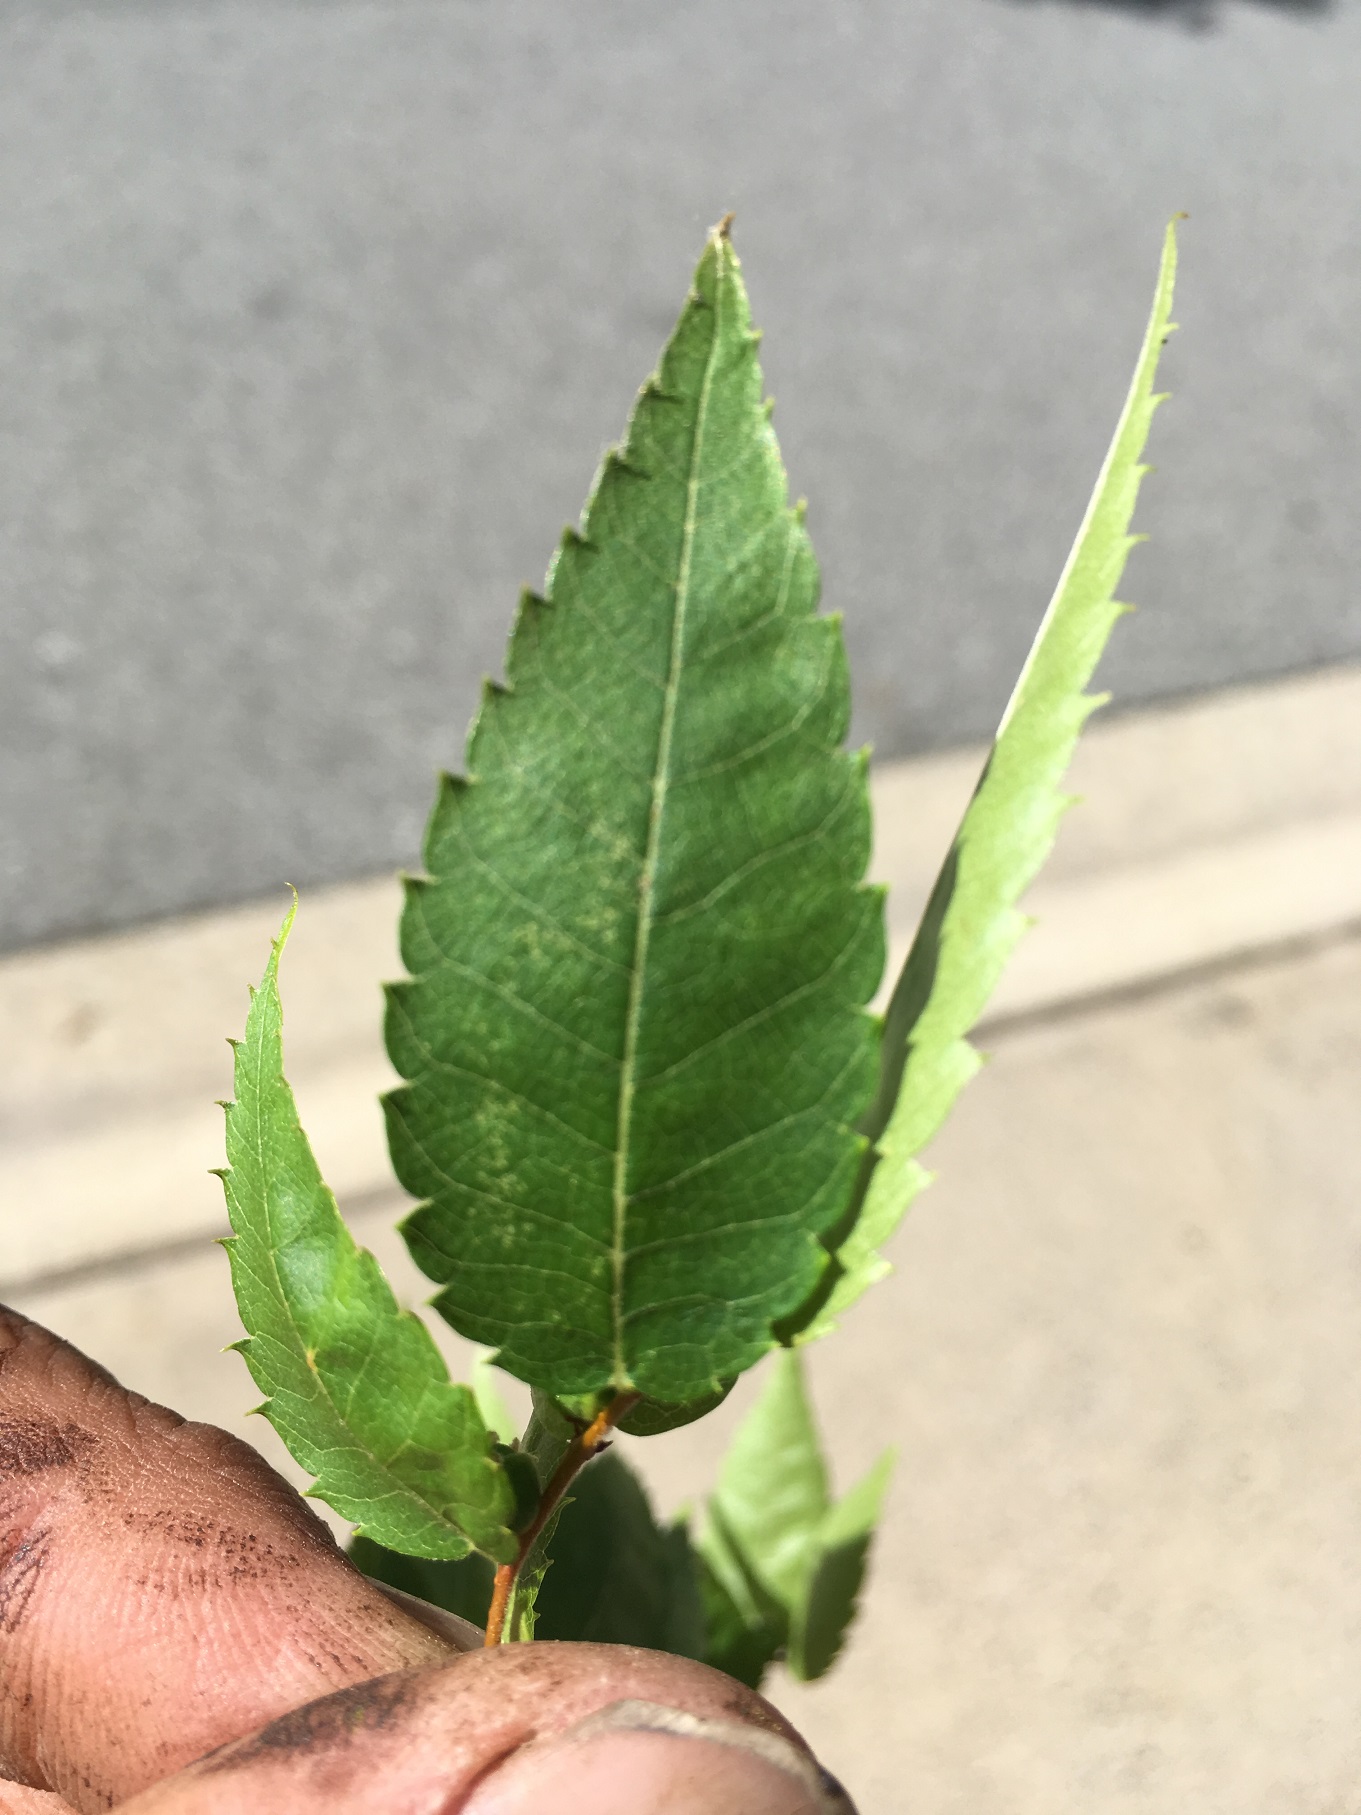
The leaves are alternate and serrated thus the specific epithet serrata.
Bark
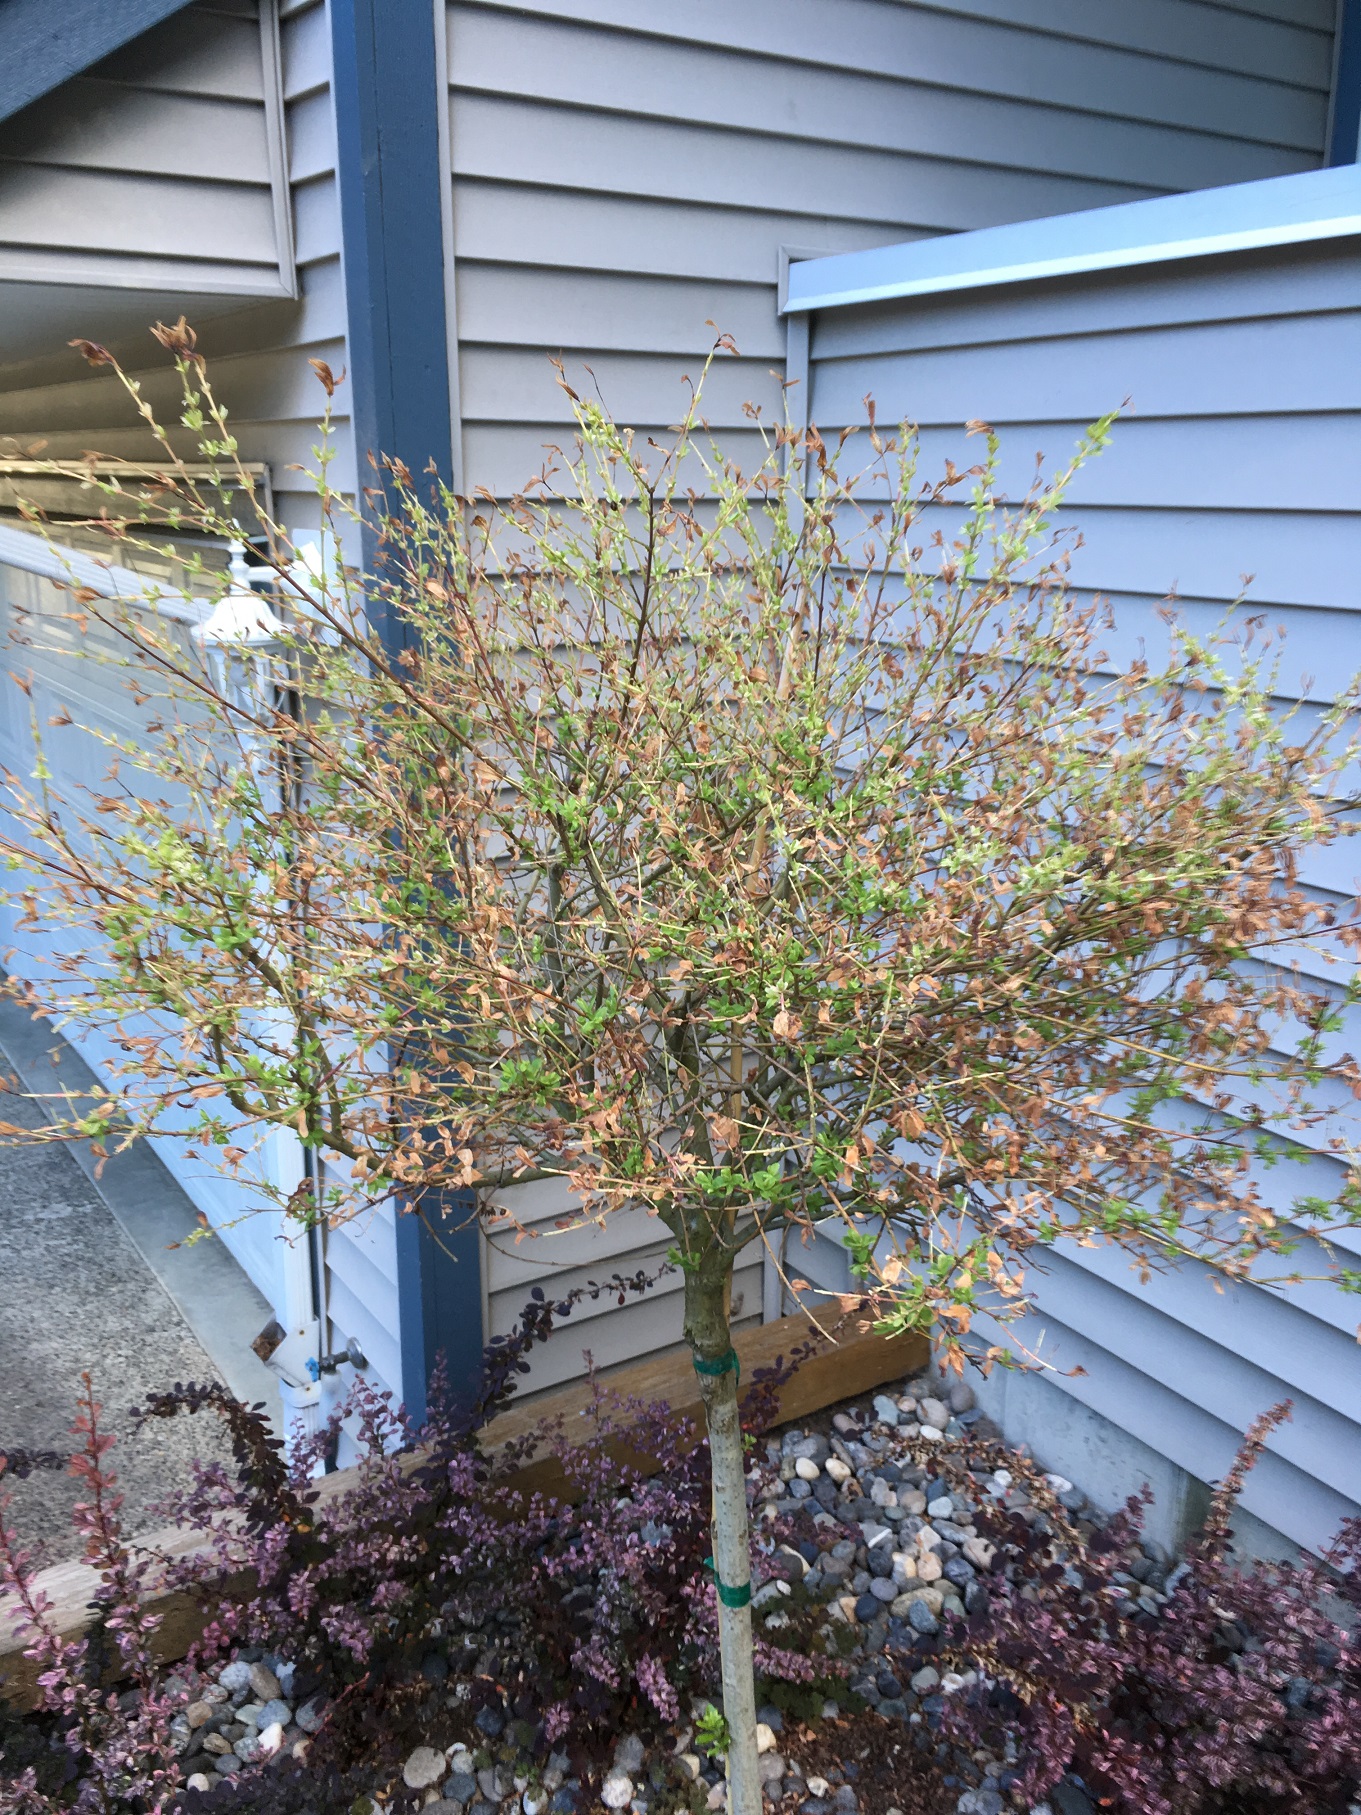
But what about the bark cracking on mature trees? It looks like the tree is falling apart and possibly diseased. And I had to look this up because I had no clue.
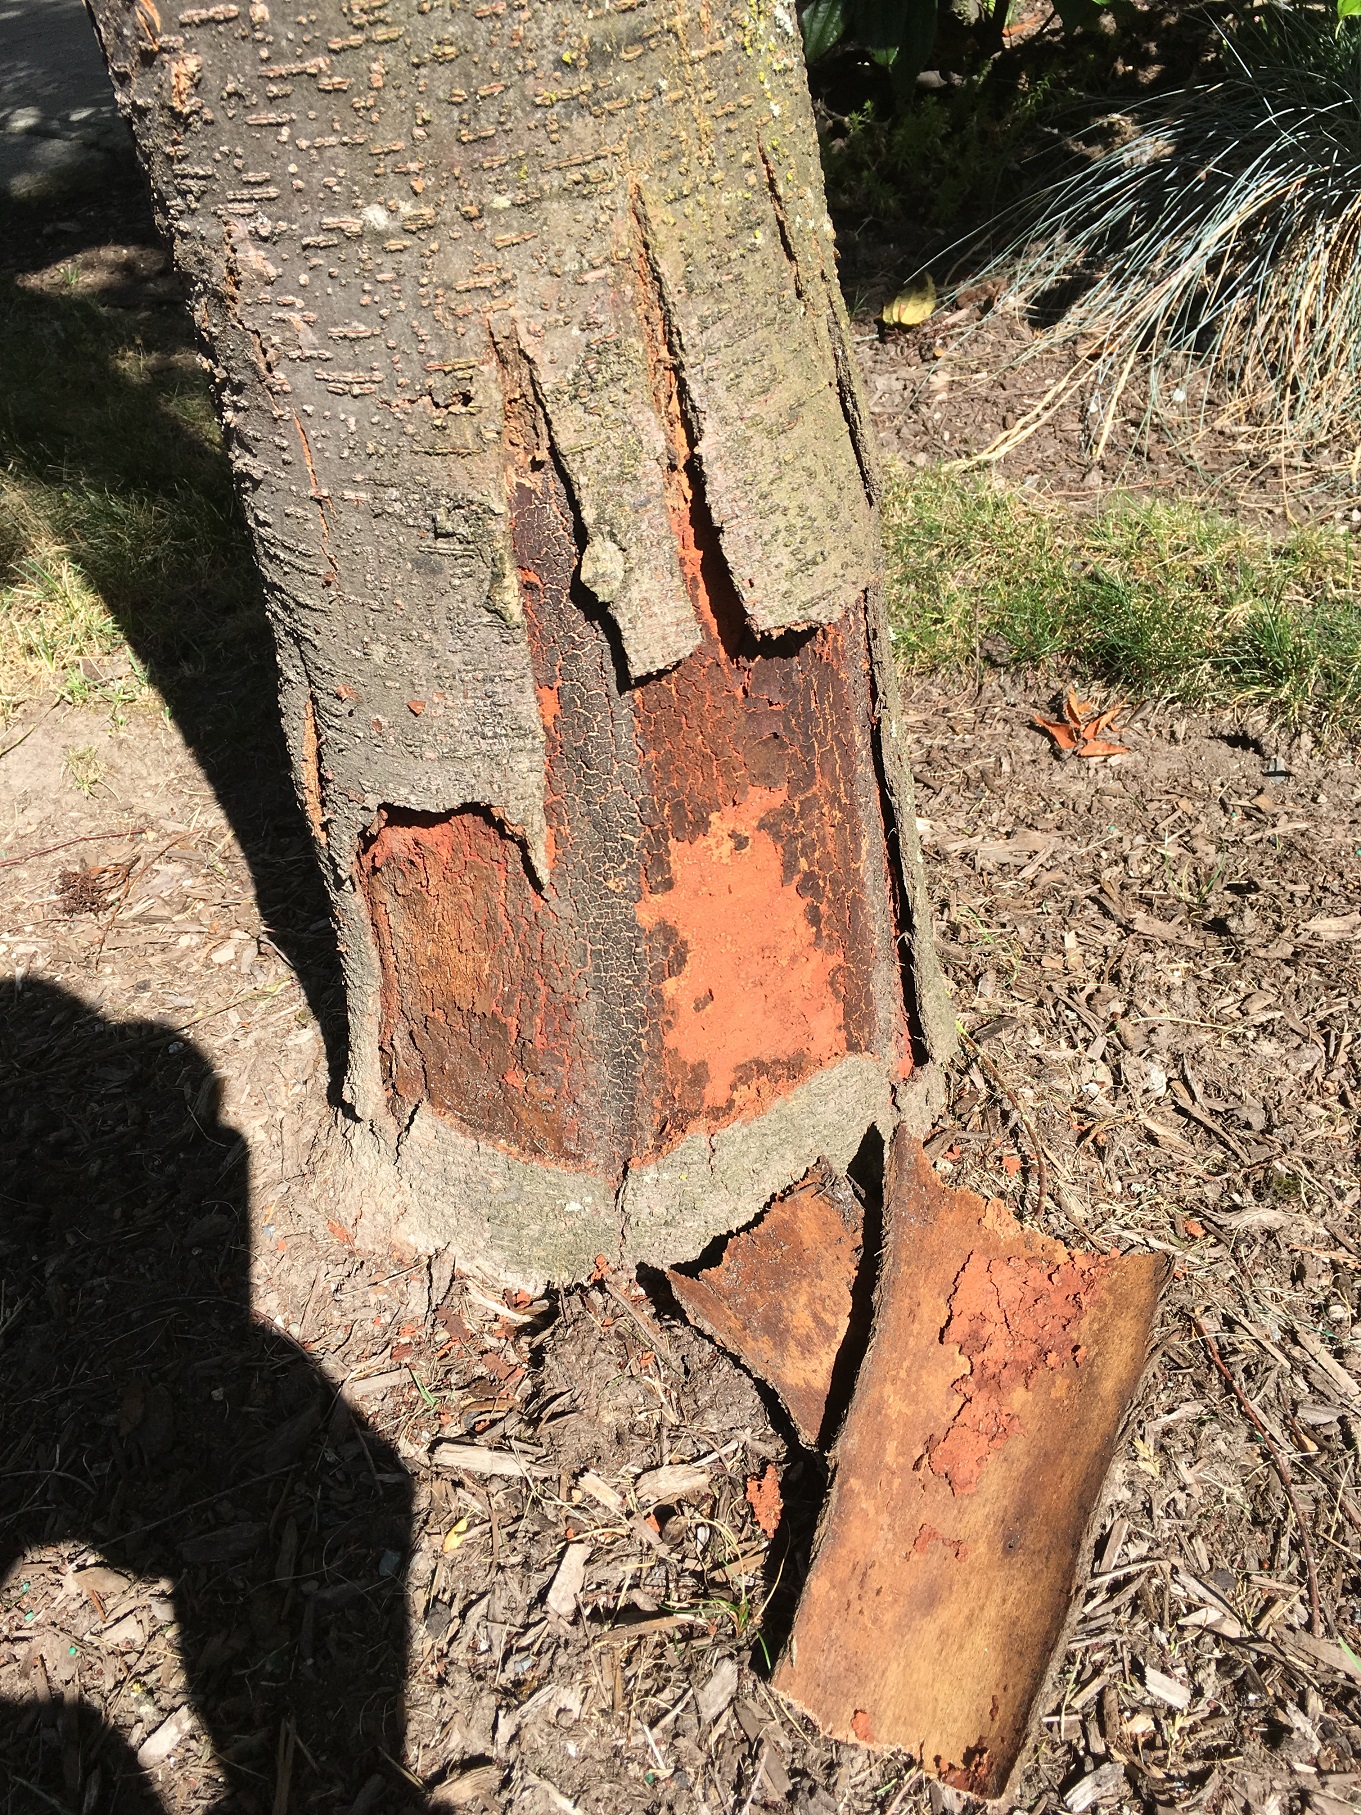
The red bark below is attractive but you can see how residents could easily panic when they come home to trees with cracked bark. It turns out Zelkova serrata trees do this as they mature but I don’t recall seeing it in Japan. Probably because I was paying attention to where I was going on my bike.
On one specimen the orange bark seems to be missing, exposing the wood below. I have yet to figure out what the cause may be. It may be purely academic anyway because the strata council is asking for replacements. They are asking for trees that reach smaller mature height.