Bare root tree planting is recommended by my mentor Dr. Linda Chalker-Scott but in strata maintenance we rarely have time for it. There is often pressure to dig holes and plug the trees in.
I got my first taste of bare root tree planting when I worked at a municipal parks department in the fall of 2014. And I’ve been waiting for a chance to do it again solo. Patiently.
Lucky Vas
Then I got lucky this past October when a strata owner approached me about transplanting her Japanese maple (Acer palmatum). The poor tree had some problems. It had dead wood in the top leader and the roots had penetrated the lawn from the bottom of the pot. The lucky part was that the maple was planted in fluffy potting mix media, not in decent soil. So when I finally liberated the tree from its pot, the potting mix stayed in the pot and I was left holding a bare root tree! Brilliant!
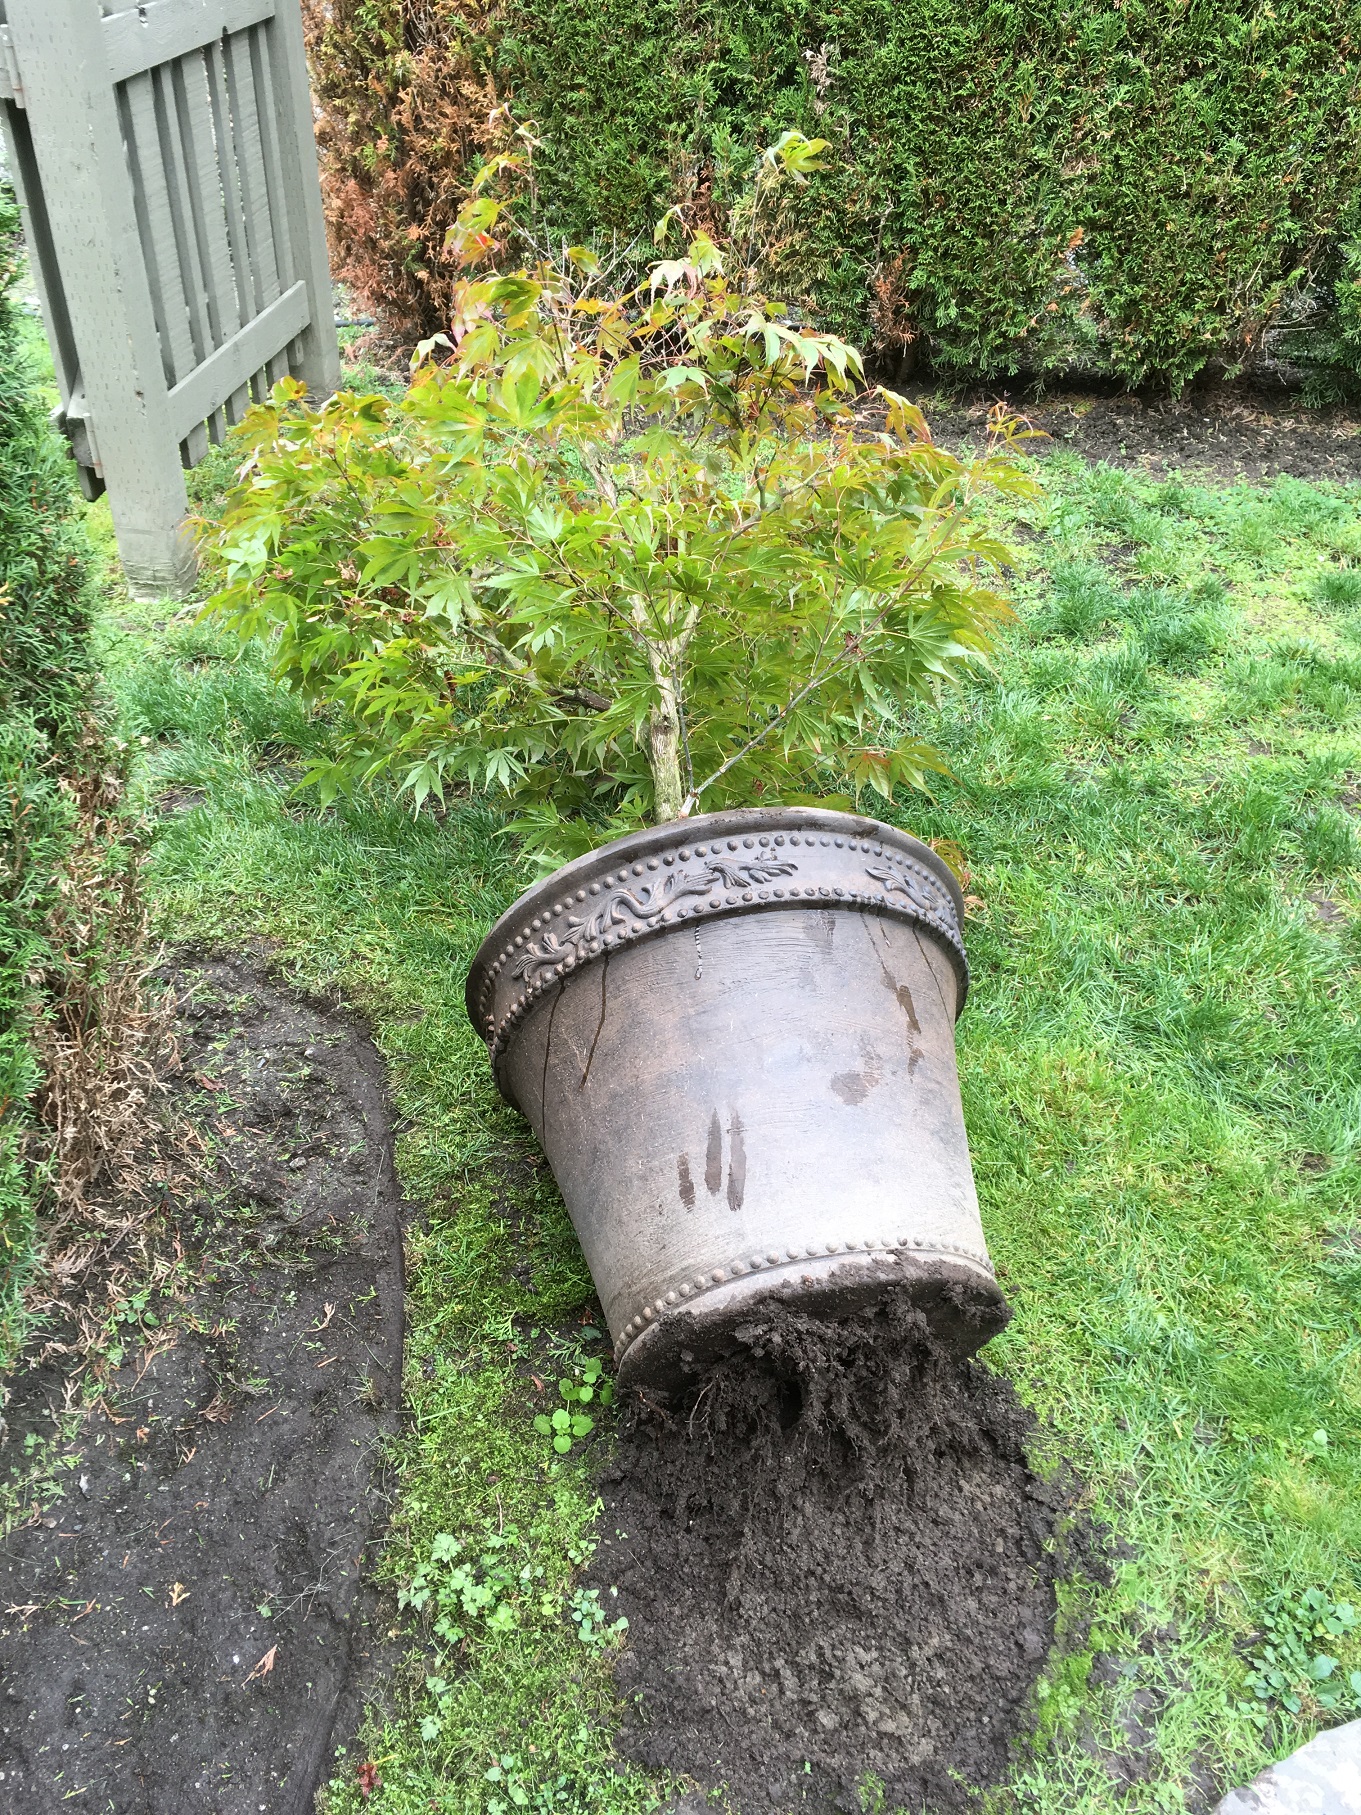
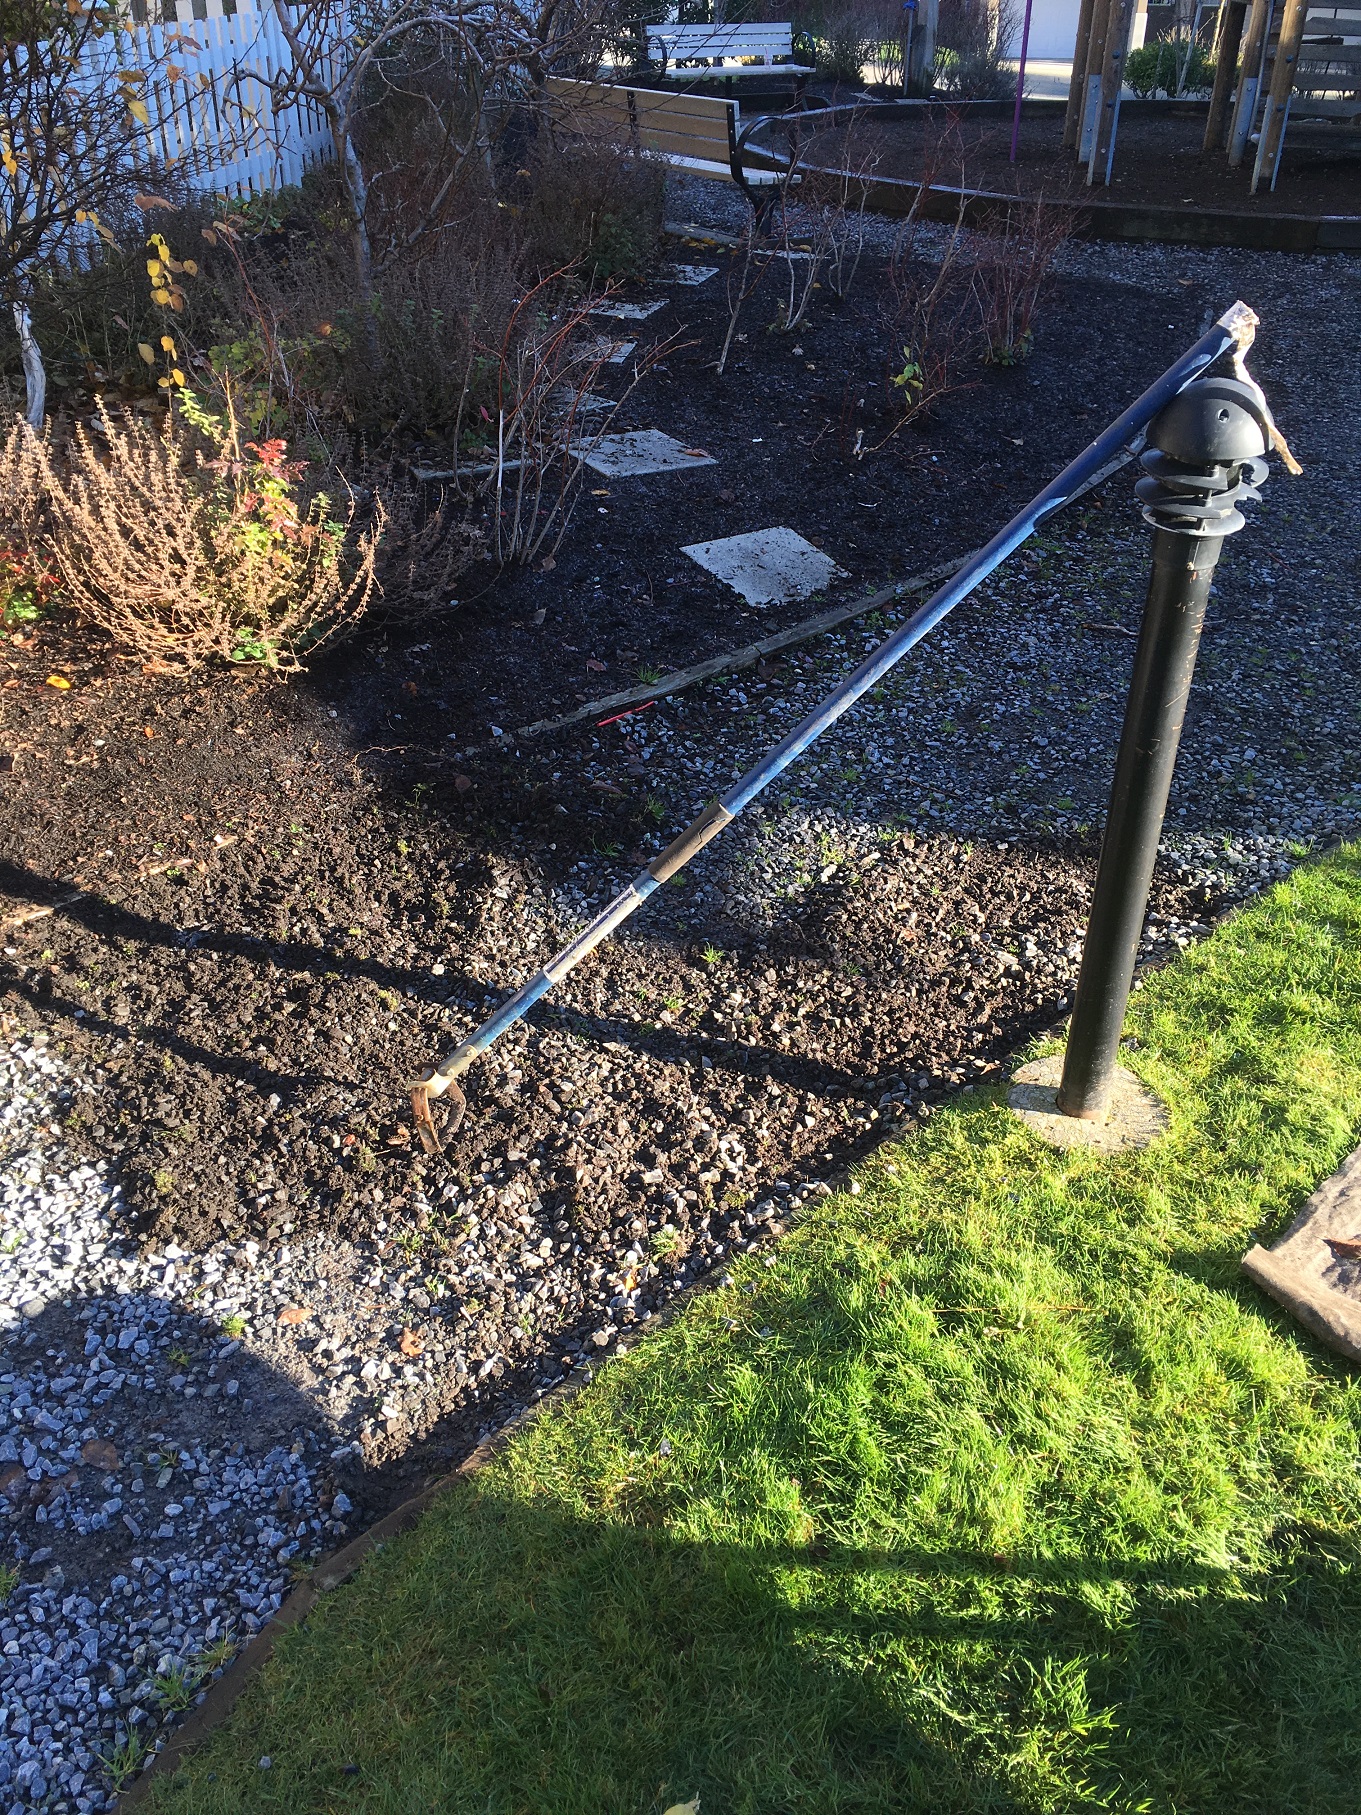
Before: roots penetrated the lawn and the tree sat in fluffy potting media.
Why bare root?
So what’s the advantage of bare root planting? First, the roots can be examined, pruned and rearranged. They should look like spokes on a wheel, not circling the way they do in pots. Second, nothing else is added to the planting hole. No burlap, strings or wires; and no clay bombs.
Lawn home
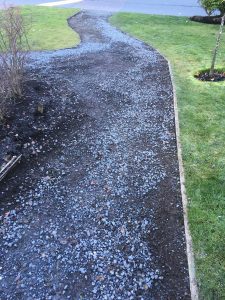
The new tree location was in the lawn which isn’t ideal because lawn grasses compete with trees for water and nutrients. I’m sure the new tree well will help channel water down to the root zone.
I did some minor root pruning on the tree and I forced the fibrous roots to stick out like spokes on a wheel.

The ideal root arrangement looks like spokes on a wheel.
Stability

Mudding in.
I always wondered how bare root planted trees stay upright in the hole without staking. Some large trees do require staking; just don’t forget to remove the stakes after one year.
The procedure is called ‘mud-in‘. You take the parent soil material and you add some to the hole. Then you water it in to create mud. Wait for a bit and repeat the same steps, until you reach the root flare. Then we stop because the root flare has to stay above the soil.
I gently tested my maple and it felt solid. I watered the tree again with a slow soak and instructed the owner to do the same going forward. Now we wait and see if the tree lives. It should be happier in the soil.

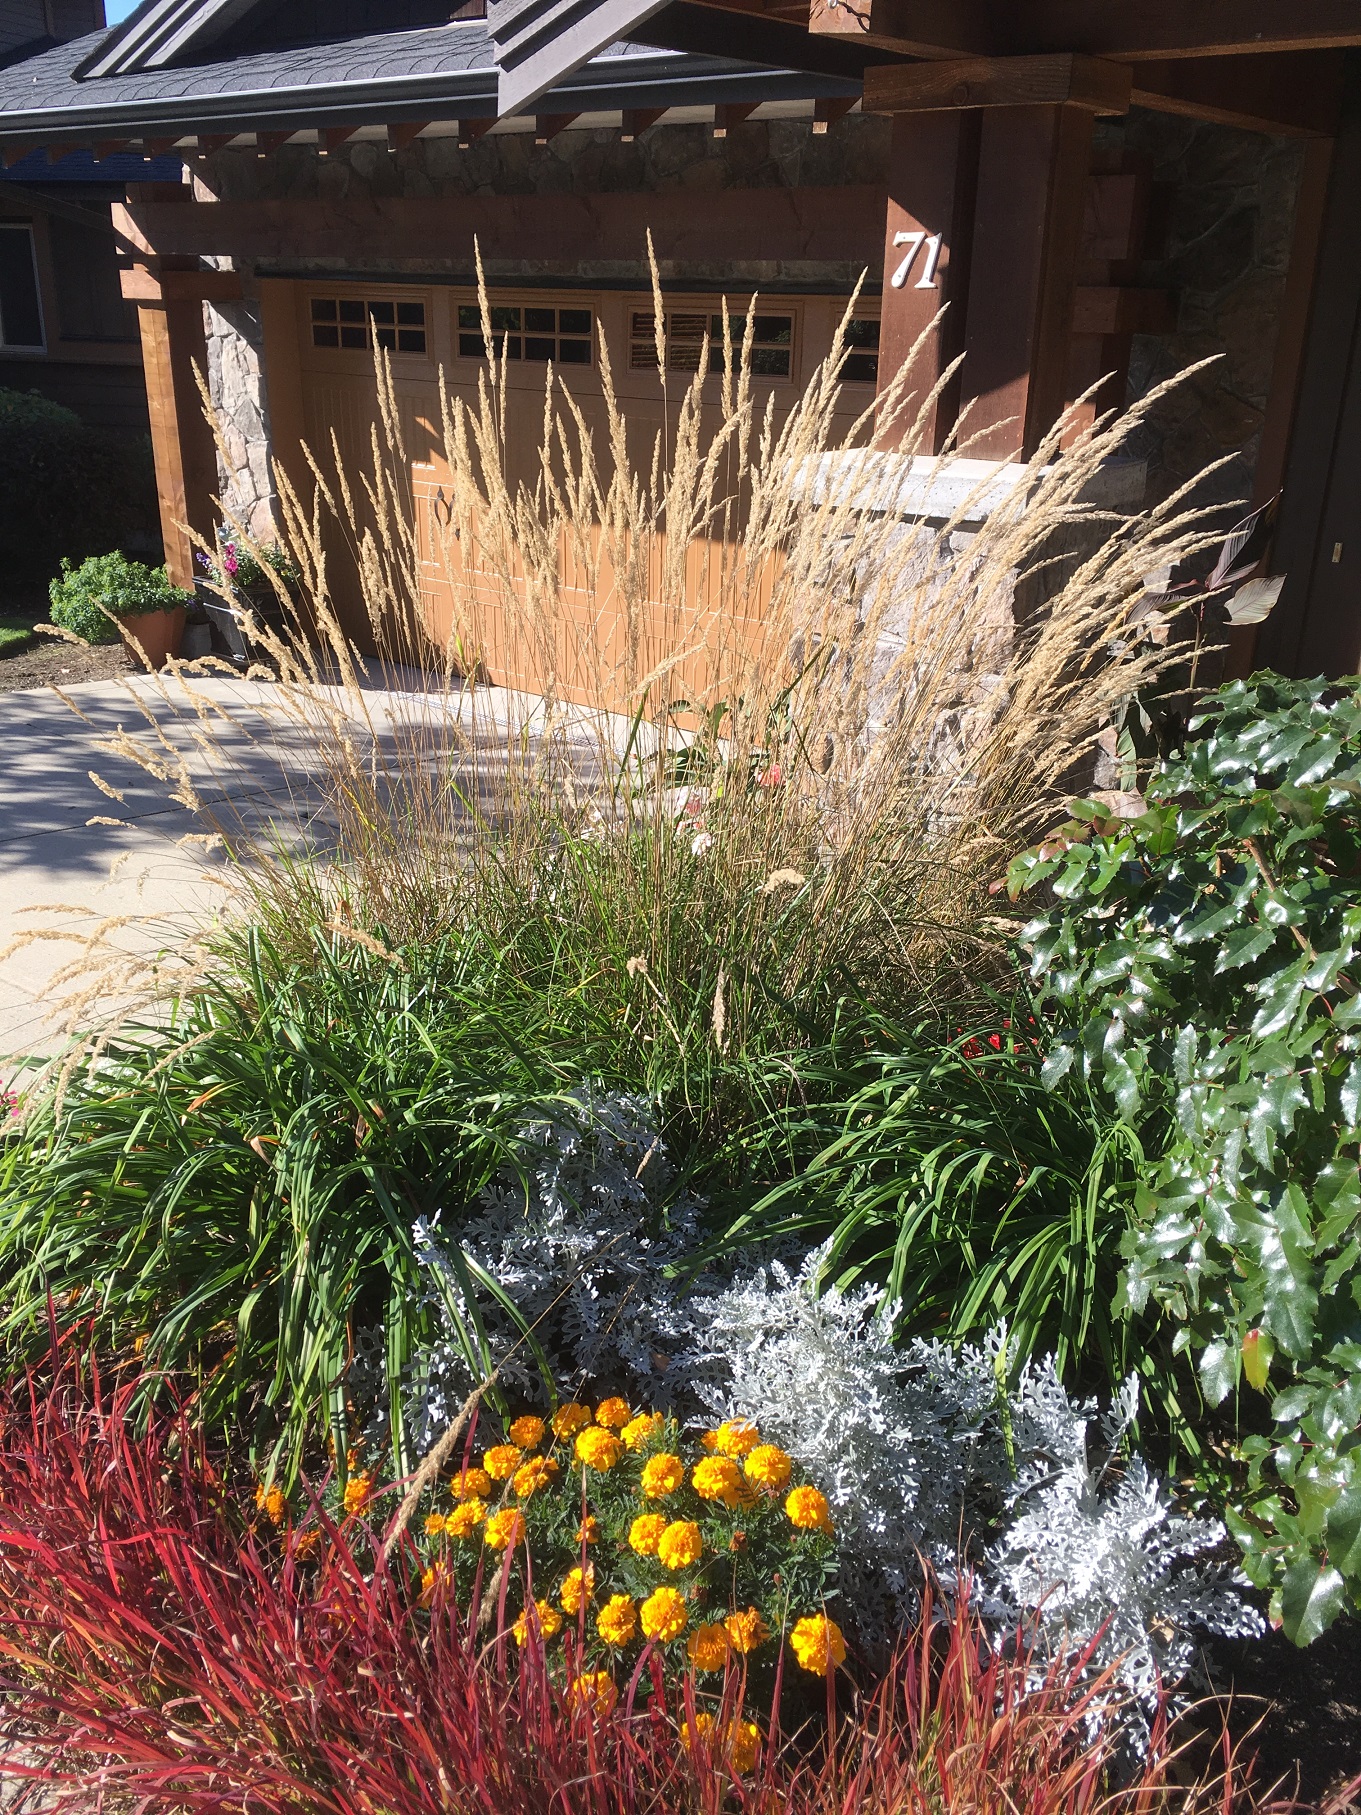
All done! Hopefully the maple feels happier in its new home.